4 $-$' *-$ 1+- . )/./# $))$)*!/# . -$ .*! magazine modern ...defence, nimzo-indian defence,...
TRANSCRIPT
Playing Positions with Small AdvantageThe legendary GM Kiril Georgiev presents the beginning of the series of
lectures dedicated to the way of thinking of the Grandmasters inpractical games
Grandmaster Repertoireagainst 1.d4 – Part 1
Dragon Variation - Part 5
Methods of Playing withHanging Pawns – Part 1
Endgame Series – Part 5
Understand GM Thinking ProcessWe continue with the explanation of the already initiatedtopics, but also we begin new courses
GM Nikolai NinovGM Davorin KuljasevicGM Boris Chatalbashev
In This Issue:GM Kiril Georgiev
GM Grigor Grigorov
MODERN CHESSMAGAZINE
ISSUE 5
MODERN CHESSMAGAZINE
ISSUE 5
Table of contentsPlaying Positions with Small Advantage (GM Kiril Georgiev)
Georgiev,Ki (2607) - Pavlovic,Milos (2488)Nakar,Ey (2435) - Georgiev,Ki (2623)
Methods of Playing in Positions with Hanging Pawns - Part 1 (GM Grigor Grigorov)
Kortschnoi, V - Geller, E Moskow, 1971Beliavsky,Alexander G (2650) - Benjamin,Joel (2620)Euwe, Max - Winter, William
Dragon Variation- Part 5 (GM Nikolai Ninov)
Dragon - 6.g3 Nc6 7.Bg2Dragon 6.g3 Nc6 7.Nde2Dragon variation 6.Be2Zhao Zong Yuan (2579) Wei Yi (2604)
Grandmaster Repertoire against 1.d4 – Part 1 (GM Boris Chatalbashev)
Chapter IMilchev,Nikolay (2348) - Chatalbashev,Boris (2541)Tyomkin,Dimitri (2516) - Chatalbashev,Boris (2522)Arnaudov,Petar G (2449) - Chatalbashev,Boris (2571)Cvitan,Ognjen (2501) - Smirnov,Artem (2440)
Endgame Series – Part 5 (GM Davorin Kuljasevic)
Alekhine,Alexander - Flohr,SaloGrischuk,Alexander (2710) - Shirov,Alexei (2720)Peshina – Butnorius, Riga, 1975Miler – Velmander, Izzevsk, 1949Kacheishvili,Giorgi (2583) - Shankland,Samuel L (2498)Mekhitarian,K (2568) - L'Ami,E (2631)
39
141721
24273033
3639414346
474851525557
3
13
47
35
24
13
Methods of Playing in Positions
with Hanging Pawns -Part 1
GM Grigor Grigorov
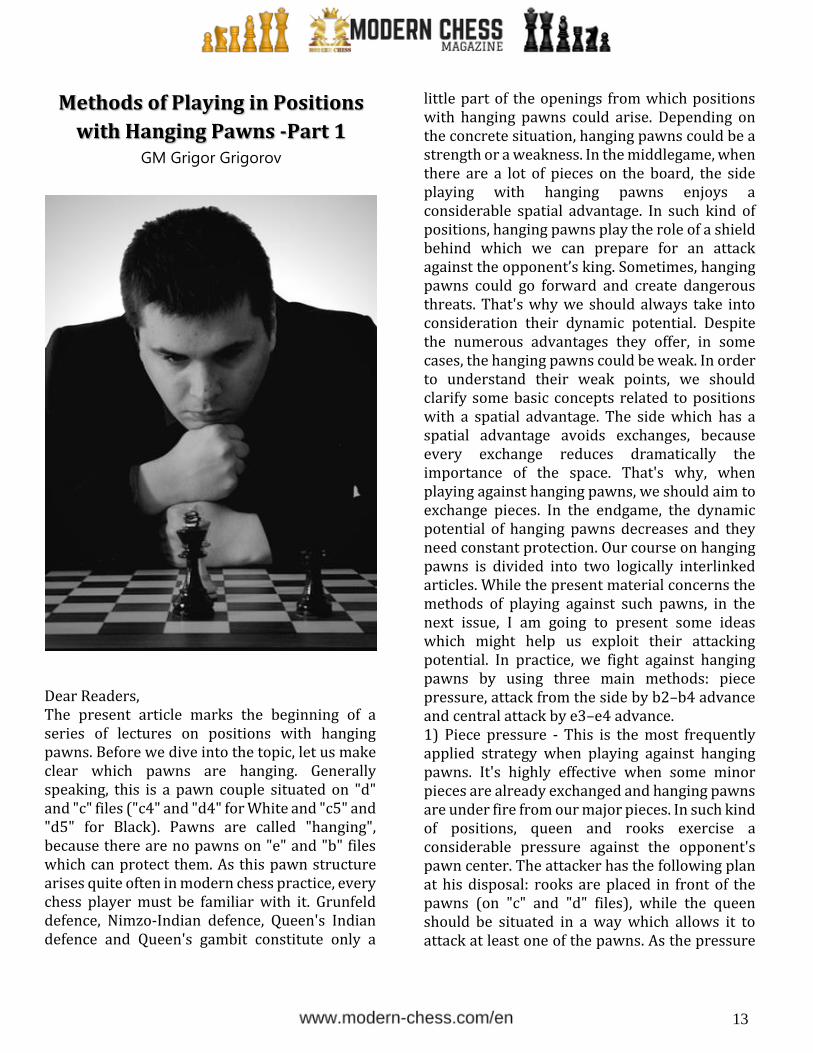
Dear Readers, The present article marks the beginning of a series of lectures on positions with hanging pawns. Before we dive into the topic, let us make clear which pawns are hanging. Generally speaking, this is a pawn couple situated on "d" and "c" files ("c4" and "d4" for White and "c5" and "d5" for Black). Pawns are called "hanging", because there are no pawns on "e" and "b" files which can protect them. As this pawn structure arises quite often in modern chess practice, every chess player must be familiar with it. Grunfeld defence, Nimzo-Indian defence, Queen's Indian defence and Queen's gambit constitute only a
little part of the openings from which positions with hanging pawns could arise. Depending on the concrete situation, hanging pawns could be a strength or a weakness. In the middlegame, when there are a lot of pieces on the board, the side playing with hanging pawns enjoys a considerable spatial advantage. In such kind of positions, hanging pawns play the role of a shield behind which we can prepare for an attack against the opponent’s king. Sometimes, hanging pawns could go forward and create dangerous threats. That's why we should always take into consideration their dynamic potential. Despite the numerous advantages they offer, in some cases, the hanging pawns could be weak. In order to understand their weak points, we should clarify some basic concepts related to positions with a spatial advantage. The side which has a spatial advantage avoids exchanges, because every exchange reduces dramatically the importance of the space. That's why, when playing against hanging pawns, we should aim to exchange pieces. In the endgame, the dynamic potential of hanging pawns decreases and they need constant protection. Our course on hanging pawns is divided into two logically interlinked articles. While the present material concerns the methods of playing against such pawns, in the next issue, I am going to present some ideas which might help us exploit their attacking potential. In practice, we fight against hanging pawns by using three main methods: piece pressure, attack from the side by b2–b4 advance and central attack by e3–e4 advance. 1) Piece pressure - This is the most frequentlyapplied strategy when playing against hangingpawns. It's highly effective when some minorpieces are already exchanged and hanging pawnsare under fire from our major pieces. In such kindof positions, queen and rooks exercise aconsiderable pressure against the opponent'spawn center. The attacker has the following planat his disposal: rooks are placed in front of thepawns (on "c" and "d" files), while the queenshould be situated in a way which allows it toattack at least one of the pawns. As the pressure
14
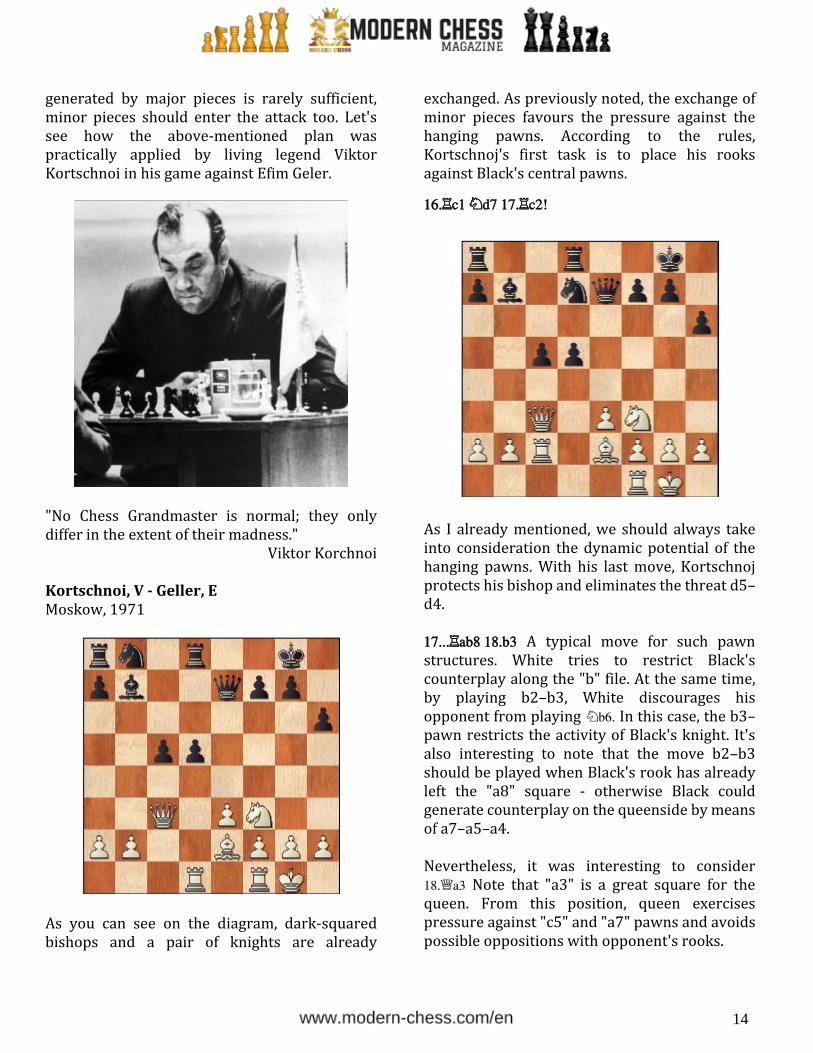
generated by major pieces is rarely sufficient, minor pieces should enter the attack too. Let's see how the above-mentioned plan was practically applied by living legend Viktor Kortschnoi in his game against Efim Geler.
"No Chess Grandmaster is normal; they only differ in the extent of their madness."
Viktor Korchnoi
Kortschnoi, V - Geller, E Moskow, 1971
As you can see on the diagram, dark-squared bishops and a pair of knights are already
exchanged. As previously noted, the exchange of minor pieces favours the pressure against the hanging pawns. According to the rules, Kortschnoj's first task is to place his rooks against Black's central pawns.
As I already mentioned, we should always take into consideration the dynamic potential of the hanging pawns. With his last move, Kortschnoj protects his bishop and eliminates the threat d5–d4.
A typical move for such pawn structures. White tries to restrict Black's counterplay along the "b" file. At the same time, by playing b2–b3, White discourages his opponent from playing In this case, the b3–pawn restricts the activity of Black's knight. It's also interesting to note that the move b2–b3 should be played when Black's rook has already left the "a8" square - otherwise Black could generate counterplay on the queenside by means of a7–a5–a4.
Nevertheless, it was interesting to consider Note that "a3" is a great square for the queen. From this position, queen exercises pressure against "c5" and "a7" pawns and avoids possible oppositions with opponent's rooks.
15
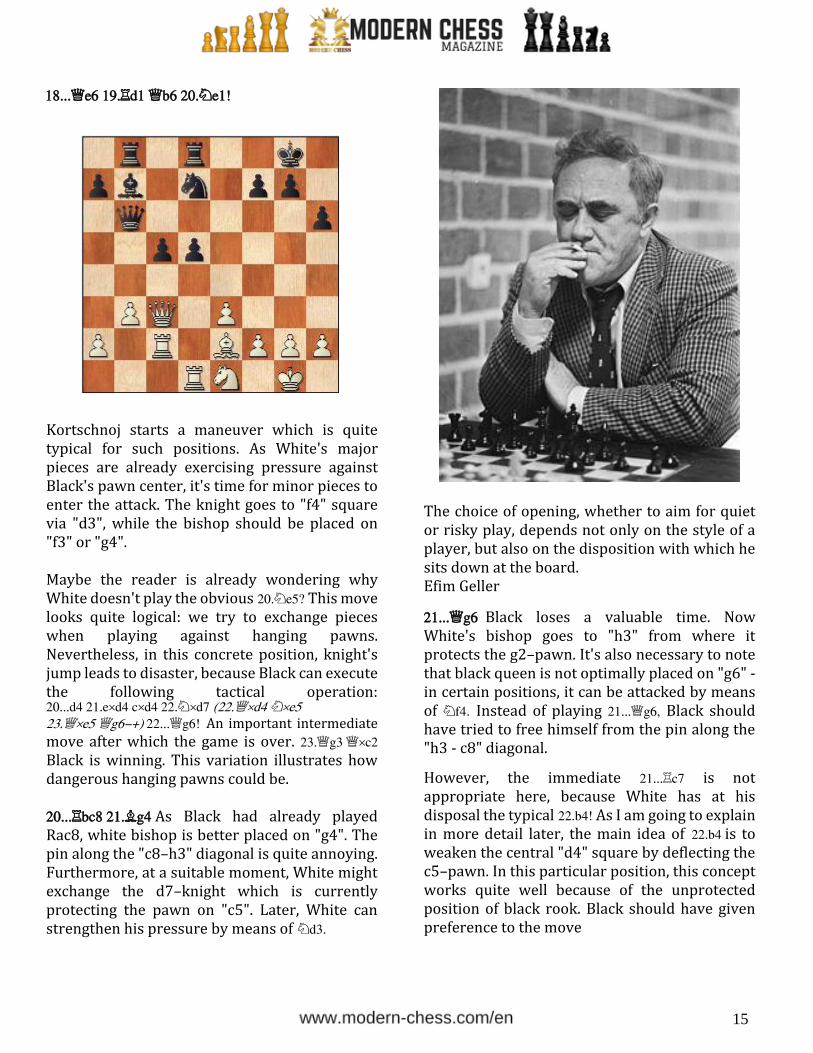
Kortschnoj starts a maneuver which is quite typical for such positions. As White's major pieces are already exercising pressure against Black's pawn center, it's time for minor pieces to enter the attack. The knight goes to "f4" square via "d3", while the bishop should be placed on "f3" or "g4".
Maybe the reader is already wondering why White doesn't play the obvious This move looks quite logical: we try to exchange pieces when playing against hanging pawns. Nevertheless, in this concrete position, knight's jump leads to disaster, because Black can execute the following tactical operation: An important intermediate move after which the game is over. Black is winning. This variation illustrates how dangerous hanging pawns could be.
As Black had already played Rac8, white bishop is better placed on "g4". The pin along the "c8–h3" diagonal is quite annoying. Furthermore, at a suitable moment, White might exchange the d7–knight which is currently protecting the pawn on "c5". Later, White can strengthen his pressure by means of
The choice of opening, whether to aim for quiet or risky play, depends not only on the style of a player, but also on the disposition with which he sits down at the board. Efim Geller
Black loses a valuable time. Now White's bishop goes to "h3" from where it protects the g2–pawn. It's also necessary to note that black queen is not optimally placed on "g6" - in certain positions, it can be attacked by means of . Instead of playing Black should have tried to free himself from the pin along the "h3 - c8" diagonal.
However, the immediate is not appropriate here, because White has at his disposal the typical As I am going to explain in more detail later, the main idea of is to weaken the central "d4" square by deflecting the c5–pawn. In this particular position, this concept works quite well because of the unprotected position of black rook. Black should have given preference to the move

16
This move is quite typical for such pawn structures. By playing a7–a5, Black gains space on the queenside and strengthens his control over the key b4 - square. Later he might proceed with natural moves like and
This move is already a huge mistake after which Black loses one of his central pawns.
Black should have perhaps admitted his mistake by playing In this case, the game might continue: With a playable position. (In this situation, the central advance doesn't work quite well, because White could react with the patient
The restricted activity of Black's knight doesn't
allow him to make use of the dynamic potential
of his hanging pawns. Moreover, the c5 - pawn is
a static weakness which needs constant
protection)
A fatal mistake. There are is no
salvation anymore.
Still, Black could have remained into play by
accepting serious positional concessions. In
order to do so, he should have played Of
course, White can consolidate his position by
means of
Quite a typical position has arisen. As Black has
already played the move c5–c4, d4–square is
weakened and the pawn on "d5" could be easily
attacked.
Black resigns.
1–0