a step by step guide to email marketing part 3 - get more value & subscribers
TRANSCRIPT
matthewwoodward.co.uk http://www.matthewwoodward.co.uk/tutorials/email-marketing-part-3/
Beginners Guide To Email Marketing Part 3 - Getting MoreSubscribers & Value
In the previous part of my email marketing guide I showed you how to setup an engaging email auto respondersequence.
This time round we are going to add the finishing touches to our opt in sequence to squeeze even more value outof our efforts while looking at ways to get even more subscribers!
What You Will Learn
How to setup custom confirmation & thank you pages that extract huge value
How to contact all of your subscribers at will
How to setup attention grabbing optin forms
How to tease people into subscribing
Extracting More Value
In the first part of the series we learnt about the user journey every new subscriber goes through.
It looks something like this-
1. Enter name/email address
2. Taken to the confirmation page
3. Confirm their email address
4. Taken to the thank you page
At the moment we are just using the default confirmation & thank you pages that Aweber provides. But we cancreate our own that will allow us to get even more value out of our new subscribers.
We are going to play on the simple methodology that once a user takes action, they will take action again – if youask them to.
For example in the user journey above once they are on the thank you page we could ask them to follow us on asocial network, buy a product or share our site.
The vast majority of people that subscribe will take the action you ask them to take on the thank you page – somake sure you are taking advantage of that.
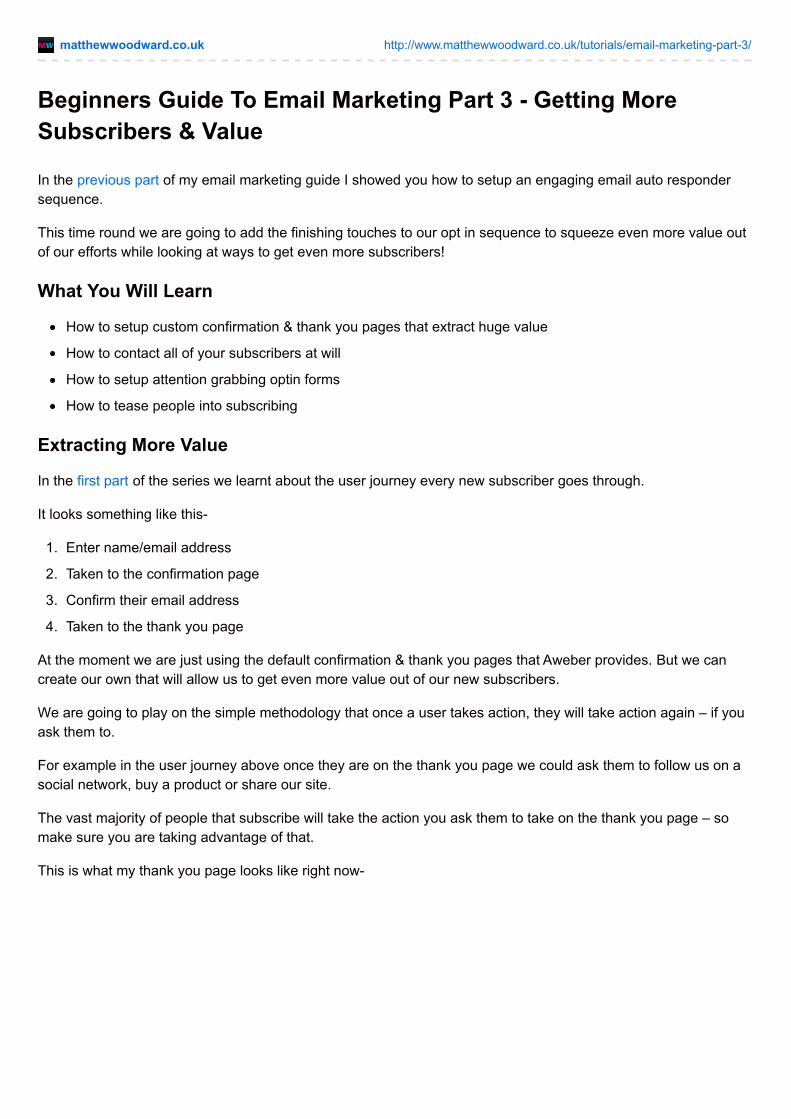
This is what my thank you page looks like right now-
As you can see it is very simple and the only thing they can do on that page is the action I want them to take, whichis to circle me on Google+ at the moment. There are no other distractions!
Creating Your Own Pages
The first thing you need to do is create 2 pages on your site. The first one will be our custom confirmation pageand the second one will be our custom thank you page.
If your WordPress theme supports it ideally you will use a full width template that removes anysidebars/distractions. Not every theme has that so don’t worry if yours doesn’t.
Confirmation Page
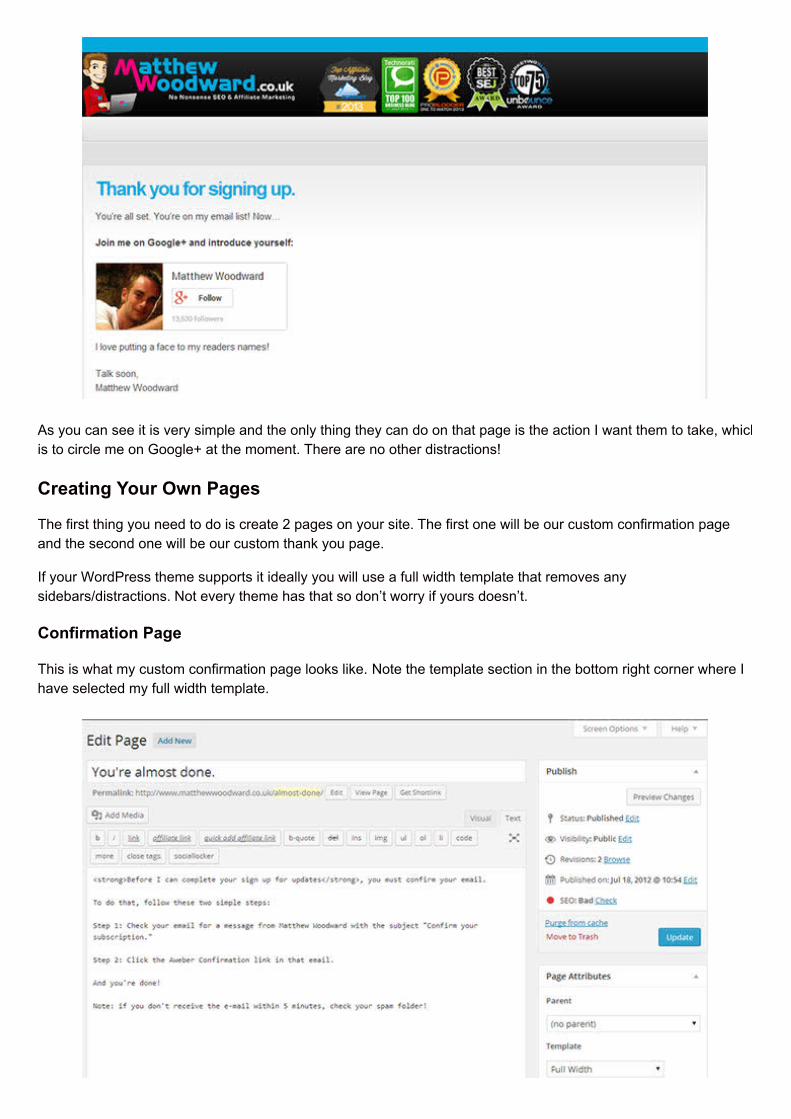
This is what my custom confirmation page looks like. Note the template section in the bottom right corner where Ihave selected my full width template.
As you can see the page gets straight to the point telling people what they need to do to confirm their emailaddress.
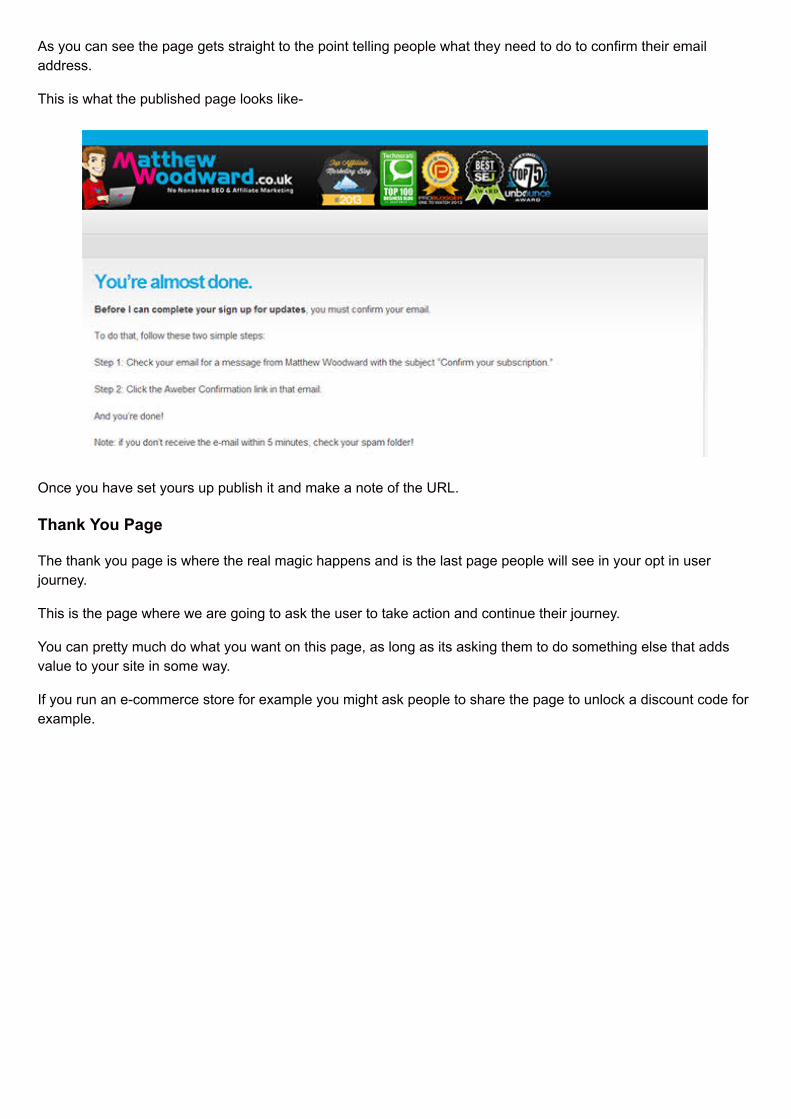
This is what the published page looks like-
Once you have set yours up publish it and make a note of the URL.
Thank You Page
The thank you page is where the real magic happens and is the last page people will see in your opt in userjourney.
This is the page where we are going to ask the user to take action and continue their journey.
You can pretty much do what you want on this page, as long as its asking them to do something else that addsvalue to your site in some way.
If you run an e-commerce store for example you might ask people to share the page to unlock a discount code forexample.
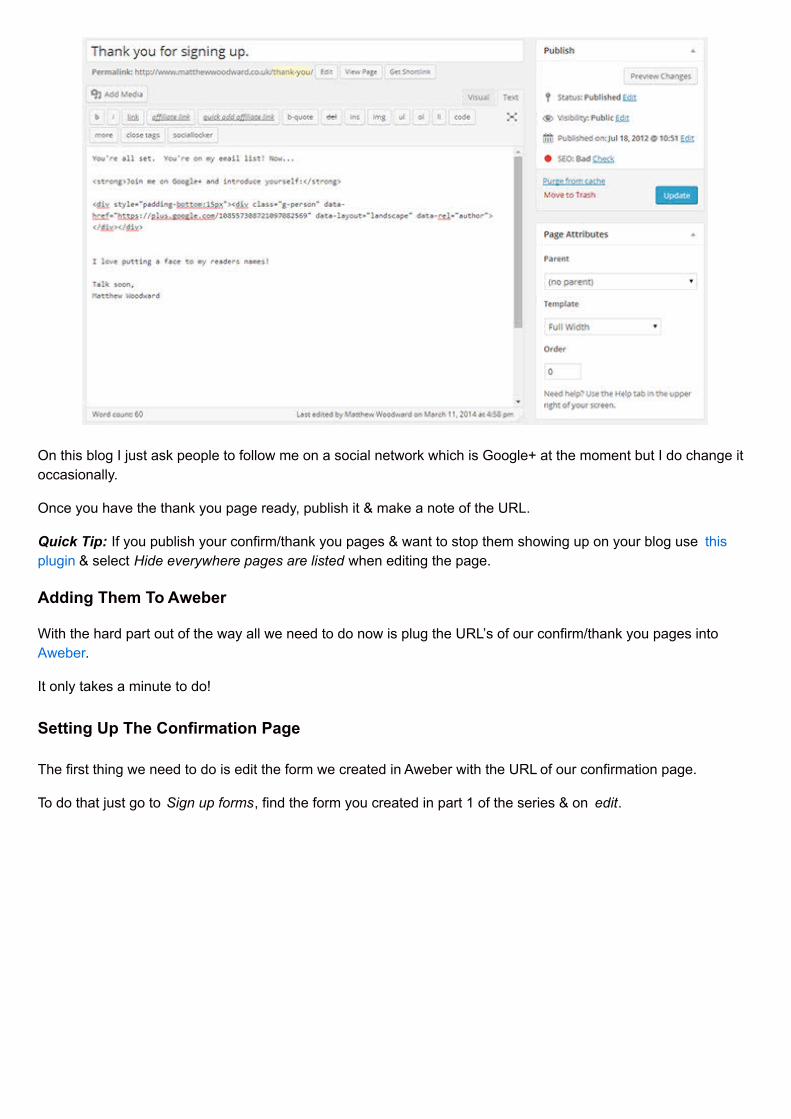
On this blog I just ask people to follow me on a social network which is Google+ at the moment but I do change itoccasionally.
Once you have the thank you page ready, publish it & make a note of the URL.
Quick Tip: If you publish your confirm/thank you pages & want to stop them showing up on your blog use thisplugin & select Hide everywhere pages are listed when editing the page.
Adding Them To Aweber
With the hard part out of the way all we need to do now is plug the URL’s of our confirm/thank you pages intoAweber.
It only takes a minute to do!
Setting Up The Confirmation Page
The first thing we need to do is edit the form we created in Aweber with the URL of our confirmation page.
To do that just go to Sign up forms, find the form you created in part 1 of the series & on edit.
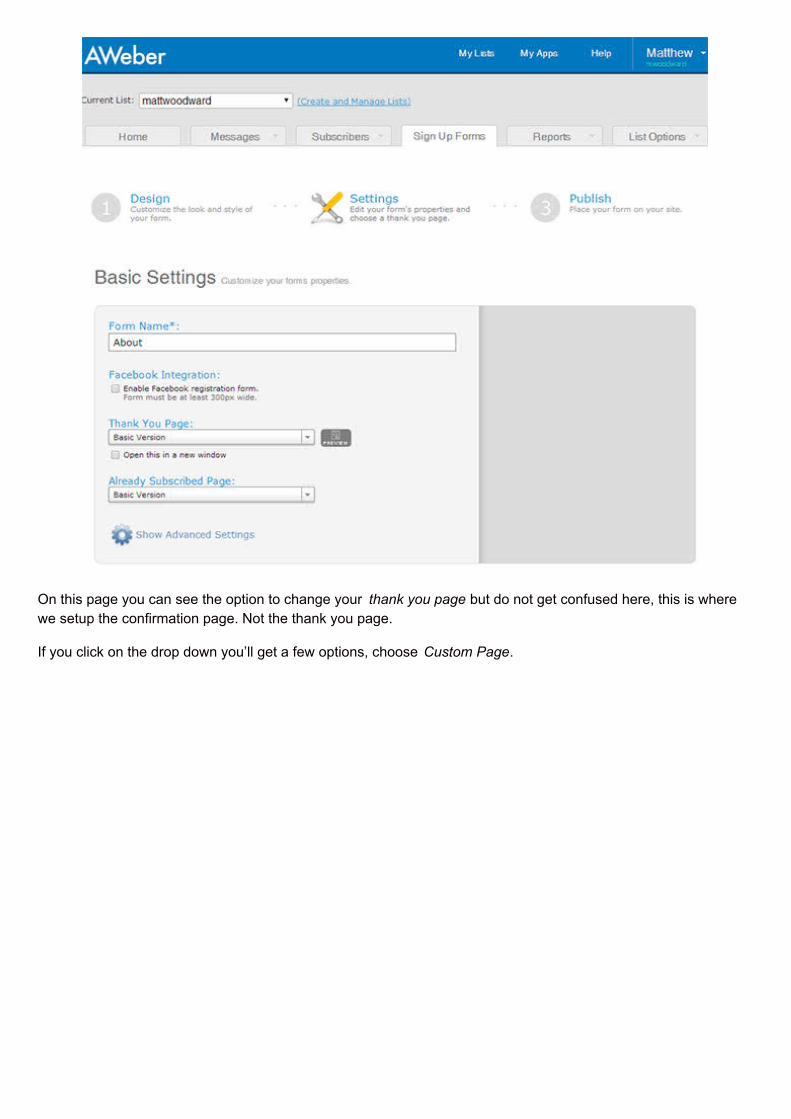
On this page you can see the option to change your thank you page but do not get confused here, this is wherewe setup the confirmation page. Not the thank you page.
If you click on the drop down you’ll get a few options, choose Custom Page.
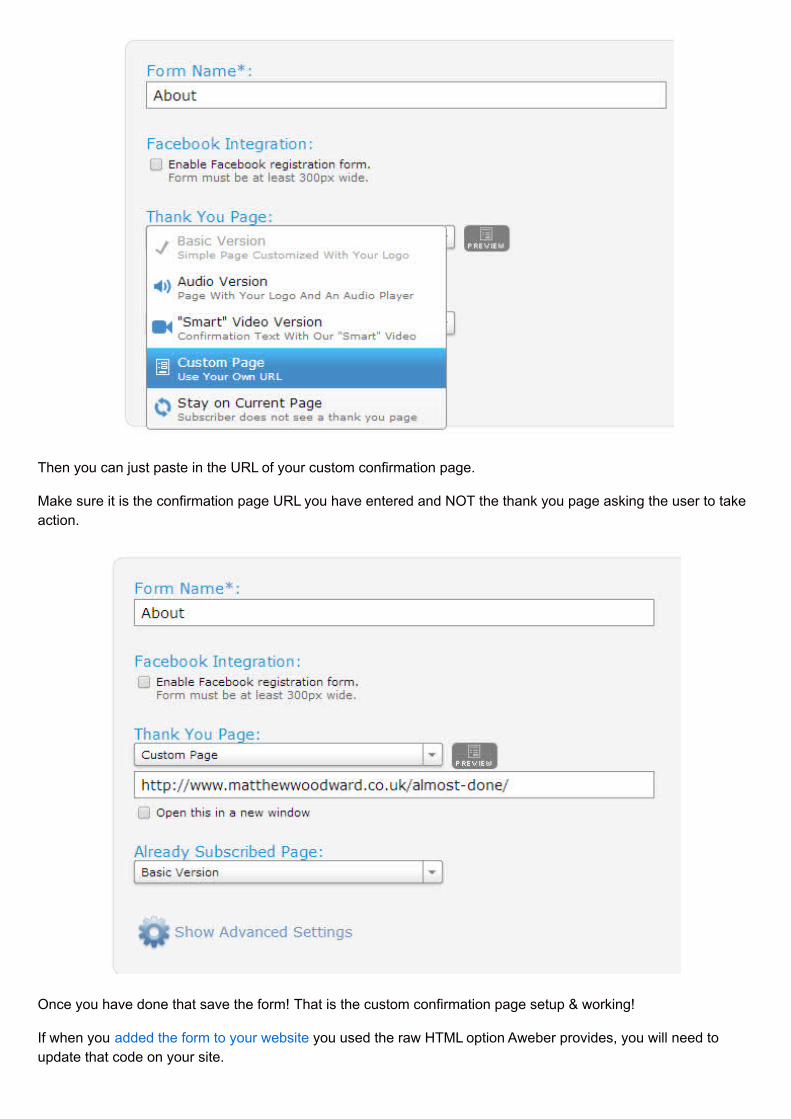
Then you can just paste in the URL of your custom confirmation page.
Make sure it is the confirmation page URL you have entered and NOT the thank you page asking the user to takeaction.
Once you have done that save the form! That is the custom confirmation page setup & working!
If when you added the form to your website you used the raw HTML option Aweber provides, you will need toupdate that code on your site.
If you used the official plugin or Javascript code though you don’t need to change anything.
Setting Up The Thank You Page
Last but not least is adding the custom thank you page to our Aweber setup.
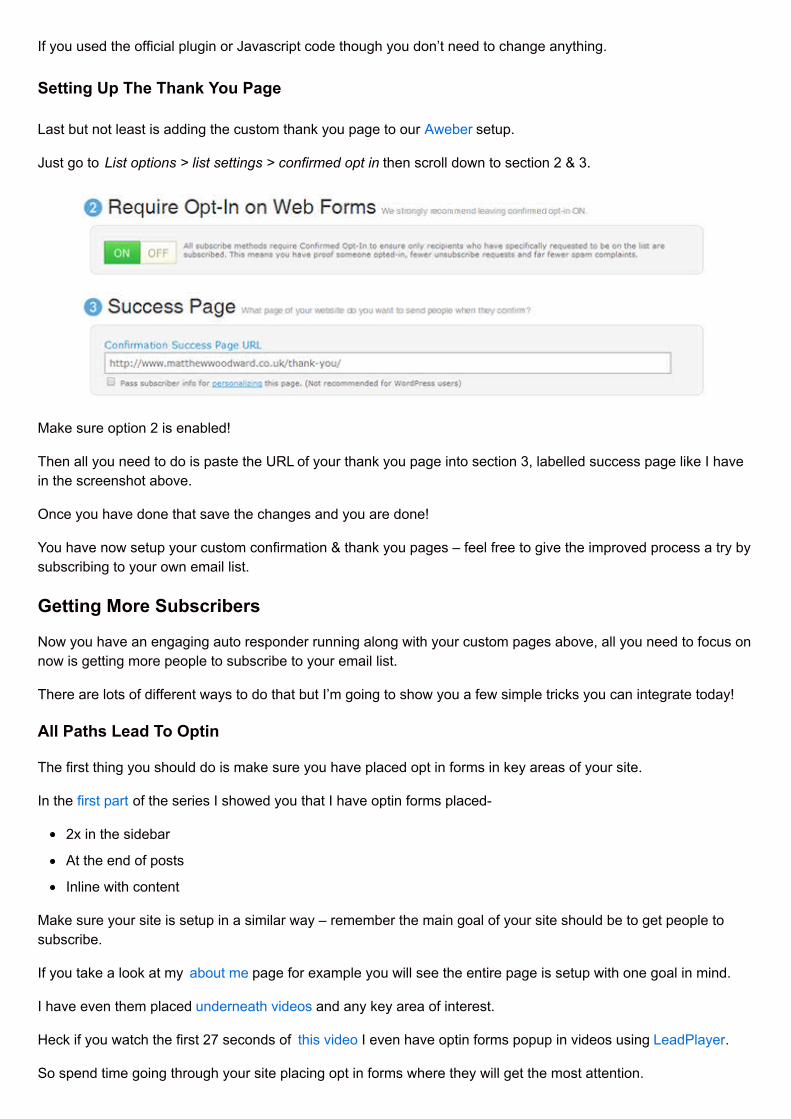
Just go to List options > list settings > confirmed opt in then scroll down to section 2 & 3.
Make sure option 2 is enabled!
Then all you need to do is paste the URL of your thank you page into section 3, labelled success page like I havein the screenshot above.
Once you have done that save the changes and you are done!
You have now setup your custom confirmation & thank you pages – feel free to give the improved process a try bysubscribing to your own email list.
Getting More Subscribers
Now you have an engaging auto responder running along with your custom pages above, all you need to focus onnow is getting more people to subscribe to your email list.
There are lots of different ways to do that but I’m going to show you a few simple tricks you can integrate today!
All Paths Lead To Optin
The first thing you should do is make sure you have placed opt in forms in key areas of your site.
In the first part of the series I showed you that I have optin forms placed-
2x in the sidebar
At the end of posts
Inline with content
Make sure your site is setup in a similar way – remember the main goal of your site should be to get people tosubscribe.
If you take a look at my about me page for example you will see the entire page is setup with one goal in mind.
I have even them placed underneath videos and any key area of interest.
Heck if you watch the first 27 seconds of this video I even have optin forms popup in videos using LeadPlayer.
So spend time going through your site placing opt in forms where they will get the most attention.
Comment Redirect
Staying true ensuring all paths lead to opt in – I also try to encourage anyone that leaves a comment on the blog tosubscribe.
Don’t forget when someone takes action once (leaves a comment) they will take action again (subscribe) if youask them to!
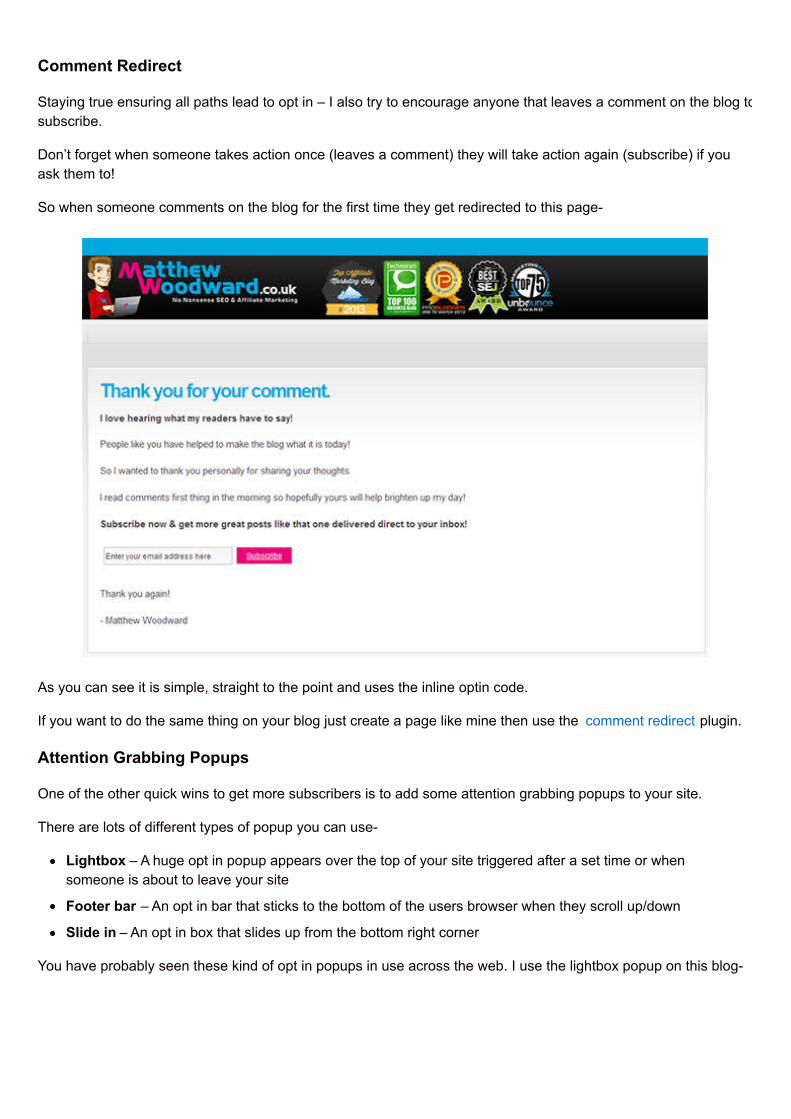
So when someone comments on the blog for the first time they get redirected to this page-
As you can see it is simple, straight to the point and uses the inline optin code.
If you want to do the same thing on your blog just create a page like mine then use the comment redirect plugin.
Attention Grabbing Popups
One of the other quick wins to get more subscribers is to add some attention grabbing popups to your site.
There are lots of different types of popup you can use-
Lightbox – A huge opt in popup appears over the top of your site triggered after a set time or whensomeone is about to leave your site
Footer bar – An opt in bar that sticks to the bottom of the users browser when they scroll up/down
Slide in – An opt in box that slides up from the bottom right corner
You have probably seen these kind of opt in popups in use across the web. I use the lightbox popup on this blog-
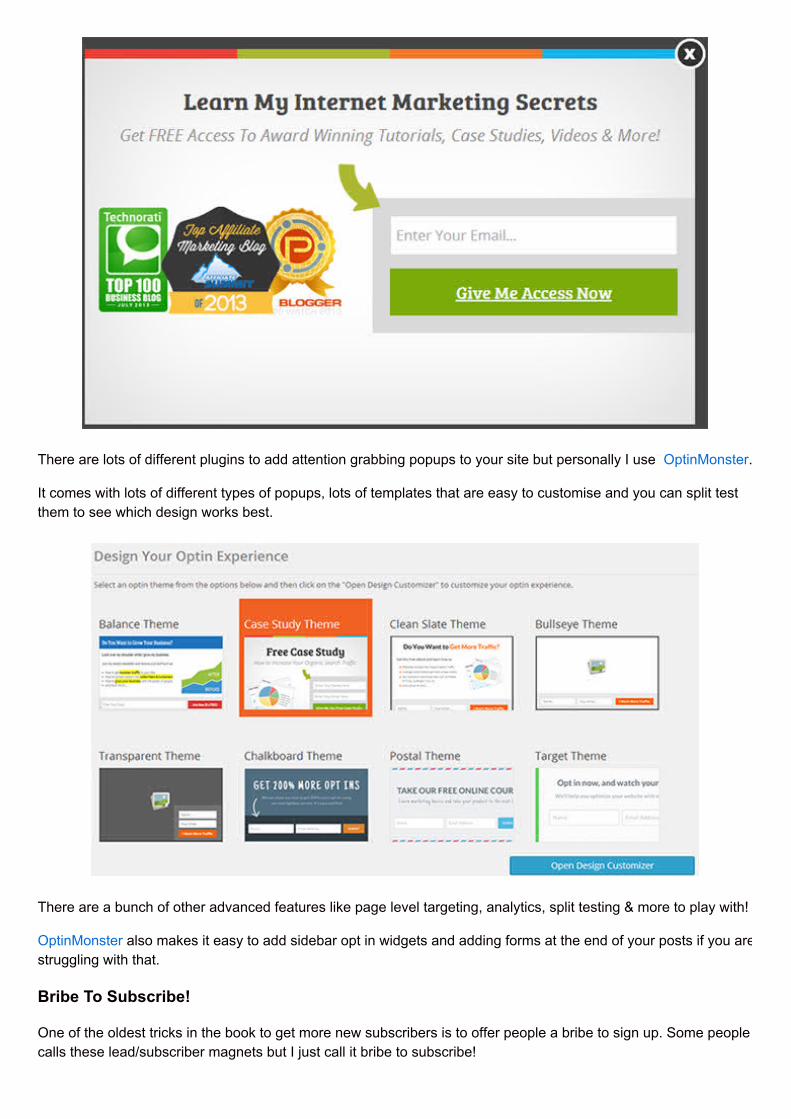
There are lots of different plugins to add attention grabbing popups to your site but personally I use OptinMonster.
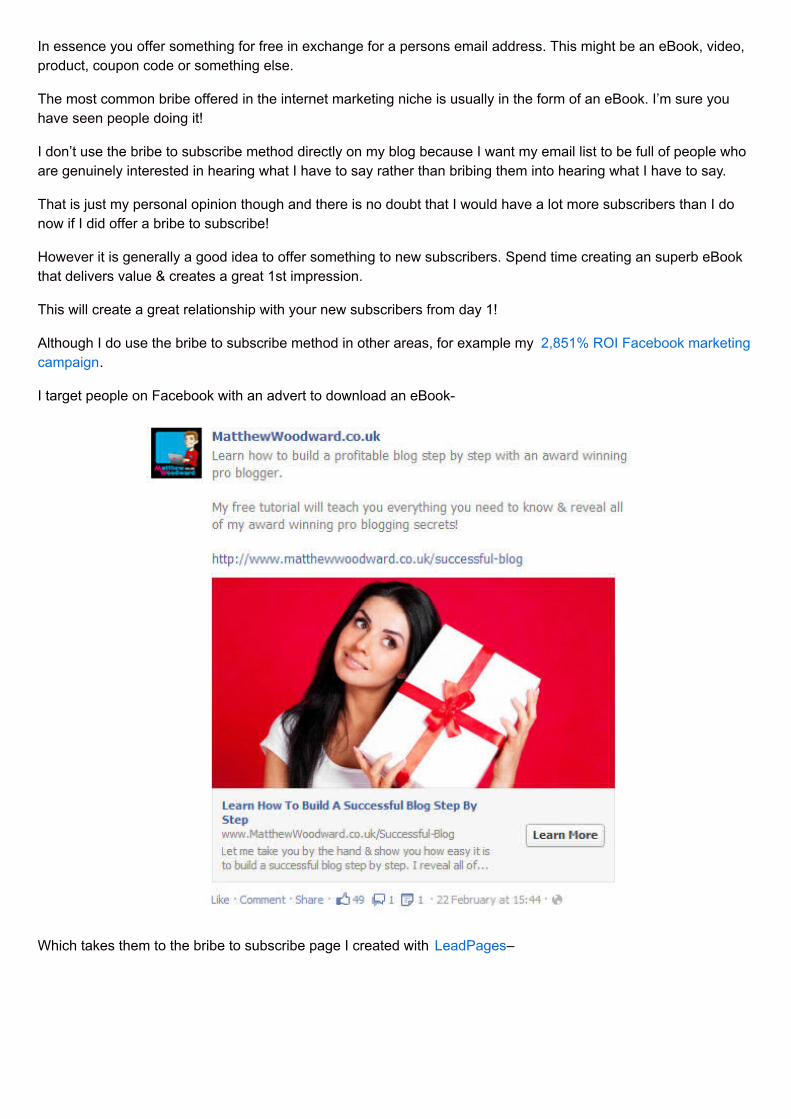
It comes with lots of different types of popups, lots of templates that are easy to customise and you can split testthem to see which design works best.
There are a bunch of other advanced features like page level targeting, analytics, split testing & more to play with!
OptinMonster also makes it easy to add sidebar opt in widgets and adding forms at the end of your posts if you arestruggling with that.
Bribe To Subscribe!
One of the oldest tricks in the book to get more new subscribers is to offer people a bribe to sign up. Some peoplecalls these lead/subscriber magnets but I just call it bribe to subscribe!
In essence you offer something for free in exchange for a persons email address. This might be an eBook, video,product, coupon code or something else.
The most common bribe offered in the internet marketing niche is usually in the form of an eBook. I’m sure youhave seen people doing it!
I don’t use the bribe to subscribe method directly on my blog because I want my email list to be full of people whoare genuinely interested in hearing what I have to say rather than bribing them into hearing what I have to say.
That is just my personal opinion though and there is no doubt that I would have a lot more subscribers than I donow if I did offer a bribe to subscribe!
However it is generally a good idea to offer something to new subscribers. Spend time creating an superb eBookthat delivers value & creates a great 1st impression.
This will create a great relationship with your new subscribers from day 1!
Although I do use the bribe to subscribe method in other areas, for example my 2,851% ROI Facebook marketingcampaign.
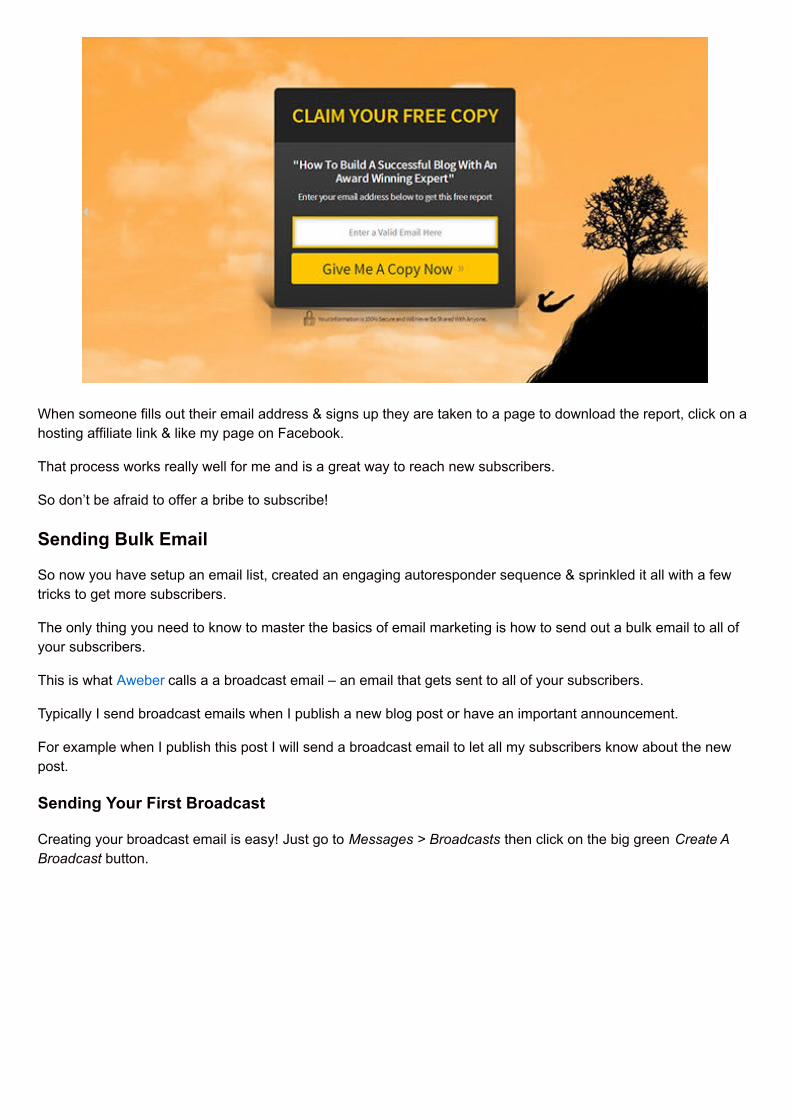
I target people on Facebook with an advert to download an eBook-
Which takes them to the bribe to subscribe page I created with LeadPages–
When someone fills out their email address & signs up they are taken to a page to download the report, click on ahosting affiliate link & like my page on Facebook.
That process works really well for me and is a great way to reach new subscribers.
So don’t be afraid to offer a bribe to subscribe!
Sending Bulk Email
So now you have setup an email list, created an engaging autoresponder sequence & sprinkled it all with a fewtricks to get more subscribers.
The only thing you need to know to master the basics of email marketing is how to send out a bulk email to all ofyour subscribers.
This is what Aweber calls a a broadcast email – an email that gets sent to all of your subscribers.
Typically I send broadcast emails when I publish a new blog post or have an important announcement.
For example when I publish this post I will send a broadcast email to let all my subscribers know about the newpost.
Sending Your First Broadcast
Creating your broadcast email is easy! Just go to Messages > Broadcasts then click on the big green Create ABroadcast button.
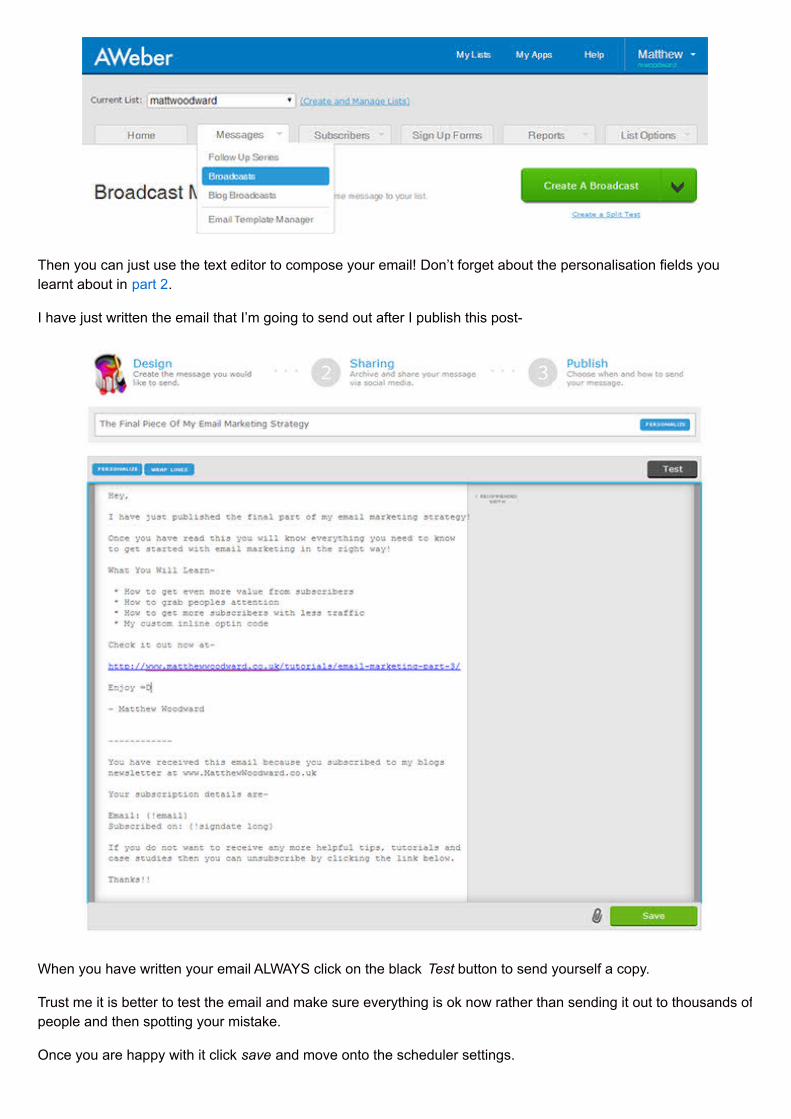
Then you can just use the text editor to compose your email! Don’t forget about the personalisation fields youlearnt about in part 2.
I have just written the email that I’m going to send out after I publish this post-
When you have written your email ALWAYS click on the black Test button to send yourself a copy.
Trust me it is better to test the email and make sure everything is ok now rather than sending it out to thousands ofpeople and then spotting your mistake.
Once you are happy with it click save and move onto the scheduler settings.
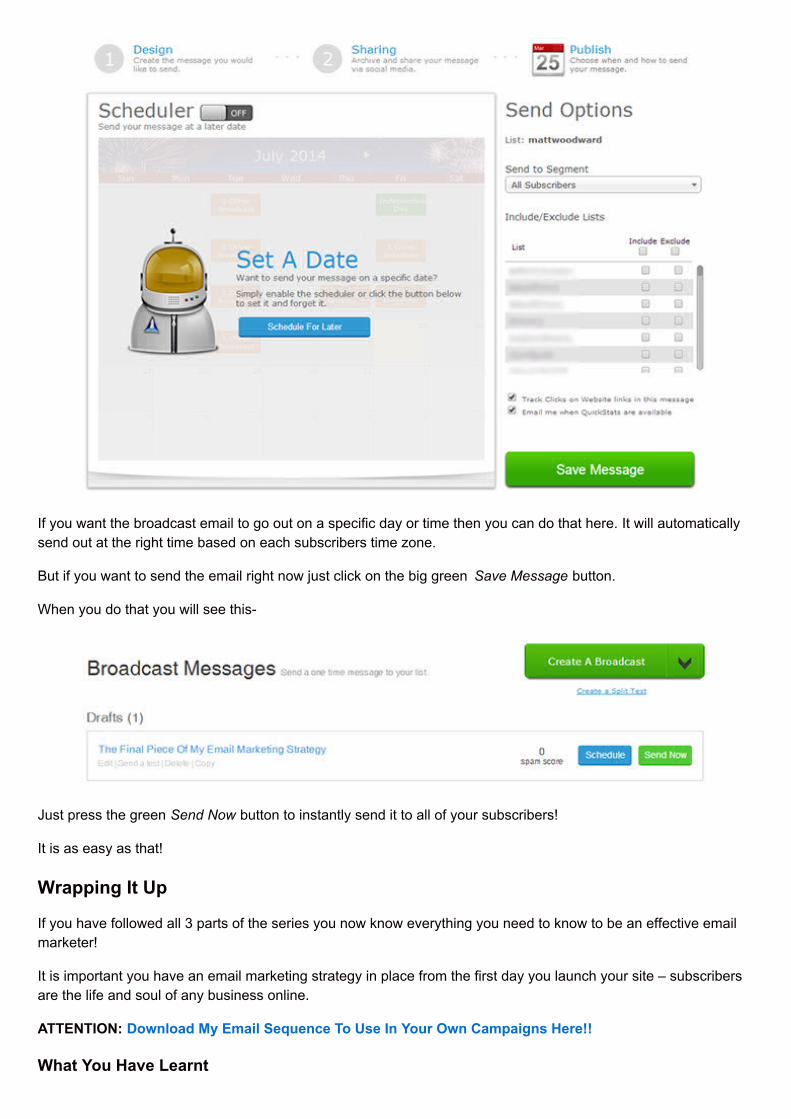
If you want the broadcast email to go out on a specific day or time then you can do that here. It will automaticallysend out at the right time based on each subscribers time zone.
But if you want to send the email right now just click on the big green Save Message button.
When you do that you will see this-
Just press the green Send Now button to instantly send it to all of your subscribers!
It is as easy as that!
Wrapping It Up
If you have followed all 3 parts of the series you now know everything you need to know to be an effective emailmarketer!
It is important you have an email marketing strategy in place from the first day you launch your site – subscribersare the life and soul of any business online.
ATTENTION: Download My Email Sequence To Use In Your Own Campaigns Here!!
What You Have Learnt

Here is a quick recap of what you have learnt-
Part 1 – My personal strategy & getting started
Part 2 – Creating engaging auto responders
Part 3 – Getting more subscribers & value
That wraps up the getting started with email marketing series – if you have any questions just ask in thecomments below!