adaptive saturation
TRANSCRIPT

8/14/2019 Adaptive Saturation
http://slidepdf.com/reader/full/adaptive-saturation 1/7
Adaptive Saturation• Currently 2.9/5 Stars.
•
1• 2
• 3
• 4
• 5
Rating: 2.9/5 (3471 votes cast)
Written by Denny Tang
WEDNESDAY, 20 SEPTEMBER 2006
Page 1 of 4
Identifying the SaturationFirst, we need to find the areas that are saturated. To do this, we just simplycreate a layer with no saturation and change the blending mode to Difference.
1.Open a photo you would like to edit. Or, you may use the photo used in
this tutorial (from iStockPhoto).
8/14/2019 Adaptive Saturation
http://slidepdf.com/reader/full/adaptive-saturation 2/7
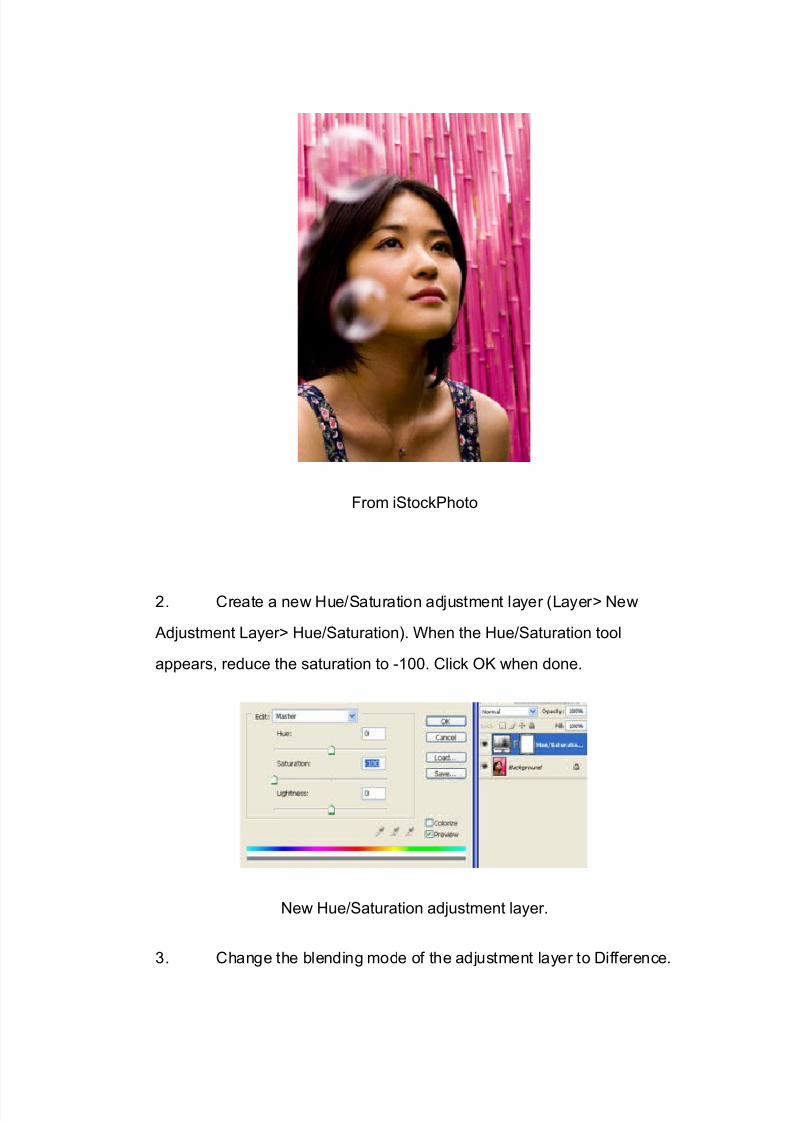
From iStockPhoto
2. Create a new Hue/Saturation adjustment layer (Layer> New
Adjustment Layer> Hue/Saturation). When the Hue/Saturation tool
appears, reduce the saturation to -100. Click OK when done.
New Hue/Saturation adjustment layer.
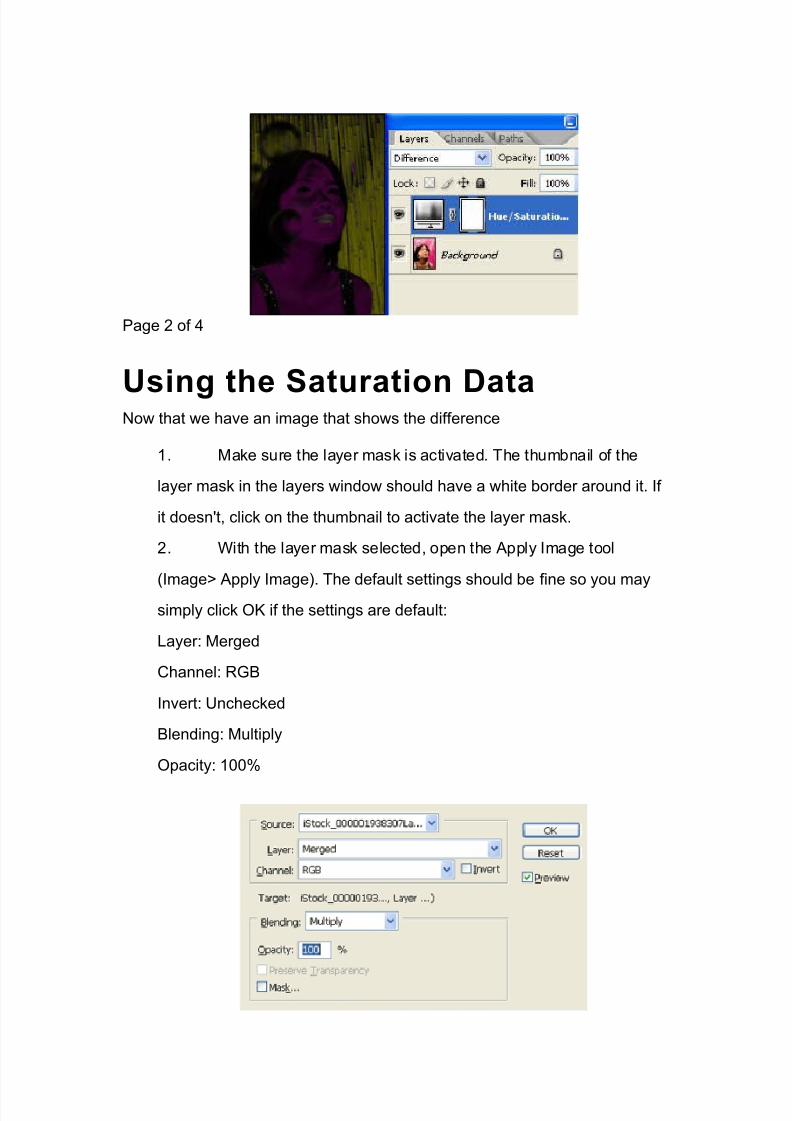
3. Change the blending mode of the adjustment layer to Difference.
8/14/2019 Adaptive Saturation
http://slidepdf.com/reader/full/adaptive-saturation 3/7
Page 2 of 4
Using the Saturation DataNow that we have an image that shows the difference
1. Make sure the layer mask is activated. The thumbnail of the
layer mask in the layers window should have a white border around it. If
it doesn't, click on the thumbnail to activate the layer mask.
2. With the layer mask selected, open the Apply Image tool
(Image> Apply Image). The default settings should be fine so you may
simply click OK if the settings are default:
Layer: Merged
Channel: RGB
Invert: Unchecked
Blending: Multiply
Opacity: 100%

8/14/2019 Adaptive Saturation
http://slidepdf.com/reader/full/adaptive-saturation 4/7

8/14/2019 Adaptive Saturation
http://slidepdf.com/reader/full/adaptive-saturation 5/7

8/14/2019 Adaptive Saturation
http://slidepdf.com/reader/full/adaptive-saturation 6/7
Final results(Rollover your cursor over the above image to see the unedited image.)
With and Without Layer Mask
With and Without Layer Mask. Layer mask inverted.

8/14/2019 Adaptive Saturation
http://slidepdf.com/reader/full/adaptive-saturation 7/7