adobe photoshop elements 2.0 creating buttons for websites
Post on 21-Dec-2015
220 views
TRANSCRIPT
Adobe Photoshop Elements 2.0
Creating Buttons For Websites

Launch Program, File>New
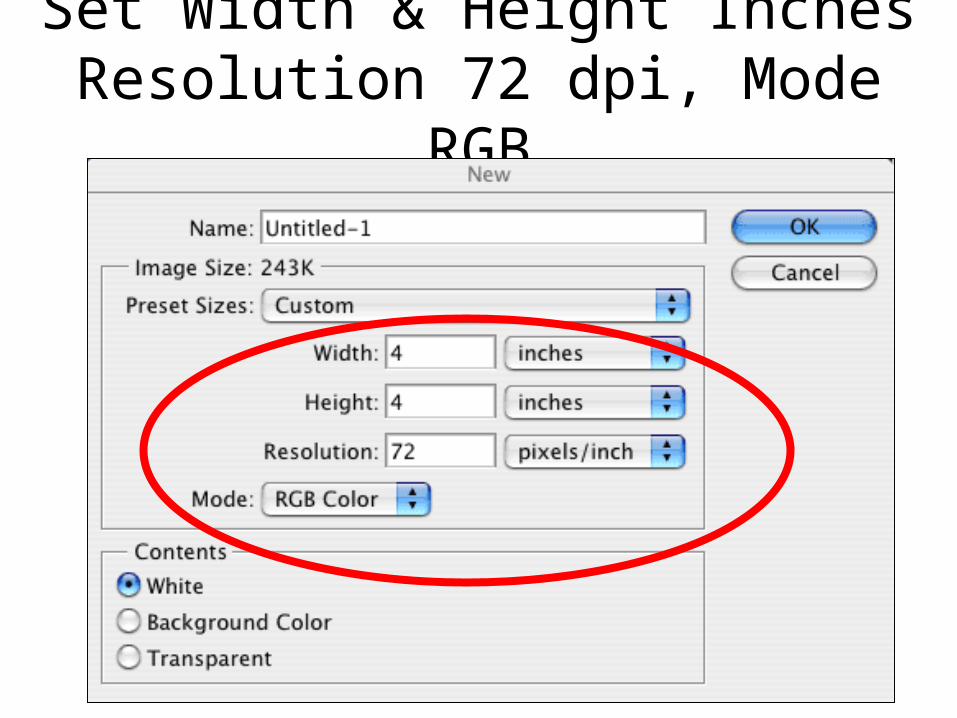
Set Width & Height InchesResolution 72 dpi, Mode RGB
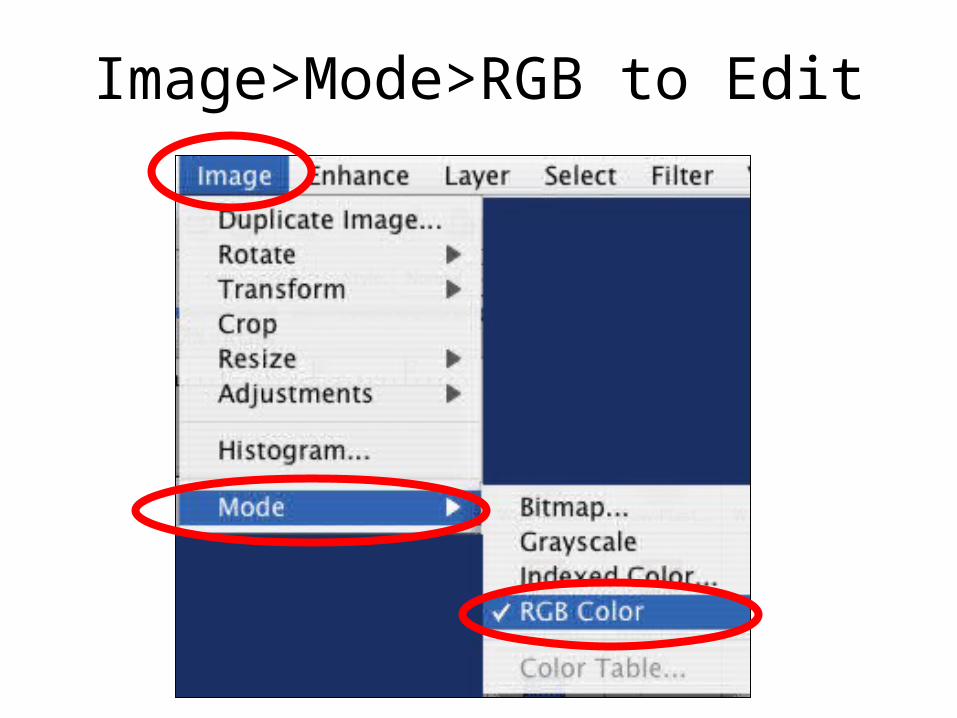
Image>Mode>RGB to Edit
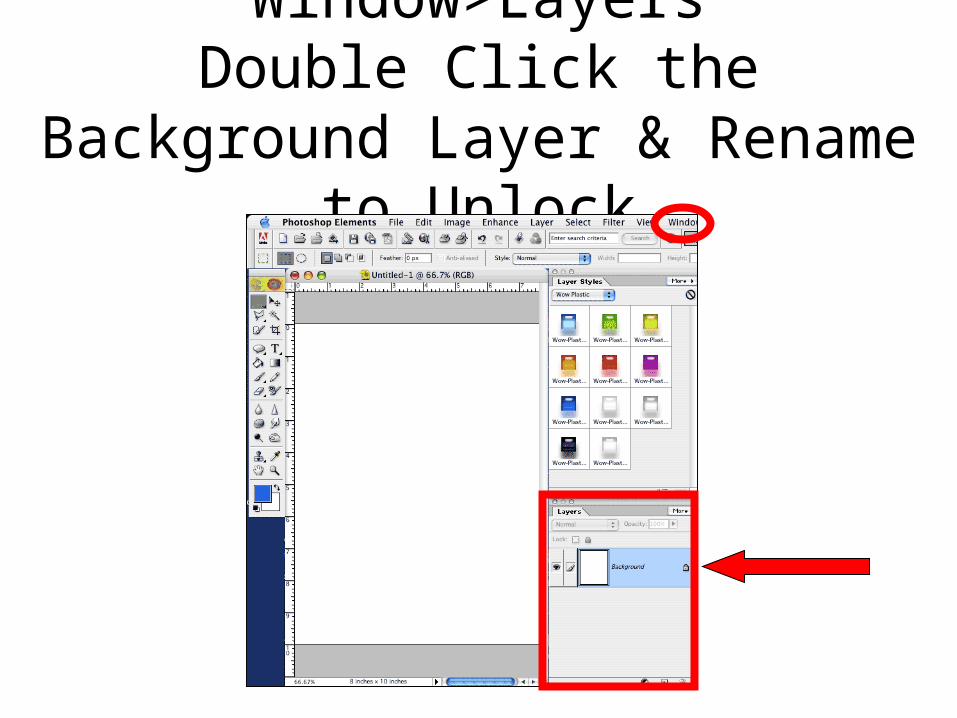
Window>LayersDouble Click the Background Layer
& Rename to Unlock
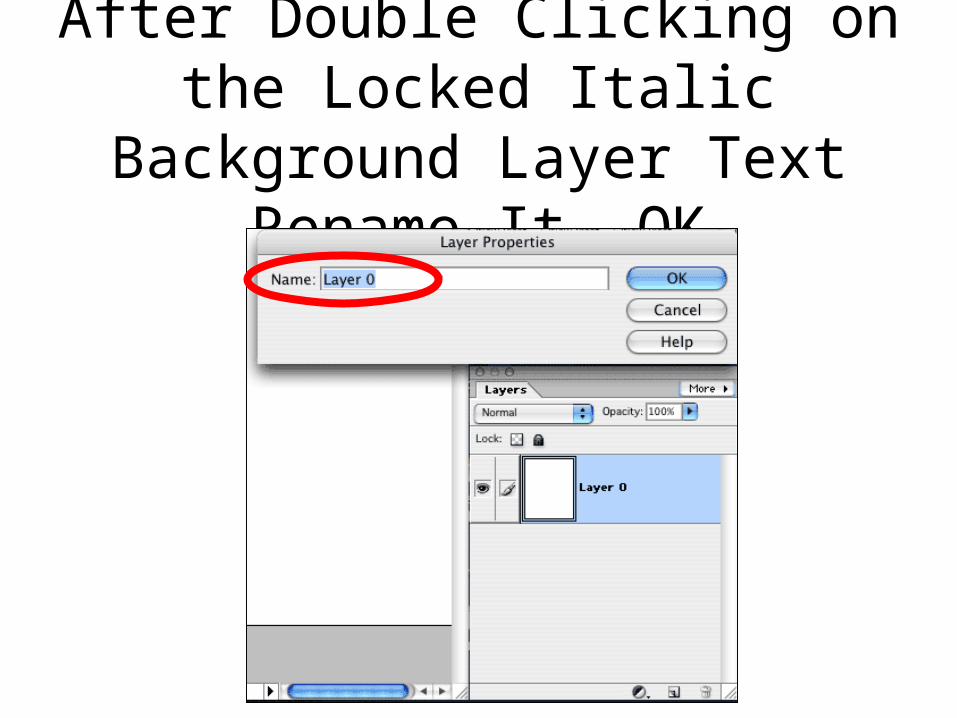
After Double Clicking on the Locked Italic Background Layer Text
Rename It, OK

View>Rulers to Control the Size of The Buttons You Create
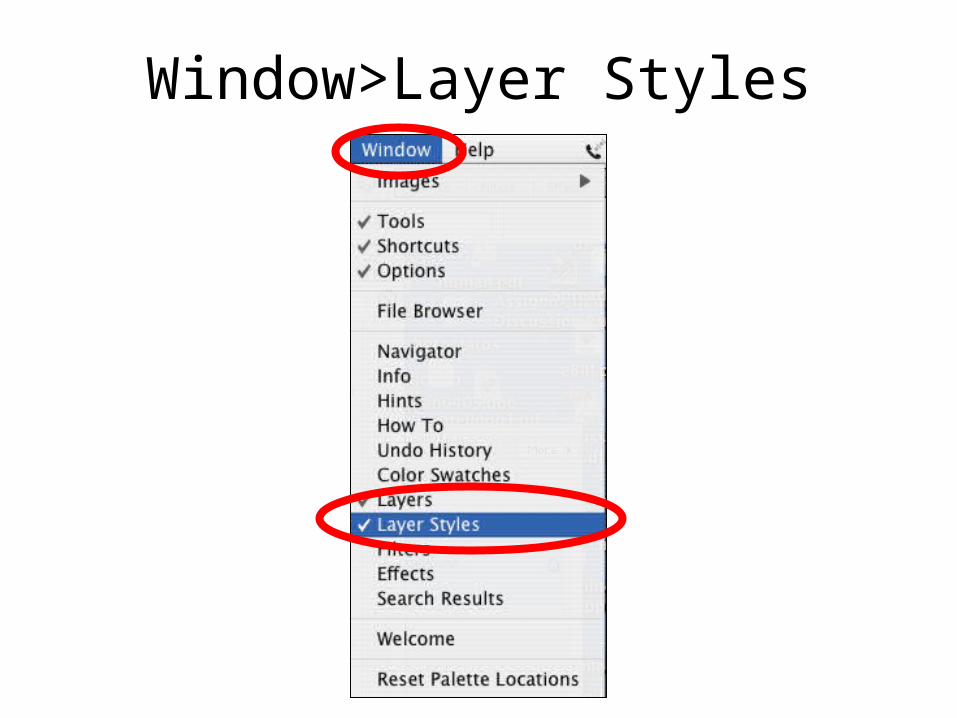
Window>Layer Styles
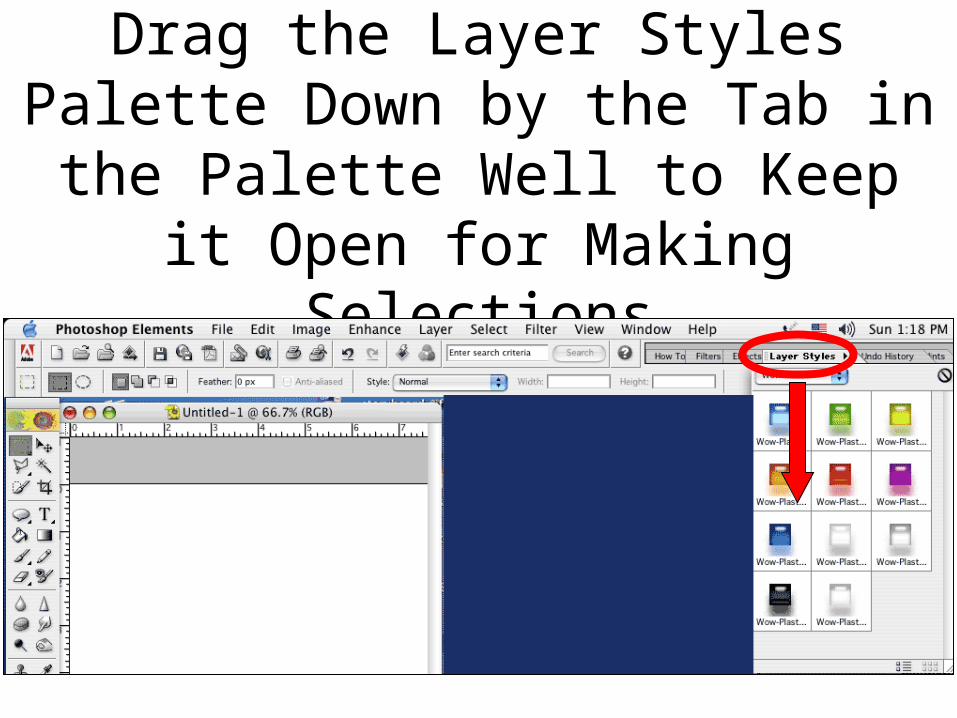
Drag the Layer Styles Palette Down by the Tab in the Palette Well to
Keep it Open for Making Selections
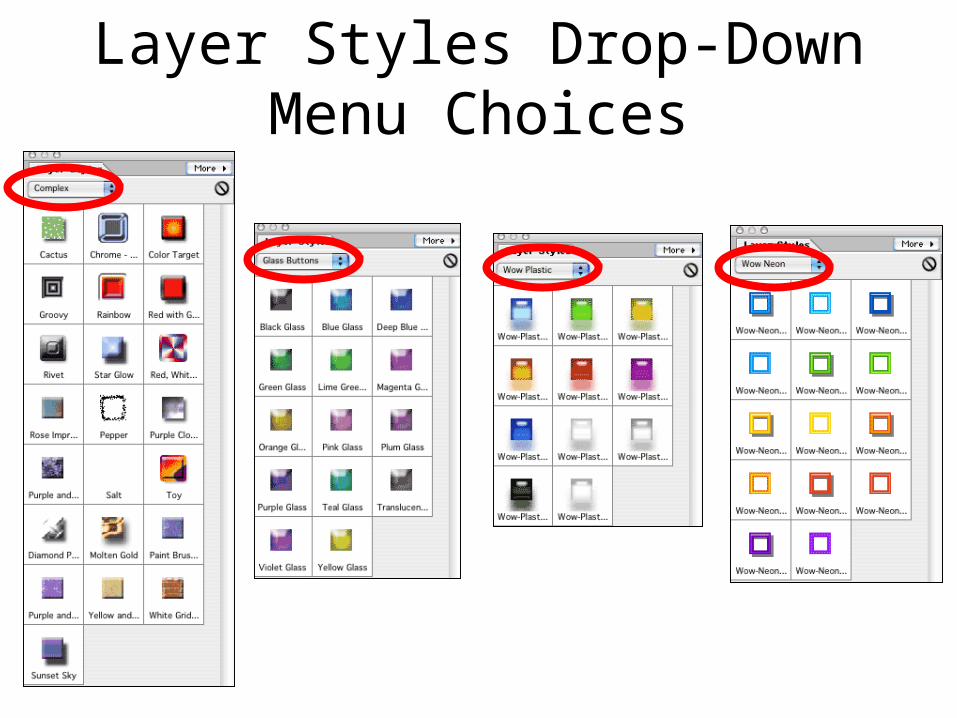
Layer Styles Drop-Down Menu Choices
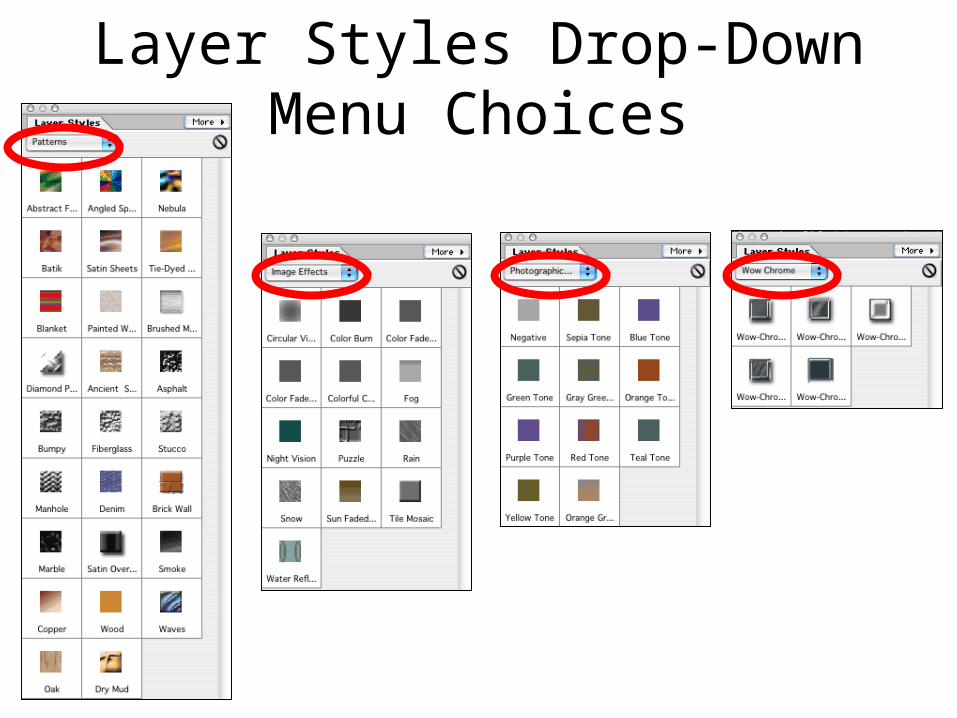
Layer Styles Drop-Down Menu Choices
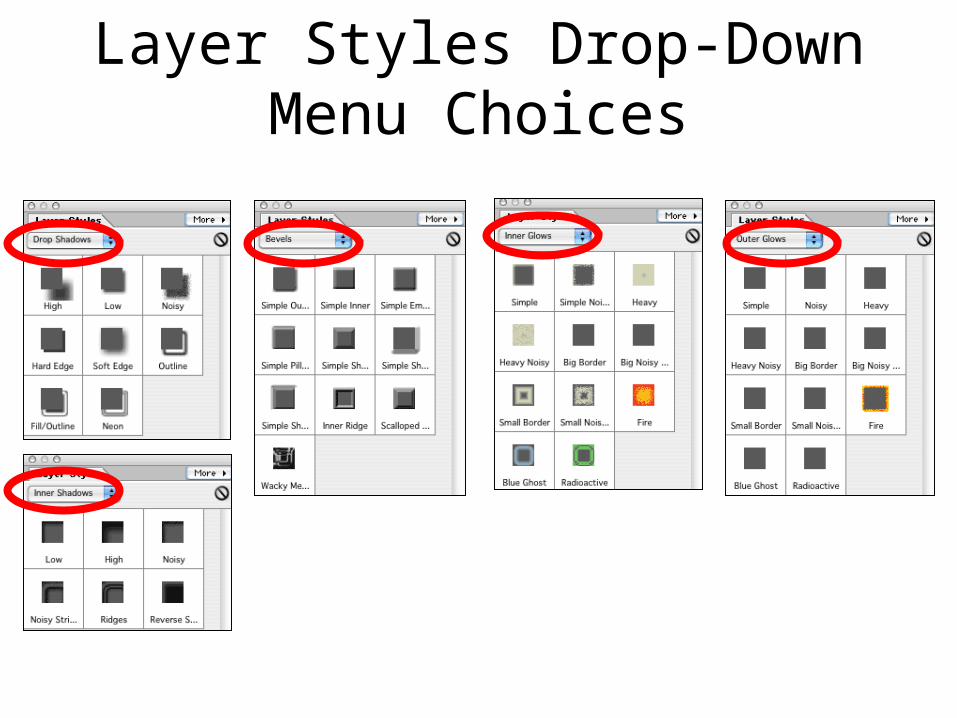
Layer Styles Drop-Down Menu Choices
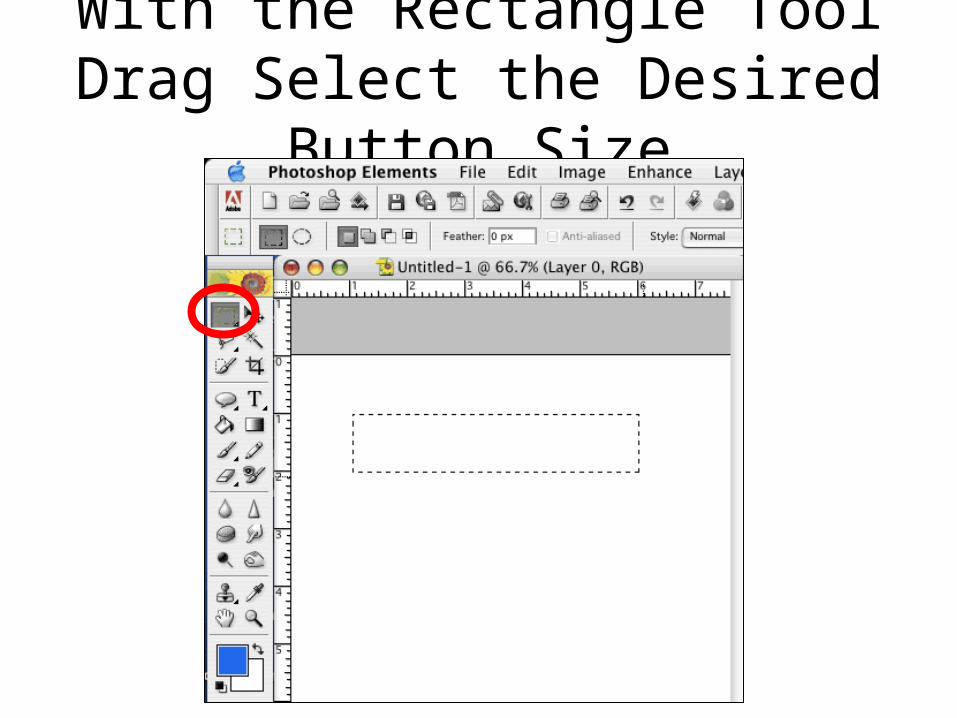
With the Rectangle Tool Drag Select the Desired Button Size
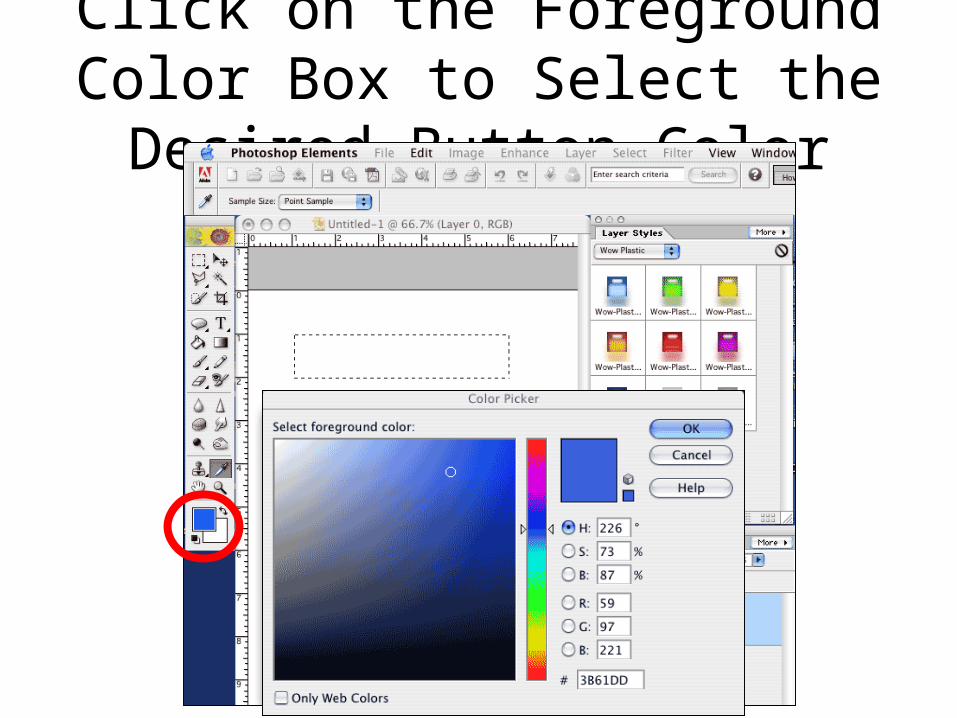
Click on the Foreground Color Box to Select the Desired Button Color
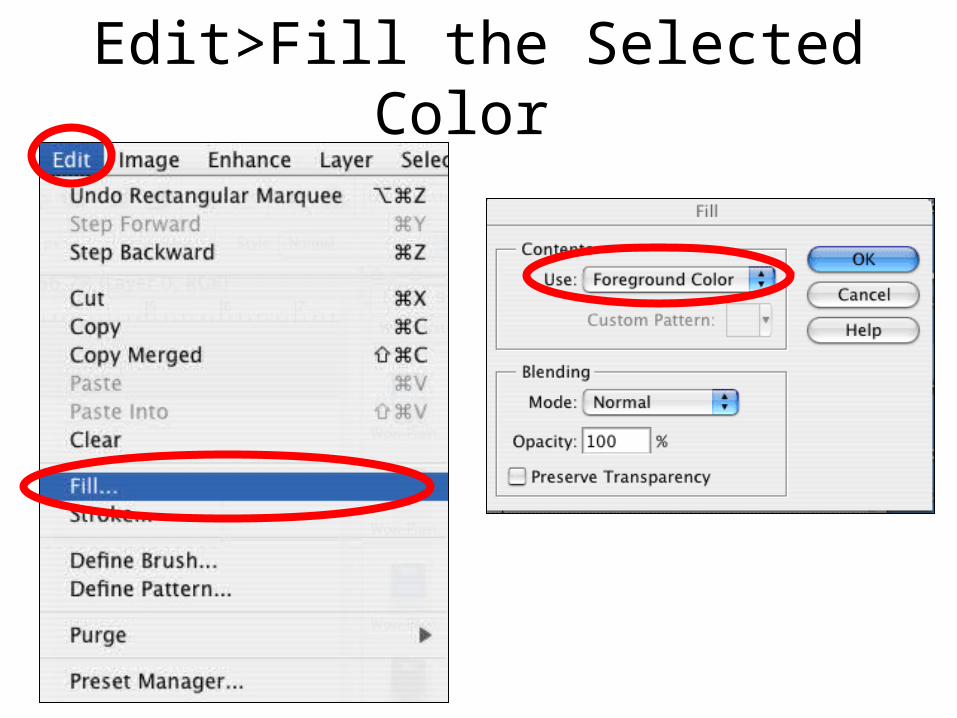
Edit>Fill the Selected Color
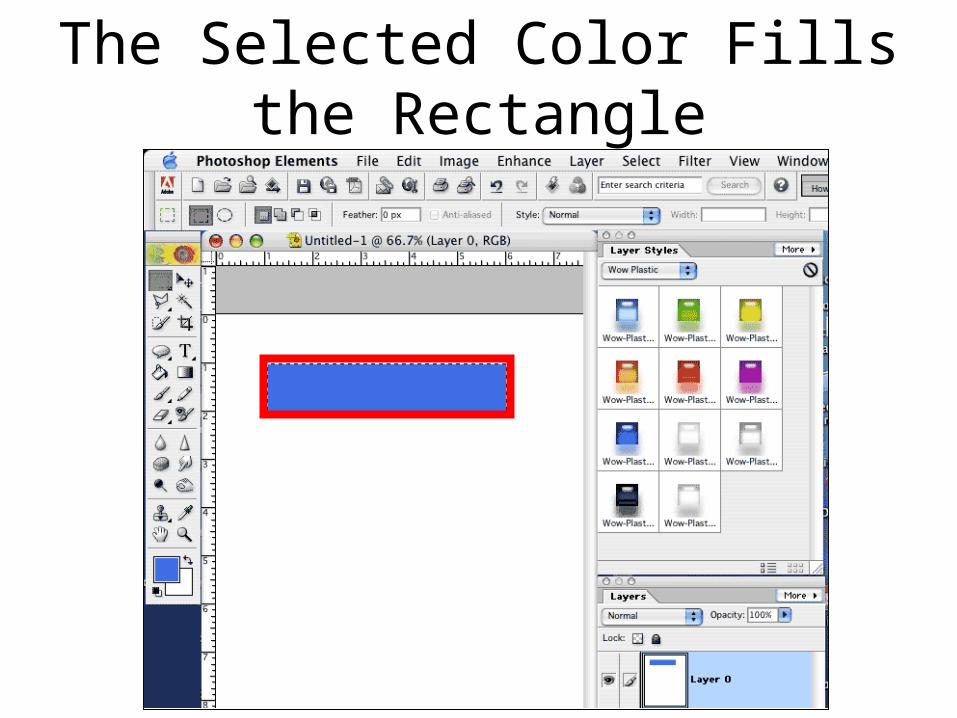
The Selected Color Fills the Rectangle
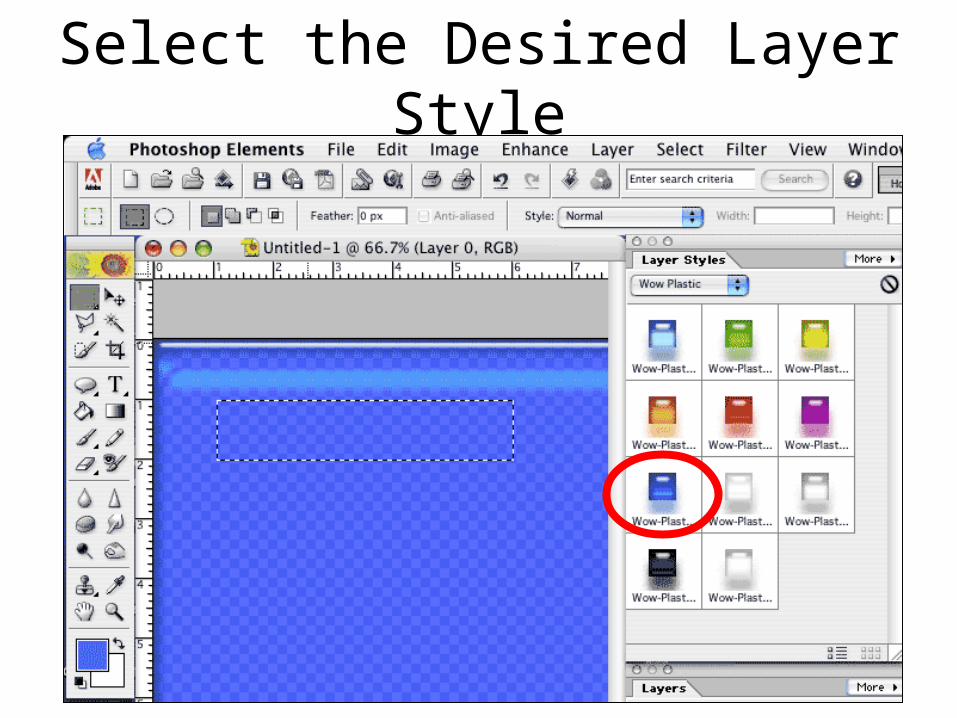
Select the Desired Layer Style
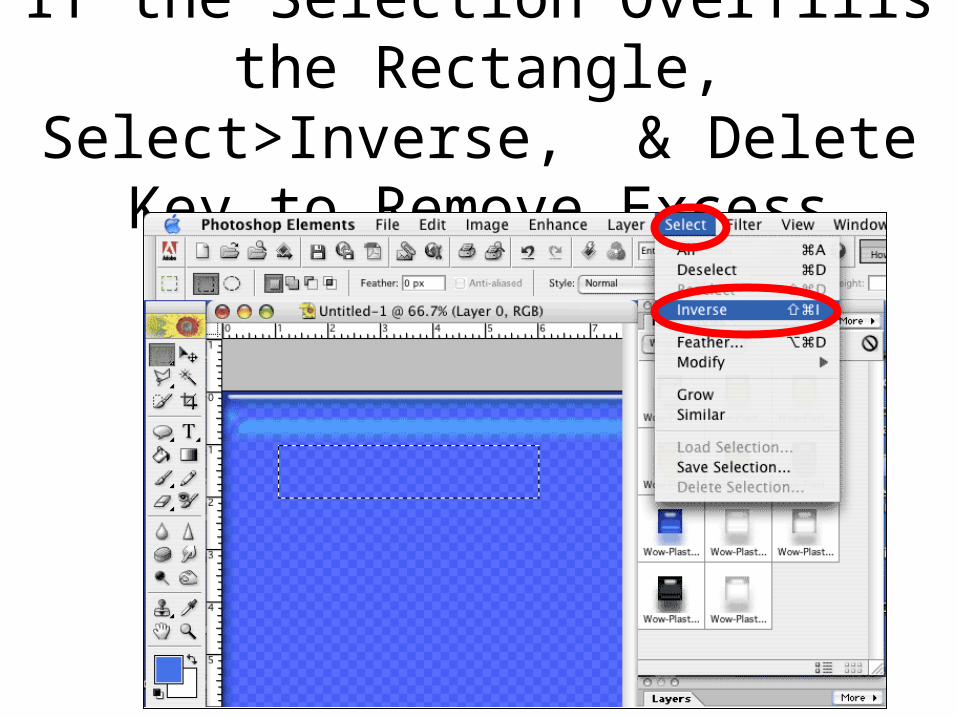
If the Selection Overfills the Rectangle, Select>Inverse, & Delete Key to Remove Excess
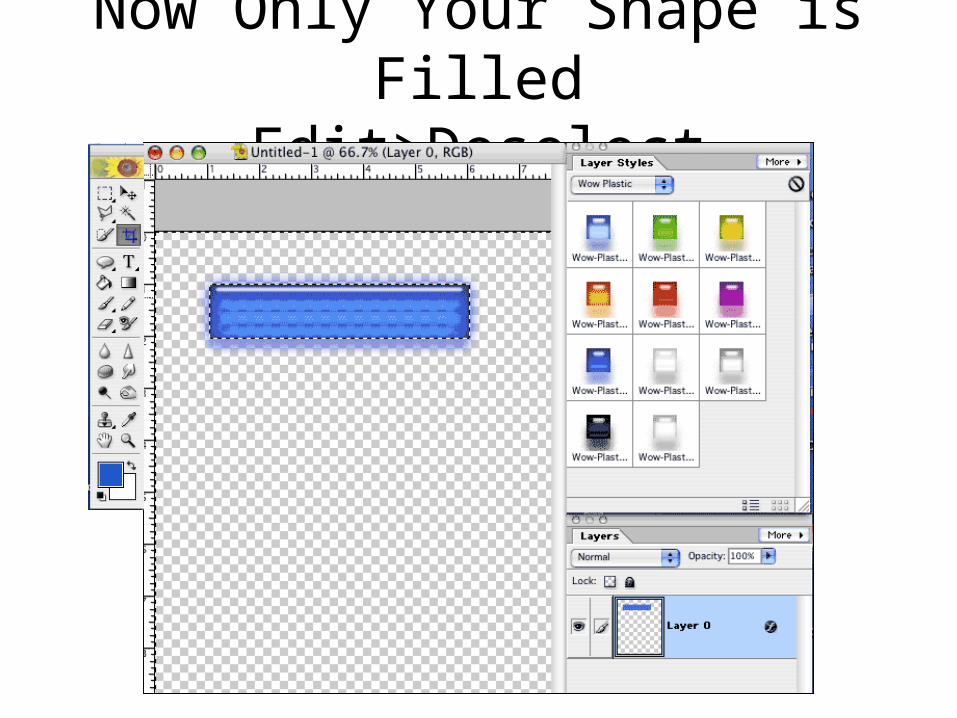
Now Only Your Shape is FilledEdit>Deselect
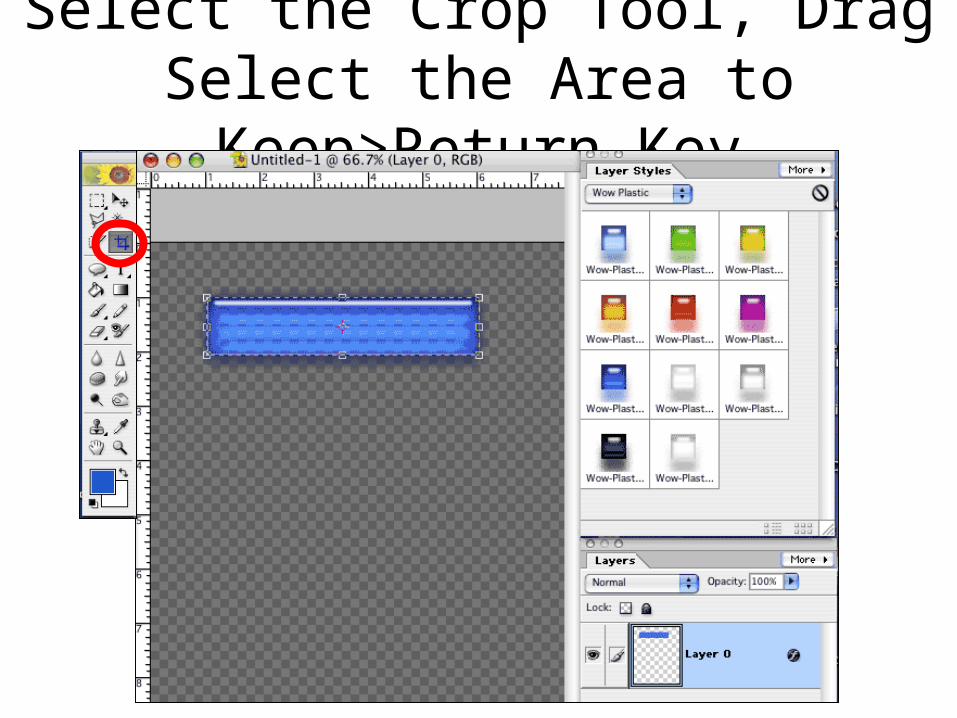
Select the Crop Tool, Drag Select the Area to Keep>Return Key
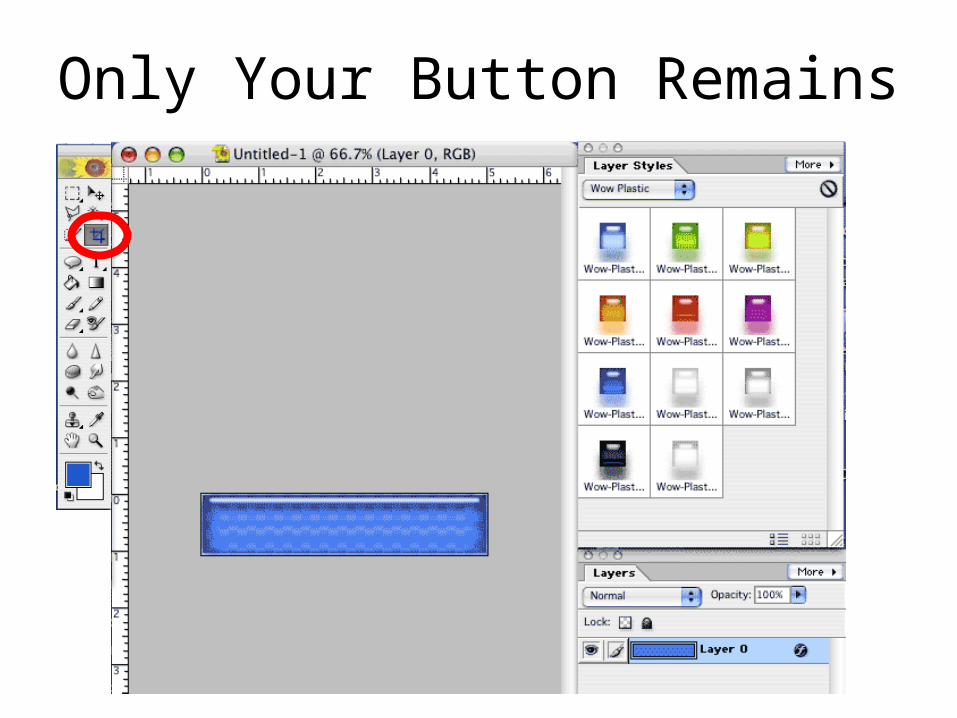
Only Your Button Remains

File>Save As
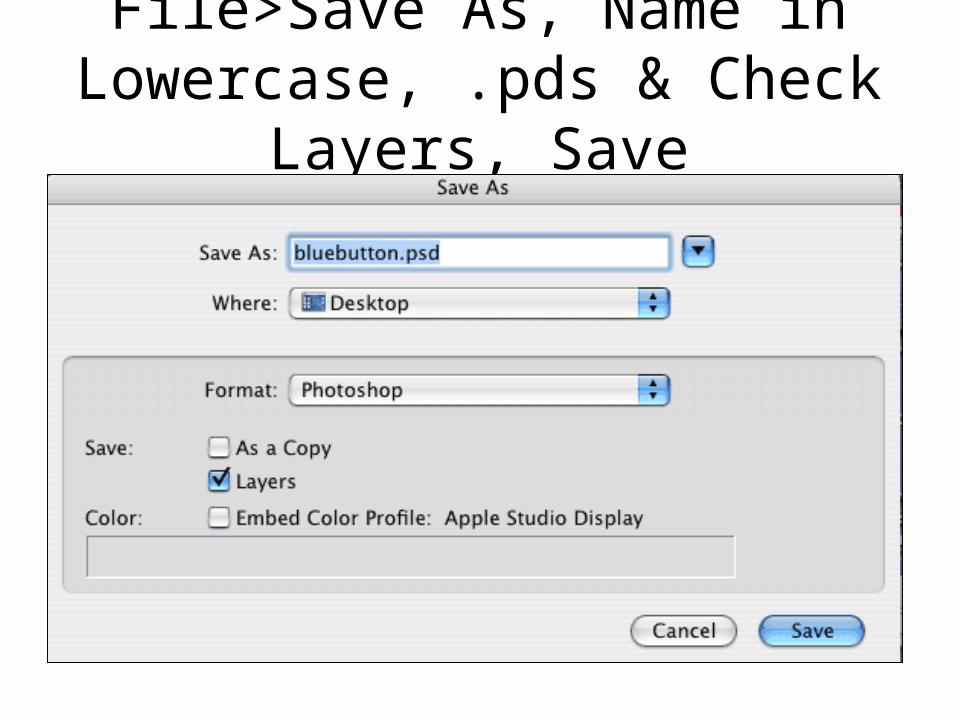
File>Save As, Name in Lowercase, .pds & Check Layers,
Save
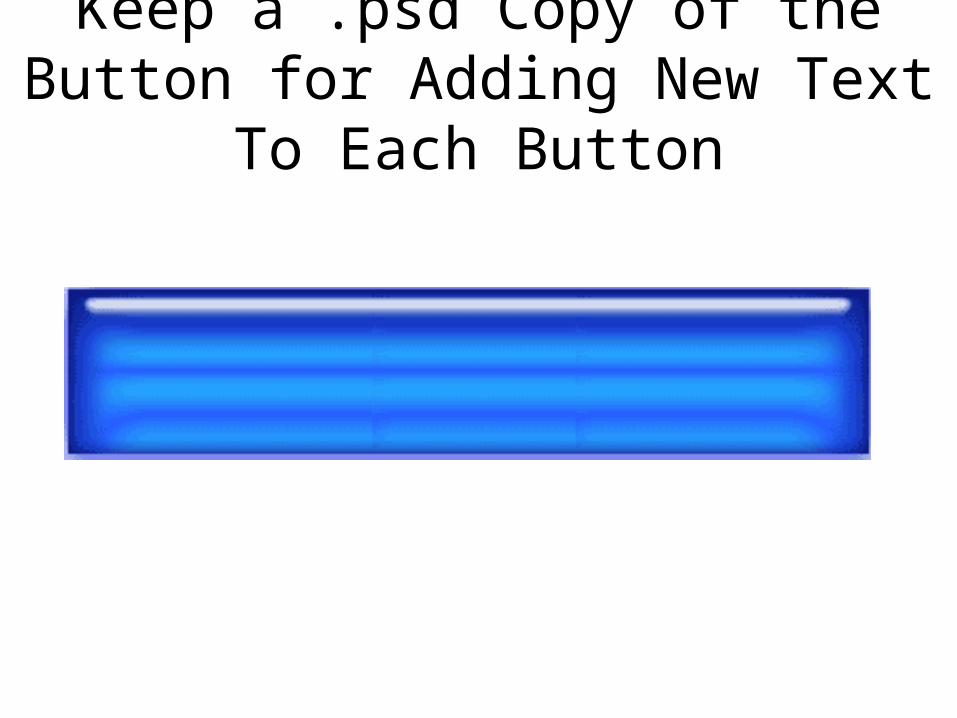
Keep a .psd Copy of the Button for Adding New Text To Each Button

Select Text Foreground Color & Text Tool, Click and Type Title
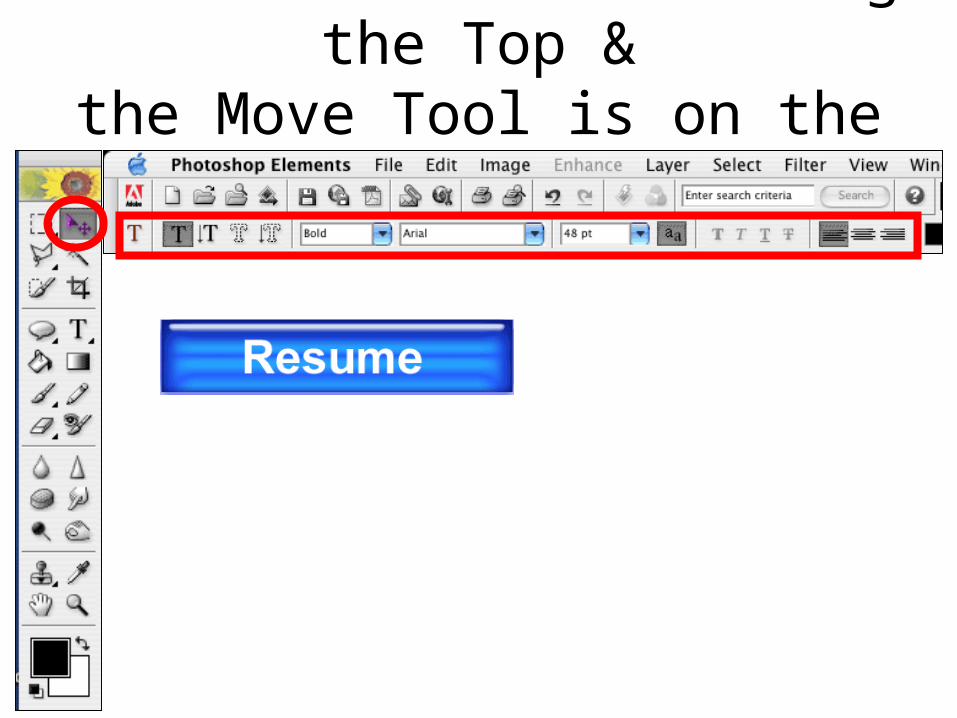
The Font Tools are Along the Top &the Move Tool is on the Left
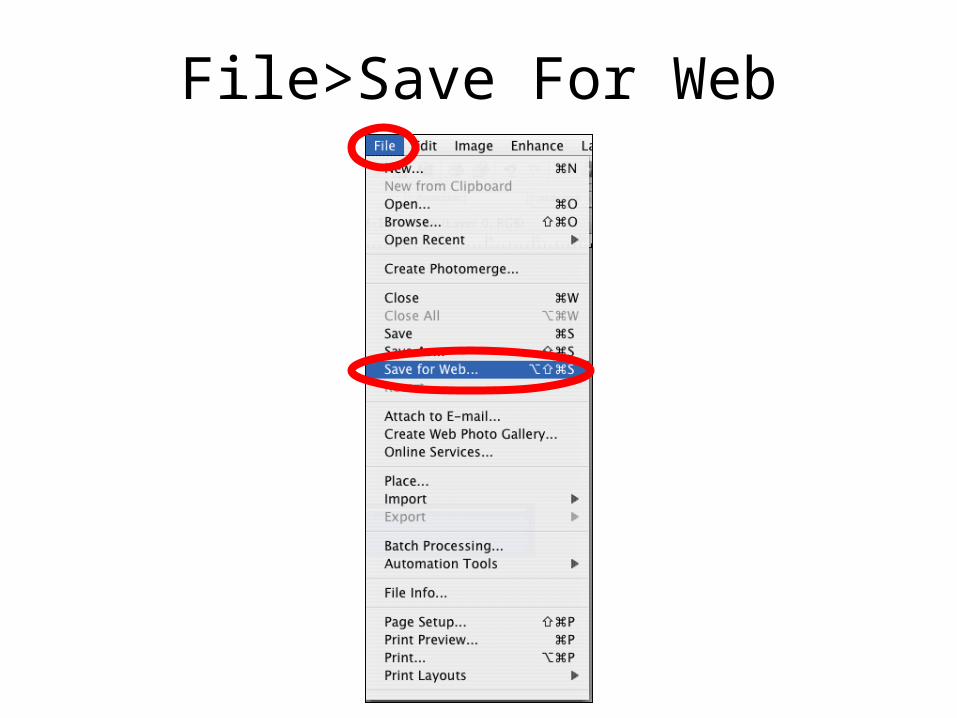
File>Save For Web
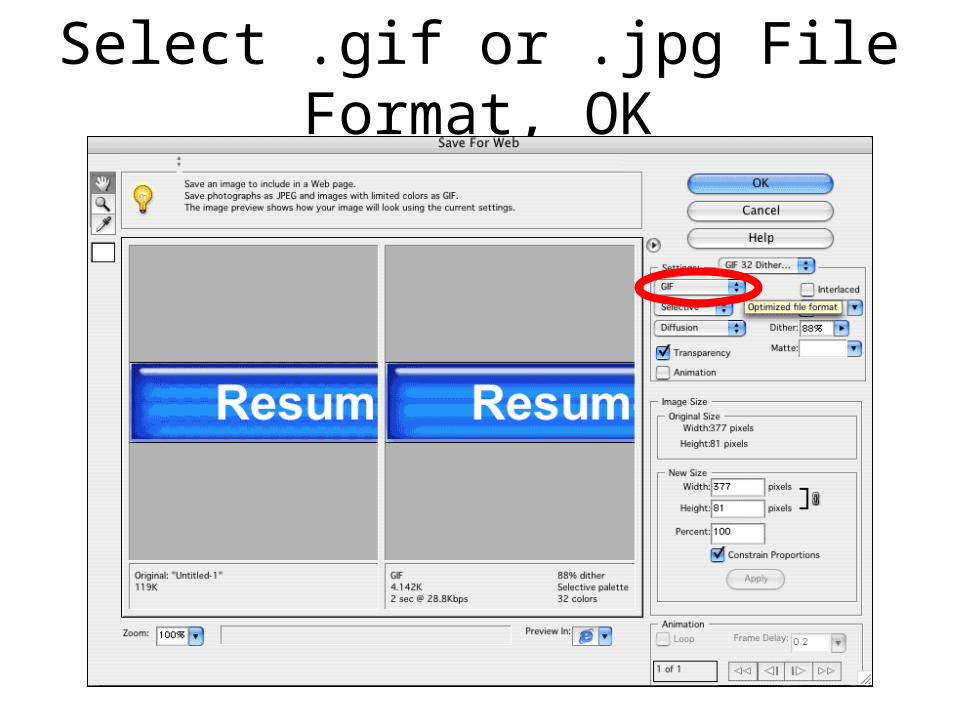
Select .gif or .jpg File Format, OK
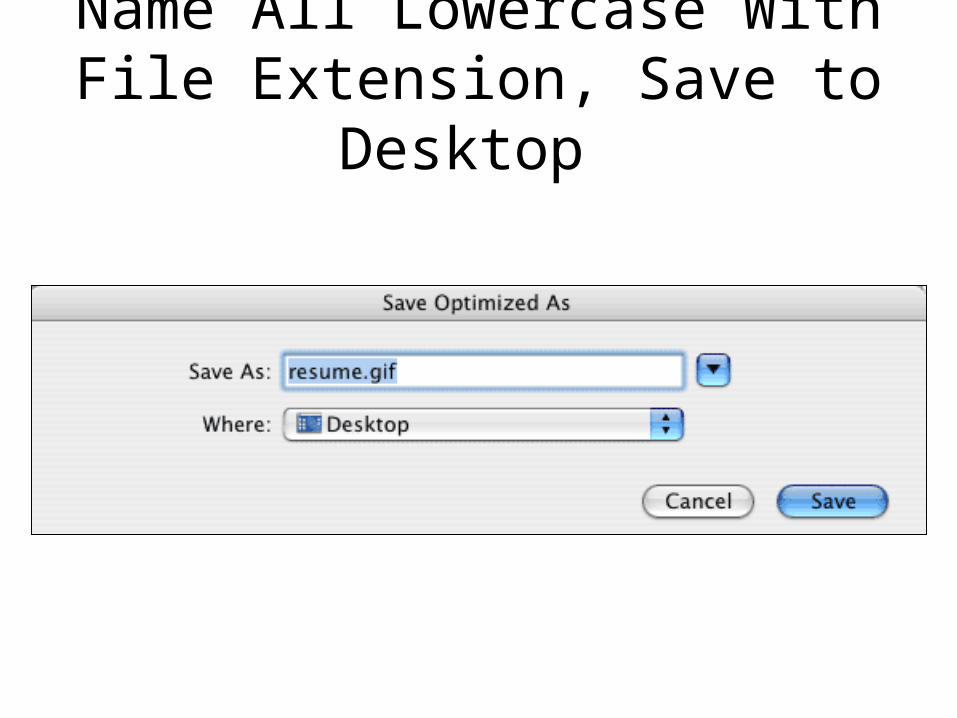
Name All Lowercase With File Extension, Save to Desktop
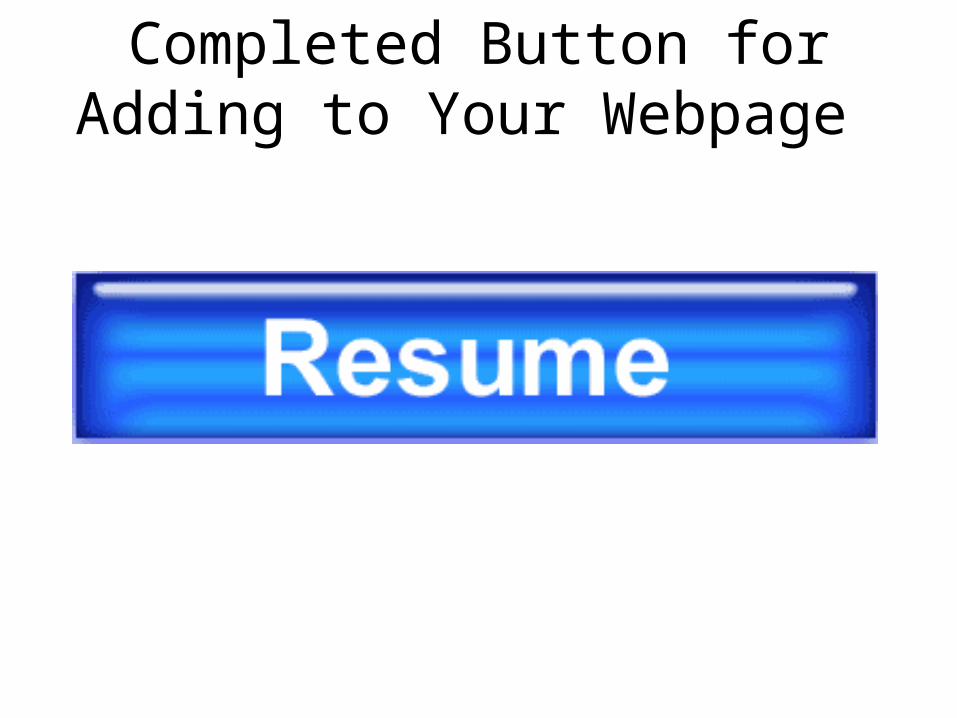
Completed Button for Adding to Your Webpage