agenda final assignment reminder assessment –forms –designing –rubrics –analysis safety in...
Post on 19-Dec-2015
215 views
TRANSCRIPT
Agenda• Final Assignment reminder• Assessment
– Forms– Designing– Rubrics– Analysis
• Safety in the classroom• Beginning to pull things
together
Final Assignment Reminder
• Due Dec 6th by 5:00pm
• For your final assignment you need to reflect on your science teaching in a way that reveals your growth as a science teacher this semester and that shows others what you care about.
Head on over to the wiki: Assignments.
school
What do you stand for?• Part of what I want you to do in your final assignment
is to be able to say what you stand for as a science teacher.
• Individually or with a partner, draw a picture or figure that captures your ideal vision of science teaching.
• Then, come up with a list of 4 (or so) ideas that you stand for, and that help to explain your picture. You should think about the assignment, and try to think about: Students, Planning and Teaching. Your statements should be clear, concise, reflect what we have discussed and also your own ideals.
• Turn these in as they will help me to plan for next week!
Returning to assessment
• Three kinds of assessments– Diagnostic/pre-assessment– Formative– Summative
• Generate a list of 3 ways that each kind of assessment helps you as a teacher,
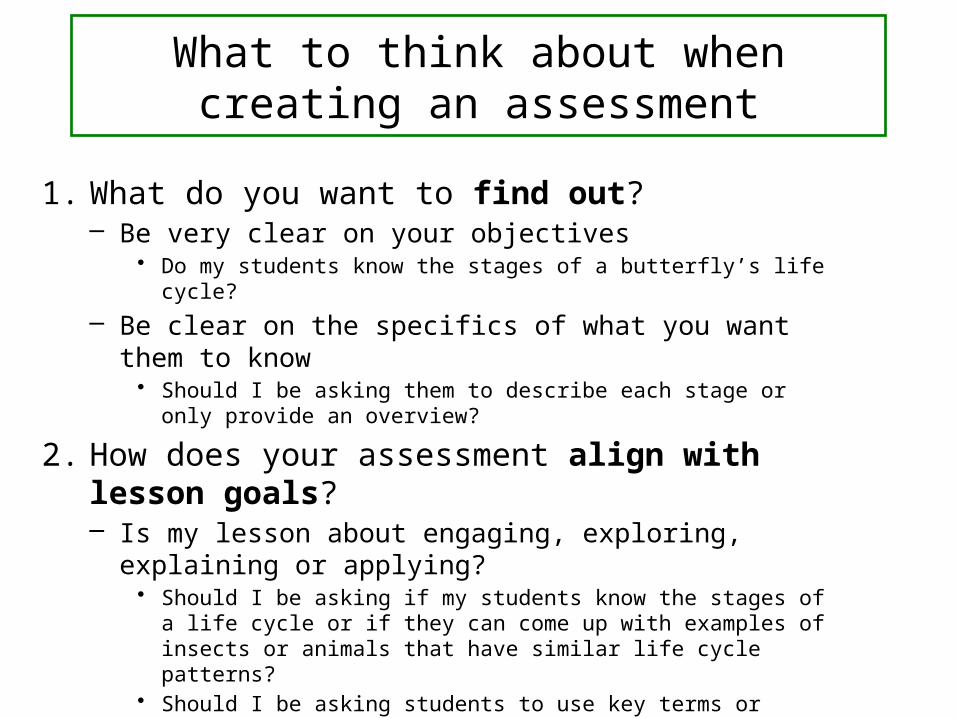
What to think about when creating an assessment
1. What do you want to find out?– Be very clear on your objectives
• Do my students know the stages of a butterfly’s life cycle?
– Be clear on the specifics of what you want them to know• Should I be asking them to describe each stage or only provide an
overview?
2. How does your assessment align with lesson goals?– Is my lesson about engaging, exploring, explaining or
applying?• Should I be asking if my students know the stages of a life cycle or if
they can come up with examples of insects or animals that have similar life cycle patterns?
• Should I be asking students to use key terms or should I be asking for explanations of ideas?
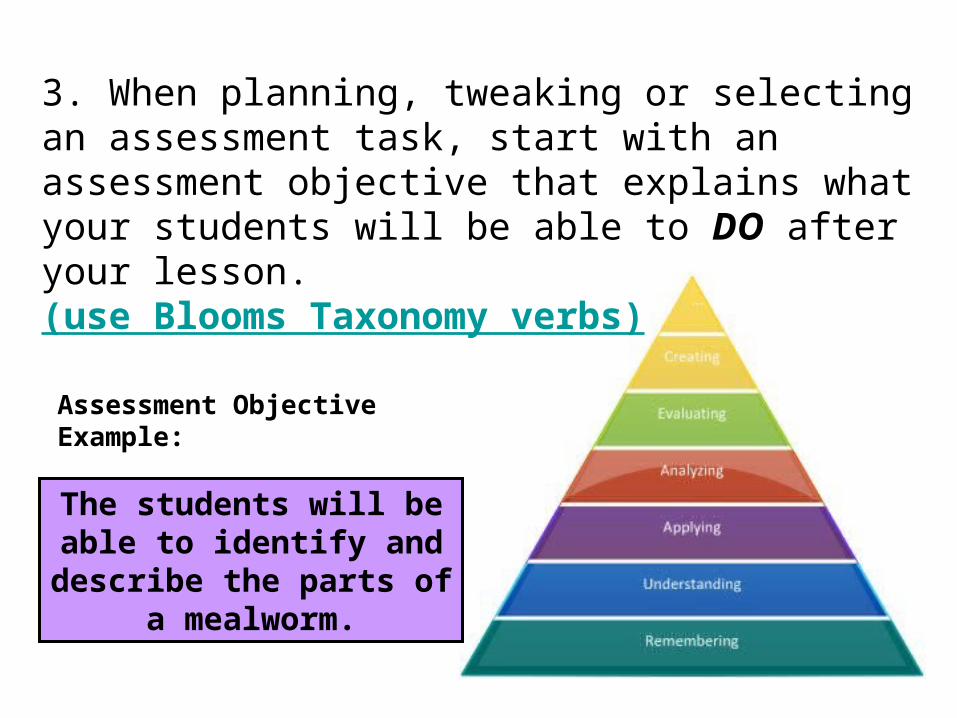
3. When planning, tweaking or selecting an assessment task, start with an assessment objective that explains what your students will be able to DO after your lesson. (use Blooms Taxonomy verbs)
The students will be able to identify and describe the
parts of a mealworm.
Assessment Objective Example:
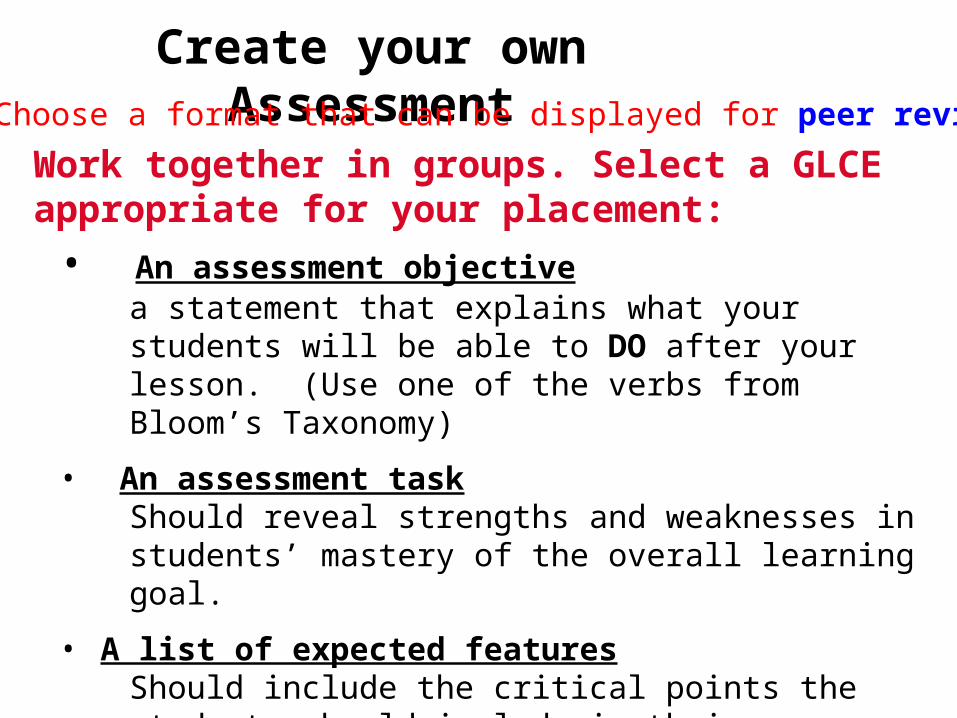
Create your own Assessment
Work together in groups. Select a GLCE appropriate for your placement:
• An assessment objectivea statement that explains what your students will be able to DO after your lesson. (Use one of the verbs from Bloom’s Taxonomy)
• An assessment taskShould reveal strengths and weaknesses in students’ mastery of the overall learning goal.
• A list of expected featuresShould include the critical points the students should include in their response to demonstrate meeting the GLCE.
(Choose a format that can be displayed for peer review)
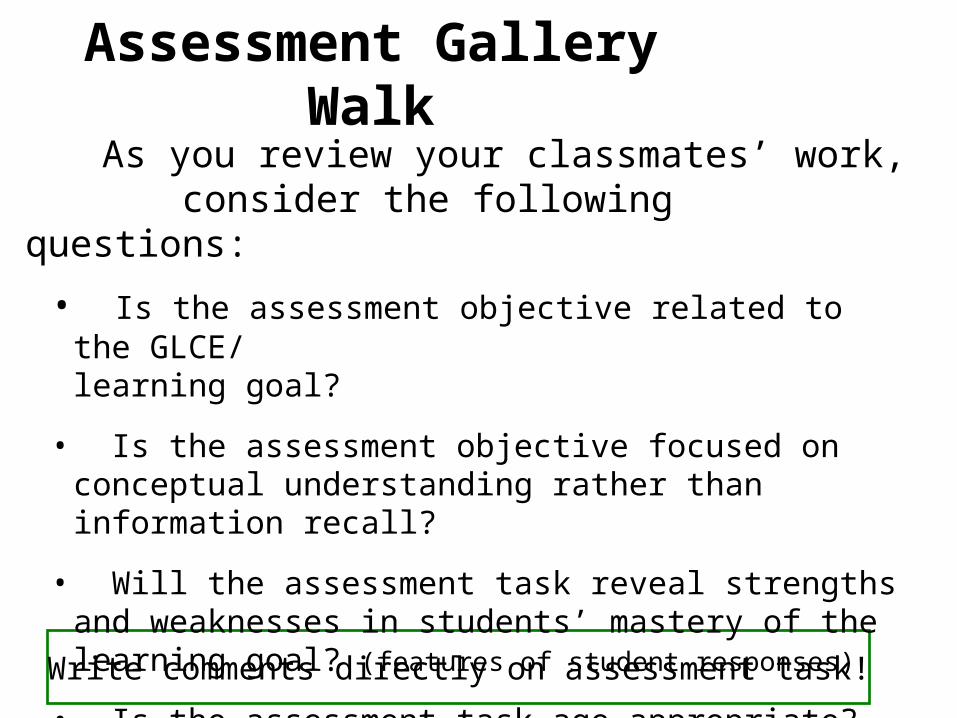
Write comments directly on assessment task!
Assessment Gallery Walk
As you review your classmates’ work, consider the following questions:
• Is the assessment objective related to the GLCE/ learning goal?
• Is the assessment objective focused on conceptual understanding rather than information recall?
• Will the assessment task reveal strengths and weaknesses in students’ mastery of the learning goal? (features of student responses)
• Is the assessment task age appropriate?
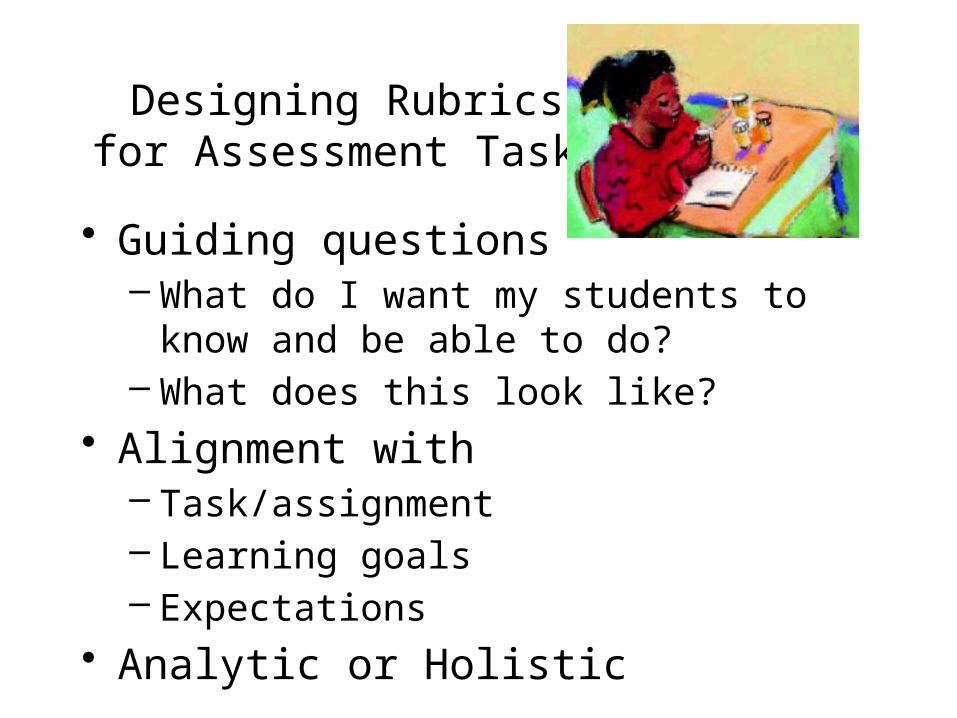
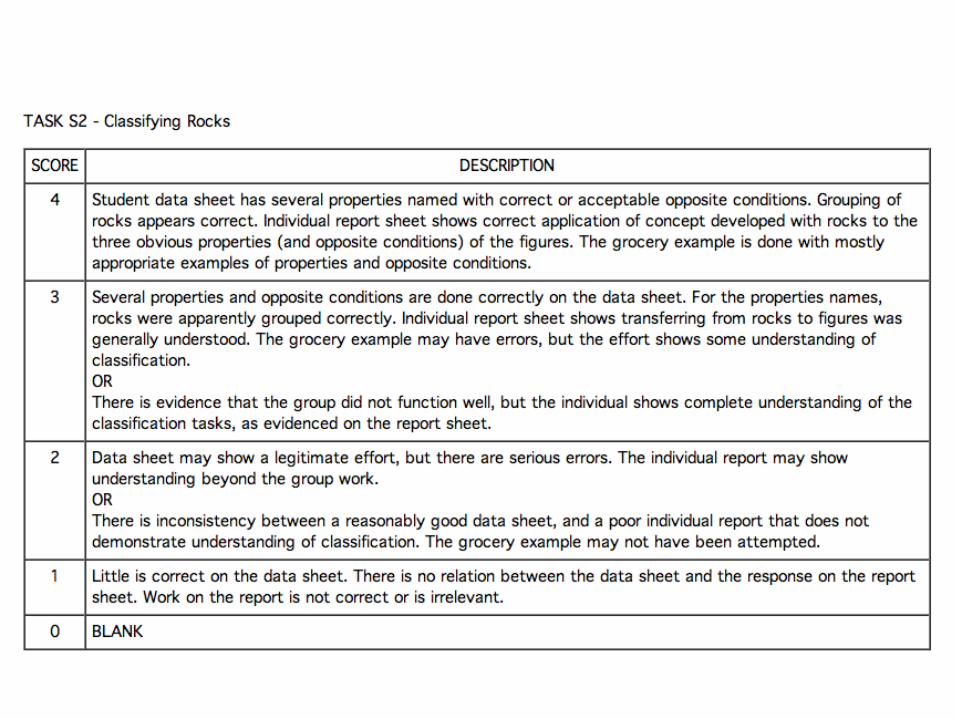
Designing Rubrics for Assessment Tasks
• Guiding questions– What do I want my students to know and
be able to do?– What does this look like?
• Alignment with– Task/assignment– Learning goals– Expectations
• Analytic or Holistic
Designing a Rubric
• Step 1: Develop a list of qualities that the learner should demonstrate proficiency in by completing an assessment task– no limit to the number of criteria that can be included in a
rubric– Criteria should connect to: learning goals and students’
developmental levels
• Step 2: Refine your list so that it is fair, accurate and reasonable– Are you asking for too much or too little?– Are the criteria aligned well with your goals and what you have
taught?– Do the criteria really capture what you want to measure?
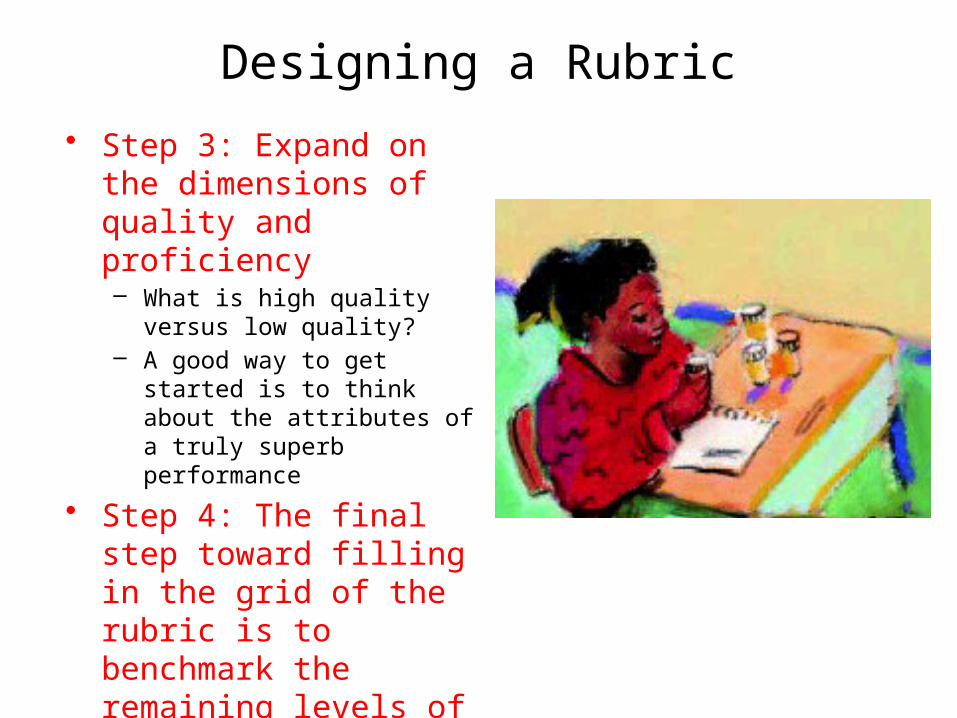
Designing a Rubric
• Step 3: Expand on the dimensions of quality and proficiency– What is high quality versus low
quality?– A good way to get started is to
think about the attributes of a truly superb performance
• Step 4: The final step toward filling in the grid of the rubric is to benchmark the remaining levels of mastery or gradations of quality.
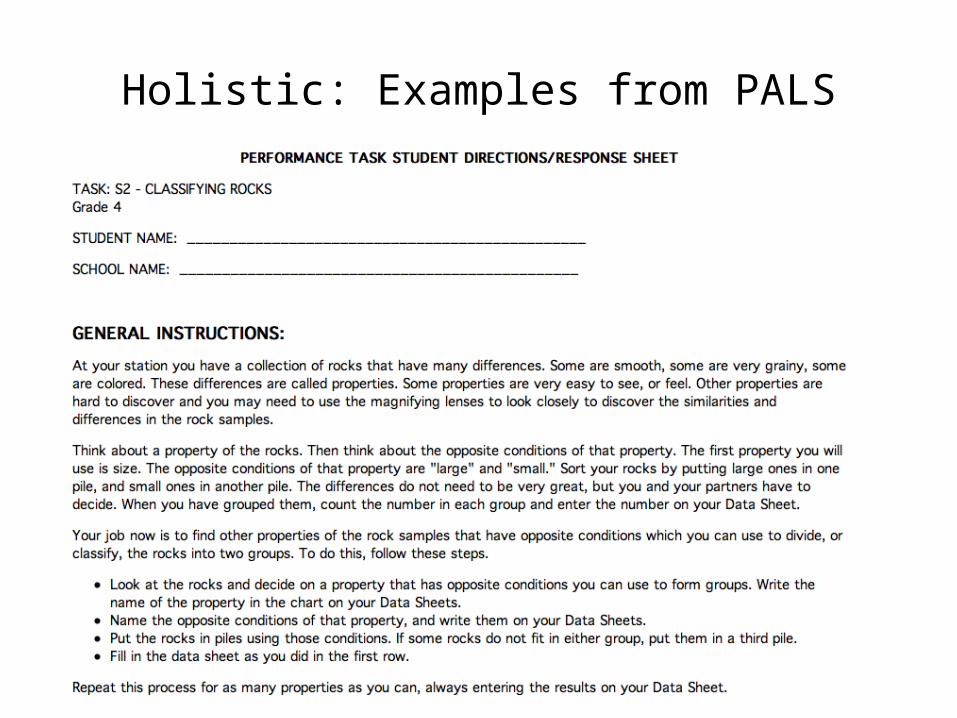
Holistic: Examples from PALS
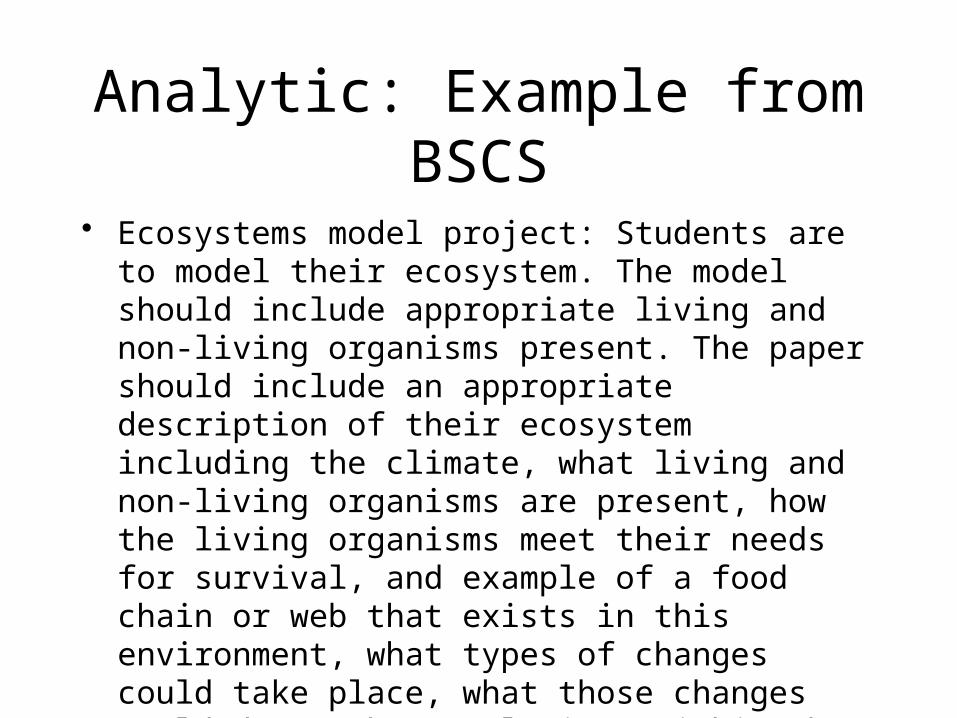
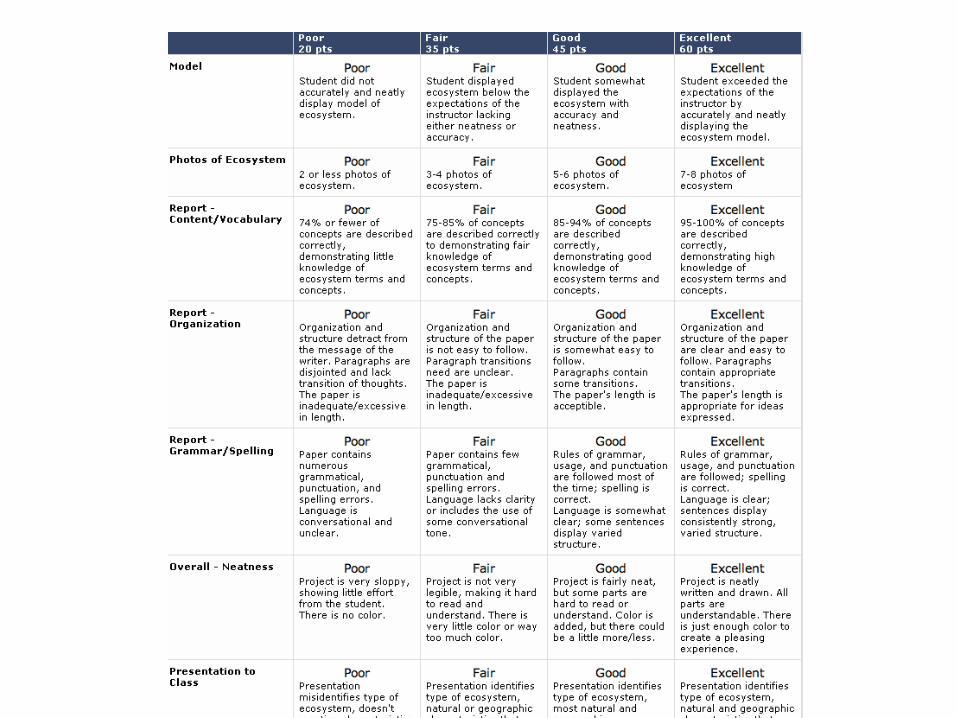
Analytic: Example from BSCS
• Ecosystems model project: Students are to model their ecosystem. The model should include appropriate living and non-living organisms present. The paper should include an appropriate description of their ecosystem including the climate, what living and non-living organisms are present, how the living organisms meet their needs for survival, and example of a food chain or web that exists in this environment, what types of changes could take place, what those changes could do to the populations within that ecosystem, and what microbes might be present that may drastically effect the ecosystem.
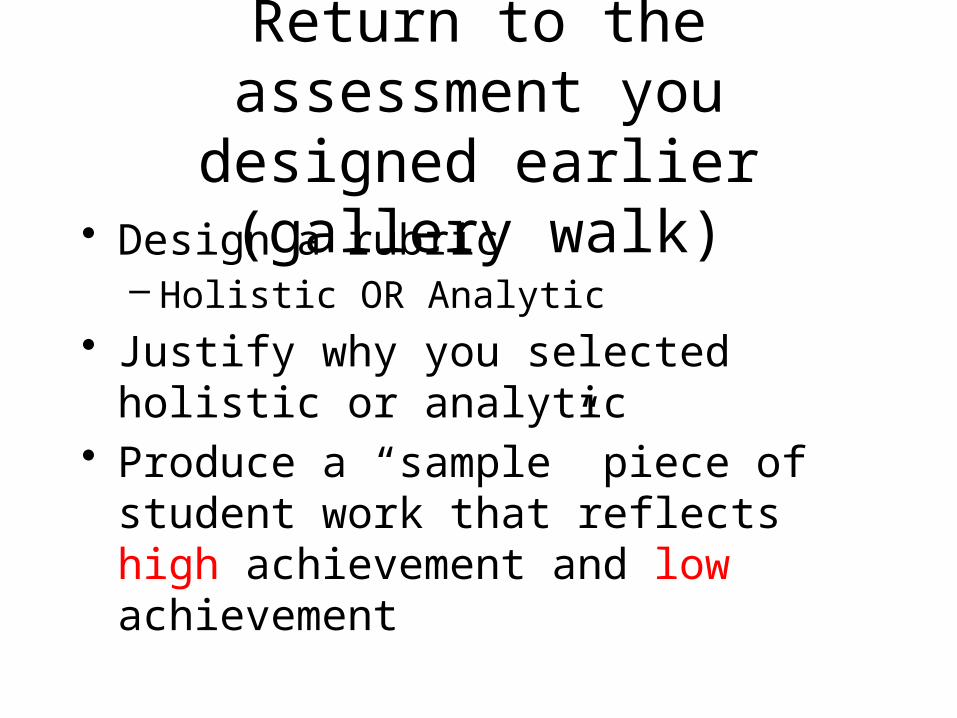
Return to the assessment you designed earlier (gallery walk)• Design a rubric
– Holistic OR Analytic• Justify why you selected holistic or
analytic• Produce a “sample” piece of student
work that reflects high achievement and low achievement
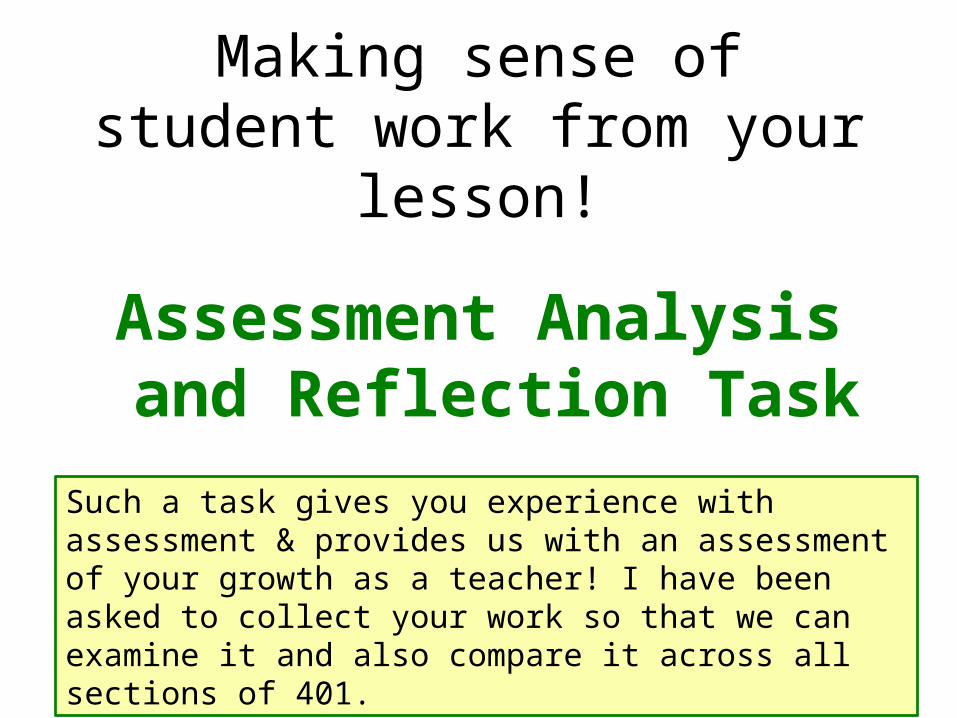
Making sense of student work from your lesson!
Assessment Analysis and Reflection Task
Such a task gives you experience with assessment & provides us with an assessment of your growth as a teacher! I have been asked to collect your work so that we can examine it and also compare it across all sections of 401.
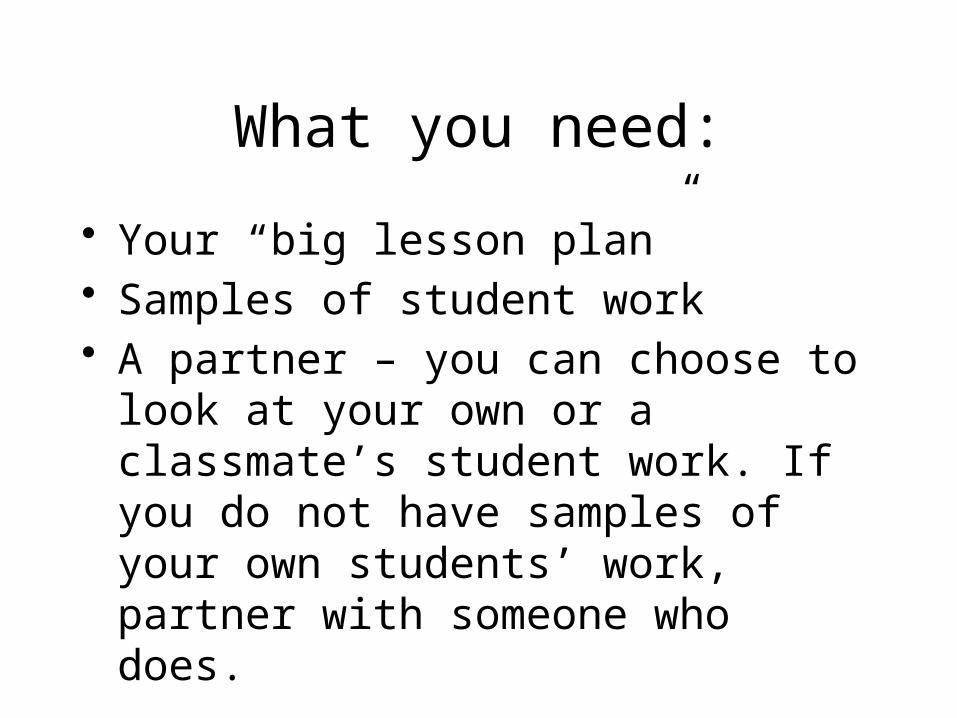
What you need:
• Your “big lesson plan”• Samples of student work• A partner – you can choose to look at
your own or a classmate’s student work. If you do not have samples of your own students’ work, partner with someone who does.
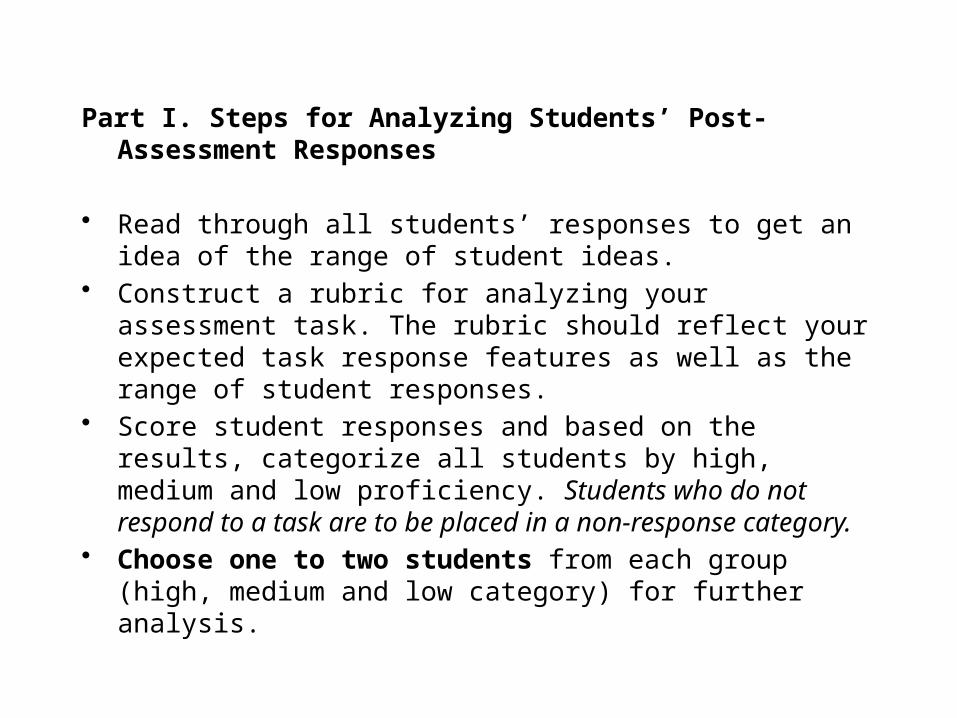
Part I. Steps for Analyzing Students’ Post-Assessment Responses
• Read through all students’ responses to get an idea of the range of student ideas.
• Construct a rubric for analyzing your assessment task. The rubric should reflect your expected task response features as well as the range of student responses.
• Score student responses and based on the results, categorize all students by high, medium and low proficiency. Students who do not respond to a task are to be placed in a non-response category.
• Choose one to two students from each group (high, medium and low category) for further analysis.
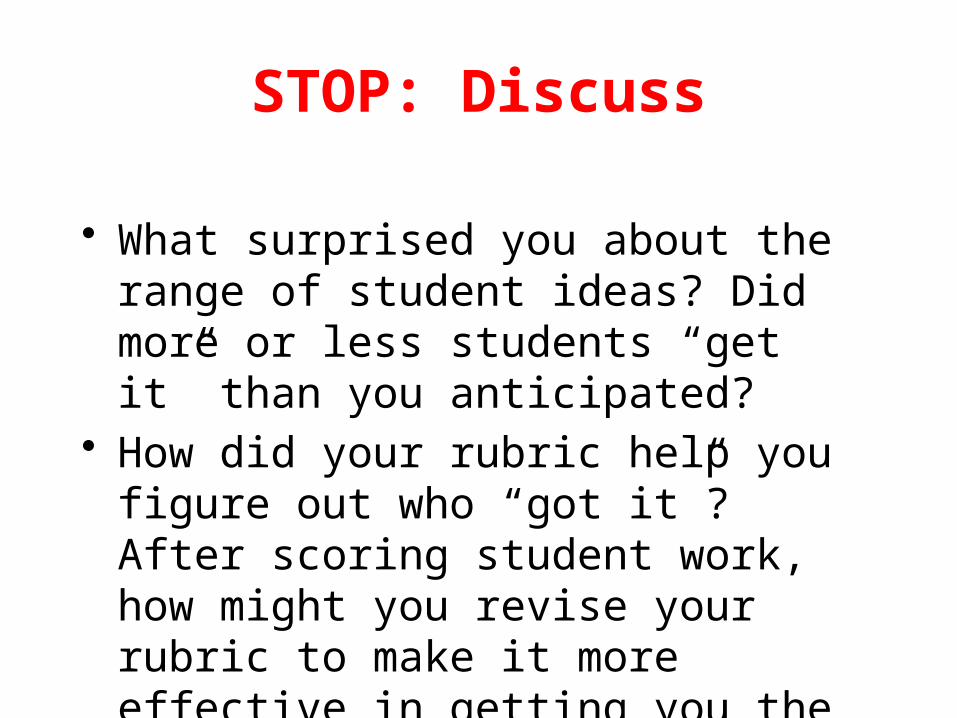
STOP: Discuss
• What surprised you about the range of student ideas? Did more or less students “get it” than you anticipated?
• How did your rubric help you figure out who “got it”? After scoring student work, how might you revise your rubric to make it more effective in getting you the information you need?
• Part II. Examining and Reporting on Patterns in Your Analysis
• Analysis of students’ learning: Examine the understandings of the students in the high, medium and low categories.
• Please address the following questions (see handout), focusing on evidence based on the 6 selected students’ work: – How did students’ different proficiency levels understand different aspects of
the learning goal(s) as reflected in the task response features? – Were certain features more problematic than others? If appropriate, please
comment on other evidence you might have about your students' learning. – Where did the students end up in their understanding of the goal(s)? What
ideas were generally understood? What naïve ideas remain? Your response should explore students’ strengths and weaknesses, their responses to the particular assessment features (which aspects did they seem to master and which ones did they struggle with?) to help you identify specific ways in which your lesson was successful in supporting students’ mastery of your learning goals.
– Discuss the next steps you would take as a teacher based on the evidence you gathered and analyzed regarding student learning.
STOP: Discuss
• What were some of the things you did well as a teacher during this lesson?
• To what extent did you see students’ growth with respect to the science content based on evidence from your science talk which provided insight on students’ prior knowledge (for example, anticipated misconceptions, challenges, etc.)?
• If you were to teach this same lesson again, what changes would you make? Why?
• What have you learned from this experience that will influence your teaching of other science lessons in the future?
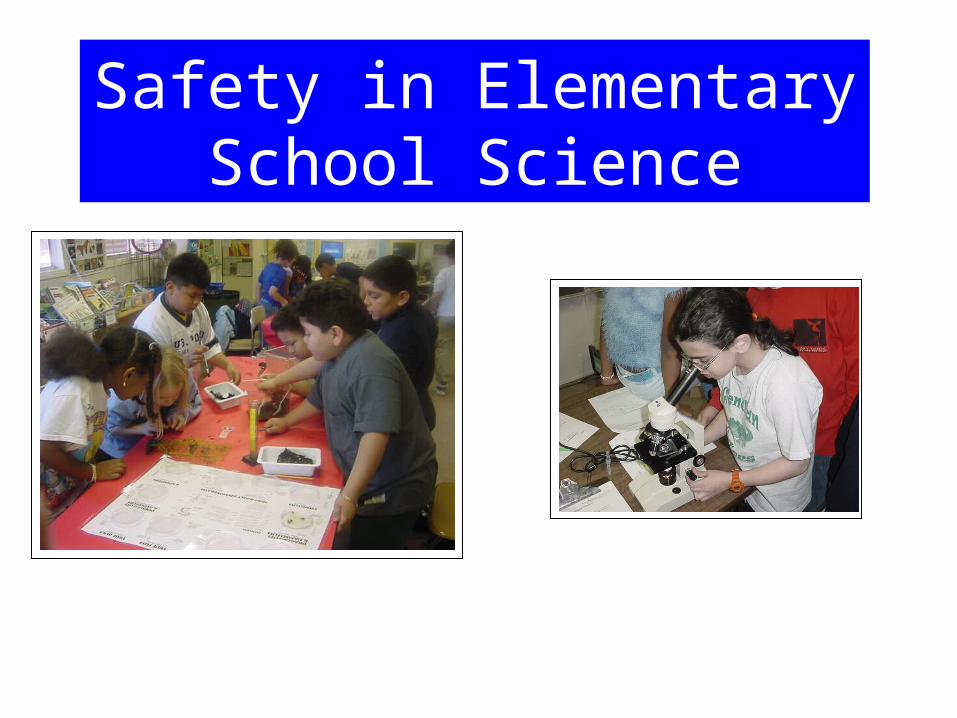
Safety in Elementary School Science
Ph
oto
by
Ba
rry
Mye
rs
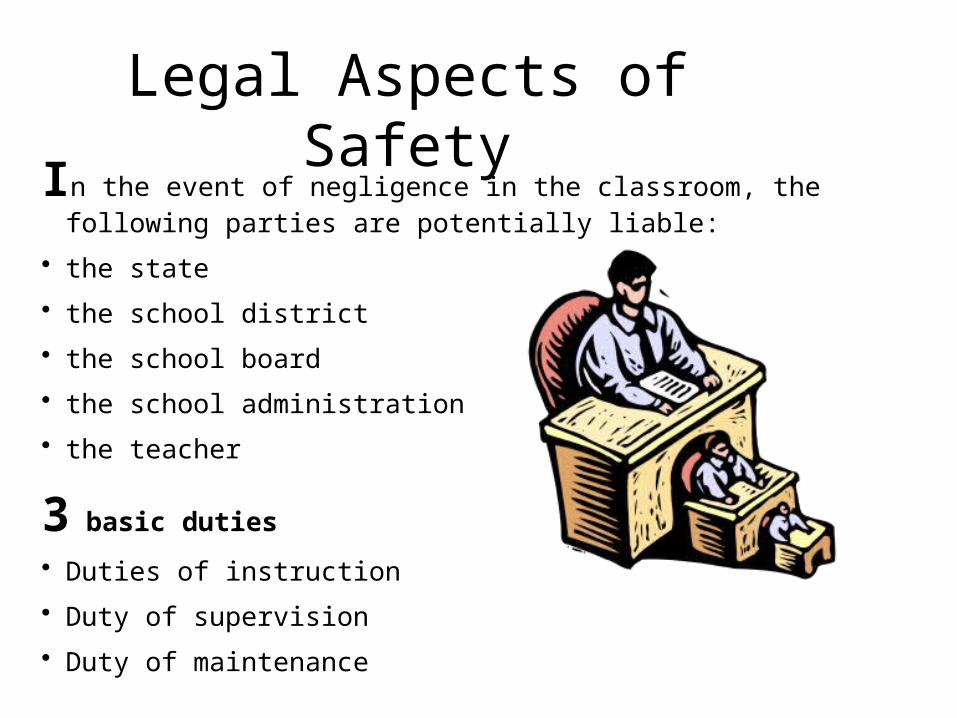
In the event of negligence in the classroom, the following parties are potentially liable:
• the state
• the school district
• the school board
• the school administration
• the teacher
3 basic duties
• Duties of instruction
• Duty of supervision
• Duty of maintenance
Legal Aspects of Safety
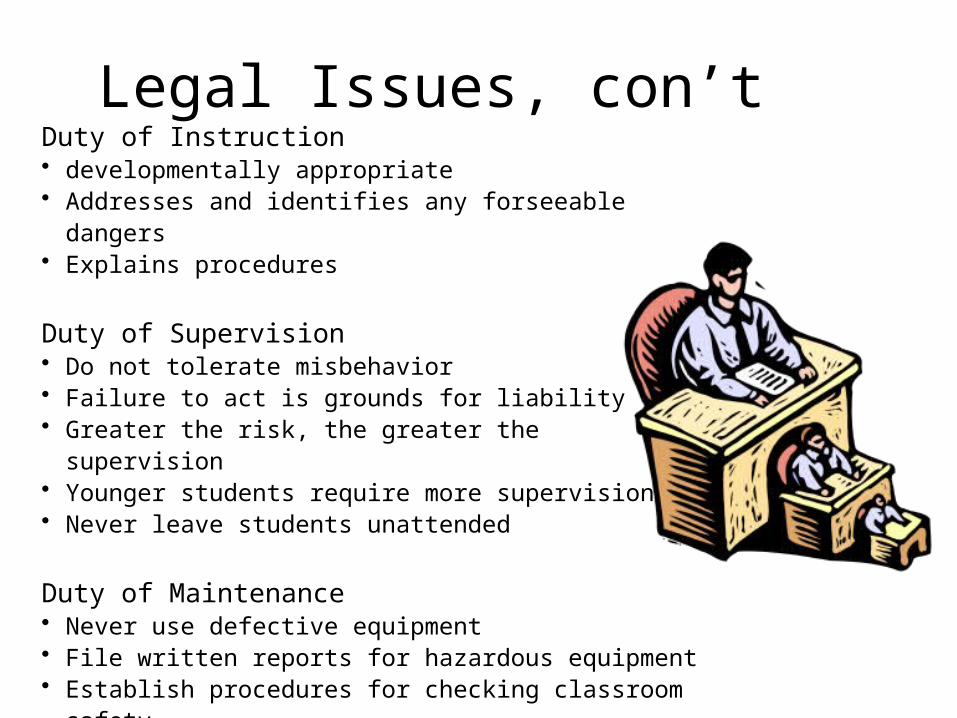
Duty of Instruction• developmentally appropriate• Addresses and identifies any forseeable dangers• Explains procedures
Duty of Supervision• Do not tolerate misbehavior• Failure to act is grounds for liability• Greater the risk, the greater the supervision• Younger students require more supervision• Never leave students unattended
Duty of Maintenance• Never use defective equipment• File written reports for hazardous equipment• Establish procedures for checking classroom safety• Follow all school safety guidelines
Legal Issues, con’t
Legal Issues, con’t
• Keep your lesson plans- Your lesson plans are a legal document. Use the plans to record each specific safety lesson you teach to each class. Add any and all documentation-injuries, safety quizzes, and contact with parents.
• The legal litmus test if an issue or injury goes to court is: Would another reasonable and competent professional teacher have done the same thing in the same situation?
• A good definition of reasonable is: If you can reasonably foresee the consequences of what you’re about to do, or are not about to do, you will be held responsible. (Flinn website)
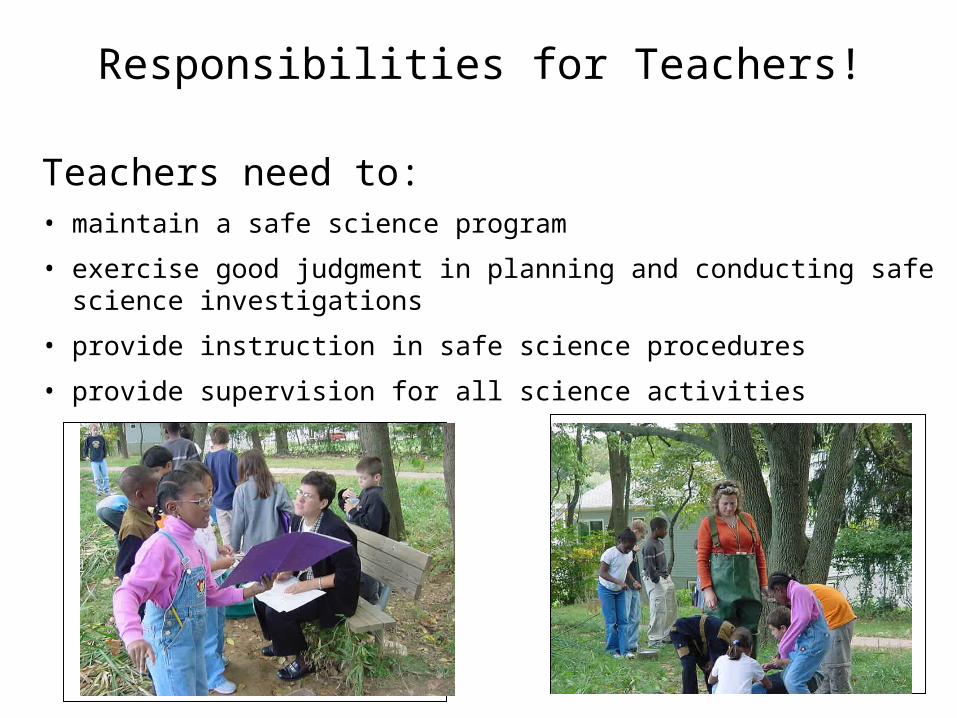
Teachers need to:• maintain a safe science program
• exercise good judgment in planning and conducting safe science investigations
• provide instruction in safe science procedures
• provide supervision for all science activities
Responsibilities for Teachers!
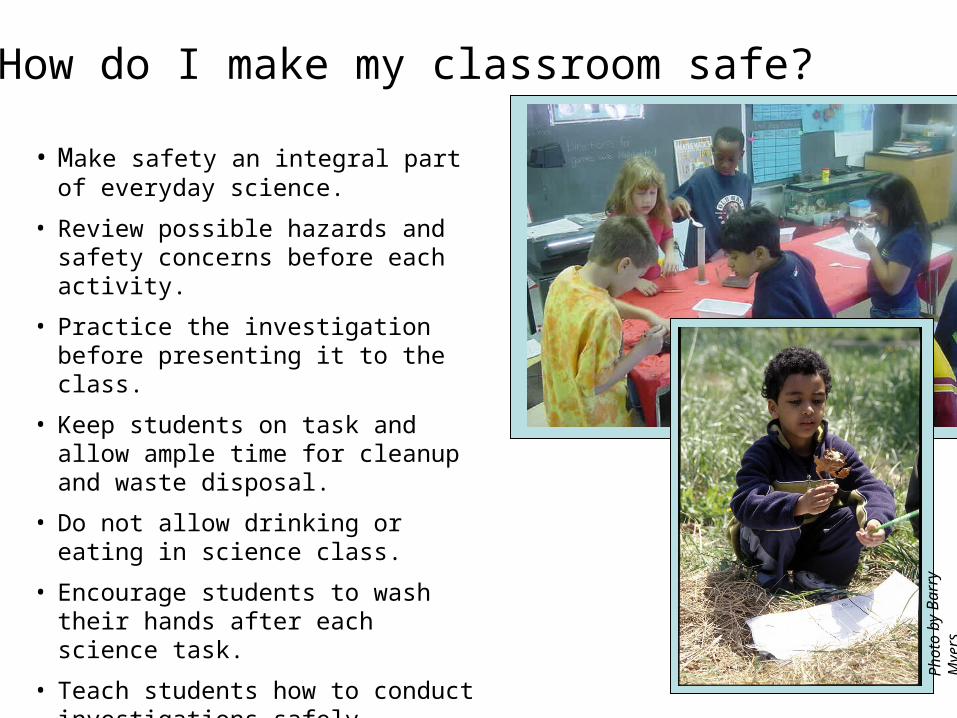
• Make safety an integral part of everyday science.
• Review possible hazards and safety concerns before each activity.
• Practice the investigation before presenting it to the class.
• Keep students on task and allow ample time for cleanup and waste disposal.
• Do not allow drinking or eating in science class.
• Encourage students to wash their hands after each science task.
• Teach students how to conduct investigations safely.
• Make sure safety equipment is functioning and readily available. P
ho
to b
y B
arr
y
Mye
rs
How do I make my classroom safe?
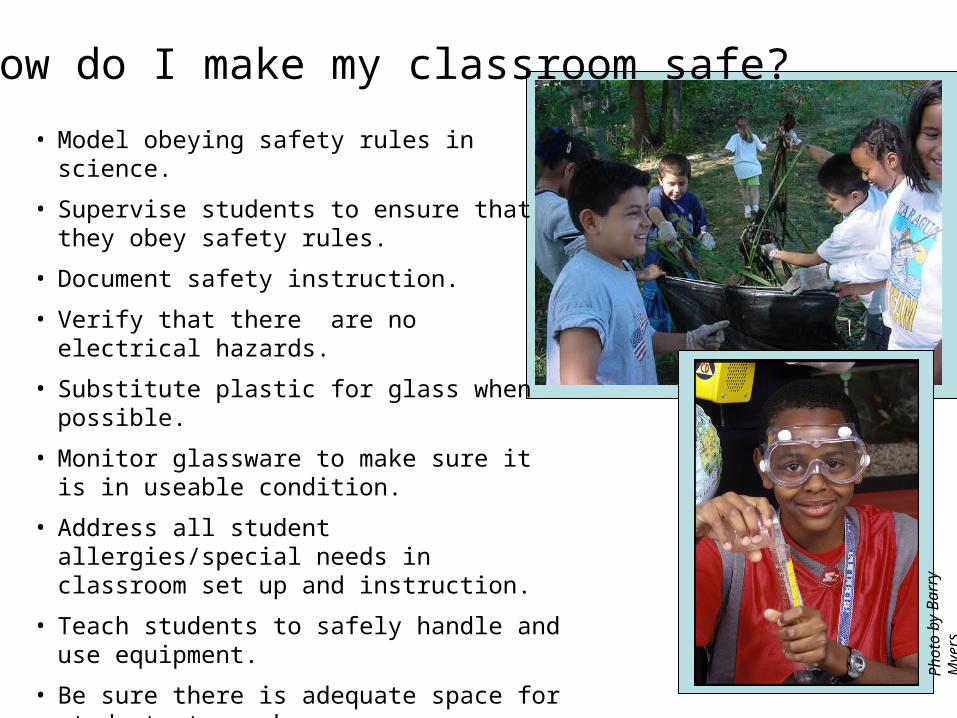
• Model obeying safety rules in science.
• Supervise students to ensure that they obey safety rules.
• Document safety instruction.
• Verify that there are no electrical hazards.
• Substitute plastic for glass when possible.
• Monitor glassware to make sure it is in useable condition.
• Address all student allergies/special needs in classroom set up and instruction.
• Teach students to safely handle and use equipment.
• Be sure there is adequate space for students to work.
• Know what to do if there is an accident
Ph
oto
by
Ba
rry
Mye
rs
How do I make my classroom safe?

Safety Tools for classroom teachers….
• Safety Contracts • Goggles (cleaning materials: rubbing alcohol
or wipes)
• Heat sources (electric tea kettles, hot plate, hot water from cafeteria) keep heat sources away from students
• Lockable cabinet for chemicals, keep science room locked
Safety Tools for teachers (con’t)
• Fire extinguisher• Wool fire blanket• Sand• Non-glass containers• Safety posters• Water Source• First Aid kit• Information sheet posted near phone• Request for Correction of Safety Concerns
form
Safety tools for students…
• Extra t-shirts or lab coats (for messy investigations)
• Scissors (instead of blades)• Clean-up materials (paper towels, bleach
solution)• Use rubber gloves vs. latex (latex allergies)• Take students on a classroom safety tour
(point our water source, fire extinguisher, goggles and phone)

Thinking more about safety
Group 1: Safety Contract
Group 2: Safety Poster
Group 3: Teacher & Student responsibilities: Animals & Plants in the Classroom
Group 4: Design a Classroom Safety Hunt
Group 5: Teacher & Student responsibilities: Lab materials
Group 6: Safety Lesson Plan