akai - a guide on how to use studio one (college)
TRANSCRIPT

7/24/2019 Akai - A Guide on How to Use Studio One (College)
http://slidepdf.com/reader/full/akai-a-guide-on-how-to-use-studio-one-college 1/5
A guide on how to use Studio One – Part
One
When frst walking into studio one, it may seem a bit daunting with all the wires
and equipment in all – but when knowing everything’s purpose, it instantlybecomes simple. This guide will walk you through the simplicities o using studio
one to your advantage.
A diagram of all the equipment (in order of its placement):
Equipment uses:
Adam A77X
The !!" is a studio monitor, defned by
being a very loud speaker, specifcally
designed or audio production applications.
This monitor is known or having high#end
quality sound, due to its $e%tensively wide
stereo oundation and brilliant stereo imaging&. They work by simply plugging
the cable into the back o the speaker, and turning on the switch on the monitor.
What ' ound particularly useul, was the act that the design made use o having
the switch at the ront o the monitors. This made it e%ceptionally easy or me toturn on the monitors when setting up my pro(ect, whereas with the )amaha’s
*which is discussed below+, it was seemingly more dicult. -ually noted by
dam roessional udio, the $hori/ontally designed model has a requency
response range between 01 2/ – 34 k2/&. 5ven though the human range only
goes up to 64 k2/, ' ound this characteristic e%tremely useul, as ' was able to
clearly hear whether my bass would distort when recording at high levels o
volume – providing a clear mi%.
amaha !S"
7/24/2019 Akai - A Guide on How to Use Studio One (College)
http://slidepdf.com/reader/full/akai-a-guide-on-how-to-use-studio-one-college 2/5
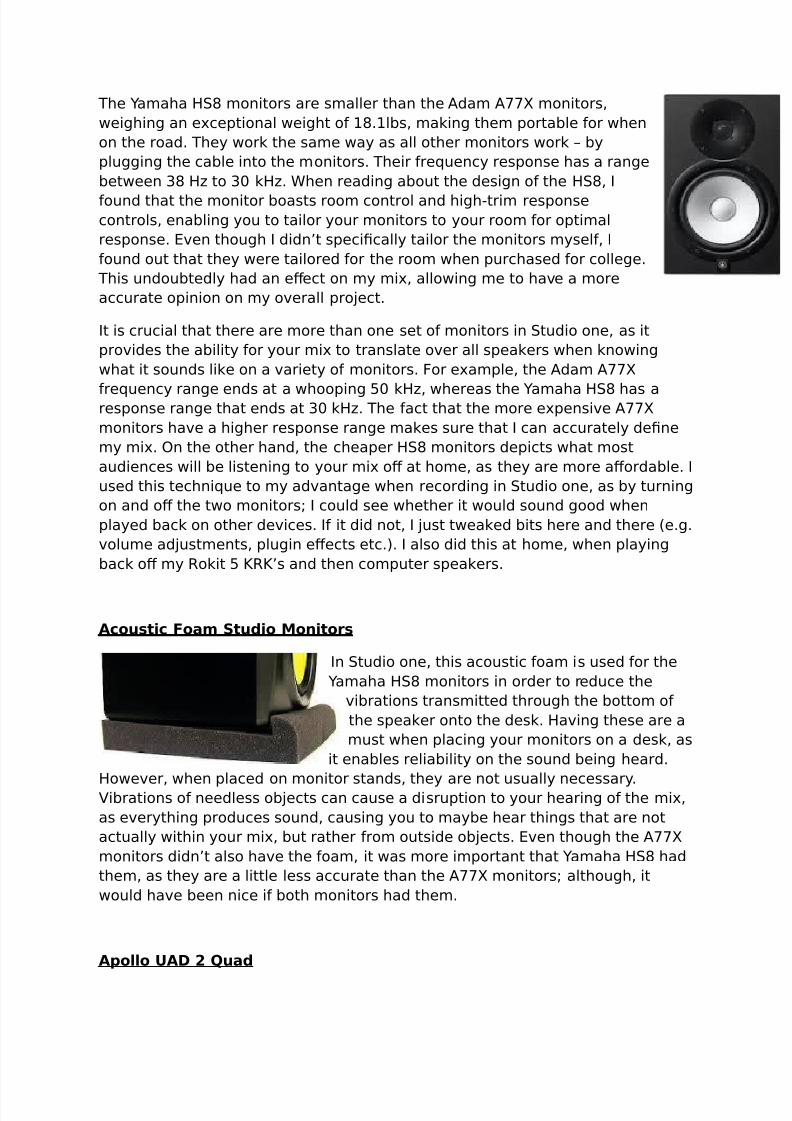
The )amaha 271 monitors are smaller than the dam !!" monitors,
weighing an e%ceptional weight o 81.8lbs, making them portable or when
on the road. They work the same way as all other monitors work – by
plugging the cable into the monitors. Their requency response has a range
between 01 2/ to 04 k2/. When reading about the design o the 271, '
ound that the monitor boasts room control and high#trim response
controls, enabling you to tailor your monitors to your room or optimal
response. 5ven though ' didn’t specifcally tailor the monitors mysel, '
ound out that they were tailored or the room when purchased or college.
This undoubtedly had an e9ect on my mi%, allowing me to have a more
accurate opinion on my overall pro(ect.
't is crucial that there are more than one set o monitors in 7tudio one, as it
provides the ability or your mi% to translate over all speakers when knowing
what it sounds like on a variety o monitors. :or e%ample, the dam !!"
requency range ends at a whooping 34 k2/, whereas the )amaha 271 has aresponse range that ends at 04 k2/. The act that the more e%pensive !!"
monitors have a higher response range makes sure that ' can accurately defne
my mi%. ;n the other hand, the cheaper 271 monitors depicts what most
audiences will be listening to your mi% o9 at home, as they are more a9ordable. '
used this technique to my advantage when recording in 7tudio one, as by turning
on and o9 the two monitors< ' could see whether it would sound good when
played back on other devices. ' it did not, ' (ust tweaked bits here and there *e.g.
volume ad(ustments, plugin e9ects etc.+. ' also did this at home, when playing
back o9 my =okit 3 >=>’s and then computer speakers.
Acoustic #oam Studio $onitors
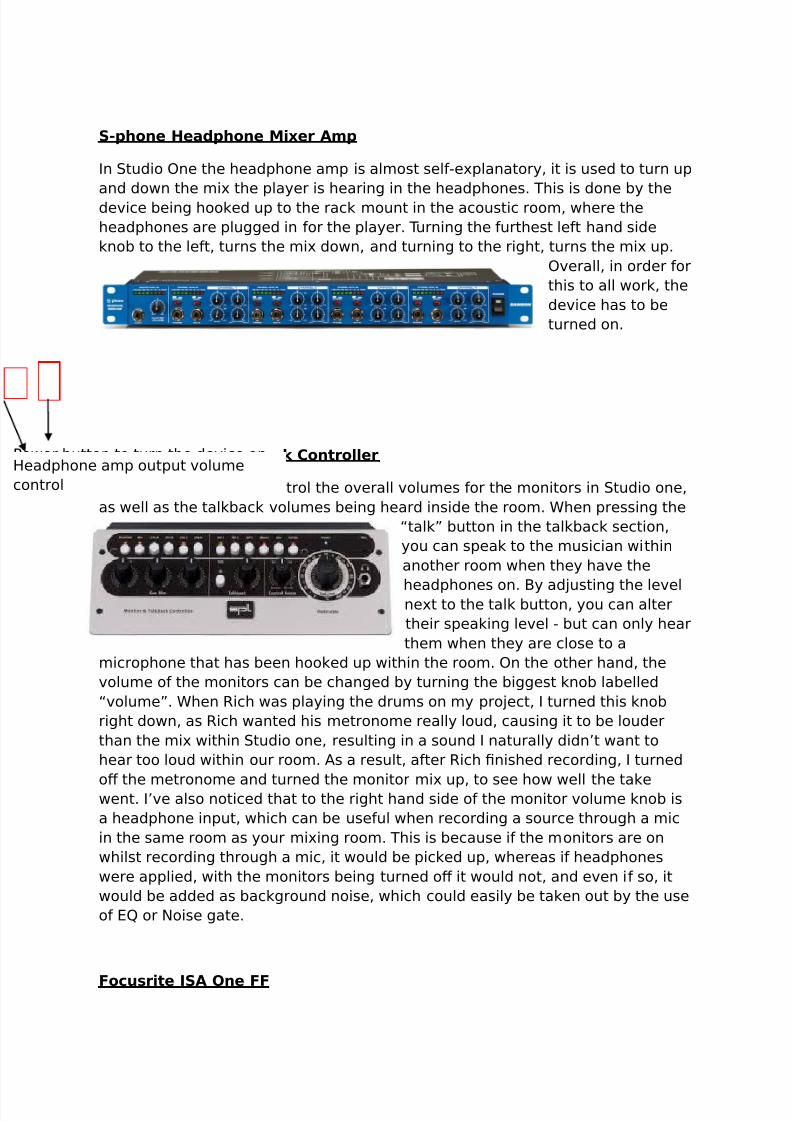
'n 7tudio one, this acoustic oam is used or the
)amaha 271 monitors in order to reduce the
vibrations transmitted through the bottom o
the speaker onto the desk. 2aving these are a
must when placing your monitors on a desk, as
it enables reliability on the sound being heard.
2owever, when placed on monitor stands, they are not usually necessary.?ibrations o needless ob(ects can cause a disruption to your hearing o the mi%,
as everything produces sound, causing you to maybe hear things that are not
actually within your mi%, but rather rom outside ob(ects. 5ven though the !!"
monitors didn’t also have the oam, it was more important that )amaha 271 had
them, as they are a little less accurate than the !!" monitors< although, it
would have been nice i both monitors had them.
Apollo %A& ' uad

7/24/2019 Akai - A Guide on How to Use Studio One (College)
http://slidepdf.com/reader/full/akai-a-guide-on-how-to-use-studio-one-college 3/5
@niversal udio is a computer interace that essentially acts as a @-6 7atellite
-7 unit. 't works by the plugging o "A= cables into the rear end o the :irewire
'nterace. These cables are then hooked into other rack mounting bo%es in order
to get a phantom power inlet supply. 'n 7tudio one, the pollo is hooked up to a
rack mount bo% that appears in another
acoustic room, mainly
used or drums and
other e%ternal
instruments. 't is also
hooked up to the vocal
booth room, which is signalled through channel one on the rack mount bo% in the
acoustic room. s (ust stated, channel one is or the vocal booth, whereas
channel two up to our is used or the kick, snare top, and snare bottom o the
drums, with the cables positioned in the stated order. By pressing the volume
control knob on the let, you can select the channel you want in order to ad(ust
its input level – which is done by turning the knob to the let *to turn it down+, orto the right *to turn it up+. 2owever, in order or all the signal routings to work,
your -W channels input settings must be correct, and your ront#panel controls
settings have to read the source -T. ;nce doing so, you can use the ront#
panel controls to insert plug#ins on your recording and even make them
permanent when recorded into your -W *e.g. Aogic ro "+. )ou must remember
that ad(usting the ader on your -W will not enhance the volume level o your
input settings, only the pollo @-6 Cuad will. ;verall, ' picked an appropriate
level or the drums in my pro(ect – roughly in the mid range – as ' knew that =ich
would naturally hit the drums hard when playing. ' chose this range, as ' wanted
to be e%tra cautious and have the saety o the drums not distorting or being tooover#powering.
#ocusrite Octopre $**
The :ocusrite essentially acts as another version o the pollo @-6 Cuad, as it
routes cables in order to input e%ternal devices. To use this device, you must
make sure that it is on and you have pressed the phantom power button, which
is positioned on the let hand side o the gear, (ust to the right o the last ront
"A= cableinput. This
device needs
phantom power, as
electrical power needs to be transmitted through microphone cables to operate
microphones that contain active electronic circuitry. 'n 7tudio one, this is hooked
up to the rack mount in the acoustic room, however not the vocal booth. t the
other end o the acoustic room, there is another rack mount that is used or
channels nine through twelve – channel nine is used or the rack tom, channel
ten is used or the Door tom, channel eleven is used or the let overheads and
fnally channel twelve is or the right overheads. gain, by turning the knobs onthe console, it will ad(ust the inputs level.
7/24/2019 Akai - A Guide on How to Use Studio One (College)
http://slidepdf.com/reader/full/akai-a-guide-on-how-to-use-studio-one-college 4/5
S+phone !eadphone $i,er Amp
'n 7tudio ;ne the headphone amp is almost sel#e%planatory, it is used to turn up
and down the mi% the player is hearing in the headphones. This is done by the
device being hooked up to the rack mount in the acoustic room, where the
headphones are plugged in or the player. Turning the urthest let hand side
knob to the let, turns the mi% down, and turning to the right, turns the mi% up.
;verall, in order or
this to all work, the
device has to be
turned on.
SP- $onitor . /al0ac 1ontroller
This device is used to control the overall volumes or the monitors in 7tudio one,
as well as the talkback volumes being heard inside the room. When pressing the
$talk& button in the talkback section,
you can speak to the musician within
another room when they have the
headphones on. By ad(usting the levelne%t to the talk button, you can alter
their speaking level # but can only hear
them when they are close to a
microphone that has been hooked up within the room. ;n the other hand, the
volume o the monitors can be changed by turning the biggest knob labelled
$volume&. When =ich was playing the drums on my pro(ect, ' turned this knob
right down, as =ich wanted his metronome really loud, causing it to be louder
than the mi% within 7tudio one, resulting in a sound ' naturally didn’t want to
hear too loud within our room. s a result, ater =ich fnished recording, ' turned
o9 the metronome and turned the monitor mi% up, to see how well the takewent. '’ve also noticed that to the right hand side o the monitor volume knob is
a headphone input, which can be useul when recording a source through a mic
in the same room as your mi%ing room. This is because i the monitors are on
whilst recording through a mic, it would be picked up, whereas i headphones
were applied, with the monitors being turned o9 it would not, and even i so, it
would be added as background noise, which could easily be taken out by the use
o 5C or Eoise gate.
#ocusrite *SA One ##
ower button to turn the device on
nd o9 eadphone amp output volume
ontrol
7/24/2019 Akai - A Guide on How to Use Studio One (College)
http://slidepdf.com/reader/full/akai-a-guide-on-how-to-use-studio-one-college 5/5
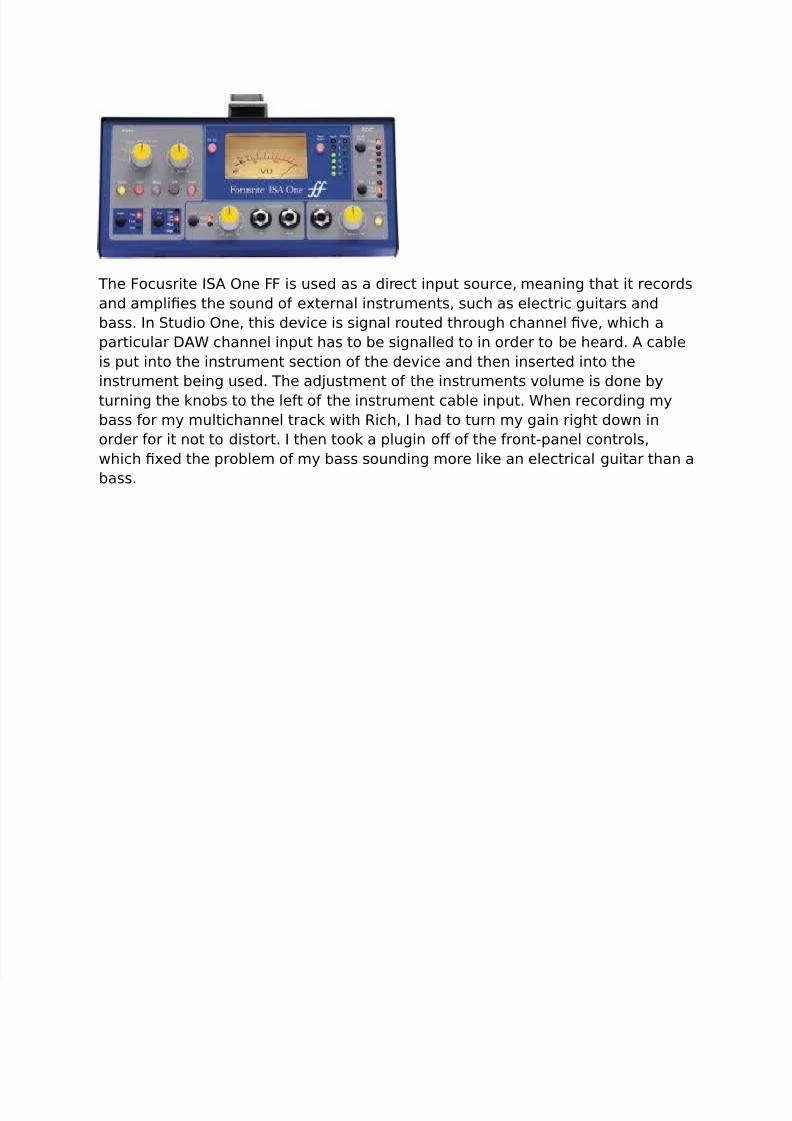
The :ocusrite '7 ;ne :: is used as a direct input source, meaning that it records
and amplifes the sound o e%ternal instruments, such as electric guitars and
bass. 'n 7tudio ;ne, this device is signal routed through channel fve, which a
particular -W channel input has to be signalled to in order to be heard. cable
is put into the instrument section o the device and then inserted into the
instrument being used. The ad(ustment o the instruments volume is done by
turning the knobs to the let o the instrument cable input. When recording my
bass or my multichannel track with =ich, ' had to turn my gain right down in
order or it not to distort. ' then took a plugin o9 o the ront#panel controls,
which f%ed the problem o my bass sounding more like an electrical guitar than a
bass.