an eye for birds: a photographic journey mastering … eye for birds: a photographic journey second...
TRANSCRIPT
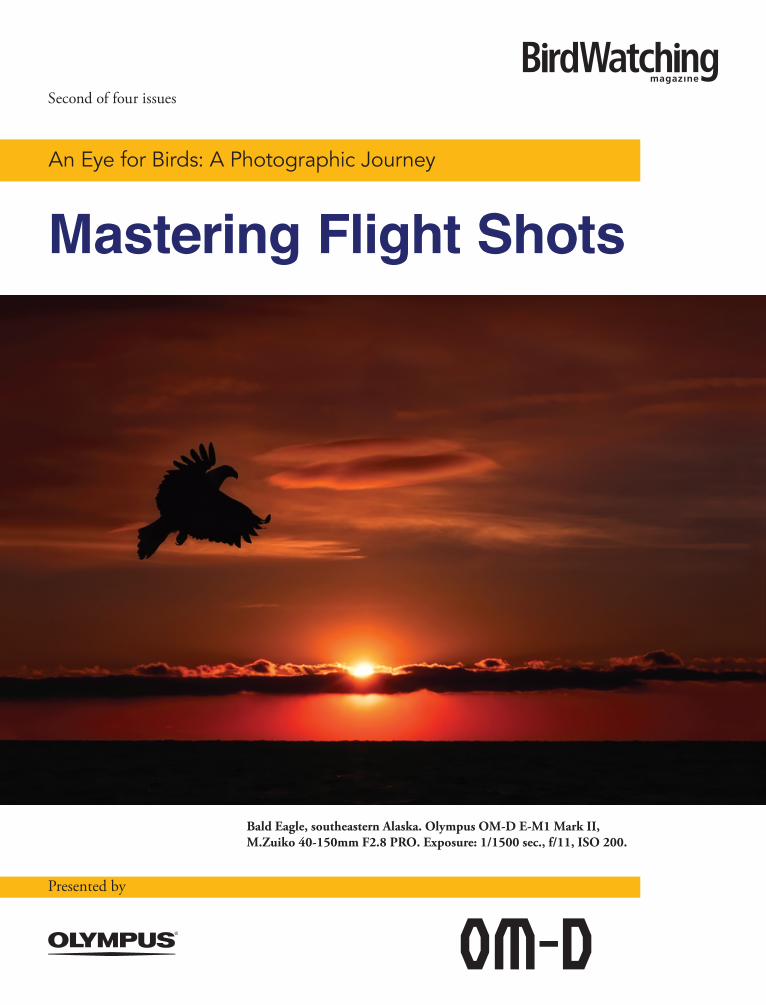
An Eye for Birds: A Photographic Journey
Second of four issues
Mastering Flight Shots
Presented by
Bald Eagle, southeastern Alaska. Olympus OM-D E-M1 Mark II, M.Zuiko 40-150mm F2.8 PRO. Exposure: 1/1500 sec., f/11, ISO 200.
Wonders on the WingBy Matt Mendenhall • Photos by Scott Bourne
!e most challenging photography subject on Earth is a bird that is "ying. So says Scott Bourne, a pro-fessional bird photographer, author, lecturer, and Olympus Visionary. He specializes in photographing raptors, especially Bald Eagles, and has taken tens of thousands of photos of birds in "ight.
On a 1-10 degree-of-difficulty scale, he says, “This is a 12.”
Unlike the majority of photo subjects, taking pic-tures of "ying birds means “You have to go #nd them, they aren’t going to hang around, they usually try to leave, and they do it via the air,” Bourne explains. Here are his six #eld-tested ways to improve your skills at taking photos of birds in "ight.
1. Learn about birdsAs with all bird photography, the more you know about the subject, the better your pictures will be. “Ornitho-logical knowledge is more important than photographic knowledge because if you can’t #nd birds, you can’t photograph them,” Bourne says.
It’s equally important to understand birds’ habits. For example, just before taking f light, a perched eagle
SPONSORED CONTENT
will raise its tail feathers and defecate “to make itself as light as possible,” Bourne notes. “So when you see that behavior, you should think about starting to press the shutter button because they’re probably going to take off. Some birds have certain leaning behaviors, like Sandhill Cranes. They’ll kind of lean into the wind, almost starting to make their bodies perpendicular to the ground, and then they’ll start running and take off. These are just two examples of many. Knowing the bird’s behavior is really im-portant because you want to be able to predict what they’re going to do.”
Egrets and herons make great "ight subjects, he adds. !ey nest in trees, often in colonies, and once a pair starts nesting, they’ll typically "y the same route over and over again. “Once you know their pattern,” Bourne says, “and if that pattern is on a favorable sun angle and comports with the wind direction, then you can set up and get consistent shots because you know they’re going
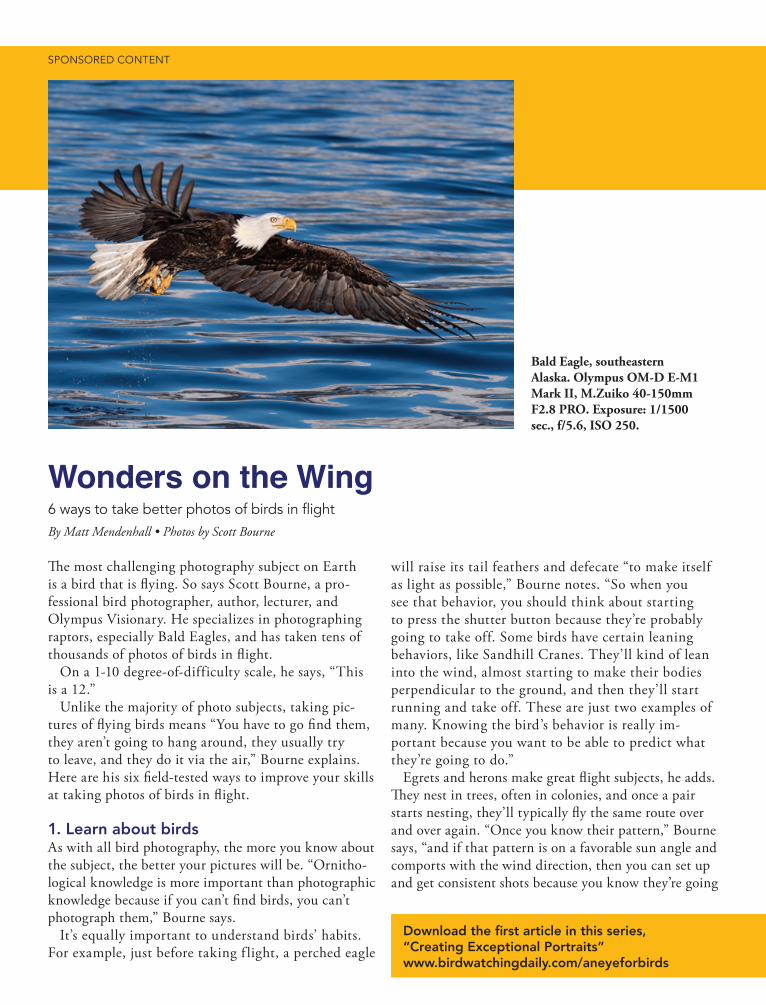
Bald Eagle, southeastern Alaska. Olympus OM-D E-M1 Mark II, M.Zuiko 40-150mm F2.8 PRO. Exposure: 1/1500 sec., f/5.6, ISO 250.
to come back every three or four minutes with twigs.”
No matter whether the bird you want to photograph is standing still, feeding, incu-bating eggs, or "ying, make sure the sun is at your back, so the bird is front-lit. And when you’re aiming to capture "ight shots, know the wind direction, Bourne explains. “Wind direction will help you predict what the bird is going to do. Birds take o$ and land into the wind.” If the wind is in your face, birds will be taking o$ away from you and landing away from you.
“!e glorious moments are when the sun and wind are at your back,” he adds. “!at is how you get shots like an eagle "ying straight at you with a #sh in the talons.”
Bourne has also learned to shoot with both eyes open because that makes it easi-er to see the bird coming into the shot.
As with other types of photography, always pay attention to the background. “You want a clean background whether you’re shoot-ing birds in "ight, portraits, or anything else.”
While it’s not always possible, Bourne suggests adjusting your elevation to where the birds are "ying. “I have sat in a hunter’s tree stand to get photos of birds. Or I’ll #nd a hill that has 10 or 12 feet of eleva-tion. Any little bit helps to take photos that connect better to the audience.”
As we noted in the #rst article in the “An Eye for Birds” series, Bourne uses Olympus cameras and lenses. He is a big fan of the Pro Capture mode on the OM-D EM-1 Mark II camera. He explains: “When you set that mode and press the shutter button halfway to acquire auto-focus, which is the way most people do it, the camera starts running a bu$er of full-resolution, 20-megapixel #les until you actually press the shutter button, at which point it will capture the image you wanted, plus it will go back and save the 14 previous frames. It’s incredible. So if you’re tracking a bird that is in "ight or about to take "ight, you press the shutter button halfway down to roll the camera.
“Since Pro Capture utilizes the electronic shutter, it can shoot at up to 60 frames per second. A movie is shot in 24 frames per second, so 60 frames per second is more data than is shot for motion pictures. Using that mode with Pro Capture you can fully depress the shutter to get 99 pictures. So the human eye and our re"exes are not fast enough to capture the "ighty mood of a bird. But because the camera’s technology is faster than we are, it will help you get the image.”
Bourne recommends that photographers shoot in manual mode, even though it’s challenging for beginners.
“A lot of people prefer shutter-speed priority, which is a good argument because you need a certain shutter speed to freeze the wings if that is what you’re going for,” he notes. “But the problem with shooting either in aperture priority or shutter-speed mode is that the light meter will start changing the exposure as you’re panning with the bird. And as you pan across darker or lighter backgrounds, it’ll in"uence the exposure and throw things o$.”
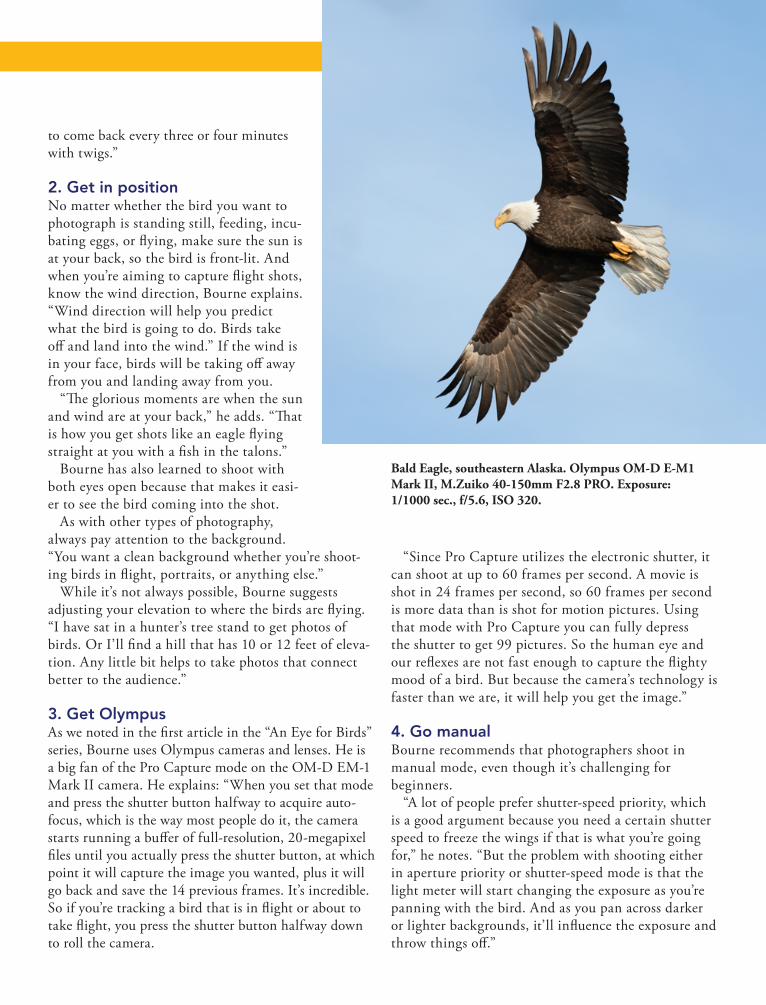
Bald Eagle, southeastern Alaska. Olympus OM-D E-M1 Mark II, M.Zuiko 40-150mm F2.8 PRO. Exposure: 1/1000 sec., f/5.6, ISO 320.
range because that’s where the birds are,” he explains. “It’s just millisec-onds, but it does reduce the amount of time it takes to acquire focus. And when you’re dealing with birds that can change their direction on a dime, that’s really important. We want to be able to focus on the bird quicker, and the way to do that is to set the distance range limit to the far setting.”
When you’re taking shots of large birds, Bourne suggests setting the exposure to 1/1500th of a second at a minimum to get wingtip-to-wingtip sharpness. “Depending on how much light there is and how much move-ment the bird does, it might need to be 1/2000th of a second. And when you’re dealing with birds that have six-
foot wingspans, we need more depth of #eld. If you’re at a reasonable distance, typically between f/5.6 and f/8 will be the sweet spot for depth of #eld necessary to capture the wings tip to tip sharp while the bird is in "ight.”
Read this article from Bourne to learn how to use tracking autofocus on the Olympus OM-D EM-1 Mark II camera.
Among the many reasons Bourne chooses Olympus equipment: it’s lighter than other brands’ products, mak-ing it easy to handhold a camera and lens, and select Olympus M.Zuiko PRO lenses have an image-stabiliza-tion feature called Sync-IS.
!e 300mm F4.0 IS PRO lens, for example, has the #eld of view of a much heavier 600mm DSLR lens (600mm in 35mm equivalent). “Because these lenses are smaller and lighter,” he says, “and because the Sync-IS is so good, we have six and a half stops of compensation, which means that I can use a far slower shutter speed than would normally be acceptable for hand holding and still get a sharp image.”
In the days when he used a heavy DSLR, Bourne had to set it on a tripod with a gimbal head. “Your range of movement was limited to whatever the pivots on the
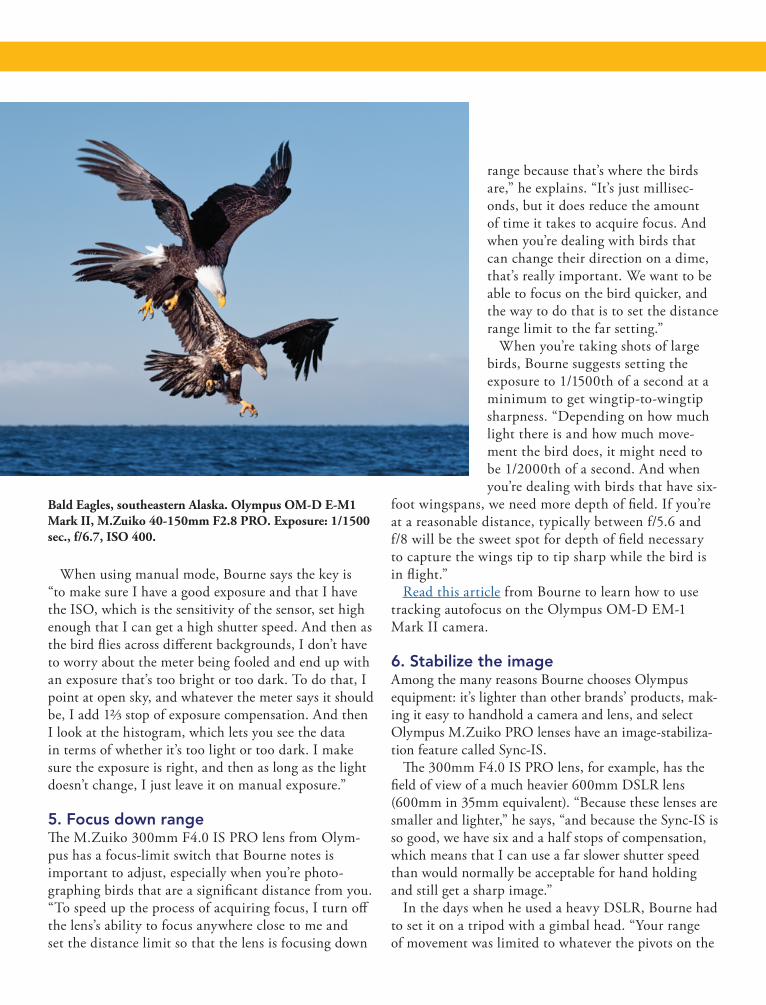
Bald Eagles, southeastern Alaska. Olympus OM-D E-M1 Mark II, M.Zuiko 40-150mm F2.8 PRO. Exposure: 1/1500 sec., f/6.7, ISO 400.
When using manual mode, Bourne says the key is “to make sure I have a good exposure and that I have the ISO, which is the sensitivity of the sensor, set high enough that I can get a high shutter speed. And then as the bird "ies across di$erent backgrounds, I don’t have to worry about the meter being fooled and end up with an exposure that’s too bright or too dark. To do that, I point at open sky, and whatever the meter says it should be, I add 1% stop of exposure compensation. And then I look at the histogram, which lets you see the data in terms of whether it’s too light or too dark. I make sure the exposure is right, and then as long as the light doesn’t change, I just leave it on manual exposure.”
!e M.Zuiko 300mm F4.0 IS PRO lens from Olym-pus has a focus-limit switch that Bourne notes is important to adjust, especially when you’re photo-graphing birds that are a signi#cant distance from you. “To speed up the process of acquiring focus, I turn o$ the lens’s ability to focus anywhere close to me and set the distance limit so that the lens is focusing down
gimbal head could be. So it was hard, with birds in "ight, to move fast enough to track them. But now because of the Sync-IS on select M.Zuiko PRO lens-es, I am able to handhold all of my shots. I don’t use a tripod anymore. !is has freed me up to get way better birds in "ight because I don’t have to worry if the bird goes o$ at angles from the tripod; I can swing around and still get it.”
WHAT’S IN SCOTT’S BAGScott Bourne shoots with Olympus equipment. He says it’s extremely lightweight, easy to pack, and best of all, it produces photographs on par with more expensive gear. He notes that his work can be printed at dimen-
sions of 6 feet by 9 feet. “Image stabilization is built into the camera body, so
you don’t need a tripod with Olympus gear,” he adds. “It’s much easier to carry around, and the image quality is stupendous. The tracking autofocus is another thing that bird photographers really need. You can’t fake it when you’re trying to photograph an eagle that switches its dive angle toward the water 90 degrees in one tenth of a millisecond. Autofocus has to be able to keep up.”
• OM-D E-M1 Mark II (2)
• EE-1 Dot Sight
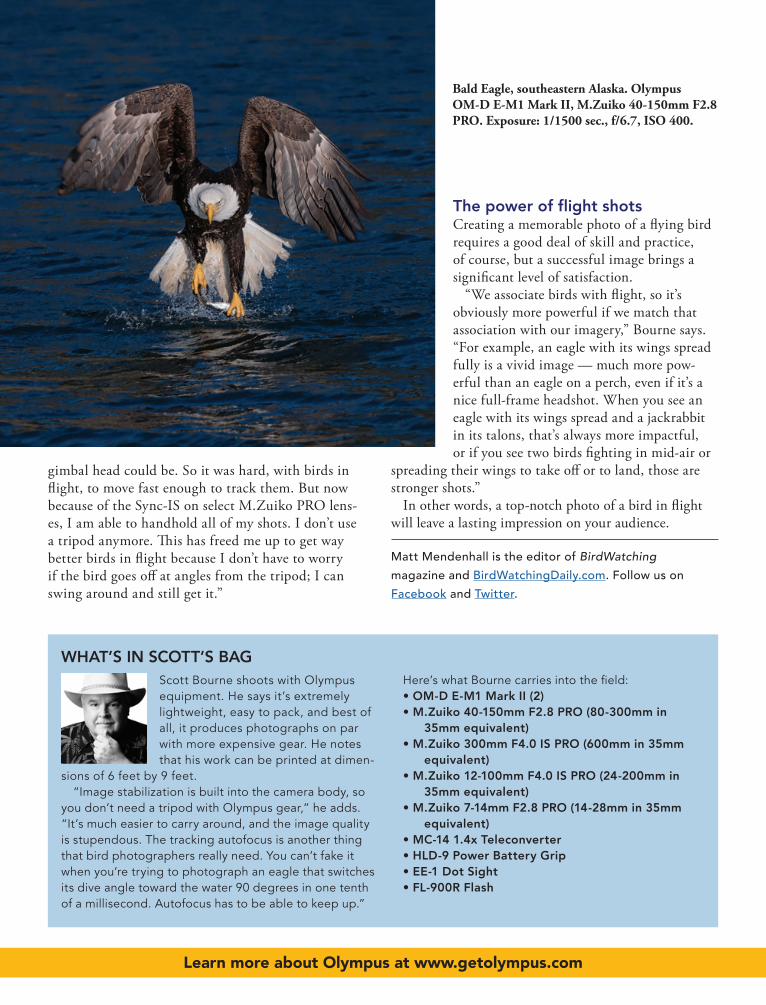
Bald Eagle, southeastern Alaska. Olympus OM-D E-M1 Mark II, M.Zuiko 40-150mm F2.8 PRO. Exposure: 1/1500 sec., f/6.7, ISO 400.
Learn more about Olympus at www.getolympus.com
Creating a memorable photo of a "ying bird requires a good deal of skill and practice, of course, but a successful image brings a signi#cant level of satisfaction.
“We associate birds with "ight, so it’s obviously more powerful if we match that association with our imagery,” Bourne says. “For example, an eagle with its wings spread fully is a vivid image — much more pow-erful than an eagle on a perch, even if it’s a nice full-frame headshot. When you see an eagle with its wings spread and a jackrabbit in its talons, that’s always more impactful, or if you see two birds #ghting in mid-air or
spreading their wings to take o$ or to land, those are stronger shots.”
In other words, a top-notch photo of a bird in "ight will leave a lasting impression on your audience.
Matt Mendenhall is the editor of BirdWatching magazine and BirdWatchingDaily.com. Follow us on Facebook and Twitter.