apx 7000xe montgomery county emergency services 800...
TRANSCRIPT
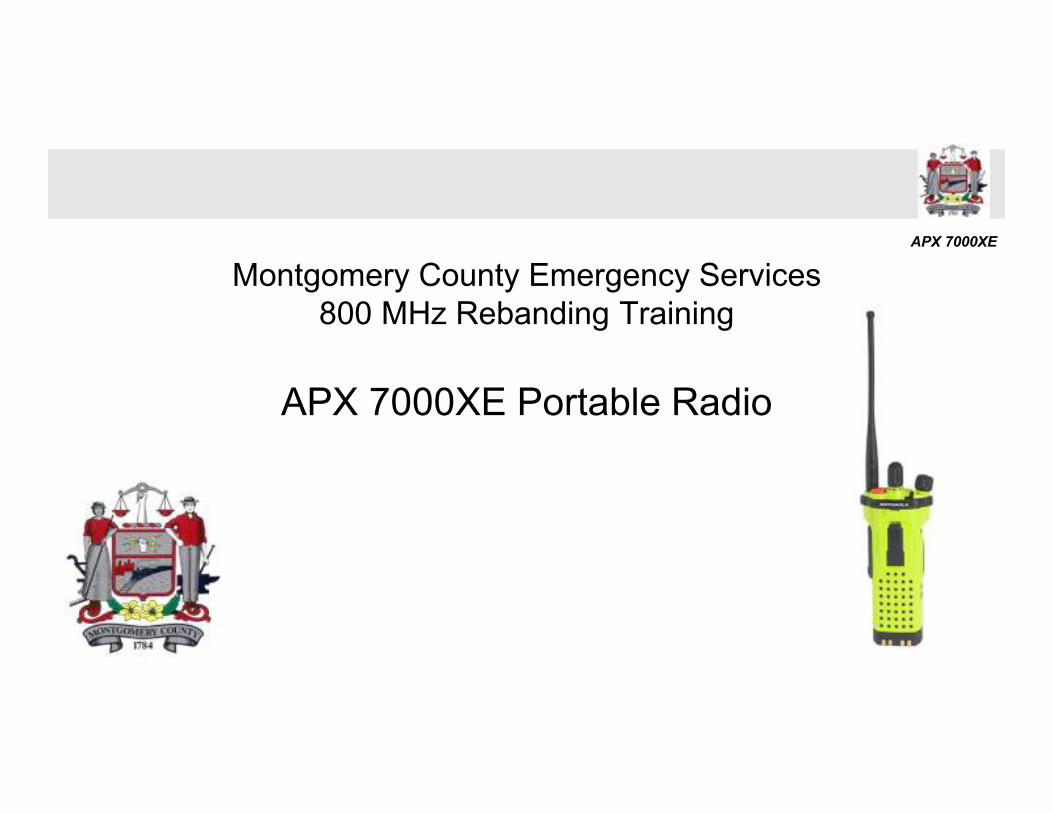
APX 7000XE
Montgomery County Emergency Services
800 MHz Rebanding Training
APX 7000XE Portable Radio
APX 7000XE
Before You Begin$
View the main training video first, it covers:
• General Radio Review
• Overview of Montgomery County’s Radio System
• Rebanding & Interoperability
• Channel Matrix Discussion
• Talk Group Usage, Event Channels, Local Channels
APX 7000XE
APX 7000XE: Overview
Radio Functions:
• Radio Operation
• Audio Alerts: Tones & Bonks
• Emergency Operation
• Scan
• Side Cover & Accessories
• Battery Care
• Antenna
• How to Report a Problem
APX 7000XE
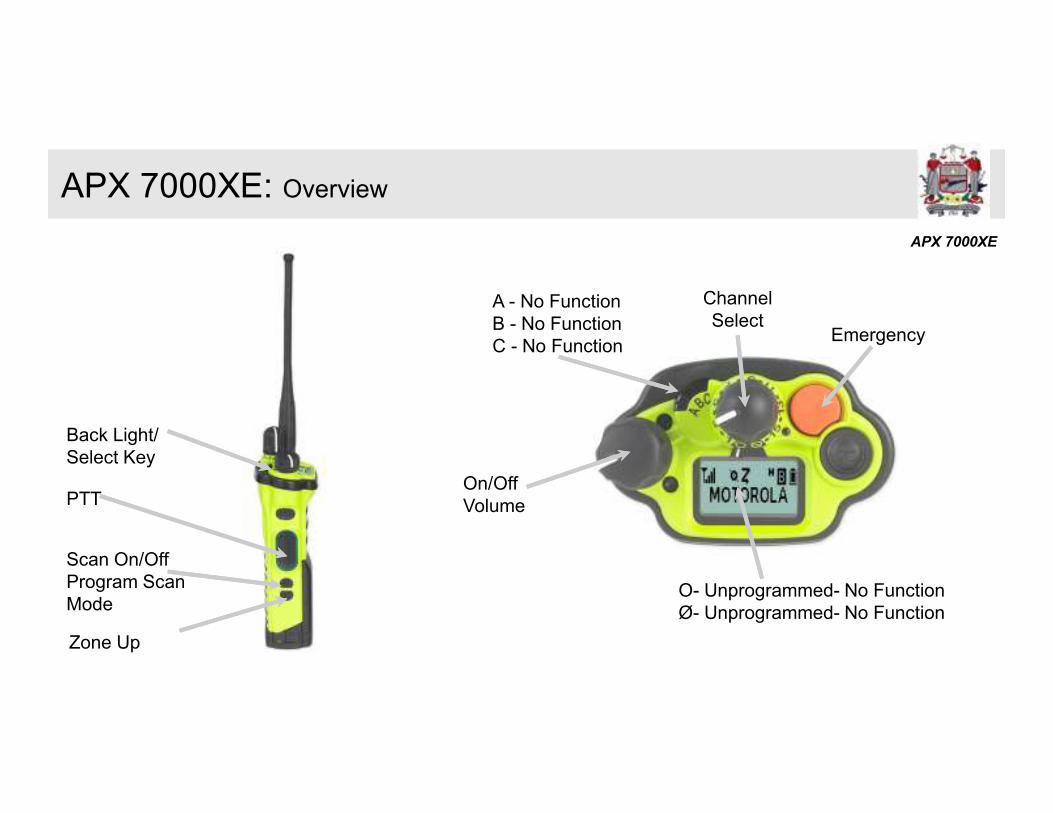
APX 7000XE: Overview
Back Light/
Select Key
PTT
Scan On/Off
Program Scan
Mode
Zone Up
On/Off
Volume
A - No Function
B - No Function
C - No Function
Channel
SelectEmergency
O- Unprogrammed- No Function
Ø- Unprogrammed- No Function
APX 7000XE
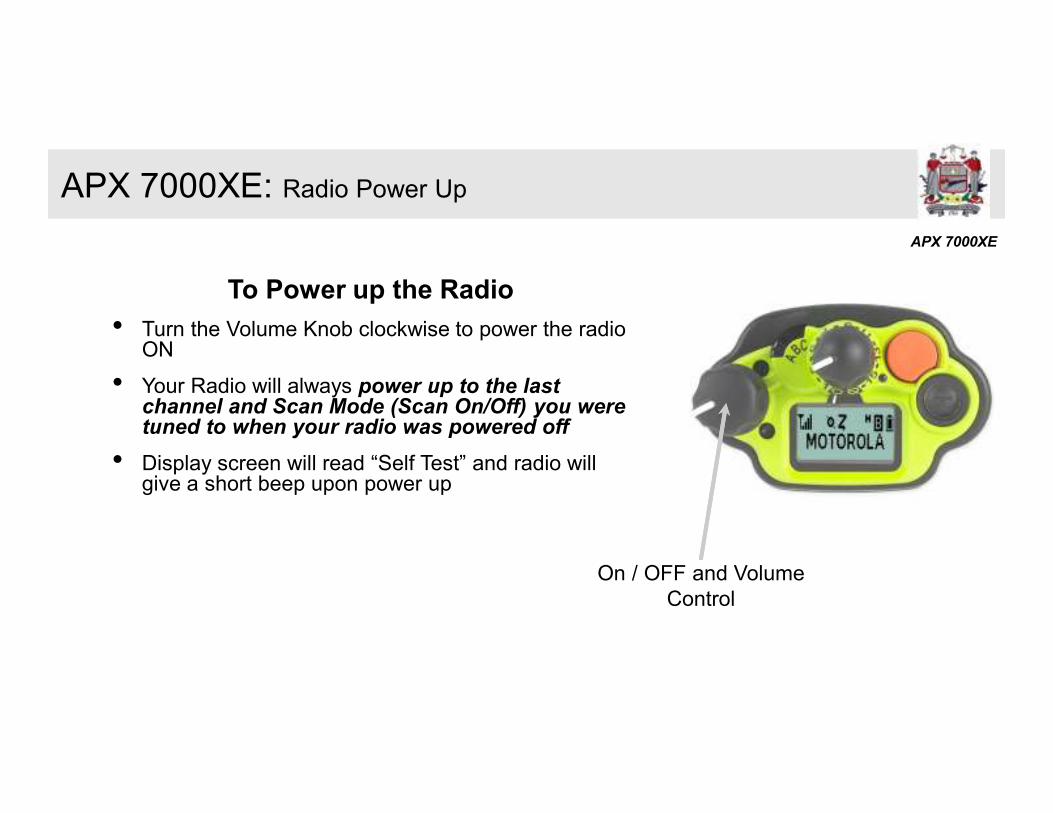
APX 7000XE: Radio Power Up
On / OFF and Volume
Control
To Power up the Radio
• Turn the Volume Knob clockwise to power the radio ON
• Your Radio will always power up to the last channel and Scan Mode (Scan On/Off) you were tuned to when your radio was powered off
• Display screen will read “Self Test” and radio will give a short beep upon power up
APX 7000XE
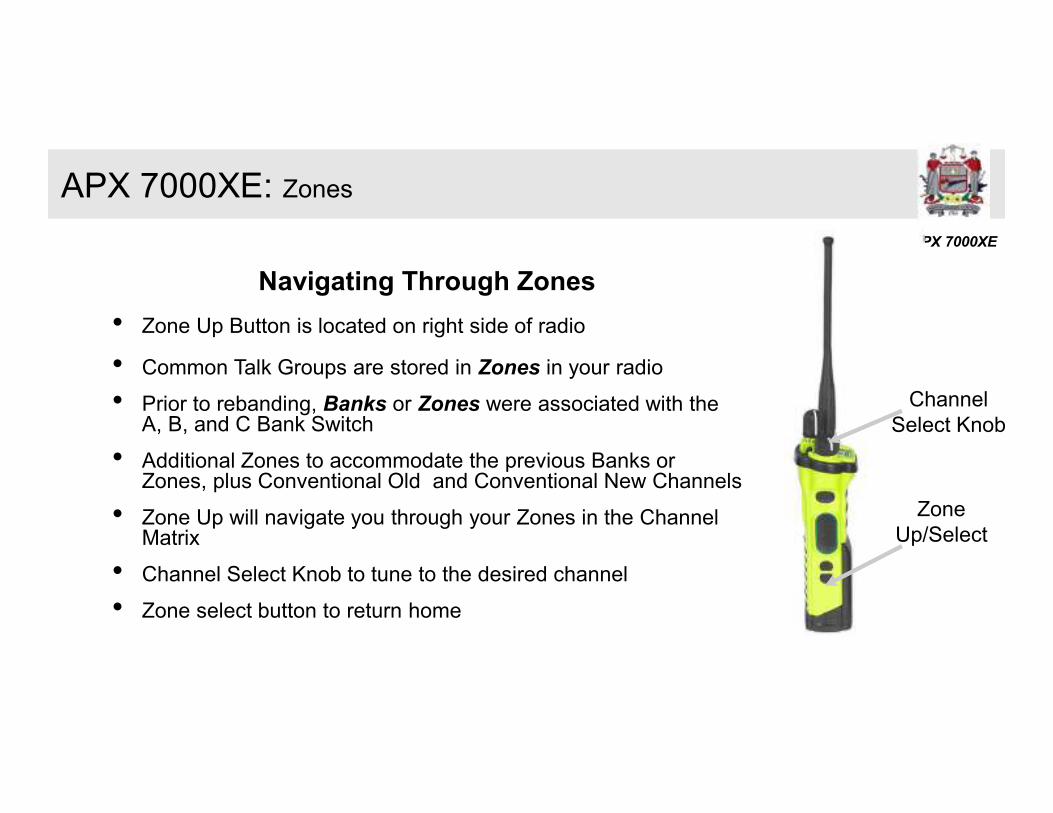
APX 7000XE: Zones
Navigating Through Zones
• Zone Up Button is located on right side of radio
• Common Talk Groups are stored in Zones in your radio
• Prior to rebanding, Banks or Zones were associated with the A, B, and C Bank Switch
• Additional Zones to accommodate the previous Banks or Zones, plus Conventional Old and Conventional New Channels
• Zone Up will navigate you through your Zones in the Channel Matrix
• Channel Select Knob to tune to the desired channel
• Zone select button to return home
Zone
Up/Select
Channel
Select Knob
APX 7000XE
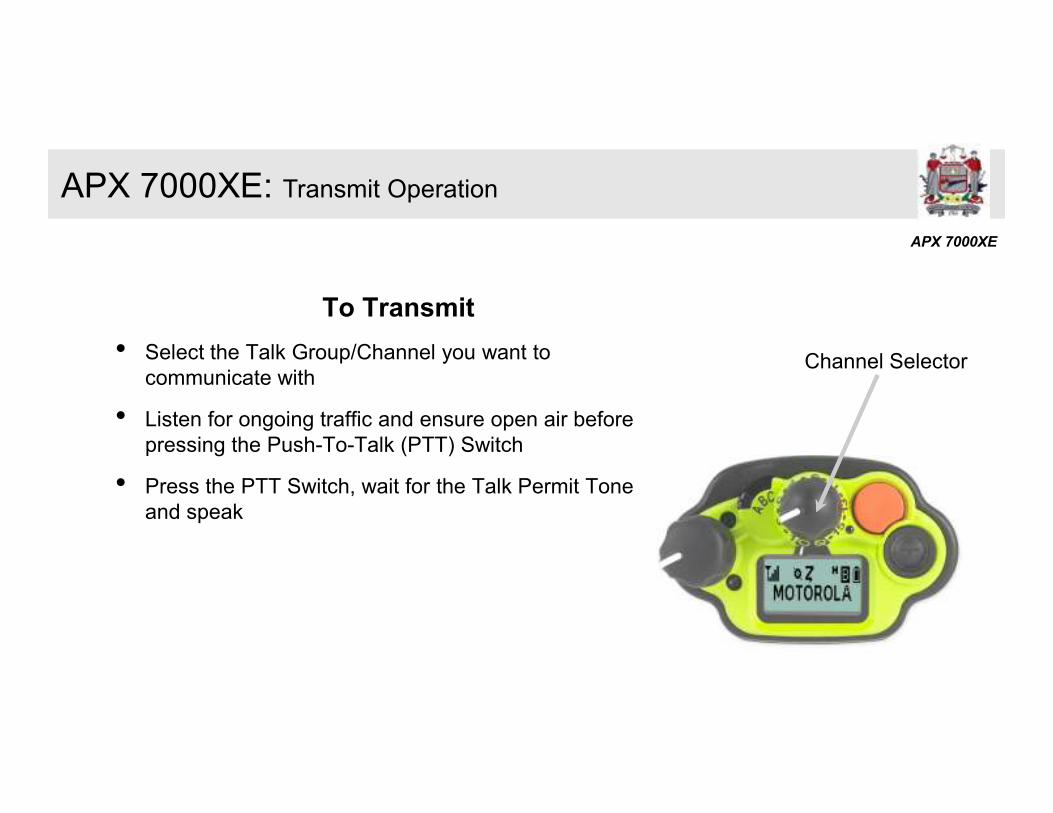
To Transmit
• Select the Talk Group/Channel you want to
communicate with
• Listen for ongoing traffic and ensure open air before
pressing the Push-To-Talk (PTT) Switch
• Press the PTT Switch, wait for the Talk Permit Tone
and speak
APX 7000XE: Transmit Operation
Channel Selector
APX 7000XE
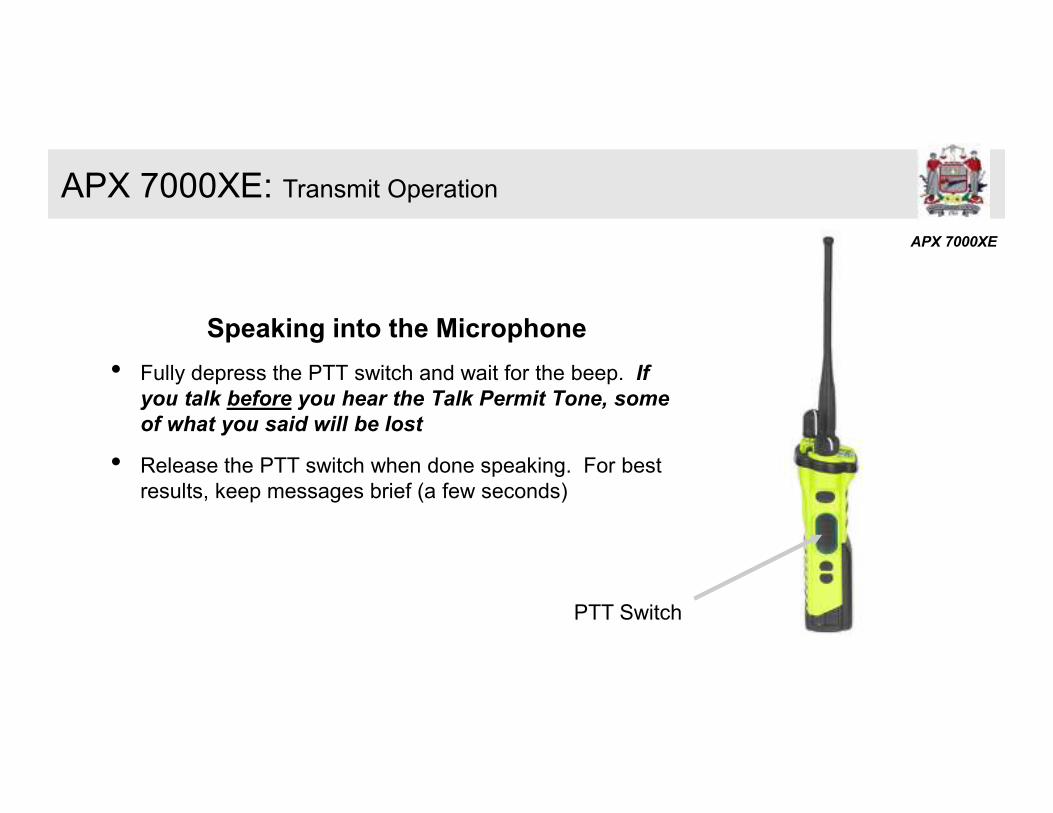
Speaking into the Microphone
• Fully depress the PTT switch and wait for the beep. If
you talk before you hear the Talk Permit Tone, some
of what you said will be lost
• Release the PTT switch when done speaking. For best
results, keep messages brief (a few seconds)
APX 7000XE: Transmit Operation
PTT Switch
APX 7000XE
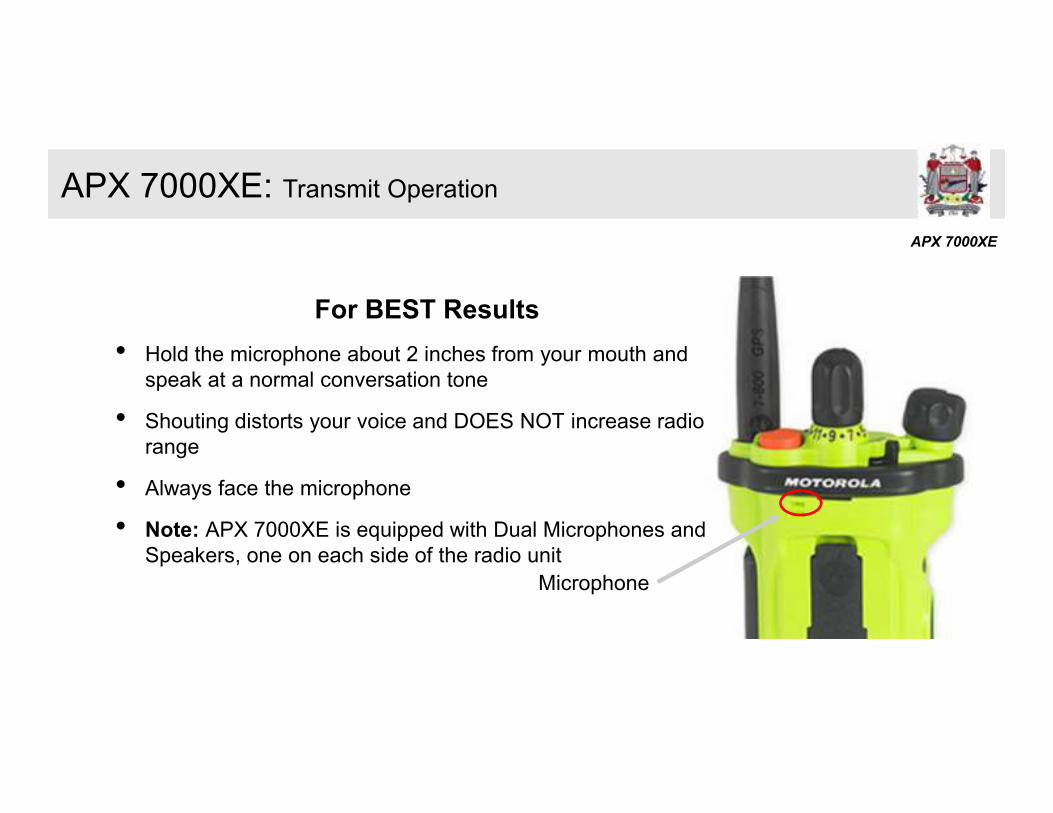
For BEST Results
• Hold the microphone about 2 inches from your mouth and
speak at a normal conversation tone
• Shouting distorts your voice and DOES NOT increase radio
range
• Always face the microphone
• Note: APX 7000XE is equipped with Dual Microphones and
Speakers, one on each side of the radio unit
APX 7000XE: Transmit Operation
Microphone
APX 7000XE
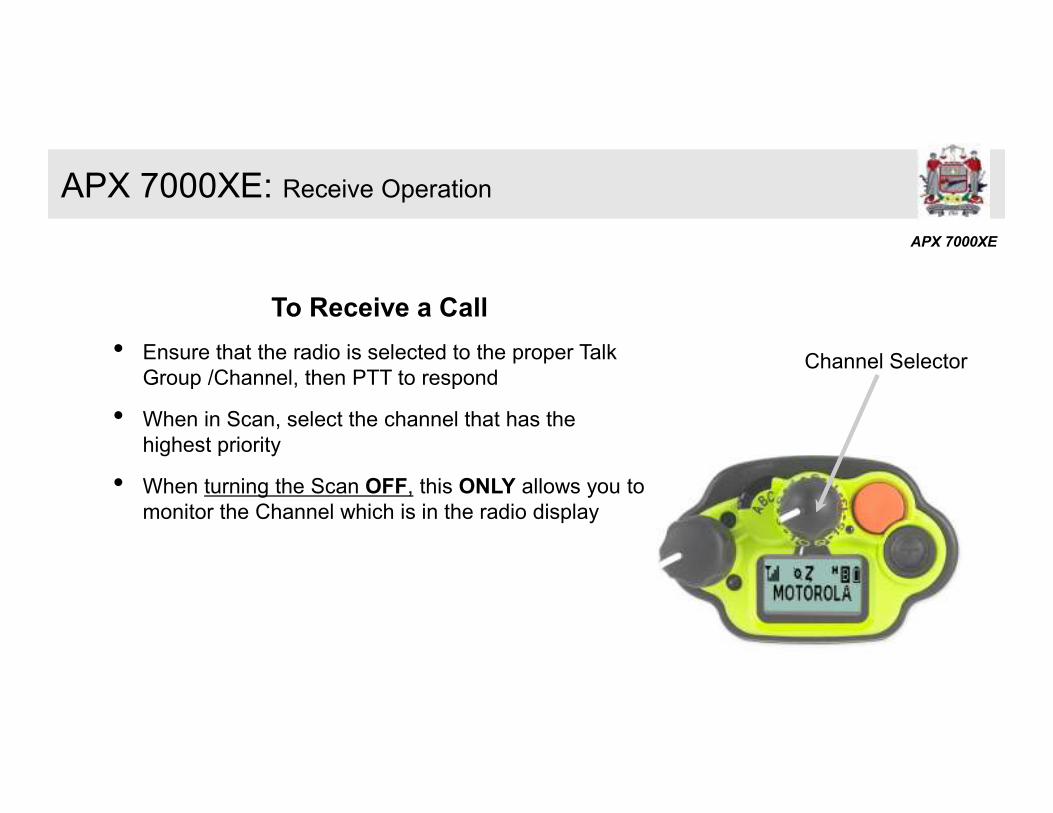
APX 7000XE: Receive Operation
To Receive a Call
• Ensure that the radio is selected to the proper Talk
Group /Channel, then PTT to respond
• When in Scan, select the channel that has the
highest priority
• When turning the Scan OFF, this ONLY allows you to
monitor the Channel which is in the radio display
Channel Selector
APX 7000XE
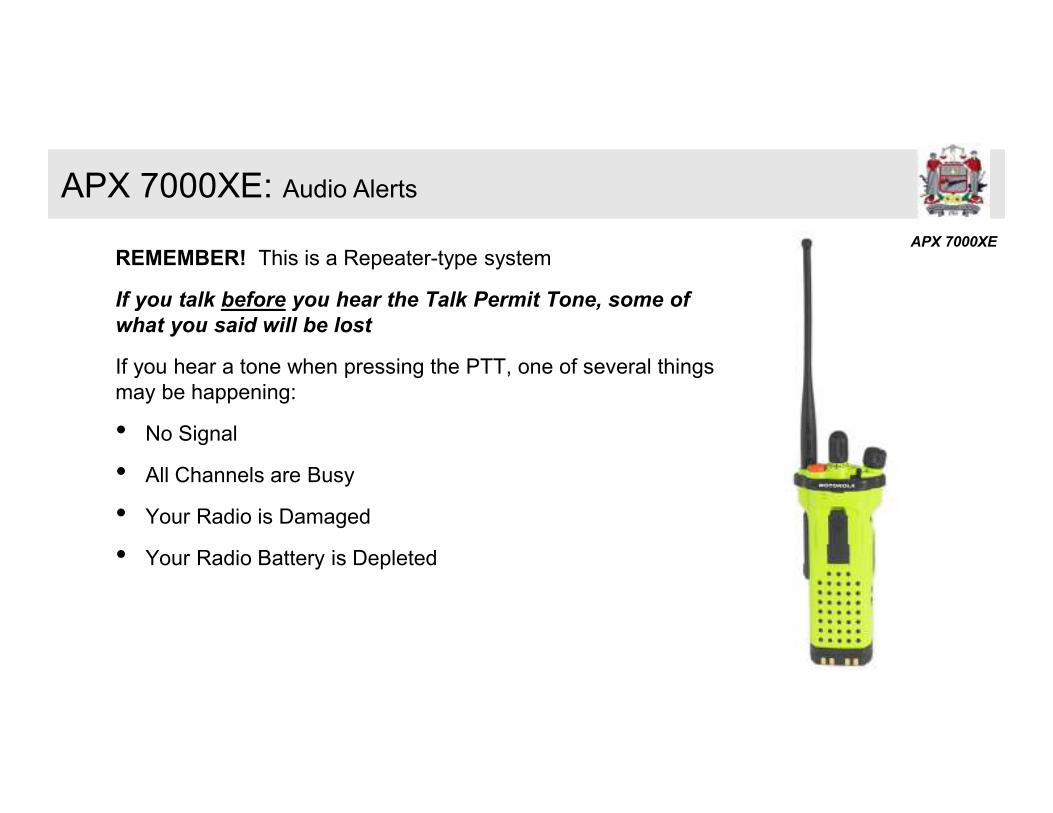
REMEMBER! This is a Repeater-type system
If you talk before you hear the Talk Permit Tone, some of
what you said will be lost
If you hear a tone when pressing the PTT, one of several things
may be happening:
• No Signal
• All Channels are Busy
• Your Radio is Damaged
• Your Radio Battery is Depleted
APX 7000XE: Audio Alerts
APX 7000XE
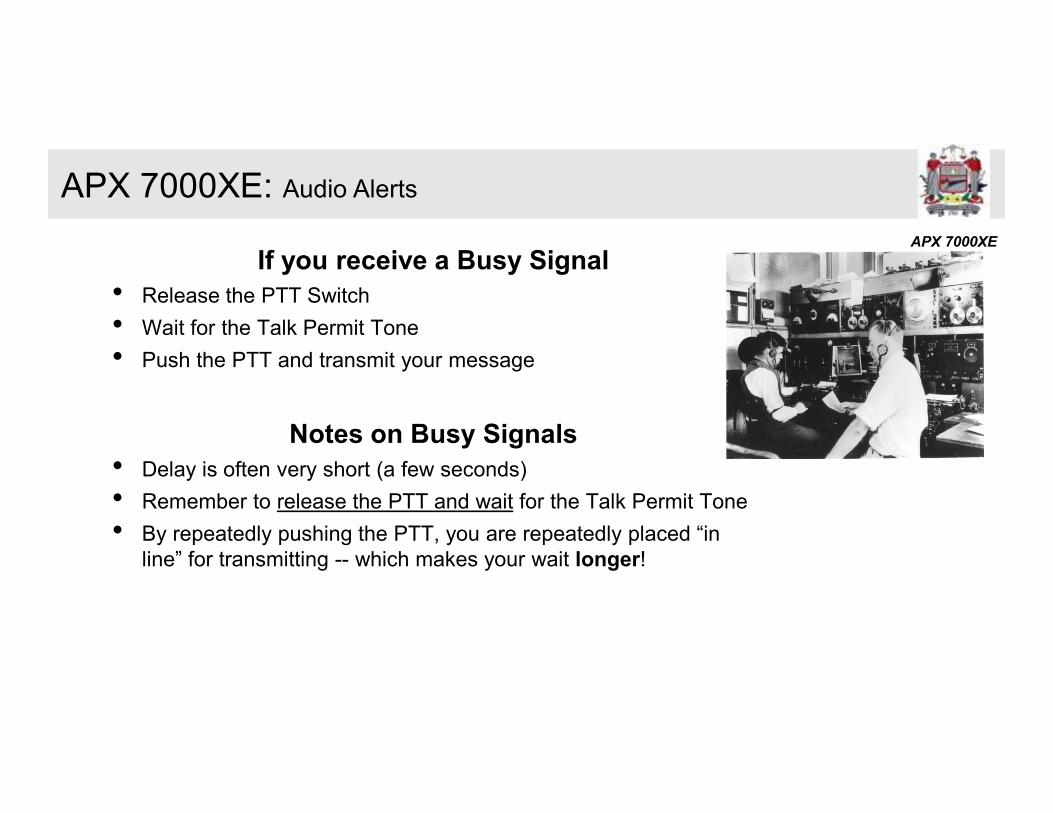
If you receive a Busy Signal
• Release the PTT Switch
• Wait for the Talk Permit Tone
• Push the PTT and transmit your message
Notes on Busy Signals
• Delay is often very short (a few seconds)
• Remember to release the PTT and wait for the Talk Permit Tone
• By repeatedly pushing the PTT, you are repeatedly placed “in
line” for transmitting -- which makes your wait longer!
APX 7000XE: Audio Alerts
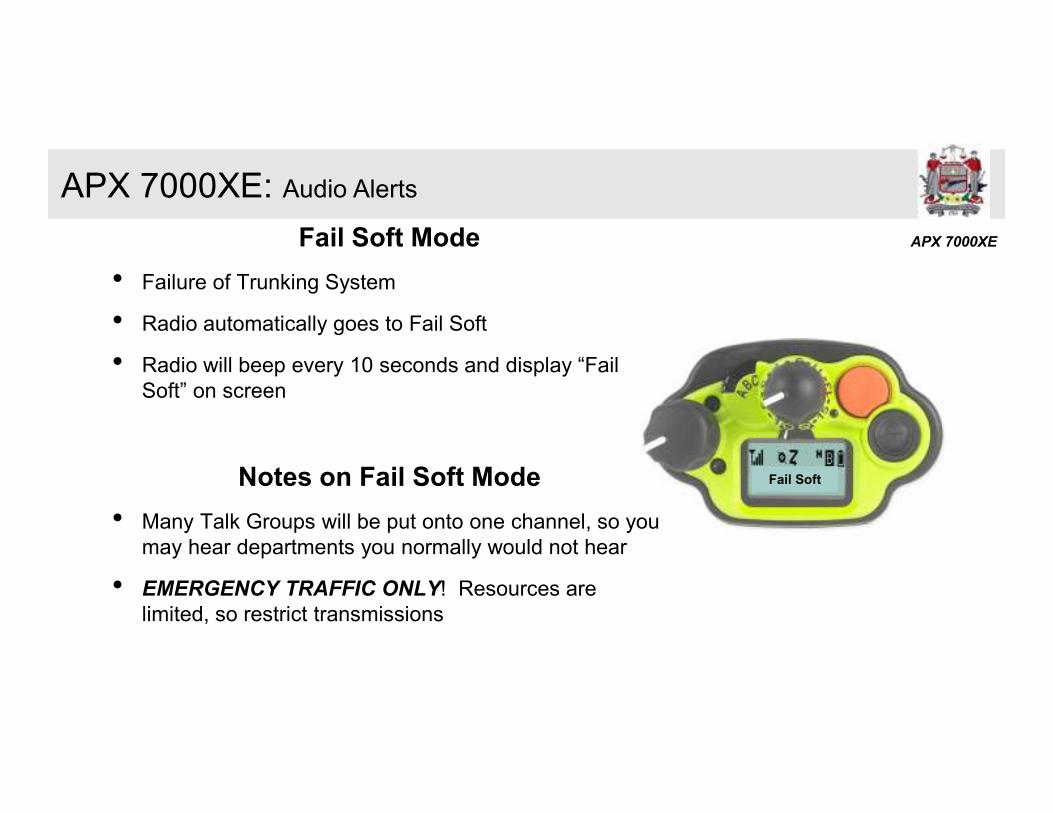
APX 7000XEFail Soft Mode
• Failure of Trunking System
• Radio automatically goes to Fail Soft
• Radio will beep every 10 seconds and display “Fail
Soft” on screen
Notes on Fail Soft Mode
• Many Talk Groups will be put onto one channel, so you
may hear departments you normally would not hear
• EMERGENCY TRAFFIC ONLY! Resources are
limited, so restrict transmissions
APX 7000XE: Audio Alerts
Fail Soft
APX 7000XE
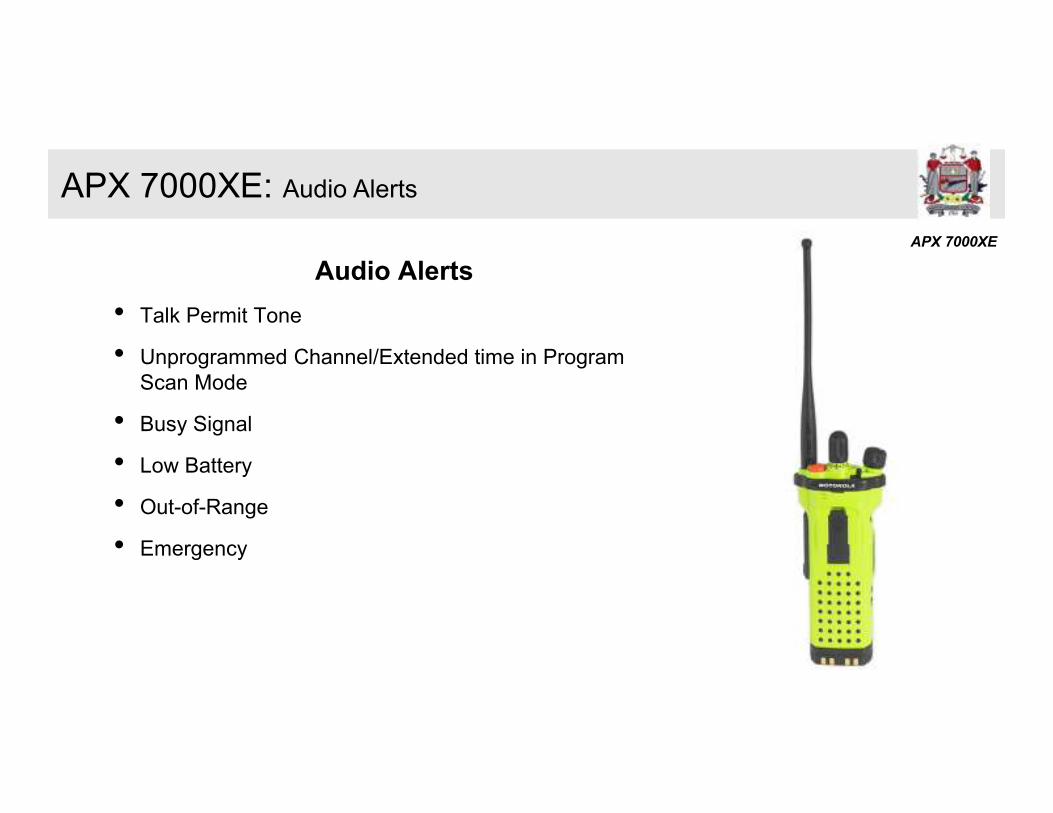
Audio Alerts
• Talk Permit Tone
• Unprogrammed Channel/Extended time in Program
Scan Mode
• Busy Signal
• Low Battery
• Out-of-Range
• Emergency
APX 7000XE: Audio Alerts
APX 7000XE
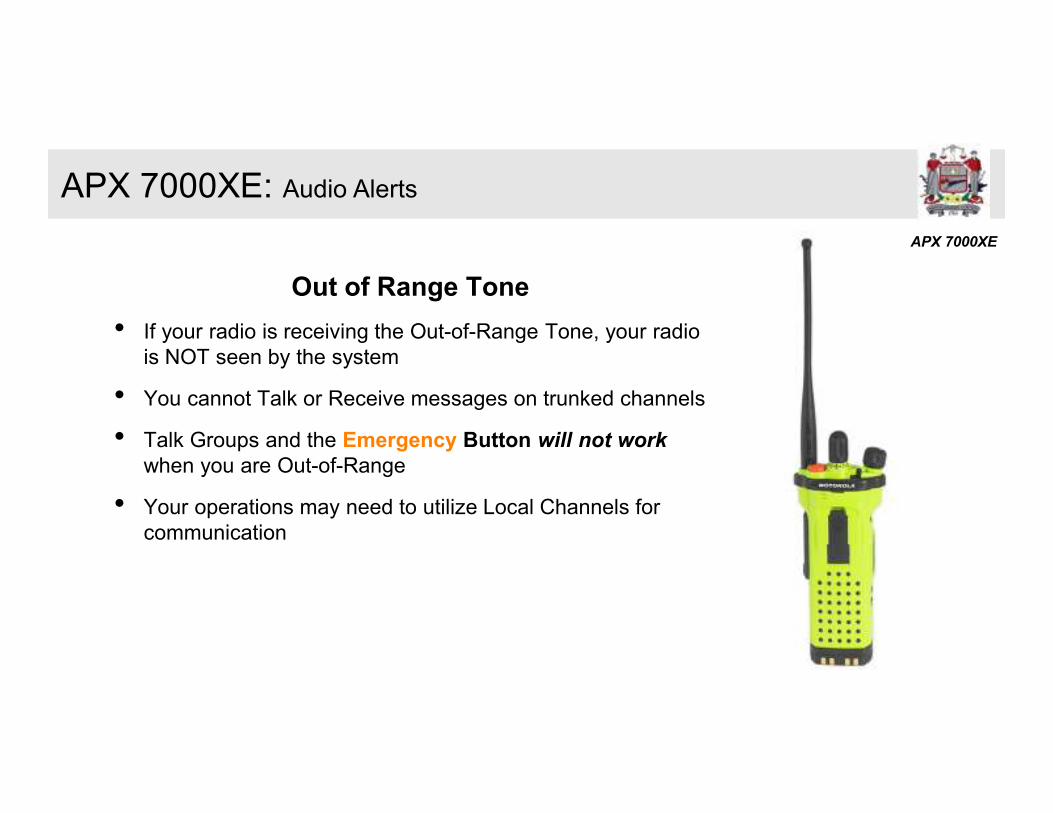
Out of Range Tone
• If your radio is receiving the Out-of-Range Tone, your radio
is NOT seen by the system
• You cannot Talk or Receive messages on trunked channels
• Talk Groups and the Emergency Button will not work
when you are Out-of-Range
• Your operations may need to utilize Local Channels for
communication
APX 7000XE: Audio Alerts
APX 7000XE
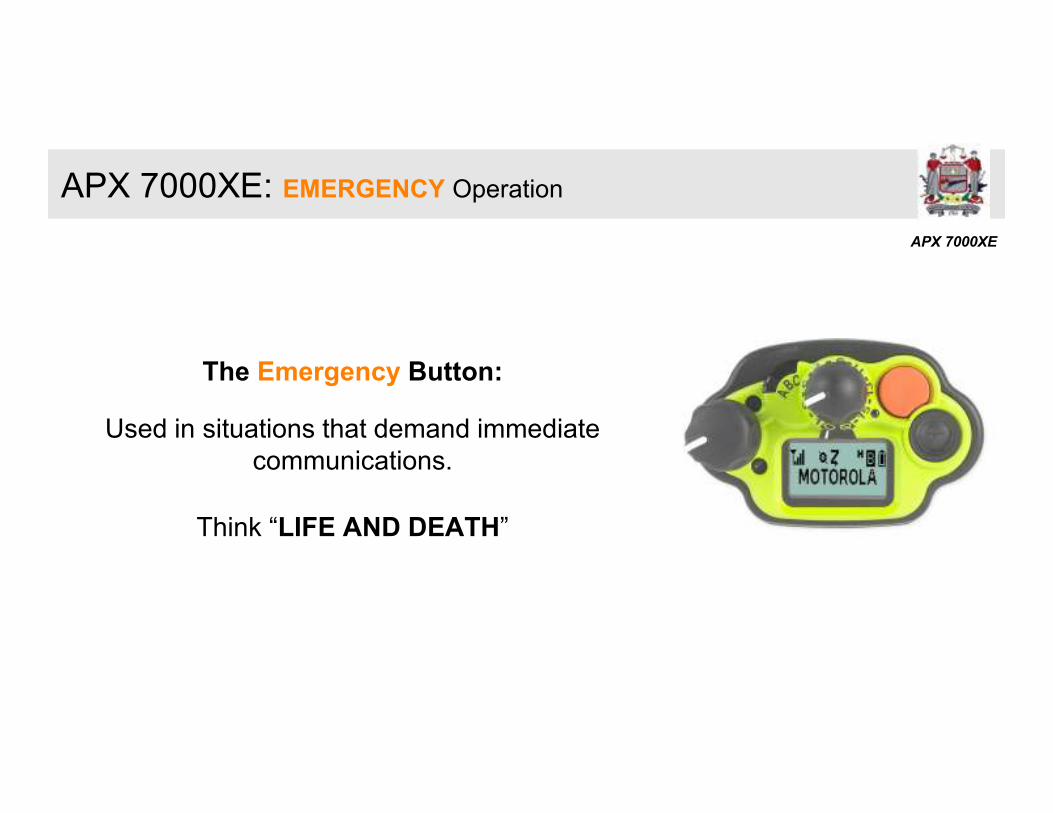
The Emergency Button:
Used in situations that demand immediate
communications.
Think “LIFE AND DEATH”
APX 7000XE: EMERGENCY Operation
APX 7000XE
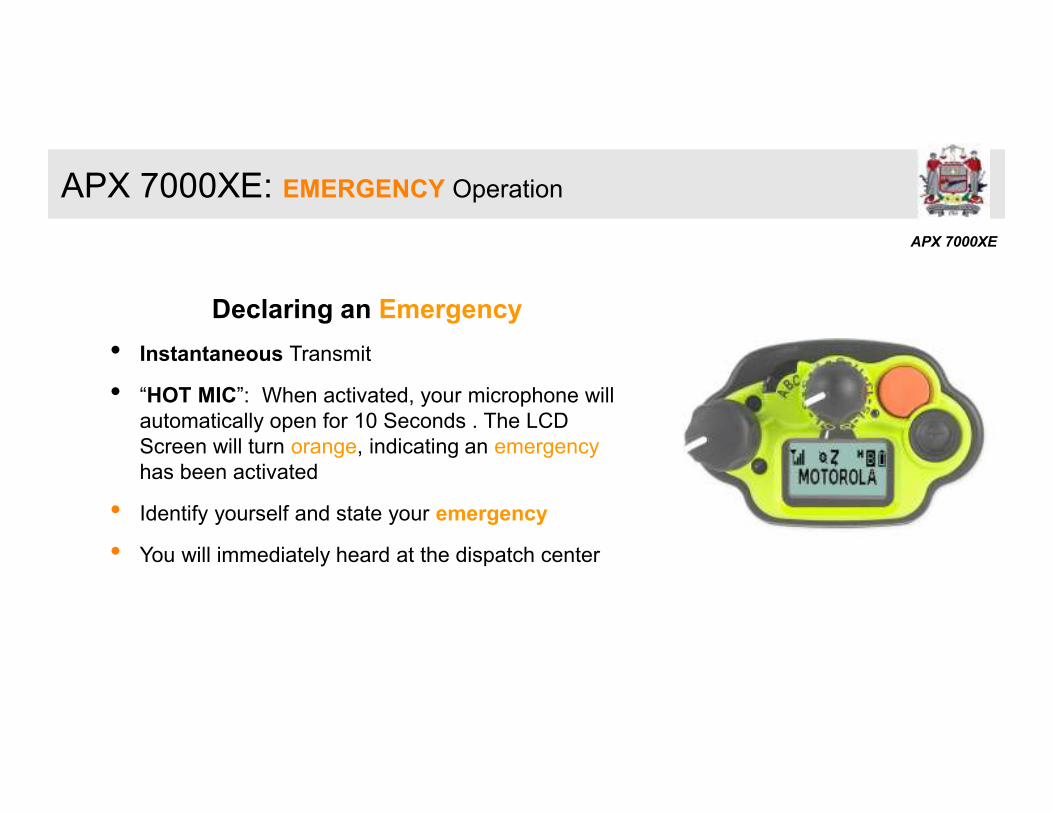
APX 7000XE: EMERGENCY Operation
Declaring an Emergency
• Instantaneous Transmit
• “HOT MIC”: When activated, your microphone will
automatically open for 10 Seconds . The LCD
Screen will turn orange, indicating an emergency
has been activated
• Identify yourself and state your emergency
• You will immediately heard at the dispatch center
APX 7000XE
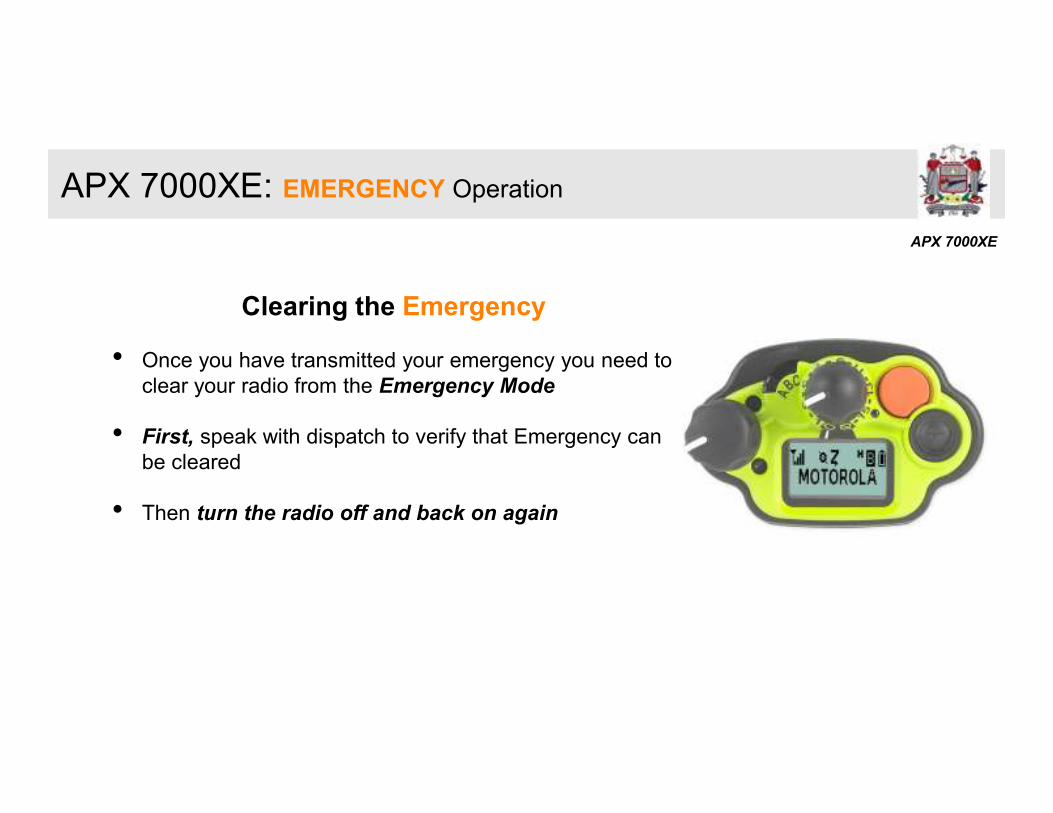
APX 7000XE: EMERGENCY Operation
Clearing the Emergency
• Once you have transmitted your emergency you need to
clear your radio from the Emergency Mode
• First, speak with dispatch to verify that Emergency can
be cleared
• Then turn the radio off and back on again

APX 7000XE
APX 7000XE: Scanning
800 MHz Radio can Scan 15 Talkgroups
• Only scan Talkgroups within the WEST or EAST at one
time
• When set to a selected channel AND Scanning, any
message from that selected channel will override the
scanned Talkgroups
• When responding to another Zone / Region, switch radio
to the Zone / Region where the incident exists
• Responding units will then be in direct communications
with Incident Commander or Officer in Charge
APX 7000XE
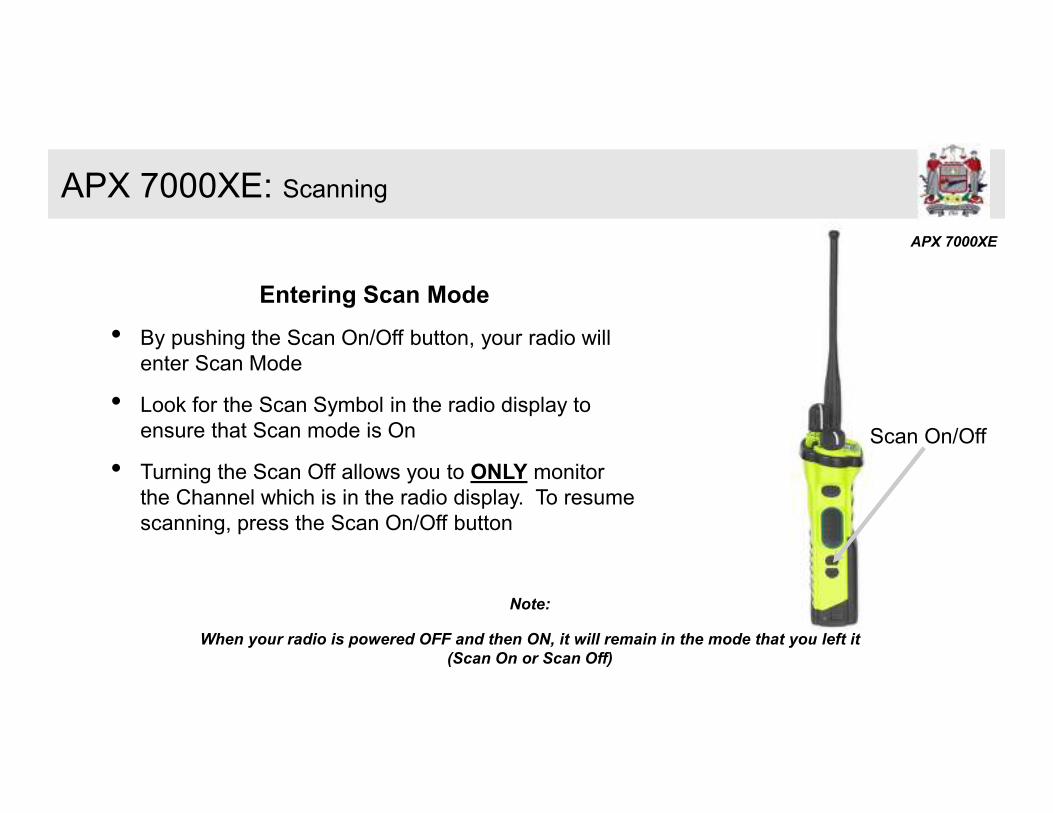
Entering Scan Mode
• By pushing the Scan On/Off button, your radio will
enter Scan Mode
• Look for the Scan Symbol in the radio display to
ensure that Scan mode is On
• Turning the Scan Off allows you to ONLY monitor
the Channel which is in the radio display. To resume
scanning, press the Scan On/Off button
APX 7000XE: Scanning
Note:
When your radio is powered OFF and then ON, it will remain in the mode that you left it
(Scan On or Scan Off)
Scan On/Off
APX 7000XE
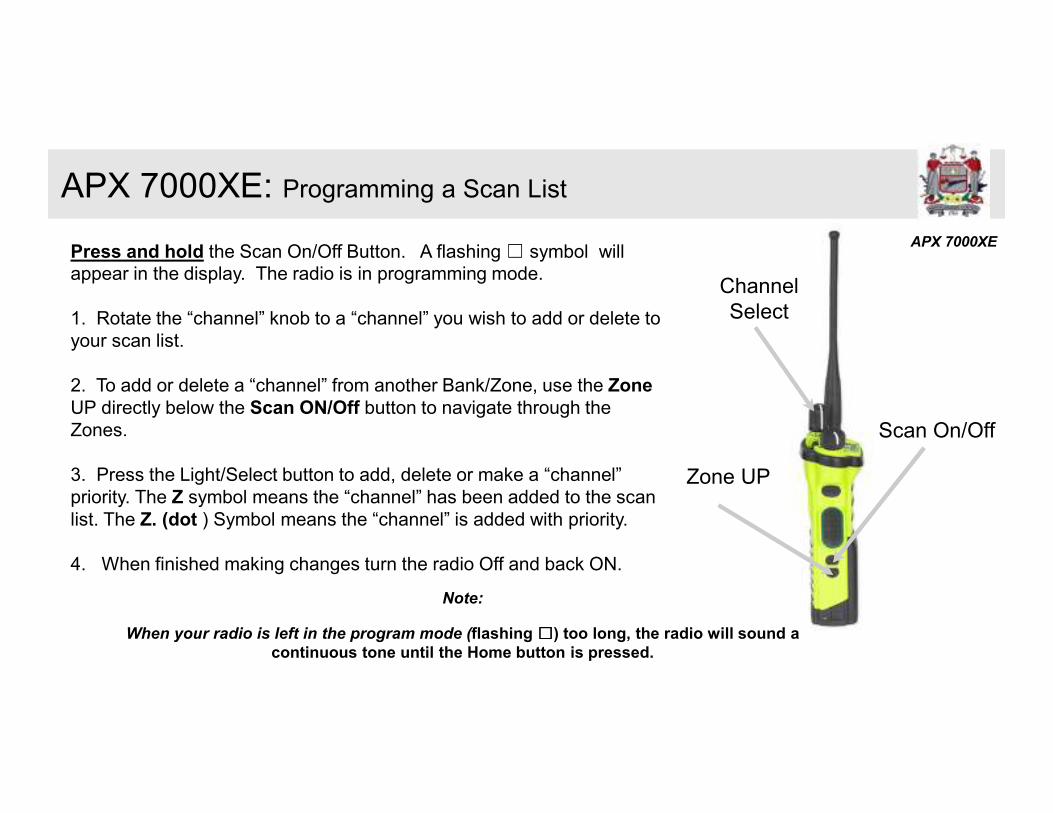
APX 7000XE: Programming a Scan List
Channel
Select
Zone UP
Scan On/Off
Press and hold the Scan On/Off Button. A flashing ☐ symbol will appear in the display. The radio is in programming mode.
1. Rotate the “channel” knob to a “channel” you wish to add or delete to
your scan list.
2. To add or delete a “channel” from another Bank/Zone, use the Zone
UP directly below the Scan ON/Off button to navigate through the
Zones.
3. Press the Light/Select button to add, delete or make a “channel”
priority. The Z symbol means the “channel” has been added to the scan
list. The Z. (dot ) Symbol means the “channel” is added with priority.
4. When finished making changes turn the radio Off and back ON.
Note:
When your radio is left in the program mode (flashing ☐☐☐☐) too long, the radio will sound a continuous tone until the Home button is pressed.
APX 7000XE
APX 7000XE: Programming a Scan List
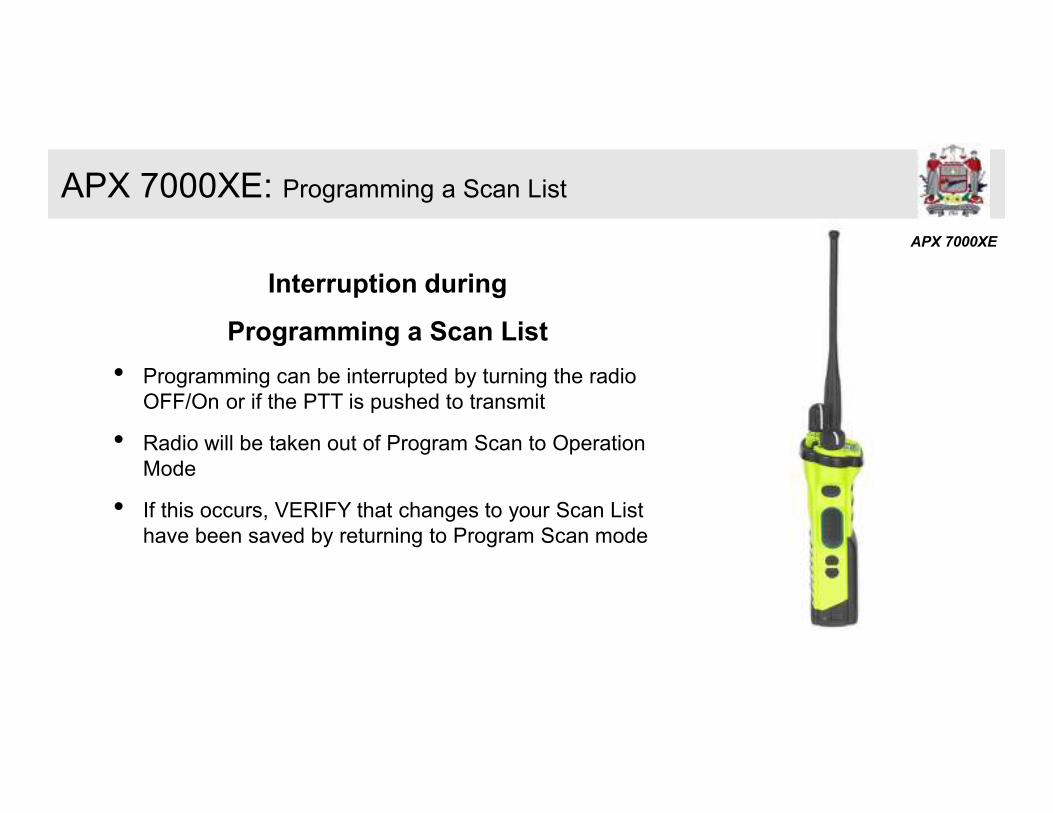
Interruption during
Programming a Scan List
• Programming can be interrupted by turning the radio
OFF/On or if the PTT is pushed to transmit
• Radio will be taken out of Program Scan to Operation
Mode
• If this occurs, VERIFY that changes to your Scan List
have been saved by returning to Program Scan mode
APX 7000XE
APX 7000XE: Side Cover & Accessories
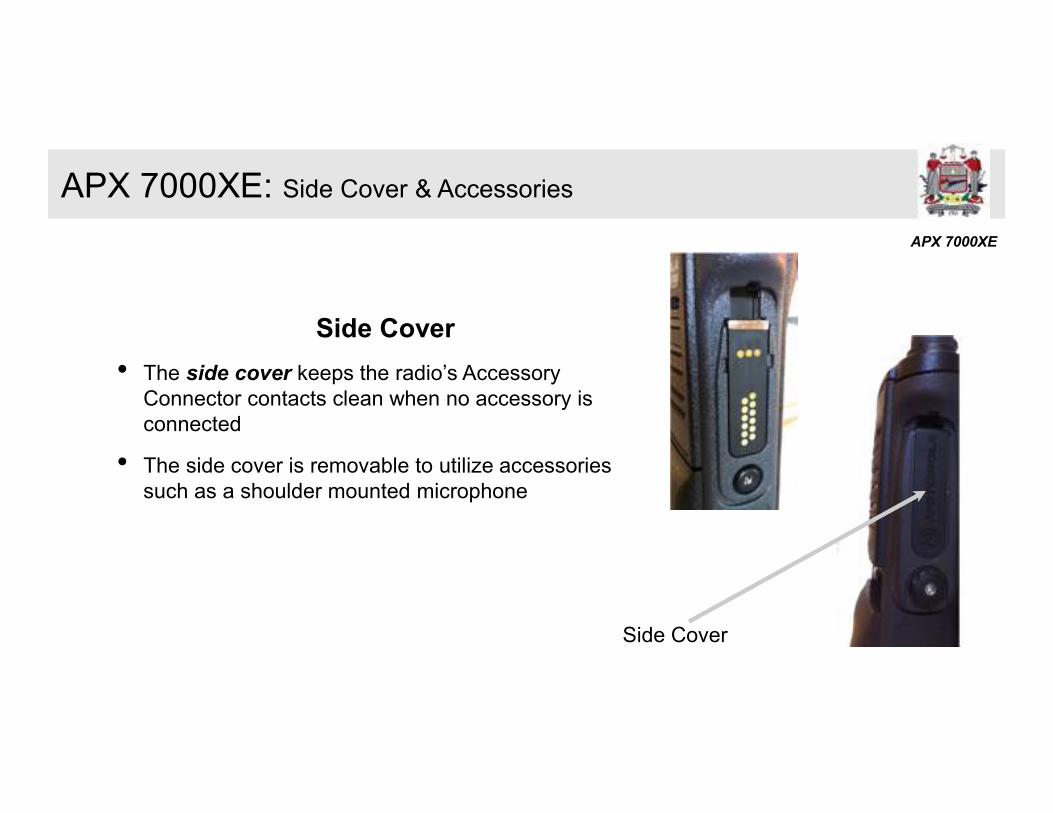
Side Cover
• The side cover keeps the radio’s Accessory
Connector contacts clean when no accessory is
connected
• The side cover is removable to utilize accessories
such as a shoulder mounted microphone
Side Cover
APX 7000XE
APX 7000XE: Side Cover & Accessories
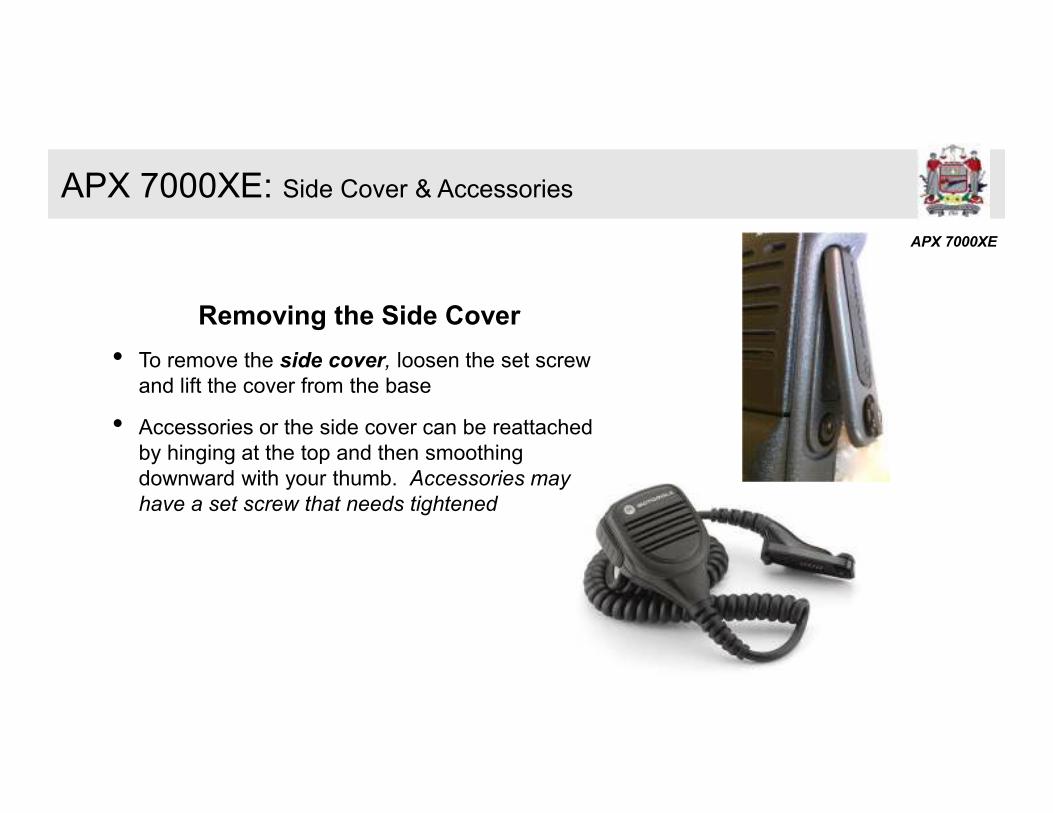
Removing the Side Cover
• To remove the side cover, loosen the set screw
and lift the cover from the base
• Accessories or the side cover can be reattached
by hinging at the top and then smoothing
downward with your thumb. Accessories may
have a set screw that needs tightened
APX 7000XE
Proper Battery Care
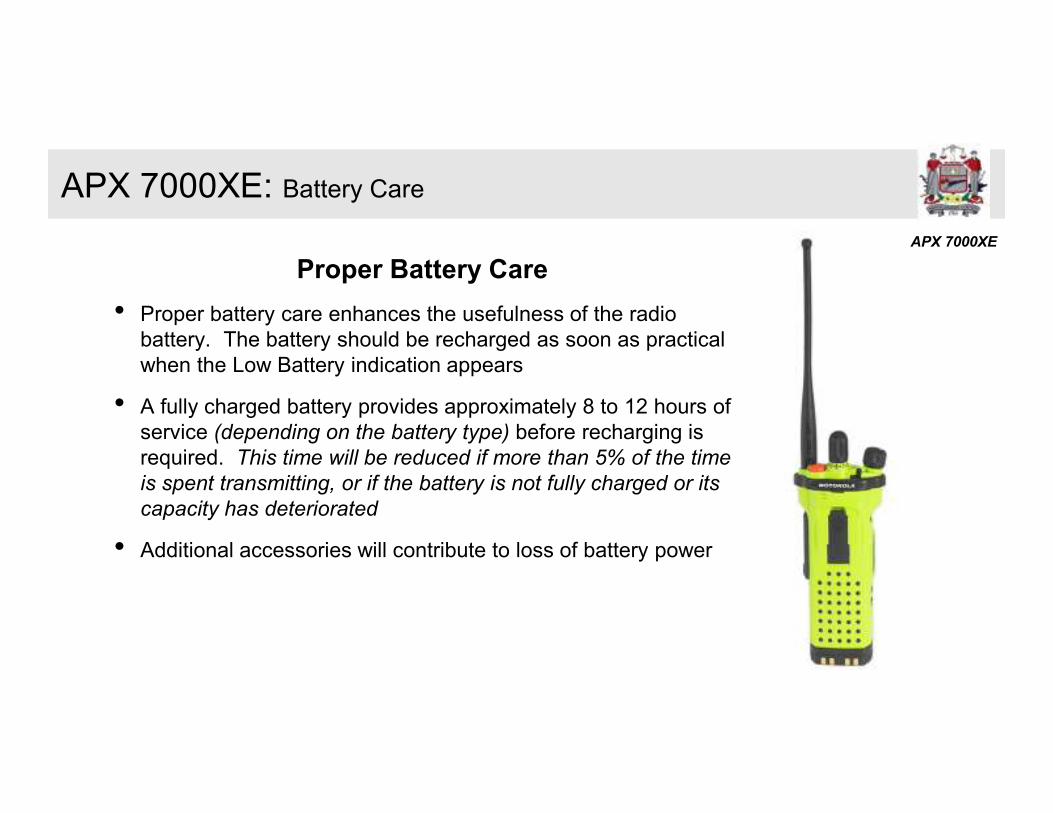
• Proper battery care enhances the usefulness of the radio
battery. The battery should be recharged as soon as practical
when the Low Battery indication appears
• A fully charged battery provides approximately 8 to 12 hours of
service (depending on the battery type) before recharging is
required. This time will be reduced if more than 5% of the time
is spent transmitting, or if the battery is not fully charged or its
capacity has deteriorated
• Additional accessories will contribute to loss of battery power
APX 7000XE: Battery Care
APX 7000XE
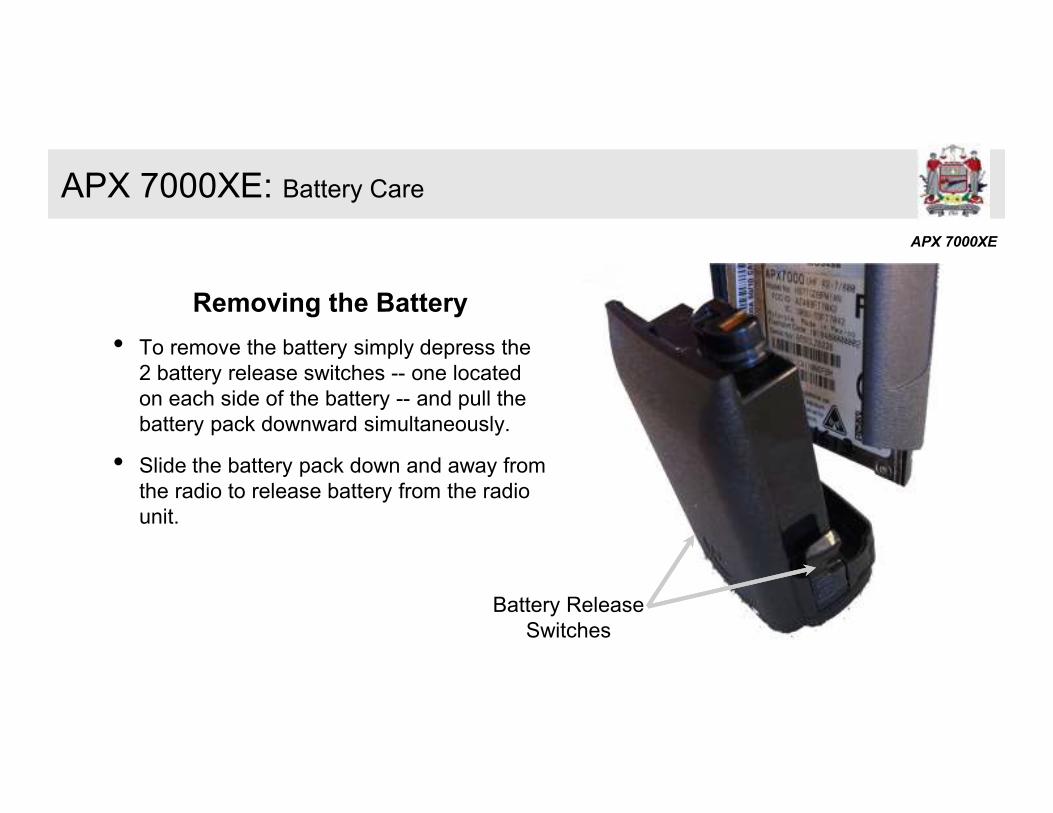
Removing the Battery
• To remove the battery simply depress the
2 battery release switches -- one located
on each side of the battery -- and pull the
battery pack downward simultaneously.
• Slide the battery pack down and away from
the radio to release battery from the radio
unit.
APX 7000XE: Battery Care
Battery Release
Switches
APX 7000XE
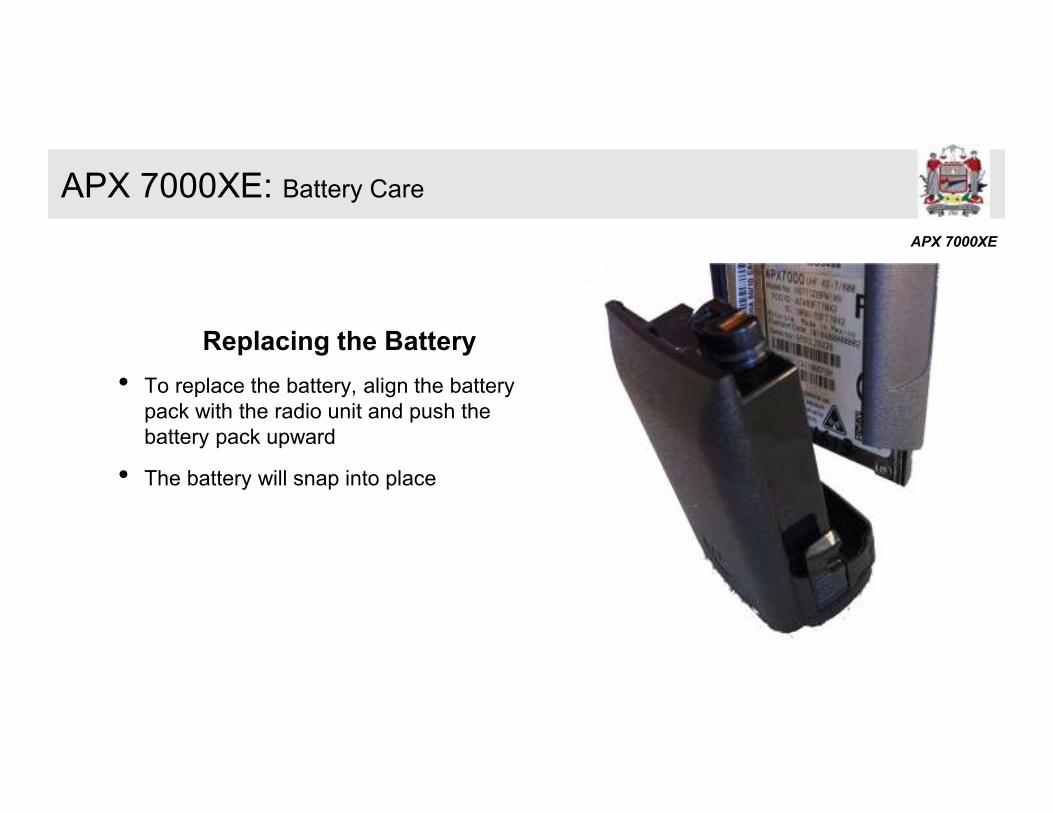
Replacing the Battery
• To replace the battery, align the battery
pack with the radio unit and push the
battery pack upward
• The battery will snap into place
APX 7000XE: Battery Care
APX 7000XE
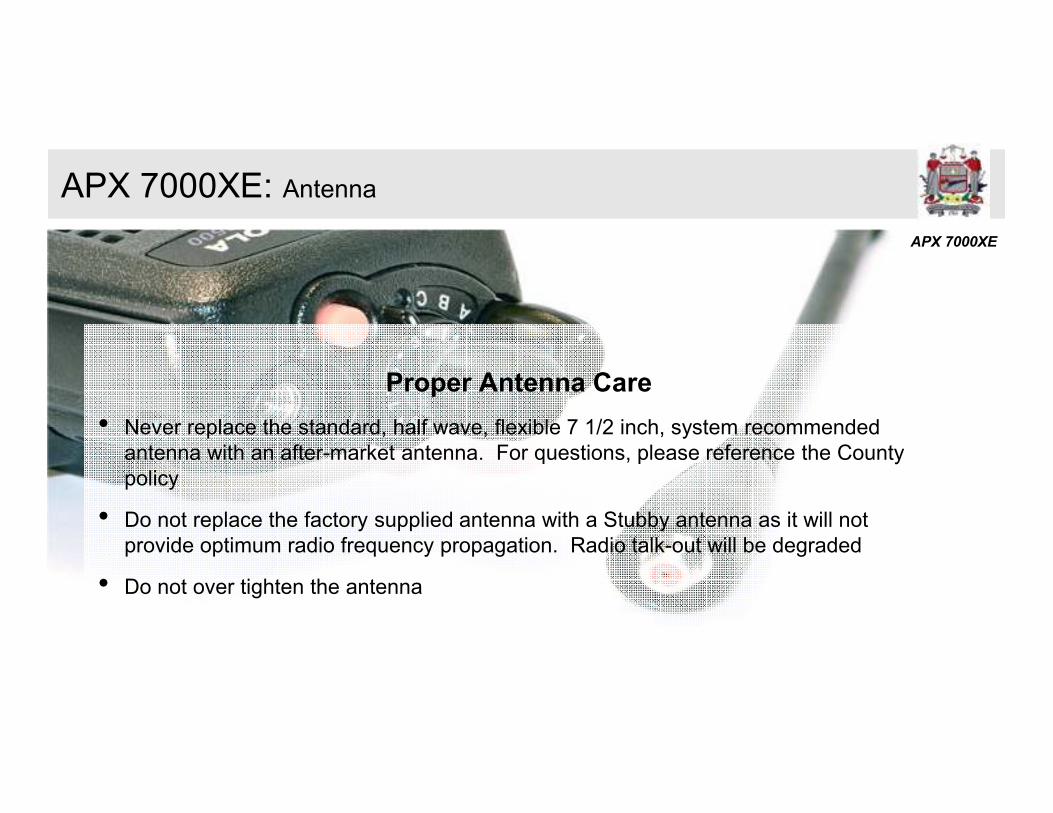
Proper Antenna Care
• Never replace the standard, half wave, flexible 7 1/2 inch, system recommended
antenna with an after-market antenna. For questions, please reference the County
policy
• Do not replace the factory supplied antenna with a Stubby antenna as it will not
provide optimum radio frequency propagation. Radio talk-out will be degraded
• Do not over tighten the antenna
APX 7000XE: Antenna
APX 7000XE
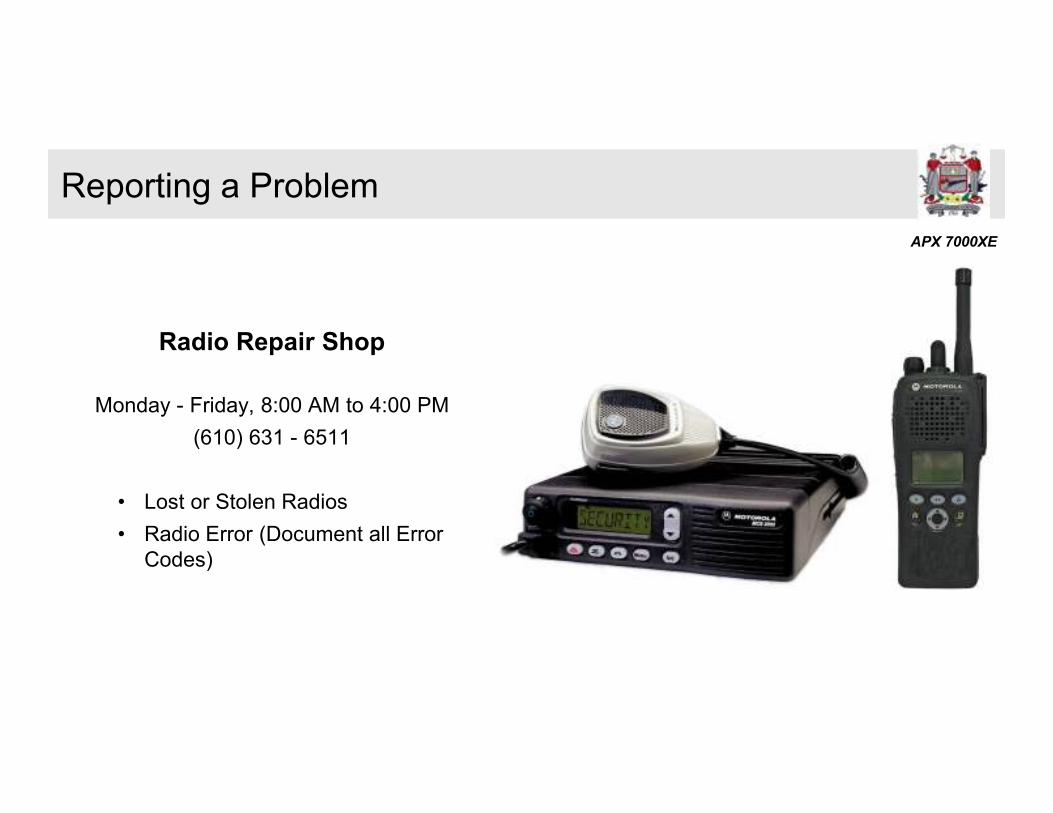
Reporting a Problem
Radio Repair Shop
Monday - Friday, 8:00 AM to 4:00 PM
(610) 631 - 6511
• Lost or Stolen Radios
• Radio Error (Document all Error
Codes)

APX 7000XE
Radio Incidents
Fill out a Radio Incident Report Form
Fax to: (610) 631 - 6536
Form is available to download on-line at:
www.dps.montcopa.org
Type “Radio Incident Report” in the Search
Reporting a Problem
APX 7000XE
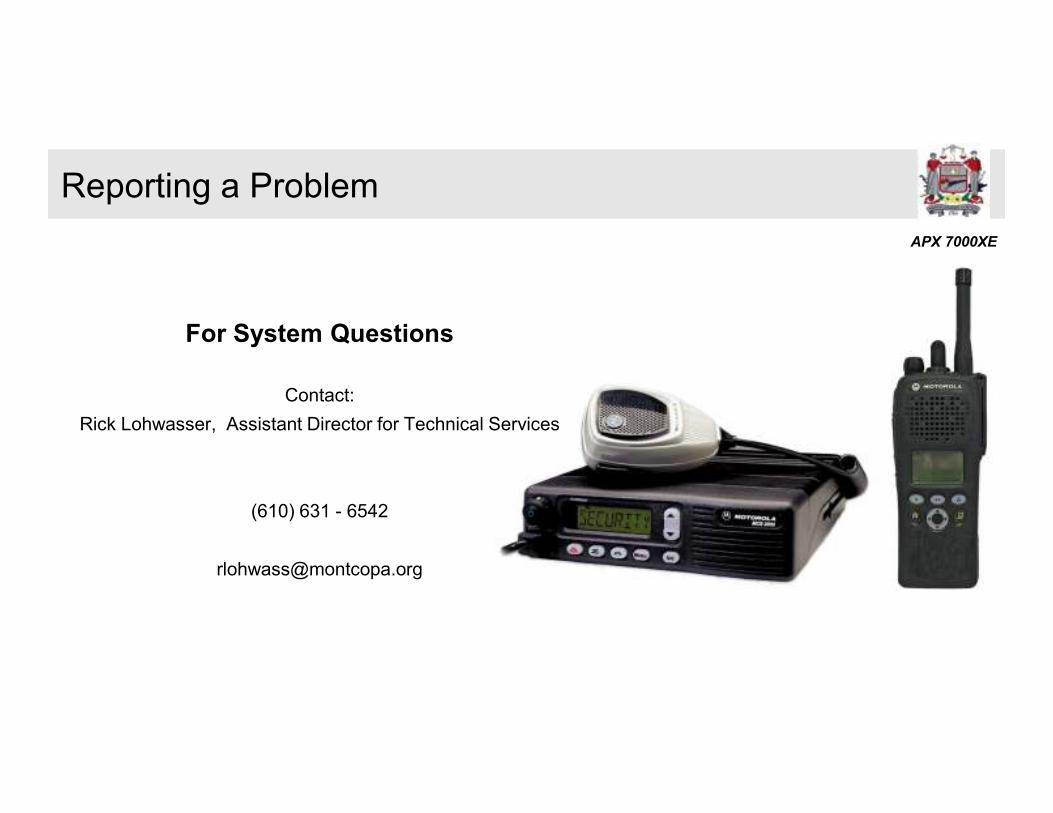
Reporting a Problem
For System Questions
Contact:
Rick Lohwasser, Assistant Director for Technical Services
(610) 631 - 6542
APX 7000XE
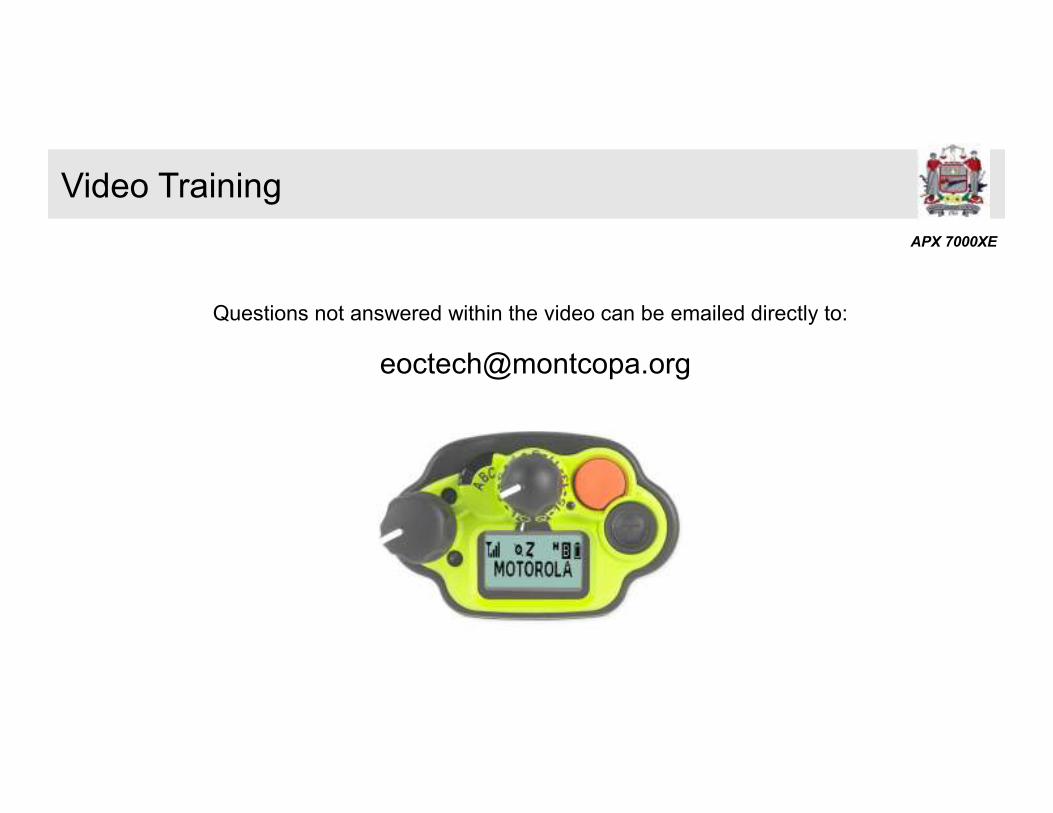
Questions not answered within the video can be emailed directly to:
Video Training
APX 7000XE
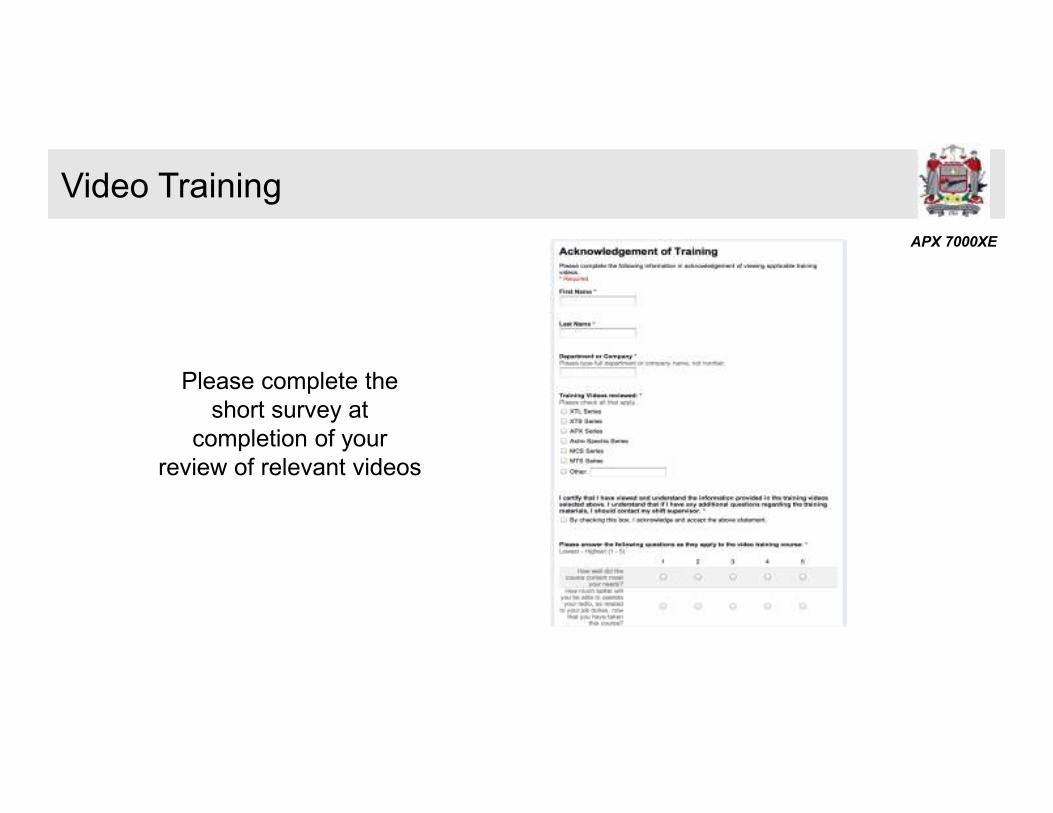
Please complete the
short survey at
completion of your
review of relevant videos
Video Training