aria - rapid3d.co.za€¢ ec500 ― the highest resolution and crispest lost wax casting material...
TRANSCRIPT

1StockInDeSIgn: the LAB of InDeSIgn tempLAteS
AriaT HE NE W GENER AT I O N O F PR EMIUM DESK TO P 3D PR IN T ER S
Finally. A reliable, premium 3D printer at an affordable price. From EnvisionTEC, the leaders in DLP printing technology since 2002.

2 Business Plan TemPlaTe
ALL ABOUT ARIA
Experience the power of 3D printing with a reliable dlp starter machinefrom the pioneers and world leaders in dlp-style 3D printing.
TECHNICAL SPECIFICATIONS 3
THE ARIA CURING BOX 4
SUPPORT AND SHIPPING 4
MATERIALS 5
SITE PREPARATION 6-9
QUICK START GUIDE 10-15
ABOUT ENVISIONTEC 16
2

3StockInDeSIgn: the LAB of InDeSIgn tempLAteS
Aria QUICKLY PRODUCES PARTS WITH EXCEPTIONAL SURFACE FINISH AND FUNCTIONALITY. Z LAYER RESOLUTION CAN BE SET AT 25, 35 OR 50 MICRONS, DEPENDING ON MATERIAL. BUILT ON ENVISIONTEC’S MICRO PLATFORM, THE ARIA ALLOWS USERS TO TAKE ADVANTAGE OF THE COMPANY’S #15YEARSBETTER SOFTWARE AND FIRMWARE, WHICH DELIVERS BEST-IN-CLASS SURFACE FINISH WITH PATENTED GRAYSCALING AND OTHER EXPOSURE STRATEGY TECH-NIQUES. IDEAL FOR JEWELRY, CONSUMER GOODS, SUCH AS TOYS AND MINIATURES, INDUSTRIAL PARTS AND MORE.
$6,999MACHINE HIGHLIGHTS• simple user-friendly machine design• powered by industrial-grade UV LED light engine• easy-to-use software for preparing jobs• comes standard with Perfactory Soft-ware Suite and EnvisionTEC Magics• transfer job files over Ethernet or USB• touchscreen operation• easy to swap materials with no waste
TECHNICAL SPECIFICATIONS• build Area: 2.36 x 1.77 x 3.94 in. (65 x 40 x 100 mm)• footprint: 9 x 9.5 x 24.2 in. (22.86 x 24.13 x 61.5 cm)• electrical requirement: 110 VAC @ 3A• weight: 35 lbs (16 kg)
TECHNICAL SPECIFICATIONS
3
Fig. 1

4 Business Plan TemPlaTe
OUTSTANDING SUPPORT Aria comes with an easy Quick Start guide, access to our E-Team User Community forum and a one-year back-to-the-factory warranty. We also offer optional support packages, which can be purchased during checkout or at any time after purchase by calling EnvisionTEC support:• $150 - One hour of phone support• $1,450 - One-year extended warranty
This professional curing box features 36 LEDs that deliver light in the 390-420 nm wavelength range and a rotating turntable, for complete and uniform curing. Post-curing as a final step results in higher strength and stability and also ensures a thorough cure, which is critical for parts destined for direct casting. Digital display control panel, with a completion buzzer.
ARIA CURING BOX
$599All support is provided by our experienced team of 3D printing technicians in Dearborn, Michigan, and Gladbeck, Germany.
4

5StockInDeSIgn: the LAB of InDeSIgn tempLAteS
ARIA MATERIALS• EC500 ― The highest resolution and crispest lost wax casting material available with-
out sacrificing speed. Melting point of 350 degrees C and zero ash during burnout. Contains wax; ideal for heavier jewelry pieces up to 20 grams finish weight.
• PIC100 ― One of the most popular low-wax casting materials sold by Envision-TEC around the world. Produces castable parts with exceptional surface finish and detail, including thin walls and intricate details. Three times harder than carving wax. Ideal for parts up to 5 grams finish weight, such as bridal jewelry.
• QView ― For quick design verification, QView material is one of the fastest printing materials offered by EnvisionTEC. Average print speed at 100 micron layer thickness is one inch per hour. QView can also be used as a pattern when built in high resolution to make a silicone mold.
• RC90 ― A high heat-resistant material for building tough, stiff parts in a resolu-tion many regard as the best in 3D printing today. Ideal for building parts to cre-ate rubber mold masters. Popular among some of the world’s leading technology, entertainment and jewelry manufacturers.
PRINT YOUR
POTENTIAL
EC500
PIC100 RC90
QView
5

6 Business Plan TemPlaTe
SITE PREPARATION Before You Unpack Your Aria 3D Printer, Prepare Your Work Space. A Good
Work Space Needs:A Printing Zone for the machine
POWER REQUIREMENTSA clean, single-phase 110-volt AC line at 3 amps with clean ground. The power supply is universal so it can handle voltages from 100 VAC and250 VAC/50-60Hz. Having the machine hooked up to a battery backup to ensure uninterrupted power supply is recommended.
PC REQUIREMENTS• Intel Core i7 CPU• AMD Phenom II X4/X6
at 3.0 GHz or higher with SSE2 technology
• 16GM RAM or higher• 2GB free disk space,
1920 x 1080 resolution or higher display with 32-bit color depth (True color)
• NVIDIA GeForce GTX 1060’ or AMD Radeon RX 480 or better video card
• DirectX 11 compatible video card
• At least 1GB of memory• Memory interface width
of 192-bit (256-bit is recommended)
• ATI/AMD Fire GLO or any Intel GPU chipsets are not recommended
• Windows 7SP1 or later
Recommended: Battery backup for protection from surges and other power inconsistencies
TEMPERATURE• Ideal: 73°F / 23°C• Maximum: 85°F / 28°C Avoid: air conditioning or heating units or airflow from such equipment being directed at the machine. Do not use the Aria in high humidity, dusty areas, or places where the machine may come into contact with smoke or steam.
ITEMS TO ACQUIRE• Gray sheet of mylar
paper for calibration• Loupe to see details
when calibrating• 2.5mm allen key• (Optional) Stylus for
using the touch screen while wearing gloves
• (Optional) An ethernet cord to run a connection to nearby work stations
CLEARANCE • A minimum of one foot /
31 cm of clearance is re-quired at the rear of the machine to gain access to the main power plug and USB port.
• A minimum of two feet / 62 cm of clearance is re-quired on both sides for proper heat dissipation
6

7StockInDeSIgn: the LAB of InDeSIgn tempLAteS
SITE PREPARATION Before You Unpack Your Aria 3D Printer, Prepare Your Work Space. A Good
Work Space Needs:A Processing Zone For Cleaning Your Parts
POWER REQUIREMENTSA clean, single-phase 110-volt AC line at 3 amps with clean ground. The power supply is universal so it can handle voltages from 100 VAC and250 VAC/50-60Hz. Having the machine hooked up to a battery backup to ensure uninterrupted power supply is recommended.
ITEMS TO ACQUIRE• Latex/nitrile gloves to
minimize contact with resin and alcohol
• 99% isopropyl alcohol for cleaning printed parts
• A compressed air supply for rapidly drying the alcohol and removing resin
• Absorbant paper towels to clean off the build platform, to wipe surfaces, to set printed parts onto throughout the cleaning process, and to help maintain a clean workspace
• Makeup or soft bristle brush to gently clean excess resin off of parts while processing
• An empty spray bottle with nozzle
• Two sealable containers to hold alcohol and soak parts - 1 qt each
• Snips and/or a hobby knife
• Sandpaper of various grits
TEMPERATUREThe ideal working temperature is around 73°F / 23°C, ensure the room temperature does not exceed 85°F / 28°C. Do not place the Aria in such a manner that an air conditioning or heating unit is directed on it, any wall-mounted units should be at least 10 feet (3 meters) away from the machine and no airflow should be directed at the machine.
AIR QUALITYAlways maintain good ventilation when using your Aria and cleaning the parts with isopropyl alcohol.
CLEARANCE • A minimum of one foot /
31 cm of clearance is re-quired at the rear of the machine to gain access to the main power plug and USB port.
• A minimum of two feet / 62 cm of clearance is re-quired on both sides for proper heat dissipation.
7

8 Business Plan TemPlaTe
UNPACKING YOUR ARIA What’s In The Boxes?
LARGE BOX• The Aria• A build platform• A flash drive containing
necessary software and the full user manual
• A basement or material tray
THE STARTER KIT• A power cable to start
the machine• A scraper for removing
parts• 1/2kg of resin with a
material tag• Xacto knife• Retractable razor blade
handtool
OPTIONAL BOXA post-curing chamber
8

9StockInDeSIgn: the LAB of InDeSIgn tempLAteS
RESIN HANDLING TIPS Safety First!
GENERAL EnvisionTEC resins are specifically engineered to cure when exposed to light and must be handled with care. Each resin may require different handling. Be sure to follow post-processing in-structions completely before touching printed models. Safety Data Sheets for each resin is available at Envision-TEC.com.
PERSONAL PROTECTIVE EQUIPMENT (PPE)• Nitrile or neoprine
gloves must be worn while in contact with any resin in any stage before it has been post-cured (green stage). Latex gloves are not an appropriate substitute. Make sure that gloves are chemical-resistant before handling anything with them. Replace gloves if they become compromised in any way.
• Dust masks should be worn when particles become airborne, such as during sanding/post processing.
• Wear protective clothing to reduce the chance of coming into contact with any drips or splatter. Wash all clothing that comes into contact with resin using detergent before wearing it again.
FIRST AIDIf injested - seek immediate medical attention. If resin contacts skin - wash thoroughy with cool soap and water, do not use solvents!If resin contacts eyes - rinse the eyes with water for 15 minutes.Do not eat, drink, or smoke in or near workspaces.
RESIN STORAGEAll liquid or uncured resin must be stored in a non-transparent sealable container, away from direct sunlight. Do not pour any resin back into its original container. Use a separate labeled container to store material that has been exposed to the machine to help avoid cross-contamination.
MANAGING DISPOSALFully cure resin before disposing in the garbage. Used paper towels and empty resin bottles in a sealed labeled plastic bag. Leave the bag in direct sunlight until resin is fully reacted and safe for disposal. Keep bag away from ventillation ducts that cycle into contained spaces. Do not pour liquid or uncured resin into any water system.
9
10 Business Plan TemPlaTe
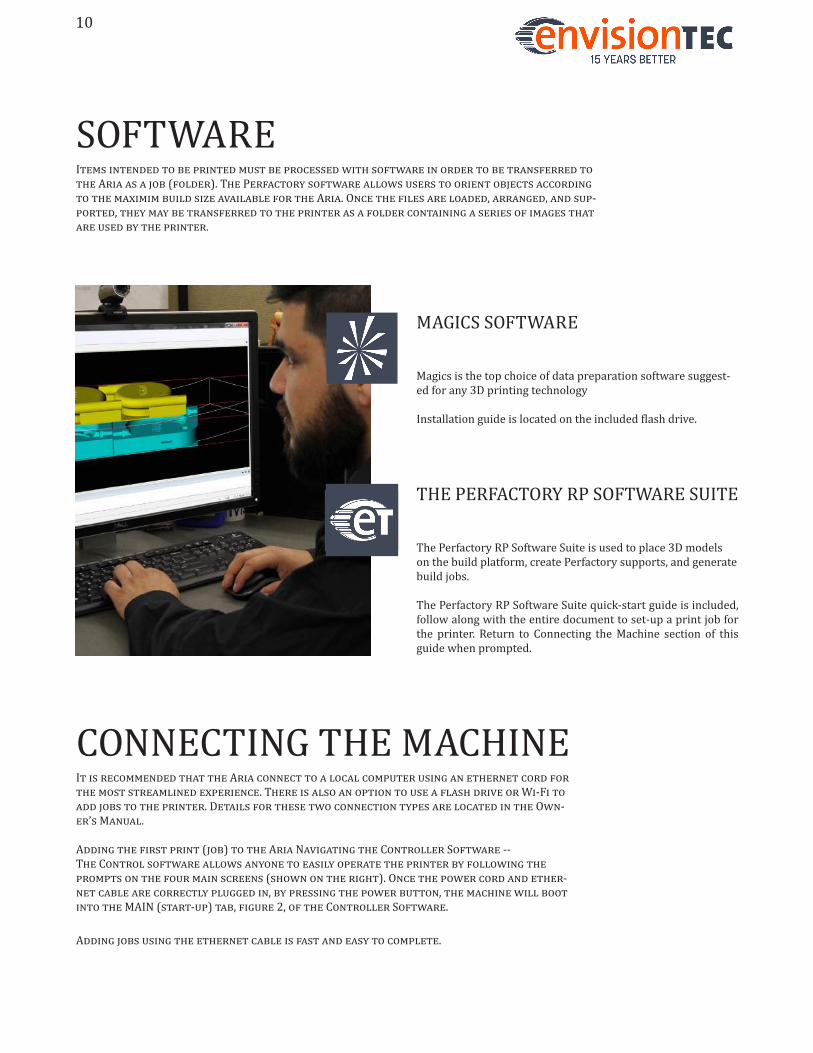
SOFTWAREItems intended to be printed must be processed with software in order to be transferred to the Aria as a job (folder). The Perfactory software allows users to orient objects according to the maximim build size available for the Aria. Once the files are loaded, arranged, and sup-ported, they may be transferred to the printer as a folder containing a series of images that are used by the printer.
MAGICS SOFTWARE
Magics is the top choice of data preparation software suggest-ed for any 3D printing technology
Installation guide is located on the included flash drive.
THE PERFACTORY RP SOFTWARE SUITE
The Perfactory RP Software Suite is used to place 3D models on the build platform, create Perfactory supports, and generate build jobs.
The Perfactory RP Software Suite quick-start guide is included, follow along with the entire document to set-up a print job for the printer. Return to Connecting the Machine section of this guide when prompted.
CONNECTING THE MACHINEIt is recommended that the Aria connect to a local computer using an ethernet cord for the most streamlined experience. There is also an option to use a flash drive or Wi-Fi to add jobs to the printer. Details for these two connection types are located in the Own-er’s Manual.
Adding the first print (job) to the Aria Navigating the Controller Software --The Control software allows anyone to easily operate the printer by following the prompts on the four main screens (shown on the right). Once the power cord and ether-net cable are correctly plugged in, by pressing the power button, the machine will boot into the MAIN (start-up) tab, figure 2, of the Controller Software.
Adding jobs using the ethernet cable is fast and easy to complete.
10

11StockInDeSIgn: the LAB of InDeSIgn tempLAteS
11
1Using the Aria Controller Software, navigate the MAIN (start-up) tab, fig. 2, by using a stylus or finger. Touch the OPTIONS tab on the left side of the screen. This will open the OPTIONS tab, figure 4. Next, select IP settings to see the IP address of the printer, figure 4B. We will use this address to send the print job to the Aria from the computer.
The Control software allows anyone to easily operate the printer by following the prompts on the four main screens (shown on the right). Once the power cord and ethernet cable are correctly plugged in, by pressing the power button, the machine will boot into the MAIN (start-up) tab, figure 2, of the Controller Software.
Adding jobs using the ethernet cable is fast and easy to complete.
2From the Windows homescreen, select the Windows File Explorer icon, located near the Windows Icon, to open the file directory within the computer, figure 6. Click on the directory field at the top of the window and clear out any existing information by highlighting everything in the box and clicking the backspace button on the keyboard. Now that the directory search field is blank, type in the IP address of the Micro Plus, making sure to use two backslashes before the number and press the Enter key.
Three folders will appear: Job, log, and update. Open the Job folder by double clicking the icon. Copy and paste the folder that contains the first print job into this location. The information needed to build the first print is now successfully stored on the Aria.

12 Business Plan TemPlaTe
12
4Returning to the control software, from the MAIN tab, figure 3, press CONNECT. After connecting the machine, the calibration can be checked for accuracy.
The Home position is the position of the build platform while it is fully lowered into the PSA. The proper tension between the build platform and the basement ensures the prints stick to the build platform and complete a successful print job. To check the tension, from the MAIN tab, figure 2, select MOVE, then press HOME, figure 2B. The build platform will slowly descend until it rests against the bottom of the basement. Wait until the machine has finished moving before lifting the hood to check for proper tension, figure 1. Relax the basement set screws by turning them counter-clockwise for one full rotation. Hold onto the basement with both hands near the corners, pulling outward and pushing inward slightly. While focusing on the level of resistance, you will want to feel the same tension as you would from cutting a stick of cold butter with a knife.If the HOME position feels too loose or cannot wiggle at all, an initial home calibration must be completed before moving forward. Either contact the EnvisionTEC Support Staff by opening a support ticket online, or check the owners manual.Push the basement back into position (as far back as it can go) and rese-cure the two set screws on the left and right of the PSA. Close the Hood.
5Starting the first print by pressing on LOAD JOB on the MAIN tab, figure 2. Select the folder that was placed on the Aria from Step 2. Press OPEN, figure 2C, then START to begin the print job!
3Add material to the basement. The basement should not be filled past half-way to prevent spilling during calibration and printing. Never fill the material tray while it is installed in the machine. Be sure to properly pre-pare your material before each use. All materials need to be shaken before being poured.
Each bottle of material comes with a plastic RFID tag. The Material Tag (RFID card) that came with the material bottle must be inserted into the reader, Fig. 1, before the beginning each Print Job.

13StockInDeSIgn: the LAB of InDeSIgn tempLAteS
13
ABORT Cancels current operation
START Begins loaded Print Job
CONNECT Connects motion controller
List of images in the Print Job file
Fig. 2
CONTROL SOFTWARE -- MAIN (START-UP) TAB
Status BarShows what machine is doing or has completed
STOPCancels the Print Job after completing the current layer
Completion bar (Using percentages)
Preview WindowShows the current image being projected
Pause JobAfter current layer completes, build platform raises from the PSA until Print Job is canceled or resumed
Fig. 3
CONTROL SOFTWARE -- MAIN (PRINT PHASE) TAB
KeyboardOpens the on-screen keyboard (To close, hold down the enter key and drag finger to the minimize button.)
Fig. 4
CONTROL SOFTWARE -- OPTIONS TAB -- JOB SETTINGS
IP settingsTo establish IP address for the specific machine
PowerTurns the machine off
Fig. 5
CONTROL SOFTWARE -- HELP TAB

14 Business Plan TemPlaTe
Isn’t it Time for a Better 3D Printer?
So, we’re not new to this 3D printing thing.Our staff, based in seven locations around the world, is one of the most seasoned teams in 3D printing today. And you can reach us anytime for help. In the United States or Germany. On the phone. Via email. Or chat with us in our E-Team User Community. In 2016, EnvisionTEC had the third largest share of the global industrial additive manufacturing market, according to the Wohlers Report 2017.We invite you to join our E-Team of users to learn what makes EnvisionTEC 3D printers #15YearsBetter.
15 Years Better
EnvisionTEC is a leading global provider of professional-grade 3D printing Solutions. Our compa-ny invents, develops, manufactures and sells 3D printers and proprietary materials worldwide. EnvisionTEC was founded in 2002 on its pioneering DLP technology. Today, we offer the broadest technology portfolio in 3D printing.
Authorised Agents: Rapid 3D, Unit 9 Midlands Business Estate, Prospect Road, Howick, KZN, South Africa
EnvisionTEC is the only company with a robotic 3D printer on the commercial market today. Our Robotic Additive Manufacturing (RAM) system for 3D printing of sand molds and cores for foundries.
www.rapid3d.co.za+27 861 000 185 | [email protected]