book binding
DESCRIPTION
Book BindingTRANSCRIPT
Making a Hardback Book from Loose Sheets
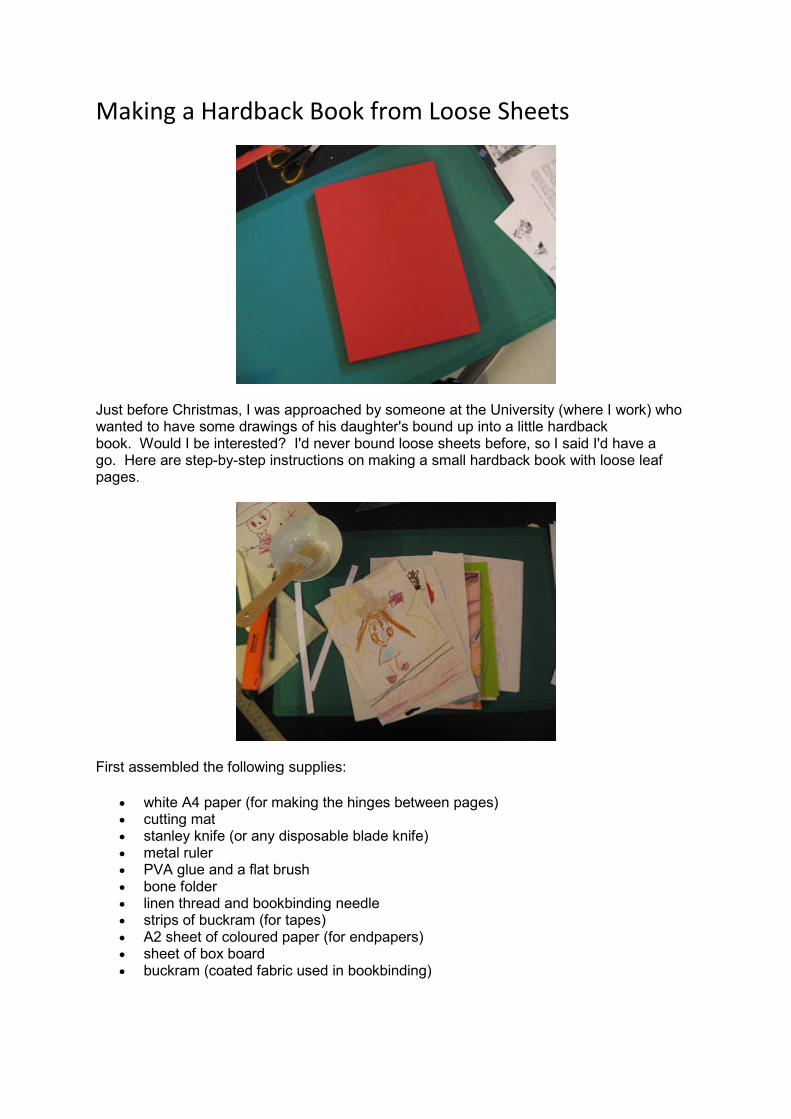
Just before Christmas, I was approached by someone at the University (where I work) who wanted to have some drawings of his daughter's bound up into a little hardback book. Would I be interested? I'd never bound loose sheets before, so I said I'd have a go. Here are step-by-step instructions on making a small hardback book with loose leaf pages.
First assembled the following supplies:
• white A4 paper (for making the hinges between pages) • cutting mat • stanley knife (or any disposable blade knife) • metal ruler • PVA glue and a flat brush • bone folder • linen thread and bookbinding needle • strips of buckram (for tapes) • A2 sheet of coloured paper (for endpapers) • sheet of box board • buckram (coated fabric used in bookbinding)
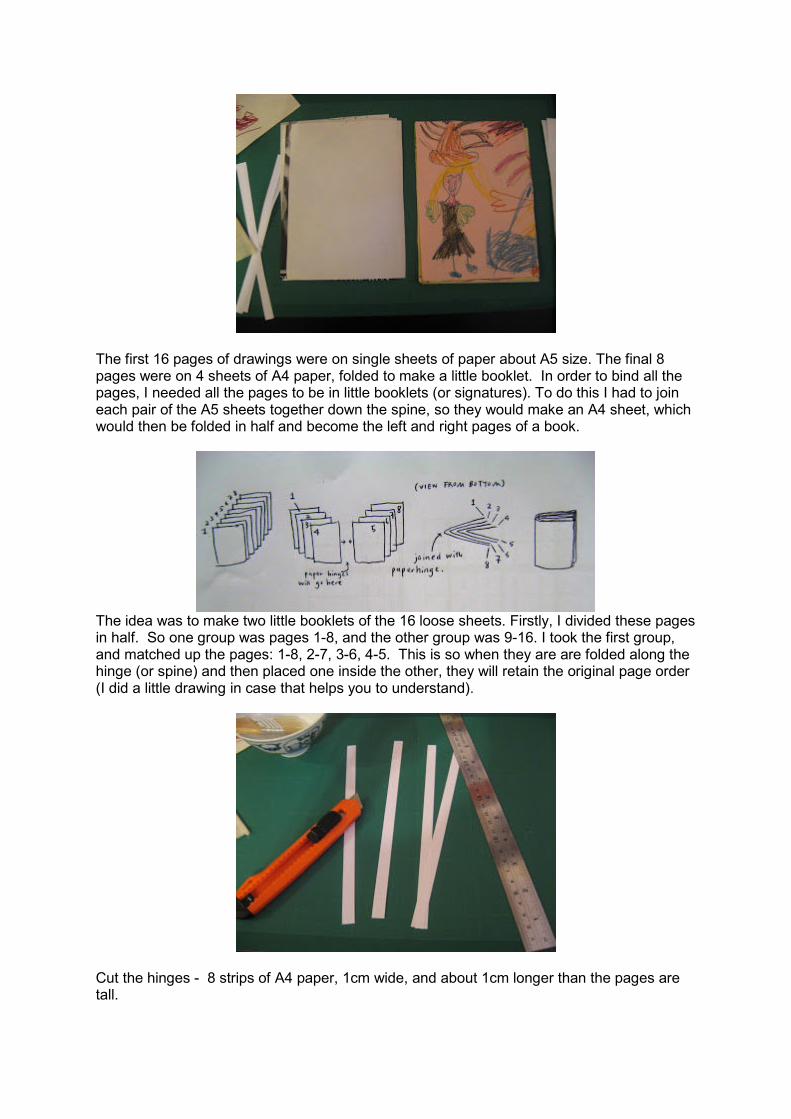
The first 16 pages of drawings were on single sheets of paper about A5 size. The final 8 pages were on 4 sheets of A4 paper, folded to make a little booklet. In order to bind all the pages, I needed all the pages to be in little booklets (or signatures). To do this I had to join each pair of the A5 sheets together down the spine, so they would make an A4 sheet, which would then be folded in half and become the left and right pages of a book.
The idea was to make two little booklets of the 16 loose sheets. Firstly, I divided these pages in half. So one group was pages 1-8, and the other group was 9-16. I took the first group, and matched up the pages: 1-8, 2-7, 3-6, 4-5. This is so when they are are folded along the hinge (or spine) and then placed one inside the other, they will retain the original page order (I did a little drawing in case that helps you to understand).
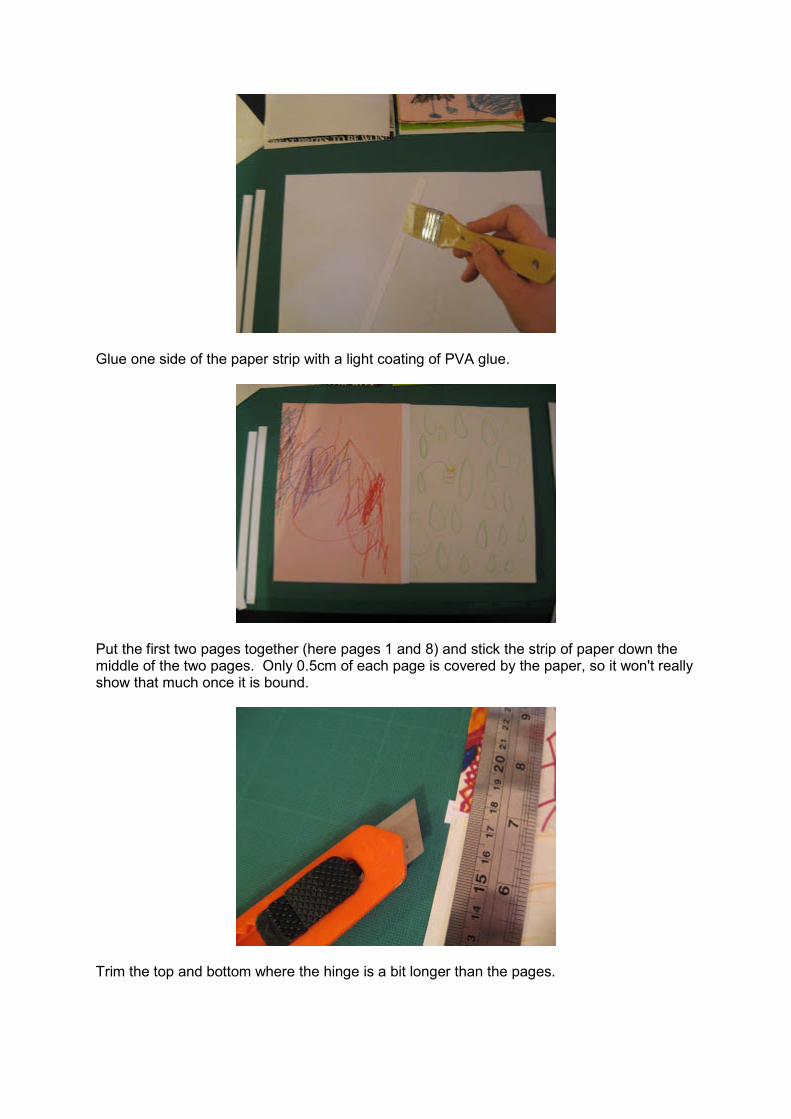
Cut the hinges - 8 strips of A4 paper, 1cm wide, and about 1cm longer than the pages are tall.
Glue one side of the paper strip with a light coating of PVA glue.
Put the first two pages together (here pages 1 and 8) and stick the strip of paper down the middle of the two pages. Only 0.5cm of each page is covered by the paper, so it won't really show that much once it is bound.
Trim the top and bottom where the hinge is a bit longer than the pages.
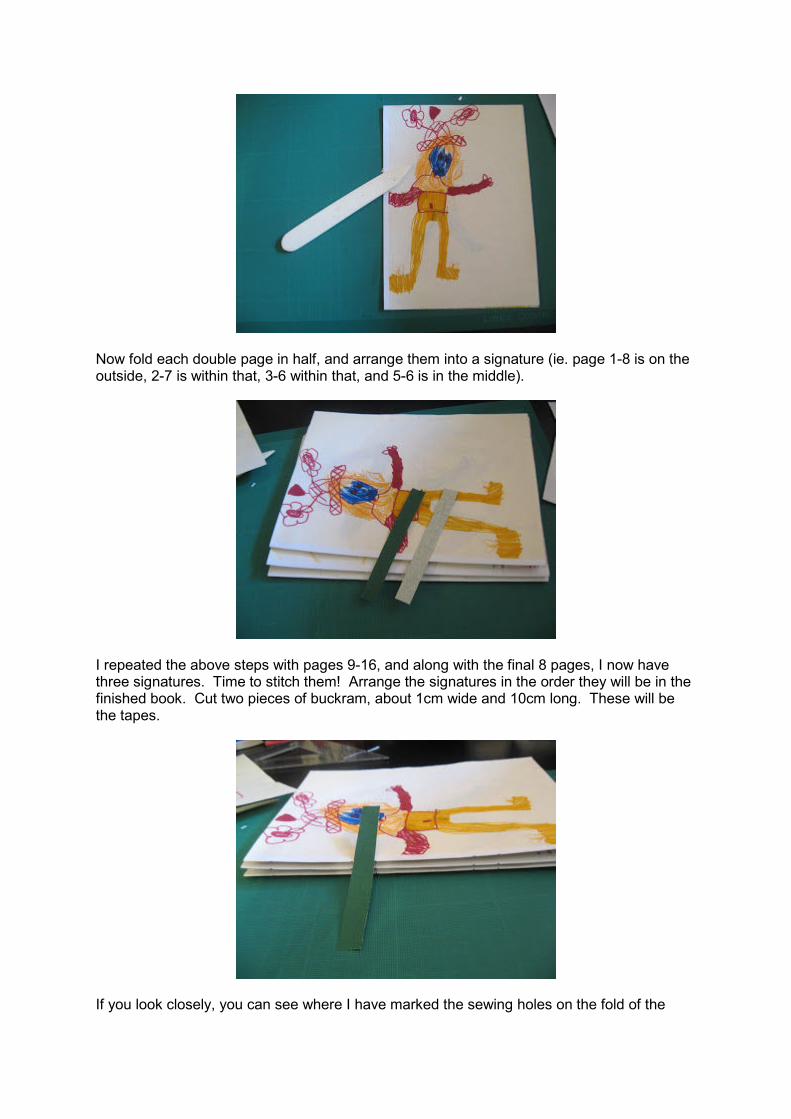
Now fold each double page in half, and arrange them into a signature (ie. page 1-8 is on the outside, 2-7 is within that, 3-6 within that, and 5-6 is in the middle).
I repeated the above steps with pages 9-16, and along with the final 8 pages, I now have three signatures. Time to stitch them! Arrange the signatures in the order they will be in the finished book. Cut two pieces of buckram, about 1cm wide and 10cm long. These will be the tapes.
If you look closely, you can see where I have marked the sewing holes on the fold of the
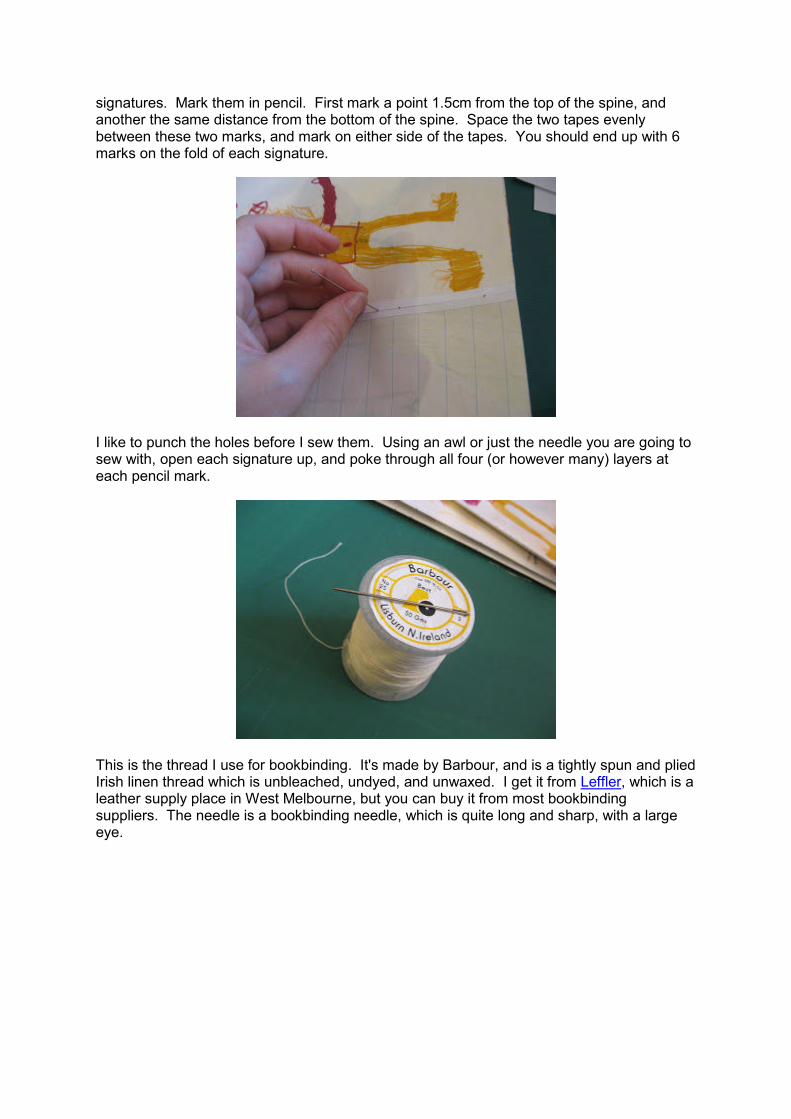
signatures. Mark them in pencil. First mark a point 1.5cm from the top of the spine, and another the same distance from the bottom of the spine. Space the two tapes evenly between these two marks, and mark on either side of the tapes. You should end up with 6 marks on the fold of each signature.
I like to punch the holes before I sew them. Using an awl or just the needle you are going to sew with, open each signature up, and poke through all four (or however many) layers at each pencil mark.
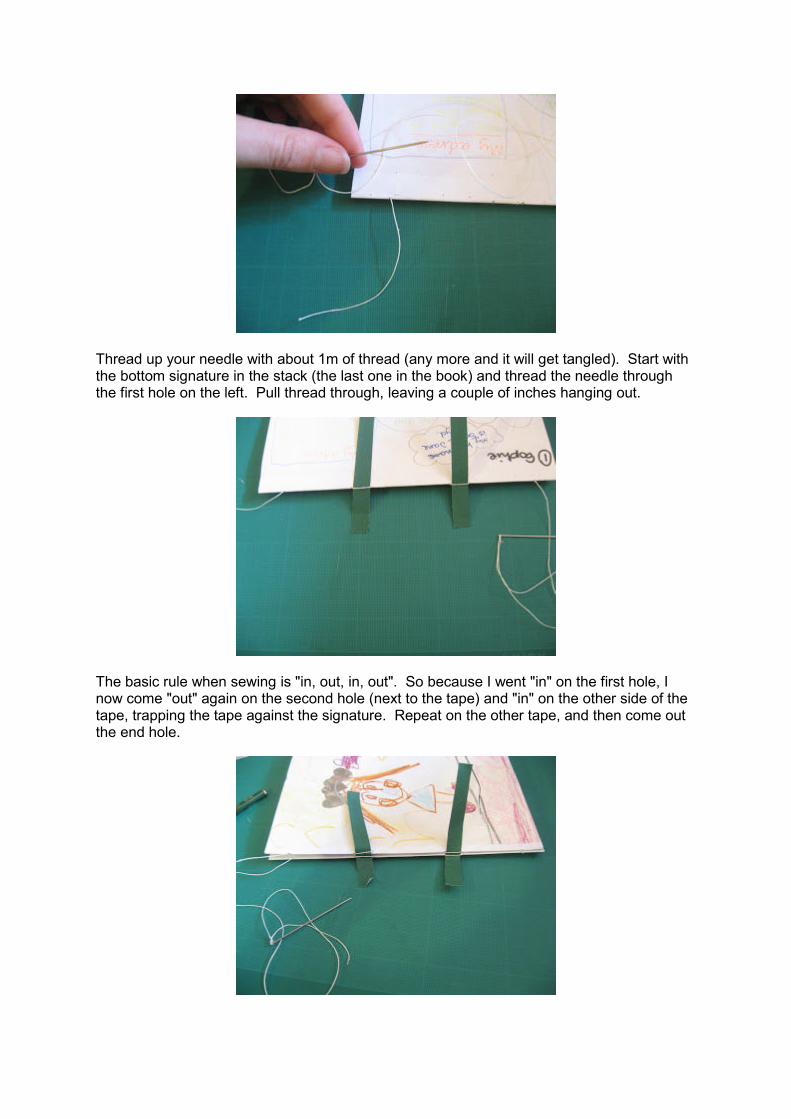
This is the thread I use for bookbinding. It's made by Barbour, and is a tightly spun and plied Irish linen thread which is unbleached, undyed, and unwaxed. I get it from Leffler, which is a leather supply place in West Melbourne, but you can buy it from most bookbinding suppliers. The needle is a bookbinding needle, which is quite long and sharp, with a large eye.
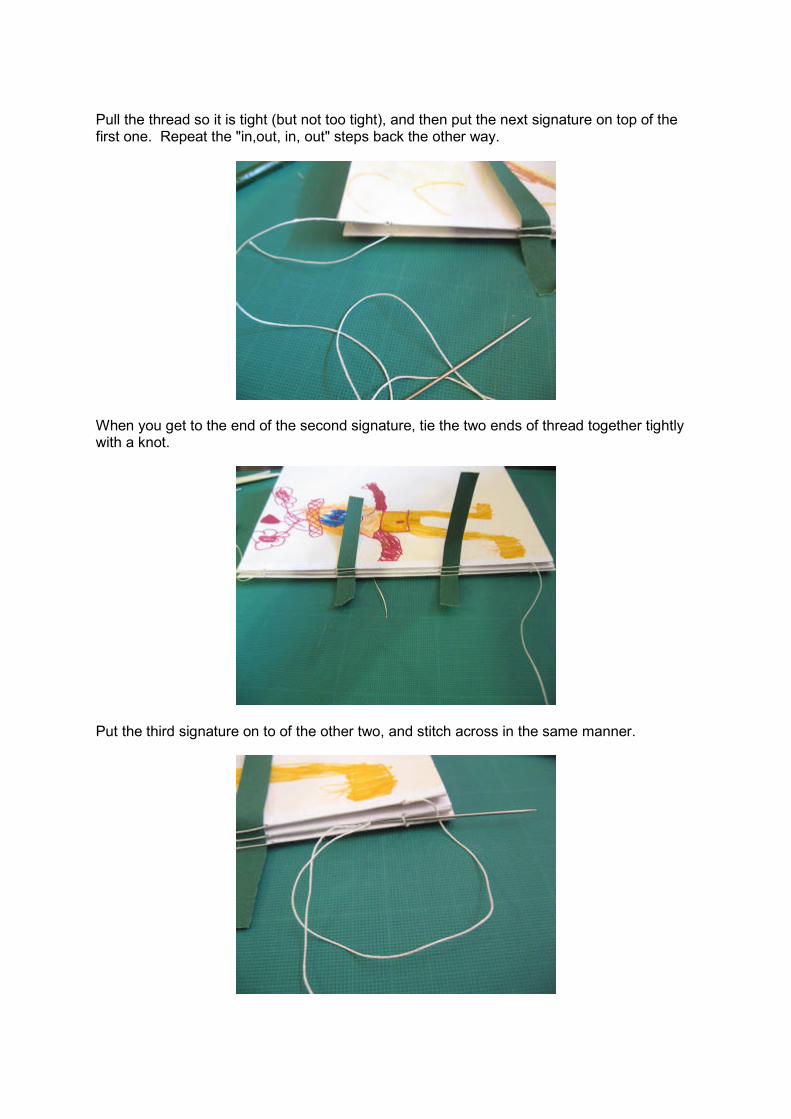
Thread up your needle with about 1m of thread (any more and it will get tangled). Start with the bottom signature in the stack (the last one in the book) and thread the needle through the first hole on the left. Pull thread through, leaving a couple of inches hanging out.
The basic rule when sewing is "in, out, in, out". So because I went "in" on the first hole, I now come "out" again on the second hole (next to the tape) and "in" on the other side of the tape, trapping the tape against the signature. Repeat on the other tape, and then come out the end hole.
Pull the thread so it is tight (but not too tight), and then put the next signature on top of the first one. Repeat the "in,out, in, out" steps back the other way.
When you get to the end of the second signature, tie the two ends of thread together tightly with a knot.
Put the third signature on to of the other two, and stitch across in the same manner.
Now, to connect the end of the second and third signature, you need to do a kettle stitch. Follow the example above, and pull tight. If your book has more signatures, you just keep adding them on, sewing across, and kettle stitching at the end of signature.
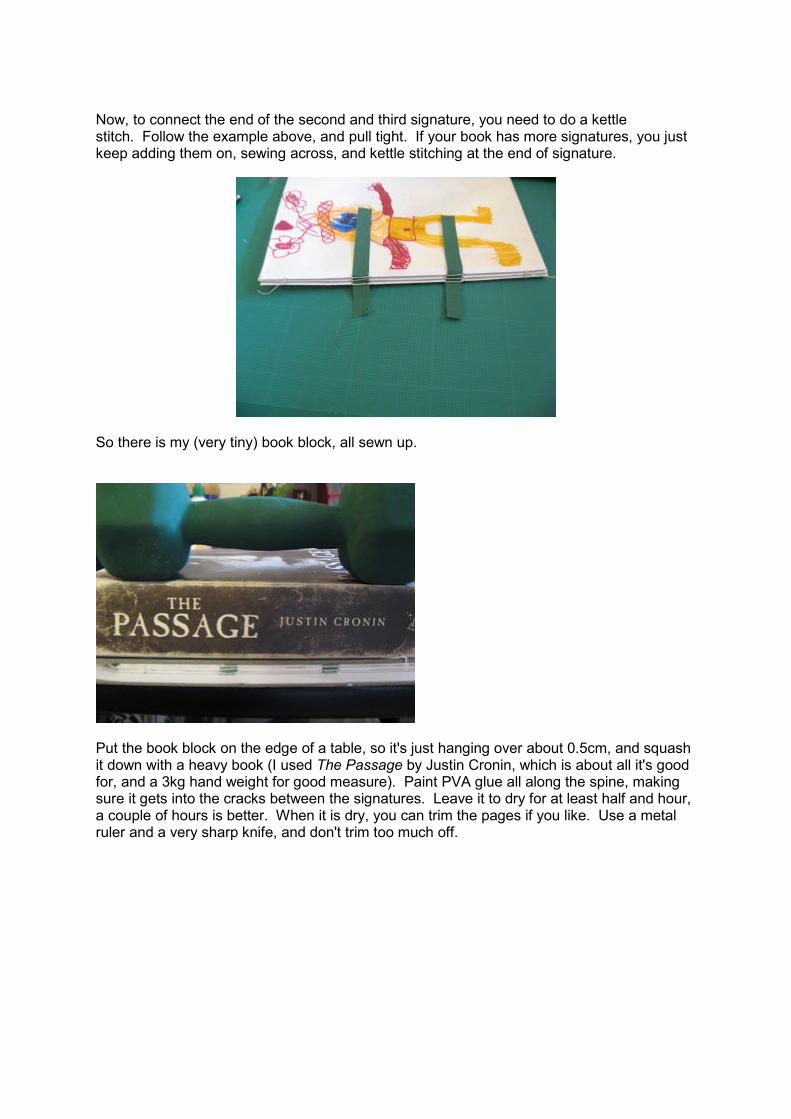
So there is my (very tiny) book block, all sewn up.
Put the book block on the edge of a table, so it's just hanging over about 0.5cm, and squash it down with a heavy book (I used The Passage by Justin Cronin, which is about all it's good for, and a 3kg hand weight for good measure). Paint PVA glue all along the spine, making sure it gets into the cracks between the signatures. Leave it to dry for at least half and hour, a couple of hours is better. When it is dry, you can trim the pages if you like. Use a metal ruler and a very sharp knife, and don't trim too much off.
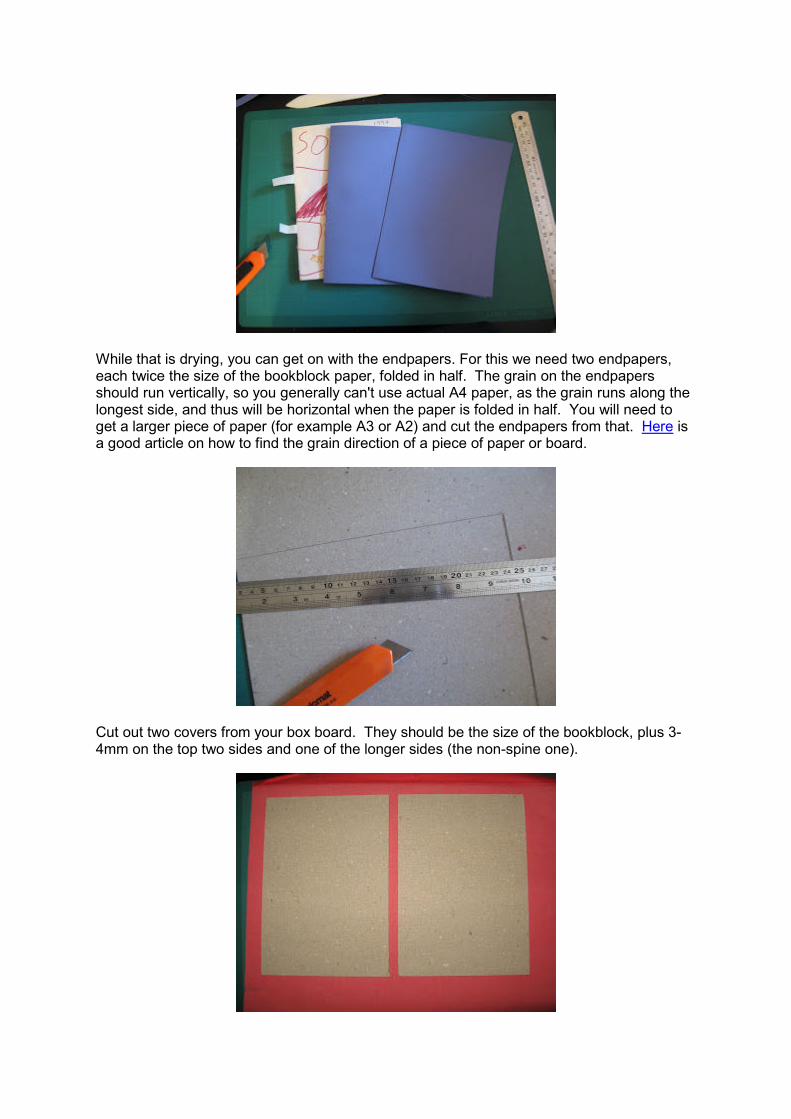
While that is drying, you can get on with the endpapers. For this we need two endpapers, each twice the size of the bookblock paper, folded in half. The grain on the endpapers should run vertically, so you generally can't use actual A4 paper, as the grain runs along the longest side, and thus will be horizontal when the paper is folded in half. You will need to get a larger piece of paper (for example A3 or A2) and cut the endpapers from that. Here is a good article on how to find the grain direction of a piece of paper or board.
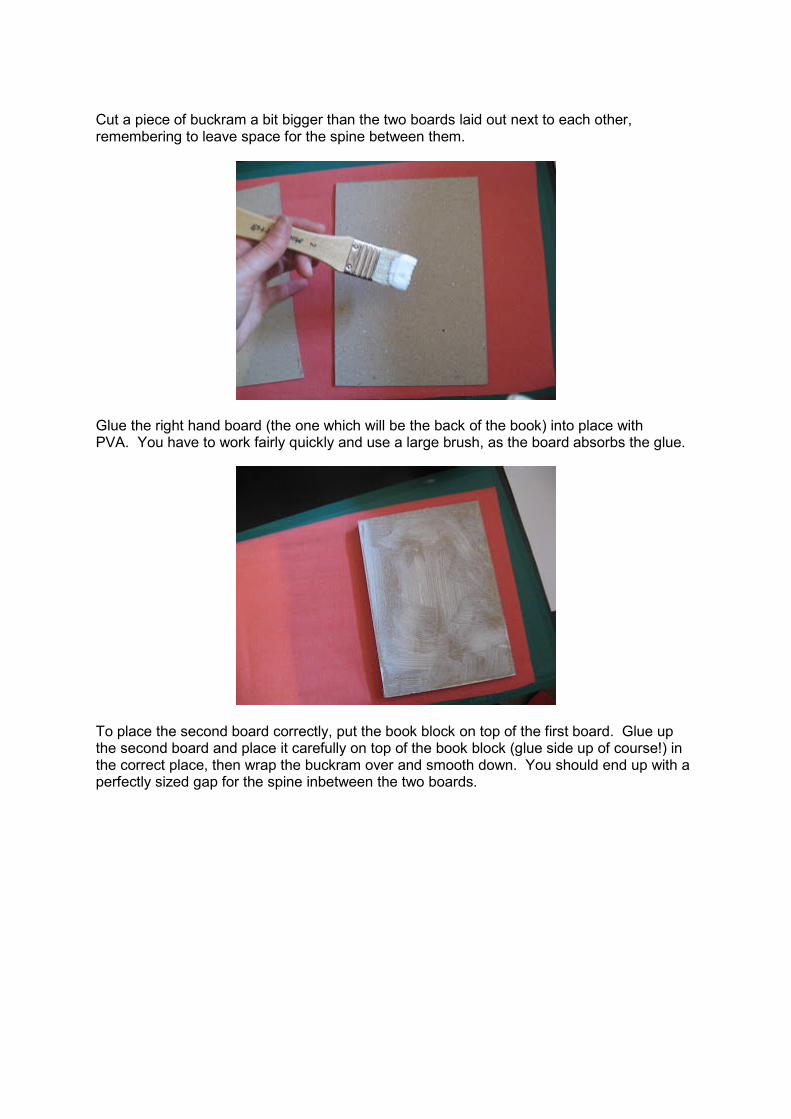
Cut out two covers from your box board. They should be the size of the bookblock, plus 3-4mm on the top two sides and one of the longer sides (the non-spine one).
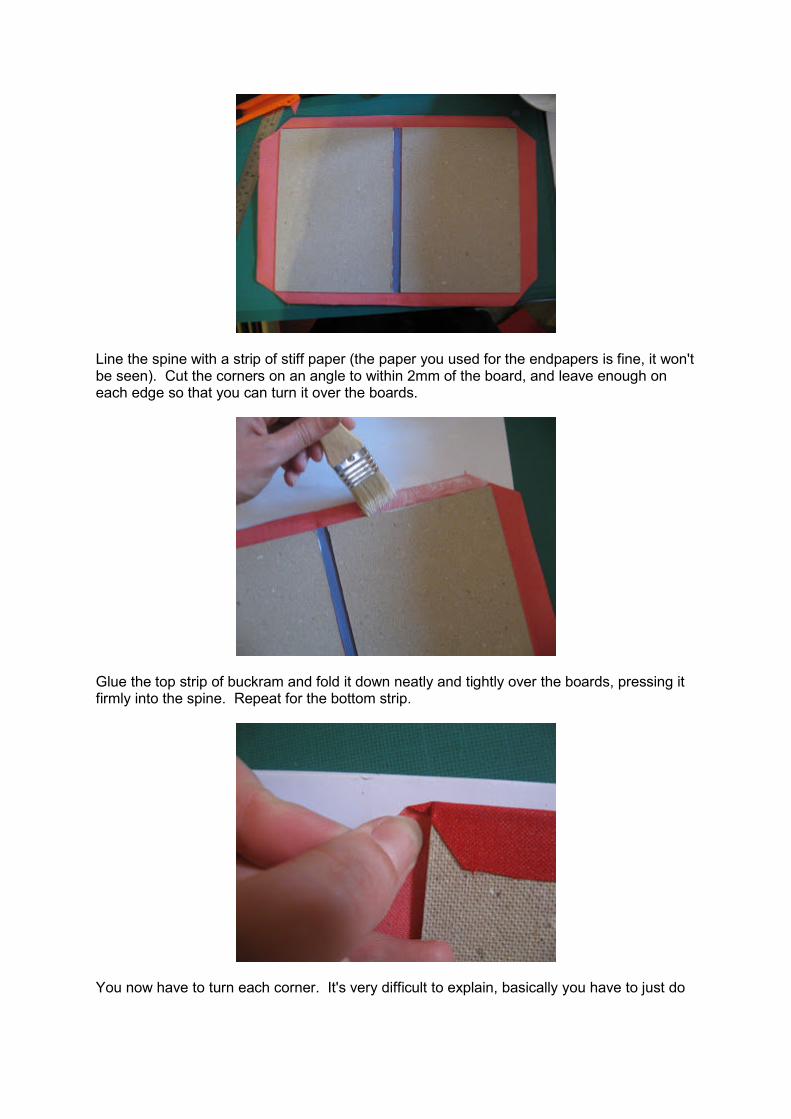
Cut a piece of buckram a bit bigger than the two boards laid out next to each other, remembering to leave space for the spine between them.
Glue the right hand board (the one which will be the back of the book) into place with PVA. You have to work fairly quickly and use a large brush, as the board absorbs the glue.
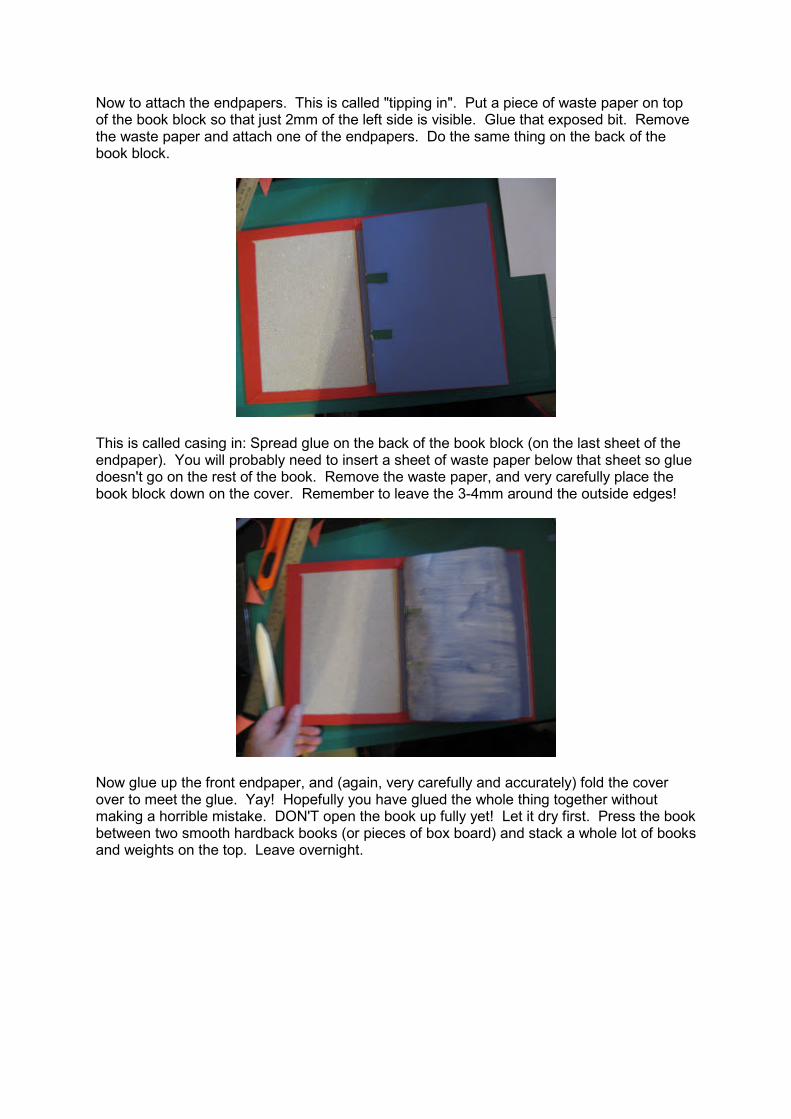
To place the second board correctly, put the book block on top of the first board. Glue up the second board and place it carefully on top of the book block (glue side up of course!) in the correct place, then wrap the buckram over and smooth down. You should end up with a perfectly sized gap for the spine inbetween the two boards.
Line the spine with a strip of stiff paper (the paper you used for the endpapers is fine, it won't be seen). Cut the corners on an angle to within 2mm of the board, and leave enough on each edge so that you can turn it over the boards.
Glue the top strip of buckram and fold it down neatly and tightly over the boards, pressing it firmly into the spine. Repeat for the bottom strip.
You now have to turn each corner. It's very difficult to explain, basically you have to just do

what I'm doing in the picture, use either your thumbnail or the pointy end of the bone folder to tuck the corner in.
Glue and fold over the two remaining edges, doing that tucking thing on each corner. Smooth them down with a bone folder to make them nice and neat.
Your cover should look something like this now.
Now to attach the endpapers. This is called "tipping in". Put a piece of waste paper on top of the book block so that just 2mm of the left side is visible. Glue that exposed bit. Remove the waste paper and attach one of the endpapers. Do the same thing on the back of the book block.
This is called casing in: Spread glue on the back of the book block (on the last sheet of the endpaper). You will probably need to insert a sheet of waste paper below that sheet so glue doesn't go on the rest of the book. Remove the waste paper, and very carefully place the book block down on the cover. Remember to leave the 3-4mm around the outside edges!
Now glue up the front endpaper, and (again, very carefully and accurately) fold the cover over to meet the glue. Yay! Hopefully you have glued the whole thing together without making a horrible mistake. DON'T open the book up fully yet! Let it dry first. Press the book between two smooth hardback books (or pieces of box board) and stack a whole lot of books and weights on the top. Leave overnight.
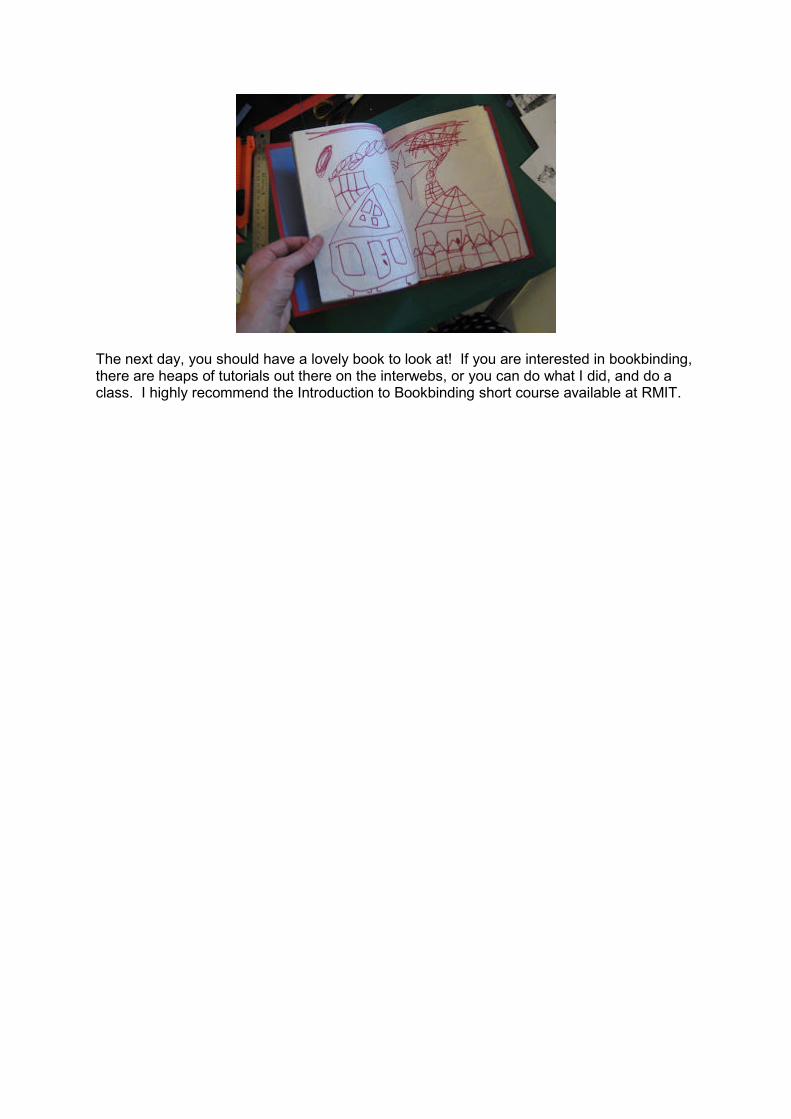
The next day, you should have a lovely book to look at! If you are interested in bookbinding, there are heaps of tutorials out there on the interwebs, or you can do what I did, and do a class. I highly recommend the Introduction to Bookbinding short course available at RMIT.