bread baking planner - martha...
TRANSCRIPT
www.marthastewart.comc 2005 MARTHA STEWART LIVING OMNIMEDIA
Bread Baking Planner
marthastewart.comc 2006 MARTHA STEWART LIVING OMNIMEDIA
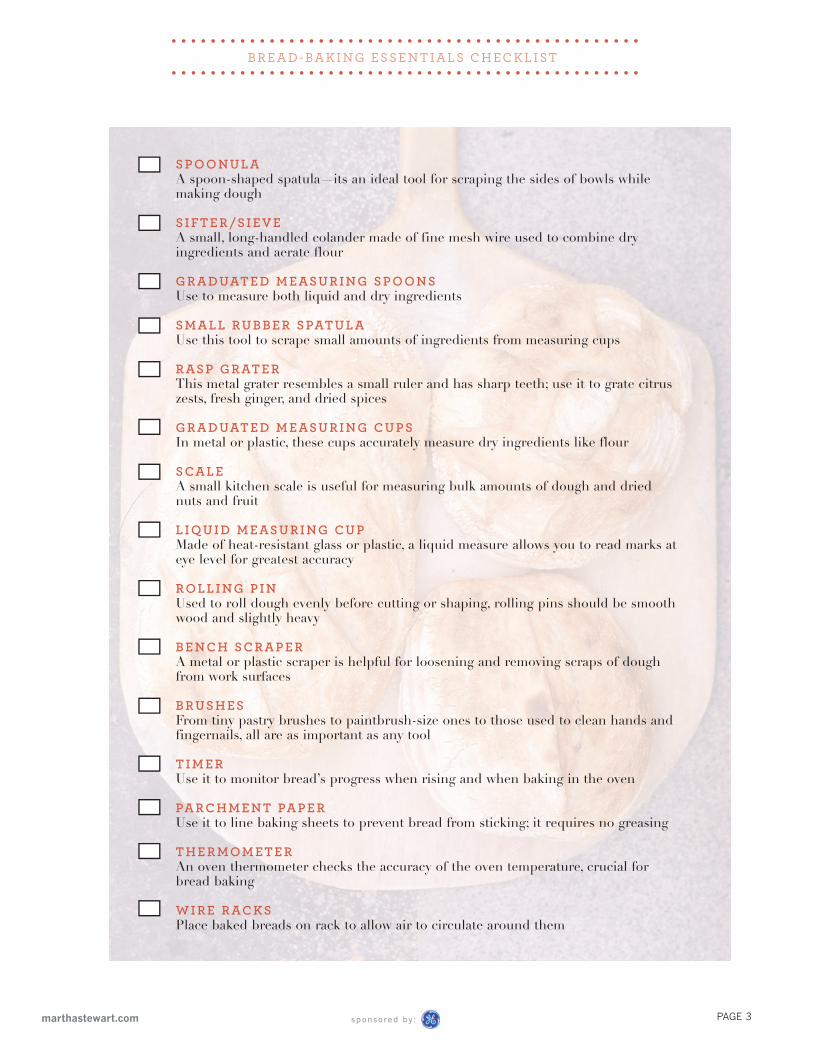
3 B R E A D - BA K I N G E S S E N T I A L S C H EC K L I S T A printable list of tools essential for making, shaping, and baking bread.
4 H E L P FU L B R E A D - BA K I N G T EC H N I Q U E SA collection of easy-to-follow tips used by seasoned bakers.
5 R EC I P E S These easy-to-read cards—filled with our favorite bread recipes—fit perfectly in your recipe box. 4Focaccia 4Beaten Biscuits 4Chocolate Babka 4Banana-Nut Bread
1 0 ‘G O O D T H I N G S ’ FO R B R E A D BA K E R S Flavorful bread spreads, a dish-towel apron, easy breadcrumbs—plus tips on keeping breads warm and fresh.
1 2 B R E A D G I FTS : PAC KAG I N G A N D S H I P P I N G Inventive ideas for wrapping and giving the gift of baked goods.
PAGE 2marthastewart.com
CO N T E N TS
................................................
................................................
sponsored by :
B R E A D - BA K I N G E S S E N T I A L S C H EC K L I S T
PAGE 3
................................................
................................................
marthastewart.com
S P O O N U L A A spoon-shaped spatula—its an ideal tool for scraping the sides of bowls while making dough
S I FT E R / S I E V E A small, long-handled colander made of fine mesh wire used to combine dry ingredients and aerate flour
G R A D UAT E D M E AS U R I N G S P O O N S Use to measure both liquid and dry ingredients
S M A L L R U B B E R S PAT U L A Use this tool to scrape small amounts of ingredients from measuring cups
R AS P G R AT E R This metal grater resembles a small ruler and has sharp teeth; use it to grate citrus zests, fresh ginger, and dried spices
G R A D UAT E D M E AS U R I N G C U P S In metal or plastic, these cups accurately measure dry ingredients like flour
S CA L E A small kitchen scale is useful for measuring bulk amounts of dough and dried nuts and fruit
L I Q U I D M E AS U R I N G C U P Made of heat-resistant glass or plastic, a liquid measure allows you to read marks at eye level for greatest accuracy
R O L L I N G P I N Used to roll dough evenly before cutting or shaping, rolling pins should be smooth wood and slightly heavy
B E N C H S C R A P E R A metal or plastic scraper is helpful for loosening and removing scraps of dough from work surfaces
B R U S H E S From tiny pastry brushes to paintbrush-size ones to those used to clean hands and fingernails, all are as important as any tool
T I M E RUse it to monitor bread’s progress when rising and when baking in the oven
PA R C H M E N T PA P E R Use it to line baking sheets to prevent bread from sticking; it requires no greasing
T H E R M O M ET E RAn oven thermometer checks the accuracy of the oven temperature, crucial for bread baking
W I R E R AC K SPlace baked breads on rack to allow air to circulate around them
sponsored by :

PAGE 4
H E L P FU L B R E A D - BA K I N G T EC H N I Q U E S
marthastewart.com
................................................
................................................
= Start with warm liquids to achieve a final dough temperature of 75 to 80 degrees. When adding
liquids to yeast, keep them at or less than 110 degrees; yeast dies at about 140 degrees.
= Salt kills yeast when in direct contact; when adding salt to dough, do so as you add the bulk of the
flour, then immediately mix well to disperse. Never add salt to a “starter” (the mixture of warm liquid,
yeast, and other dry ingredients that form the base of some dough).
= The most accurate way to measure flour is by weight, not volume, using a kitchen scale.
(See checklist on page 3.)
= Never add all of the flour in a recipe to the dough until you are sure it is needed. It’s usually better
for the dough to be slightly wet and sticky, which encourages fermentation better than if the dough were
too dry.
= Always cover bread dough while it is rising; otherwise a skin will develop on the dough and the bread
will be tough after baking. You can use either plastic wrap (lightly oiled in case the dough touches it) or
a slightly damp cloth.
= Don’t rush rising times. Flavor develops during the fermentation process, so slower and longer is
always the best way to proceed.
= Checking the internal temperature of bread is a foolproof way to tell if it is fully baked. Insert an
instant-read thermometer through the side of the loaf (so you don’t puncture the top), straight into the
center. The temperature should be 190 degrees.
Bread baking can seem daunting to the beginner. The following list of essential techniques utilized by expert bakers is sure to make bread-baking satisfying and enjoyable.
sponsored by :
RECIPES
PAGE 5
................................................
................................................
marthastewart.com
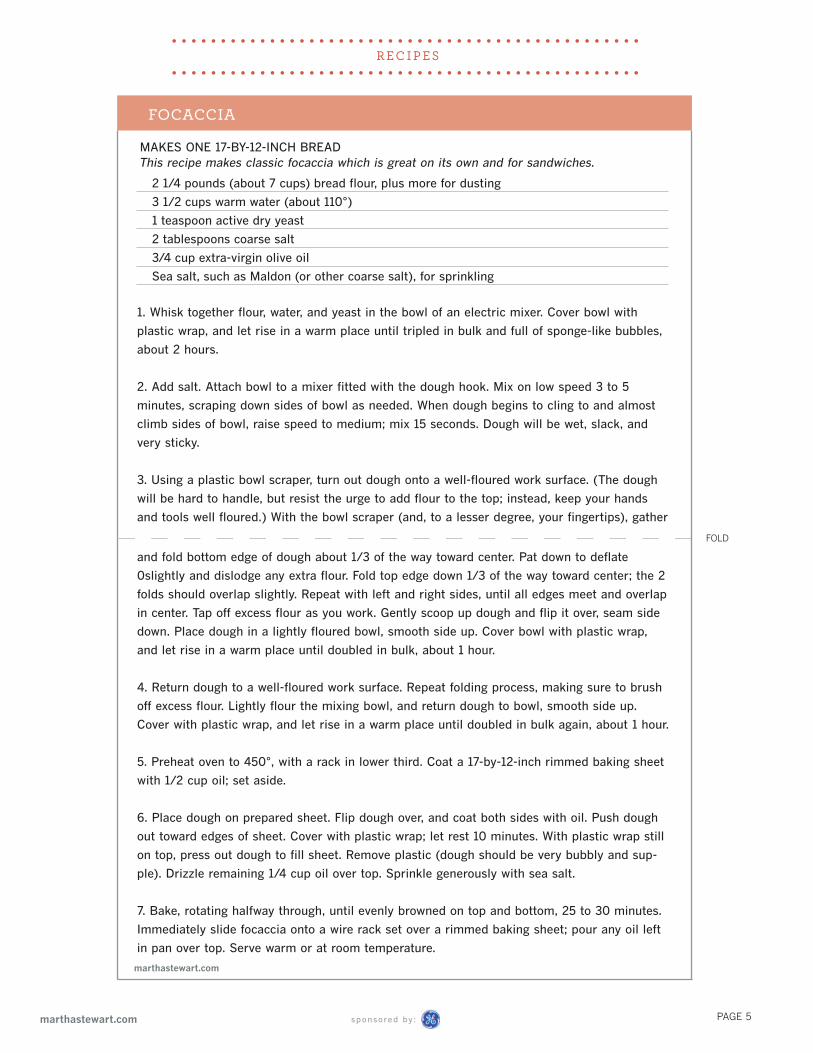
FOCACCIA
MAKES ONE 17-BY-12-INCH BREADThis recipe makes classic focaccia which is great on its own and for sandwiches.
2 1/4 pounds (about 7 cups) bread flour, plus more for dusting
3 1/2 cups warm water (about 110°)
1 teaspoon active dry yeast
2 tablespoons coarse salt
3/4 cup extra-virgin olive oil
Sea salt, such as Maldon (or other coarse salt), for sprinkling
FOLD
marthastewart.com
1. Whisk together flour, water, and yeast in the bowl of an electric mixer. Cover bowl with
plastic wrap, and let rise in a warm place until tripled in bulk and full of sponge-like bubbles,
about 2 hours.
2. Add salt. Attach bowl to a mixer fitted with the dough hook. Mix on low speed 3 to 5
minutes, scraping down sides of bowl as needed. When dough begins to cling to and almost
climb sides of bowl, raise speed to medium; mix 15 seconds. Dough will be wet, slack, and
very sticky.
3. Using a plastic bowl scraper, turn out dough onto a well-floured work surface. (The dough
will be hard to handle, but resist the urge to add flour to the top; instead, keep your hands
and tools well floured.) With the bowl scraper (and, to a lesser degree, your fingertips), gather
and fold bottom edge of dough about 1/3 of the way toward center. Pat down to deflate
0slightly and dislodge any extra flour. Fold top edge down 1/3 of the way toward center; the 2
folds should overlap slightly. Repeat with left and right sides, until all edges meet and overlap
in center. Tap off excess flour as you work. Gently scoop up dough and flip it over, seam side
down. Place dough in a lightly floured bowl, smooth side up. Cover bowl with plastic wrap,
and let rise in a warm place until doubled in bulk, about 1 hour.
4. Return dough to a well-floured work surface. Repeat folding process, making sure to brush
off excess flour. Lightly flour the mixing bowl, and return dough to bowl, smooth side up.
Cover with plastic wrap, and let rise in a warm place until doubled in bulk again, about 1 hour.
5. Preheat oven to 450°, with a rack in lower third. Coat a 17-by-12-inch rimmed baking sheet
with 1/2 cup oil; set aside.
6. Place dough on prepared sheet. Flip dough over, and coat both sides with oil. Push dough
out toward edges of sheet. Cover with plastic wrap; let rest 10 minutes. With plastic wrap still
on top, press out dough to fill sheet. Remove plastic (dough should be very bubbly and sup-
ple). Drizzle remaining 1/4 cup oil over top. Sprinkle generously with sea salt.
7. Bake, rotating halfway through, until evenly browned on top and bottom, 25 to 30 minutes.
Immediately slide focaccia onto a wire rack set over a rimmed baking sheet; pour any oil left
in pan over top. Serve warm or at room temperature.
sponsored by :
RECIPES
PAGE 6
................................................
................................................
marthastewart.com
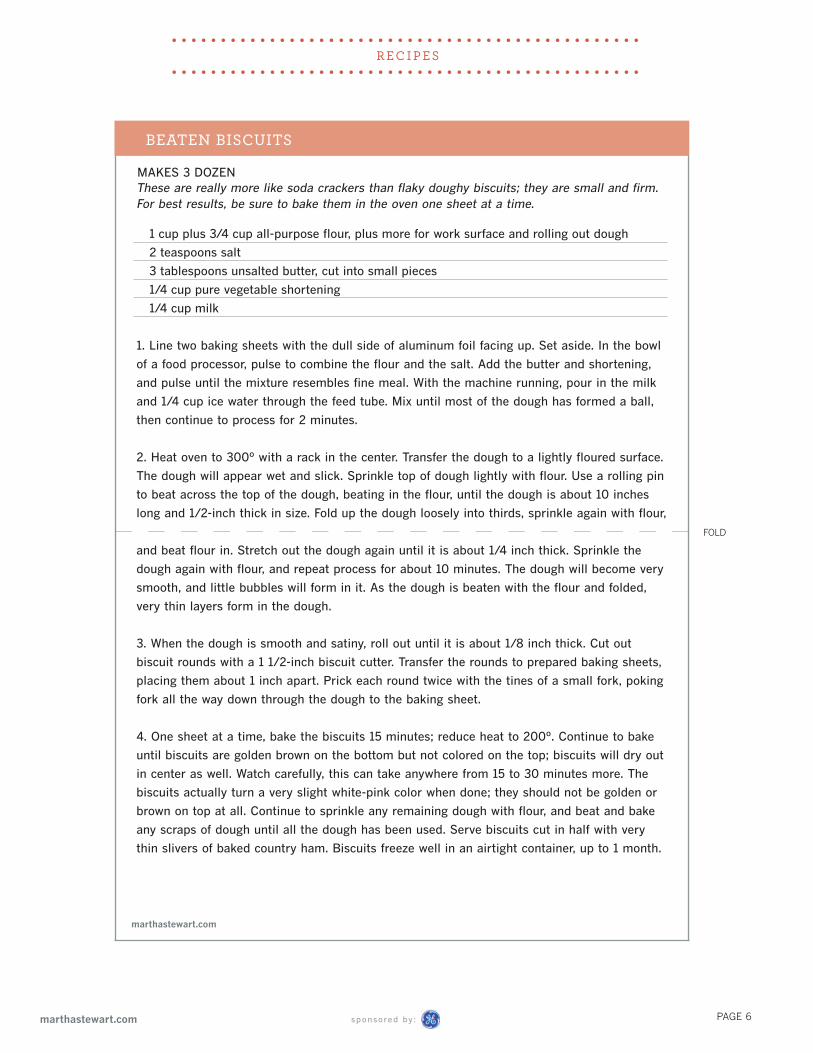
BEATEN BISCUITS
MAKES 3 DOZENThese are really more like soda crackers than flaky doughy biscuits; they are small and firm. For best results, be sure to bake them in the oven one sheet at a time.
1 cup plus 3/4 cup all-purpose flour, plus more for work surface and rolling out dough
2 teaspoons salt
3 tablespoons unsalted butter, cut into small pieces
1/4 cup pure vegetable shortening
1/4 cup milk
FOLD
marthastewart.com
1. Line two baking sheets with the dull side of aluminum foil facing up. Set aside. In the bowl
of a food processor, pulse to combine the flour and the salt. Add the butter and shortening,
and pulse until the mixture resembles fine meal. With the machine running, pour in the milk
and 1/4 cup ice water through the feed tube. Mix until most of the dough has formed a ball,
then continue to process for 2 minutes.
2. Heat oven to 300º with a rack in the center. Transfer the dough to a lightly floured surface.
The dough will appear wet and slick. Sprinkle top of dough lightly with flour. Use a rolling pin
to beat across the top of the dough, beating in the flour, until the dough is about 10 inches
long and 1/2-inch thick in size. Fold up the dough loosely into thirds, sprinkle again with flour,
and beat flour in. Stretch out the dough again until it is about 1/4 inch thick. Sprinkle the
dough again with flour, and repeat process for about 10 minutes. The dough will become very
smooth, and little bubbles will form in it. As the dough is beaten with the flour and folded,
very thin layers form in the dough.
3. When the dough is smooth and satiny, roll out until it is about 1/8 inch thick. Cut out
biscuit rounds with a 1 1/2-inch biscuit cutter. Transfer the rounds to prepared baking sheets,
placing them about 1 inch apart. Prick each round twice with the tines of a small fork, poking
fork all the way down through the dough to the baking sheet.
4. One sheet at a time, bake the biscuits 15 minutes; reduce heat to 200º. Continue to bake
until biscuits are golden brown on the bottom but not colored on the top; biscuits will dry out
in center as well. Watch carefully, this can take anywhere from 15 to 30 minutes more. The
biscuits actually turn a very slight white-pink color when done; they should not be golden or
brown on top at all. Continue to sprinkle any remaining dough with flour, and beat and bake
any scraps of dough until all the dough has been used. Serve biscuits cut in half with very
thin slivers of baked country ham. Biscuits freeze well in an airtight container, up to 1 month.
sponsored by :
RECIPES
PAGE 7
................................................
................................................
marthastewart.com
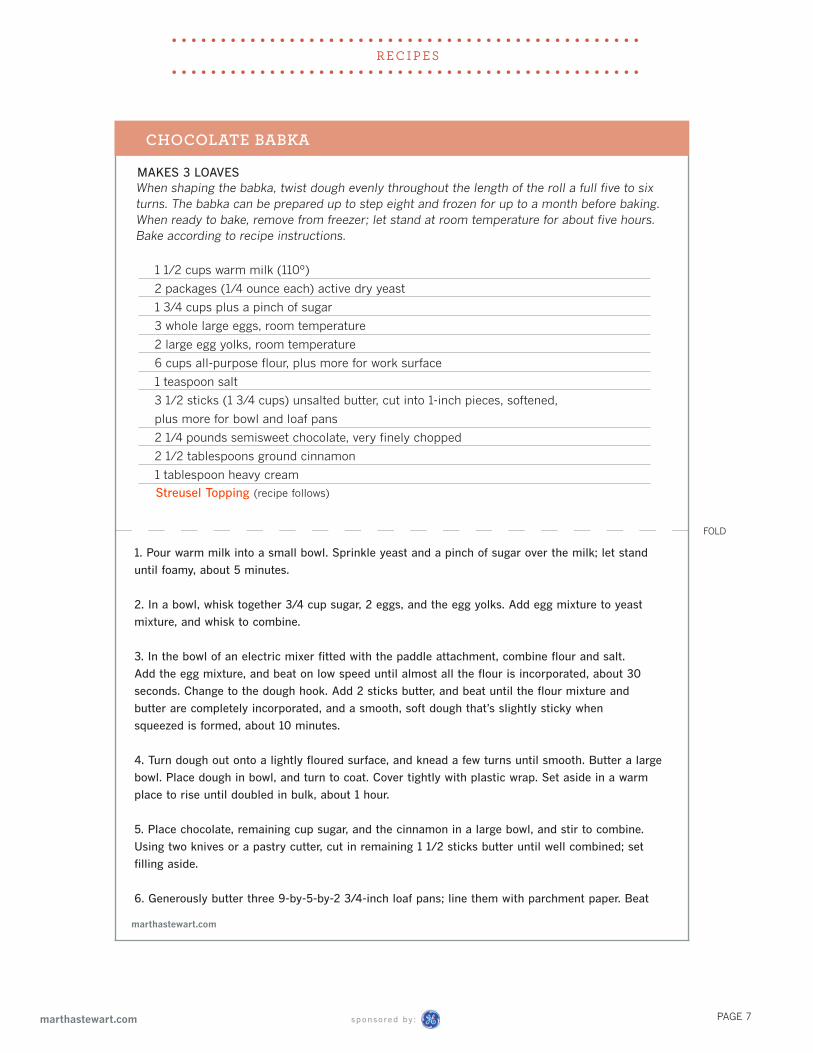
CHOCOLATE BABKA
MAKES 3 LOAVES
When shaping the babka, twist dough evenly throughout the length of the roll a full five to six turns. The babka can be prepared up to step eight and frozen for up to a month before baking. When ready to bake, remove from freezer; let stand at room temperature for about five hours. Bake according to recipe instructions.
FOLD
marthastewart.com
1. Pour warm milk into a small bowl. Sprinkle yeast and a pinch of sugar over the milk; let stand
until foamy, about 5 minutes.
2. In a bowl, whisk together 3/4 cup sugar, 2 eggs, and the egg yolks. Add egg mixture to yeast
mixture, and whisk to combine.
3. In the bowl of an electric mixer fitted with the paddle attachment, combine flour and salt.
Add the egg mixture, and beat on low speed until almost all the flour is incorporated, about 30
seconds. Change to the dough hook. Add 2 sticks butter, and beat until the flour mixture and
butter are completely incorporated, and a smooth, soft dough that’s slightly sticky when
squeezed is formed, about 10 minutes.
4. Turn dough out onto a lightly floured surface, and knead a few turns until smooth. Butter a large
bowl. Place dough in bowl, and turn to coat. Cover tightly with plastic wrap. Set aside in a warm
place to rise until doubled in bulk, about 1 hour.
5. Place chocolate, remaining cup sugar, and the cinnamon in a large bowl, and stir to combine.
Using two knives or a pastry cutter, cut in remaining 1 1/2 sticks butter until well combined; set
filling aside.
6. Generously butter three 9-by-5-by-2 3/4-inch loaf pans; line them with parchment paper. Beat
sponsored by :
1 1/2 cups warm milk (110º)
2 packages (1/4 ounce each) active dry yeast
1 3/4 cups plus a pinch of sugar
3 whole large eggs, room temperature
2 large egg yolks, room temperature
6 cups all-purpose flour, plus more for work surface
1 teaspoon salt
3 1/2 sticks (1 3/4 cups) unsalted butter, cut into 1-inch pieces, softened,
plus more for bowl and loaf pans
2 1/4 pounds semisweet chocolate, very finely chopped
2 1/2 tablespoons ground cinnamon
1 tablespoon heavy cream
Streusel Topping (recipe follows)
RECIPES
PAGE 8
................................................
................................................
marthastewart.com
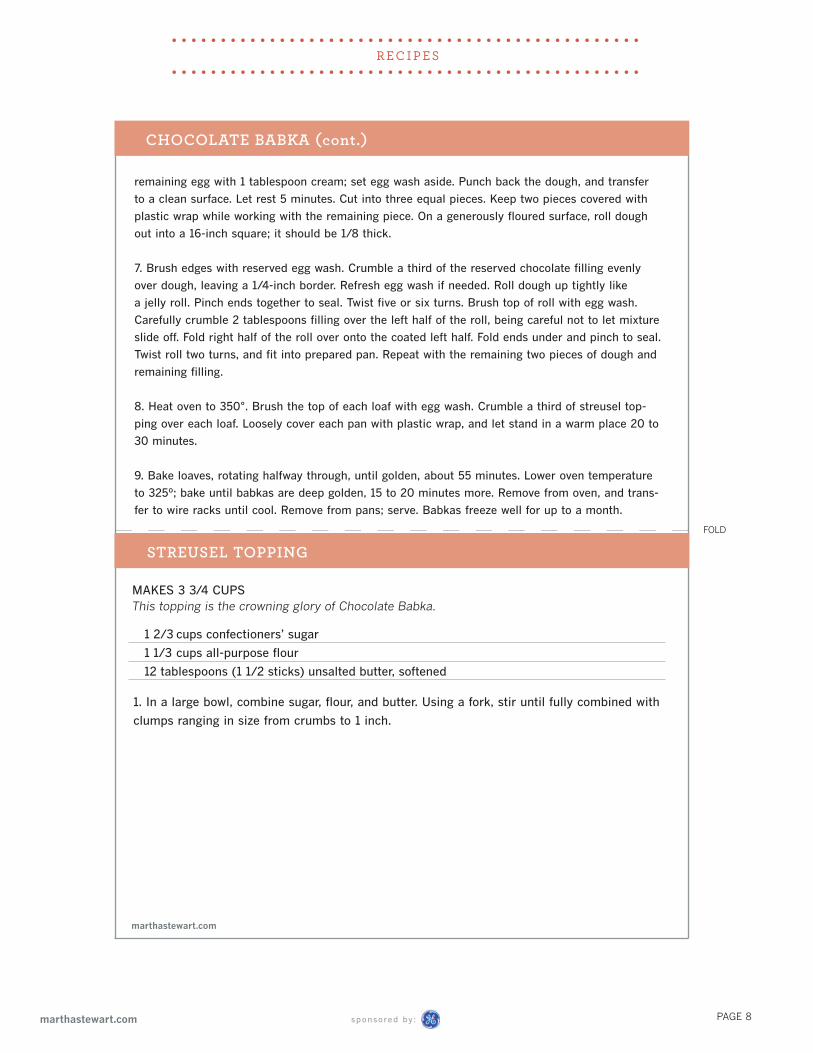
CHOCOLATE BABKA (cont.)
FOLD
remaining egg with 1 tablespoon cream; set egg wash aside. Punch back the dough, and transfer
to a clean surface. Let rest 5 minutes. Cut into three equal pieces. Keep two pieces covered with
plastic wrap while working with the remaining piece. On a generously floured surface, roll dough
out into a 16-inch square; it should be 1/8 thick.
7. Brush edges with reserved egg wash. Crumble a third of the reserved chocolate filling evenly
over dough, leaving a 1/4-inch border. Refresh egg wash if needed. Roll dough up tightly like
a jelly roll. Pinch ends together to seal. Twist five or six turns. Brush top of roll with egg wash.
Carefully crumble 2 tablespoons filling over the left half of the roll, being careful not to let mixture
slide off. Fold right half of the roll over onto the coated left half. Fold ends under and pinch to seal.
Twist roll two turns, and fit into prepared pan. Repeat with the remaining two pieces of dough and
remaining filling.
8. Heat oven to 350°. Brush the top of each loaf with egg wash. Crumble a third of streusel top-
ping over each loaf. Loosely cover each pan with plastic wrap, and let stand in a warm place 20 to
30 minutes.
9. Bake loaves, rotating halfway through, until golden, about 55 minutes. Lower oven temperature
to 325º; bake until babkas are deep golden, 15 to 20 minutes more. Remove from oven, and trans-
fer to wire racks until cool. Remove from pans; serve. Babkas freeze well for up to a month.
sponsored by :
marthastewart.com
STREUSEL TOPPING
MAKES 3 3/4 CUPSThis topping is the crowning glory of Chocolate Babka.
1 2/3 cups confectioners’ sugar
1 1/3 cups all-purpose flour
12 tablespoons (1 1/2 sticks) unsalted butter, softened
1. In a large bowl, combine sugar, flour, and butter. Using a fork, stir until fully combined with
clumps ranging in size from crumbs to 1 inch.
RECIPES
PAGE 9
................................................
................................................
marthastewart.com
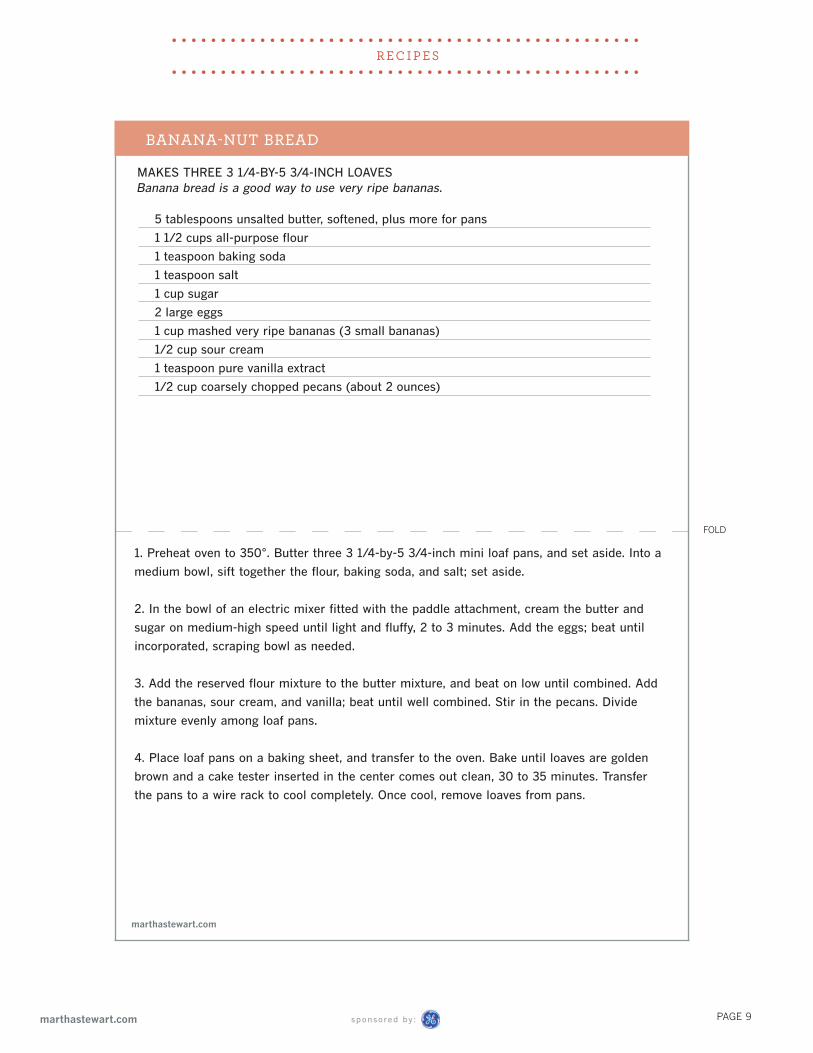
BANANA-NUT BREAD
MAKES THREE 3 1/4-BY-5 3/4-INCH LOAVES Banana bread is a good way to use very ripe bananas.
5 tablespoons unsalted butter, softened, plus more for pans
1 1/2 cups all-purpose flour
1 teaspoon baking soda
1 teaspoon salt
1 cup sugar
2 large eggs
1 cup mashed very ripe bananas (3 small bananas)
1/2 cup sour cream
1 teaspoon pure vanilla extract
1/2 cup coarsely chopped pecans (about 2 ounces)
FOLD
marthastewart.com
1. Preheat oven to 350°. Butter three 3 1/4-by-5 3/4-inch mini loaf pans, and set aside. Into a
medium bowl, sift together the flour, baking soda, and salt; set aside.
2. In the bowl of an electric mixer fitted with the paddle attachment, cream the butter and
sugar on medium-high speed until light and fluffy, 2 to 3 minutes. Add the eggs; beat until
incorporated, scraping bowl as needed.
3. Add the reserved flour mixture to the butter mixture, and beat on low until combined. Add
the bananas, sour cream, and vanilla; beat until well combined. Stir in the pecans. Divide
mixture evenly among loaf pans.
4. Place loaf pans on a baking sheet, and transfer to the oven. Bake until loaves are golden
brown and a cake tester inserted in the center comes out clean, 30 to 35 minutes. Transfer
the pans to a wire rack to cool completely. Once cool, remove loaves from pans.
sponsored by :
‘G O O D T H I N G S ’ FO R B R E A D BA K E R S
PAGE 10marthastewart.com
................................................
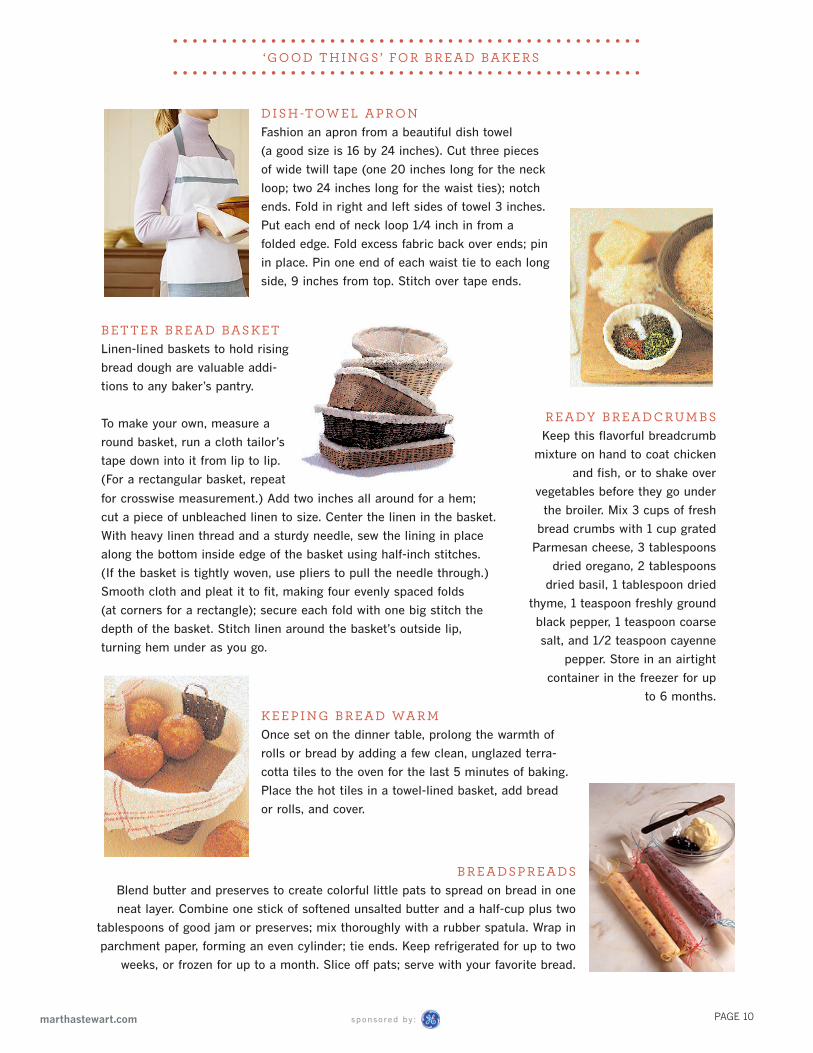
................................................D I S H -TOW E L A P R O N Fashion an apron from a beautiful dish towel
(a good size is 16 by 24 inches). Cut three pieces
of wide twill tape (one 20 inches long for the neck
loop; two 24 inches long for the waist ties); notch
ends. Fold in right and left sides of towel 3 inches.
Put each end of neck loop 1/4 inch in from a
folded edge. Fold excess fabric back over ends; pin
in place. Pin one end of each waist tie to each long
side, 9 inches from top. Stitch over tape ends.
R E A DY B R E A D C R U M B S Keep this flavorful breadcrumb
mixture on hand to coat chicken
and fish, or to shake over
vegetables before they go under
the broiler. Mix 3 cups of fresh
bread crumbs with 1 cup grated
Parmesan cheese, 3 tablespoons
dried oregano, 2 tablespoons
dried basil, 1 tablespoon dried
thyme, 1 teaspoon freshly ground
black pepper, 1 teaspoon coarse
salt, and 1/2 teaspoon cayenne
pepper. Store in an airtight
container in the freezer for up
to 6 months.
K E E P I N G B R E A D WA R M Once set on the dinner table, prolong the warmth of
rolls or bread by adding a few clean, unglazed terra-
cotta tiles to the oven for the last 5 minutes of baking.
Place the hot tiles in a towel-lined basket, add bread
or rolls, and cover.
B R E A DS P R E A DS
Blend butter and preserves to create colorful little pats to spread on bread in one
neat layer. Combine one stick of softened unsalted butter and a half-cup plus two
tablespoons of good jam or preserves; mix thoroughly with a rubber spatula. Wrap in
parchment paper, forming an even cylinder; tie ends. Keep refrigerated for up to two
weeks, or frozen for up to a month. Slice off pats; serve with your favorite bread.
B ET T E R B R E A D BAS K ET Linen-lined baskets to hold rising
bread dough are valuable addi-
tions to any baker’s pantry.
To make your own, measure a
round basket, run a cloth tailor’s
tape down into it from lip to lip.
(For a rectangular basket, repeat
for crosswise measurement.) Add two inches all around for a hem;
cut a piece of unbleached linen to size. Center the linen in the basket.
With heavy linen thread and a sturdy needle, sew the lining in place
along the bottom inside edge of the basket using half-inch stitches.
(If the basket is tightly woven, use pliers to pull the needle through.)
Smooth cloth and pleat it to fit, making four evenly spaced folds
(at corners for a rectangle); secure each fold with one big stitch the
depth of the basket. Stitch linen around the basket’s outside lip,
turning hem under as you go.
sponsored by :
‘G O O D T H I N G S ’ FO R B R E A D BA K E R S
PAGE 11marthastewart.com
................................................
................................................
marthastewart.com
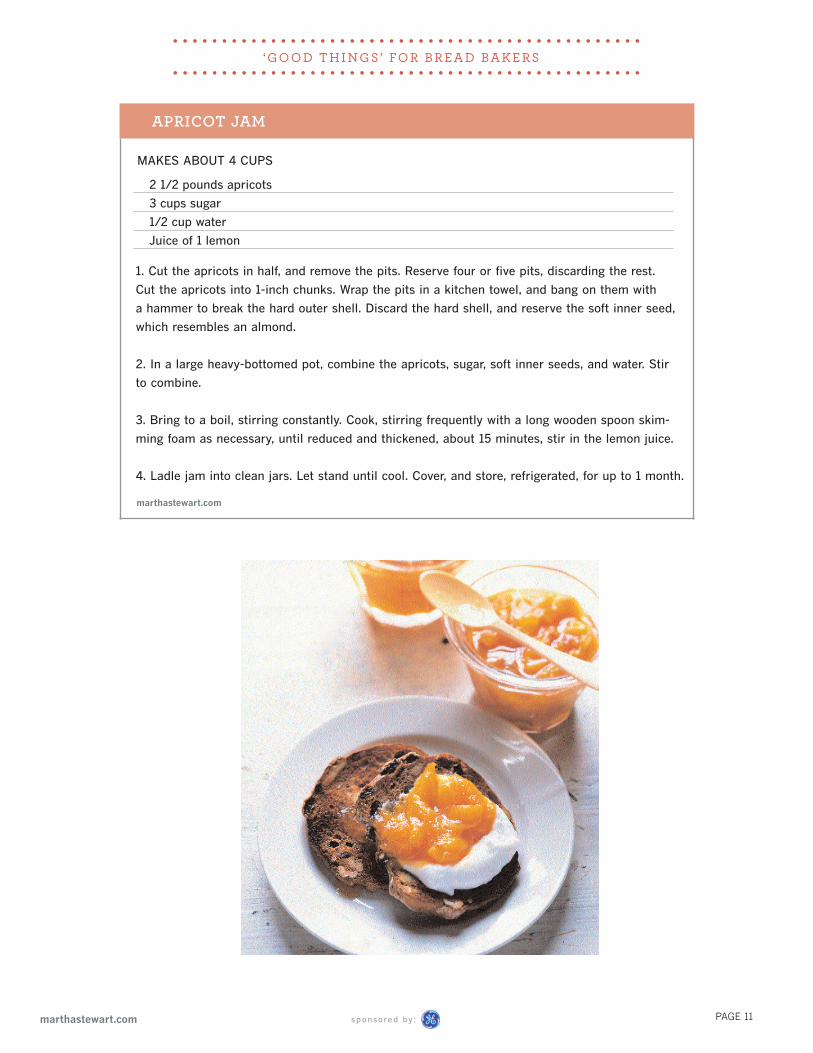
APRICOT JAM
MAKES ABOUT 4 CUPS
2 1/2 pounds apricots
3 cups sugar
1/2 cup water
Juice of 1 lemon
1. Cut the apricots in half, and remove the pits. Reserve four or five pits, discarding the rest.
Cut the apricots into 1-inch chunks. Wrap the pits in a kitchen towel, and bang on them with
a hammer to break the hard outer shell. Discard the hard shell, and reserve the soft inner seed,
which resembles an almond.
2. In a large heavy-bottomed pot, combine the apricots, sugar, soft inner seeds, and water. Stir
to combine.
3. Bring to a boil, stirring constantly. Cook, stirring frequently with a long wooden spoon skim-
ming foam as necessary, until reduced and thickened, about 15 minutes, stir in the lemon juice.
4. Ladle jam into clean jars. Let stand until cool. Cover, and store, refrigerated, for up to 1 month.
sponsored by :
PAGE 12
B R E A D G I FTS : PAC KAG I N G A N D S H I P P I N G
marthastewart.com
................................................
................................................PAC KAG I N G B R E A D G I FTSTry these simple wrapping ideas.
Present beaten biscuits in the tin they were baked in. Wrap it in a cellophane bag and then in linen with
frayed edges; tie on a tag, and the recipe if you like, with twill tape.
Bake banana bread or babka in wooden molds, which then serve as gift boxes (they can’t be reused for
baking). The loaf can also be covered in cellophane, then put in a loaf box from a baking-supply store and
wrapped with loose-weave cotton fabric and sewing thread.
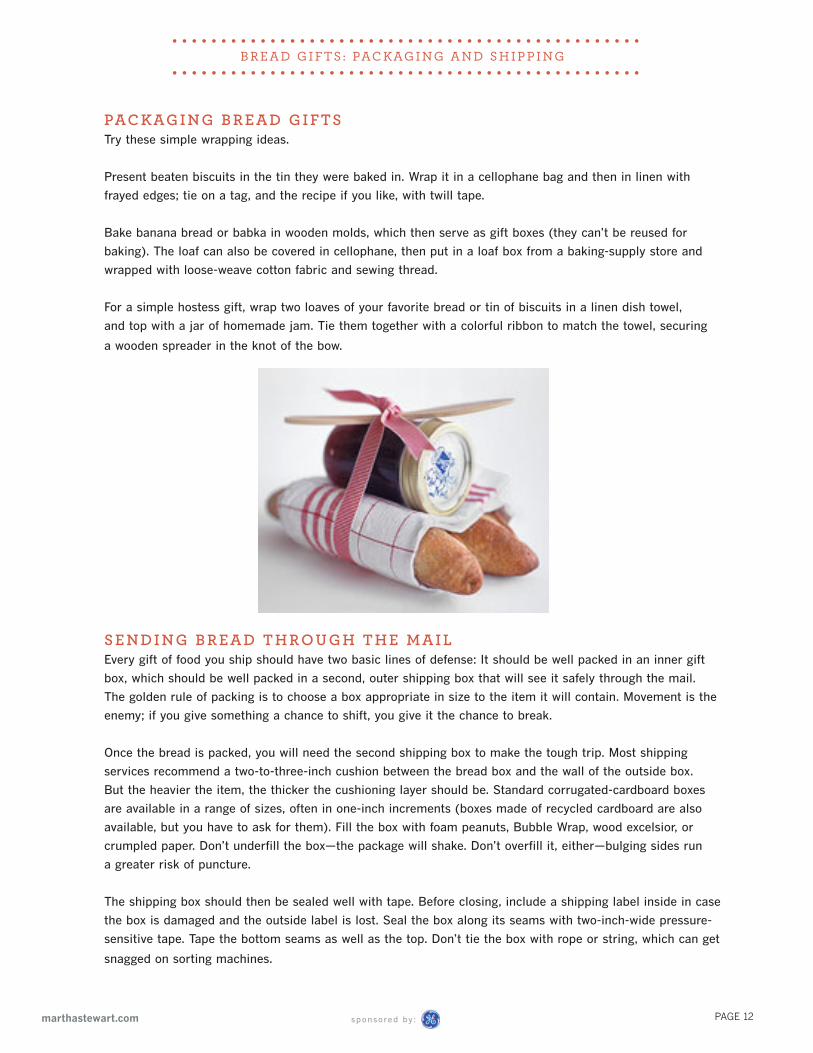
For a simple hostess gift, wrap two loaves of your favorite bread or tin of biscuits in a linen dish towel,
and top with a jar of homemade jam. Tie them together with a colorful ribbon to match the towel, securing
a wooden spreader in the knot of the bow.
S E N D I N G B R E A D T H R O U G H T H E M A I L Every gift of food you ship should have two basic lines of defense: It should be well packed in an inner gift
box, which should be well packed in a second, outer shipping box that will see it safely through the mail.
The golden rule of packing is to choose a box appropriate in size to the item it will contain. Movement is the
enemy; if you give something a chance to shift, you give it the chance to break.
Once the bread is packed, you will need the second shipping box to make the tough trip. Most shipping
services recommend a two-to-three-inch cushion between the bread box and the wall of the outside box.
But the heavier the item, the thicker the cushioning layer should be. Standard corrugated-cardboard boxes
are available in a range of sizes, often in one-inch increments (boxes made of recycled cardboard are also
available, but you have to ask for them). Fill the box with foam peanuts, Bubble Wrap, wood excelsior, or
crumpled paper. Don’t underfill the box—the package will shake. Don’t overfill it, either—bulging sides run
a greater risk of puncture.
The shipping box should then be sealed well with tape. Before closing, include a shipping label inside in case
the box is damaged and the outside label is lost. Seal the box along its seams with two-inch-wide pressure-
sensitive tape. Tape the bottom seams as well as the top. Don’t tie the box with rope or string, which can get
snagged on sorting machines.
sponsored by :