built by stevie vanity plans - go.rockler.com
TRANSCRIPT

Bathroom Vanity Project Design and Plan by Built By Stevie
WWW.BUILTBYSTEVIE.COM#CARPENTHER™
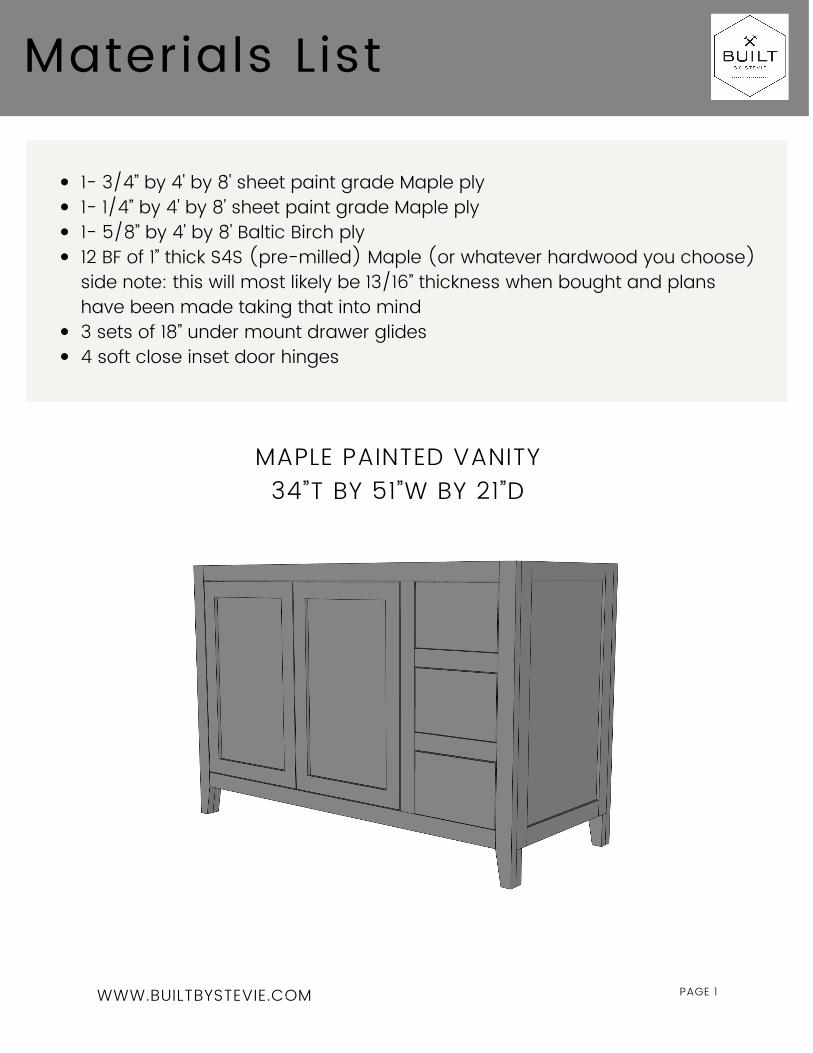
Materials List
MAPLE PAINTED VANITY 34”T BY 51”W BY 21”D
1- 3/4” by 4' by 8' sheet paint grade Maple ply1- 1/4” by 4' by 8' sheet paint grade Maple ply1- 5/8” by 4' by 8' Baltic Birch ply12 BF of 1” thick S4S (pre-milled) Maple (or whatever hardwood you choose)side note: this will most likely be 13/16” thickness when bought and planshave been made taking that into mind3 sets of 18” under mount drawer glides4 soft close inset door hinges
WWW.BUILTBYSTEVIE.COM PAGE 1

Tools Needed
Table Saw or Track SawMiter SawDomino or Doweling JigDrill and DriverPocket Hole Jig
WWW.BUILTBYSTEVIE.COM PAGE 1
Exploded View
Band SawRouter TableOrbital SanderPaint Sprayer (optional)

2- 51” by 2” by 1”4- 34” by 2” by 1”2- 47” by 2” by 1”2- 26” by 2” by 1”2- 11” by 2” by 1”
Cut List
WWW.BUILTBYSTEVIE.COM PAGE 2
Front Face Frame
Back Frame with Nailers
Maple Face Frame and Back Frame
4-22” by 4” by 3/4” ply (nailers strips)4- 4” by 2” by 1” (leg spacers)1- 3” by 2” by 1” (interior upper door stop)
Tip From StevieYou will cut the tapered
legs during this step.Gather the 4 side pieces
(34" by 2" by 1")To measure the taper
first measure and marka line across the widthat 4" from the bottom.Then at the end of theleg measure in 1 1/4"
and make a mark.Connect the marks by
drawing a diagonal line.Using the band saw cutaway the excess wood
to create the taper.Clean up with orbital
sander.

Cut List
WWW.BUILTBYSTEVIE.COM PAGE 3
4 stiles: 30” by 2” by 1” (Maple)4 rails: 16 3/16” by 2” by 1” (Maple)2 panels: 16 1/16” by 26 3/4” (1/4” Maple ply)
Side Panels
Finished Door Size30" by 19 3/8" Rails and Stiles
Tip From Stevie*I used the rail and stile calculation to get my rail dimensions.
The length of your rails is equal to the width of your door minus the width of the two stiles, plusthe length of the two tenons.
In this instance: 19 3/8" - 4” + 13/16” = 16 3/16")

Cut List
WWW.BUILTBYSTEVIE.COM PAGE 4
Tip From Stevie*1/4” ply door panels (Length: The length of your panel is the height of your door minus the width
of both rails, plus 13/16" for top and bottom rail groove depths minus 1/16" *for expansion. This example: 25 3/4“ - 4" + 13/16" - 1/16"* = 22 1/2“
Width: The width of your panel is the width of your door minus the width of both stiles, plus 13/16"for left and right stile groove depths, minus 1/8"* for expansion.
This example: 16 3/16” - 4” + 13/16” -1/8*” = 13 1/2”) 2- 13 1/2” by 22 1/2”
Doors and Drawer Fronts4- 25 3/4” by 2” by 1”4- 13 5/8” by 2” by 1”2- 13 1/2” by 22 1/2” (1/4" ply panels)3- 10 3/4" by 7 1/8" by 1" (drawer fronts)

Cut List
WWW.BUILTBYSTEVIE.COM PAGE 5
Bottom Panel and Supports1- 19 3/8” by 49 3/8” by ¾” (Maple ply for bottom of vanity)1- 19 3/8” by 27 1/2" by ¾” (Maple ply for interior divider)2- 2 1/2” by 49 3/8” by ¾” (Maple ply for top vanity runners to hold counter)4- 4” by 22 ½” by ¾” (Maple ply for back nailers)
Drawer Parts6- 10 5/8” by 6” by 5/8" Baltic Birch6- 18” by 6” by 5/8" Baltic Birch3- 10” by 17 3/8” by 1/4" (Maple ply for bottom of drawer)
Tip From Stevie*I use under mounts thatcall for a 3/8” gap smaller
than the width of theopening. Our opening is
11”W by 7 3/8”T. Go 1-1 1/2” smaller for yourheight o the drawer to take
into account the undermount drawer glide.

AssemblyInstructions
WWW.BUILTBYSTEVIE.COM PAGE 6
Step 1: I build the face frame and back frame first. I usedominoes for this process, but you can also do pocket holesor dowels.
After cutting your materials its ready to start building!

WWW.BUILTBYSTEVIE.COM PAGE 7
Step 2: Run the rails and stiles for the doors and side panelsthrough your router table. (router bit #92145 from Rockler)
Assembly Instructions
Step 3: Assemble doors and side panels

WWW.BUILTBYSTEVIE.COM PAGE 7
Step 4: Attach bottom to face frame using dominoes or pocket screws.Step 5: Attach side panels to face frame and bottom using dominoes or pocket screws Step 6: Attach bottom to back frame and side panels using dominoes or pocket screwsStep 7: Attach top runners using pocket screws. One in the front and one along the back.
Assembly Instructions
Front Back

WWW.BUILTBYSTEVIE.COM PAGE 8
Step 8: Sanding time! Start with your lower grit of 100 andwork your way up. If I am painting I sand to 220. If I am staining, I sand no higher than 150 grit.
Assembly Instructions
Step 9: Run drawer pieces through dado blades at 1/2” from the bottom and 5/16” deep for bottoms.

WWW.BUILTBYSTEVIE.COM PAGE 9
Step 10: Assemble drawers. Over all drawers are 10 5/8”W by 18”L using 18” under-mount drawer glides.
Assembly Instructions
Step 11: Use the RocklerJIG IT Undermount DrawerSlide Jig and UndermountDrilling Guide

WWW.BUILTBYSTEVIE.COM PAGE 9
Follow me @BuiltByStevie
#CARPENTHER™
Step 13: Install the drawer fronts and cabinet doors.
Drawer Front Installation: I predrill holes in the drawer faces for
the drawer handles, then align thedrawer face in the opening using
spacers. Once centered, I use screws inthe handle holes to temporarily attachthe door to the drawer from the front.
Then open the drawer and attached thedrawer face permanently with screwsfrom the back. Then proceed to install
your handles.
Cabinet Door Installation:Using Rockler's JIG IT hinge plate jig I
mark the inside of the cabinets for theEuro Hinge holes. Then I install the baseplate of the Euro Hinge to the cabinet. Then, I transfer the exact location ontomy doors and drill for my Euro Hinge.Screw the Euro Hinge to the door and
the hinge should click right into thebase plate. Use adjustment screws on
hinges to set the perfect reveals.
Step 12: Time for paint. I suggest a paint gun to get that smooth finish. A roller and brush will also get the job done.
Assembly Instructions