chameleon tongue - festo didactic: bionics4education · optional: make a body for your chameleon...
TRANSCRIPT
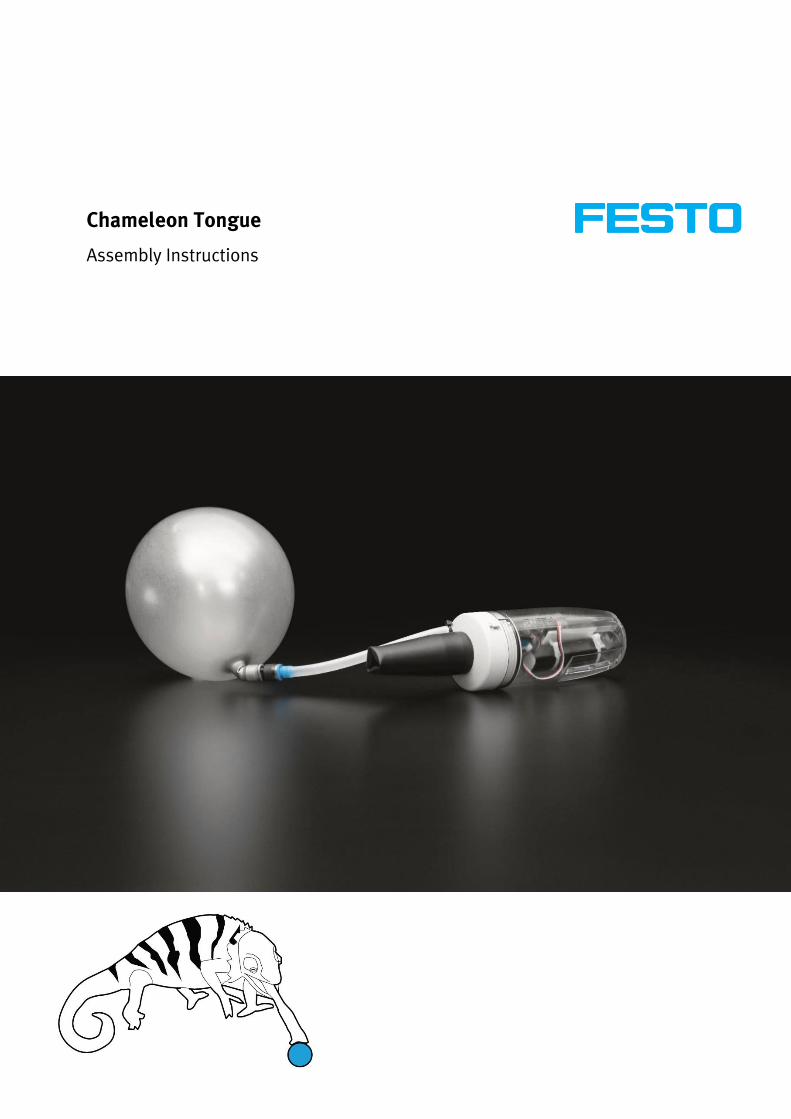
Chameleon Tongue
Assembly Instructions

Festo AG & Co. KG Festo Didactic SE
2
Equipment and Supplies
Required items from the Bionics Kit and/or Materials Pack:
1. Transparent corpus (body) 2. Small, waterproof servo motor (marked with a sticker) – 1 3. Connecting element 4. Silicone cap 5. Cable ties 6. Sealing rings – 2 7. Tube (clear) 8. Small tube (black) 9. Connecting element for silicone cap 10. Electronic board with microcontroller 11. Material for body (plastic poster board) 12. balloon
1 2 3
8
4
7 9
6 5
10 11 12

Festo AG & Co. KG Festo Didactic SE
3
Equipment and Supplies, continued
Additionally required:
1. 4-AA batteries 2. Scissors
1 2
Festo AG & Co. KG Festo Didactic SE
4
Instructions
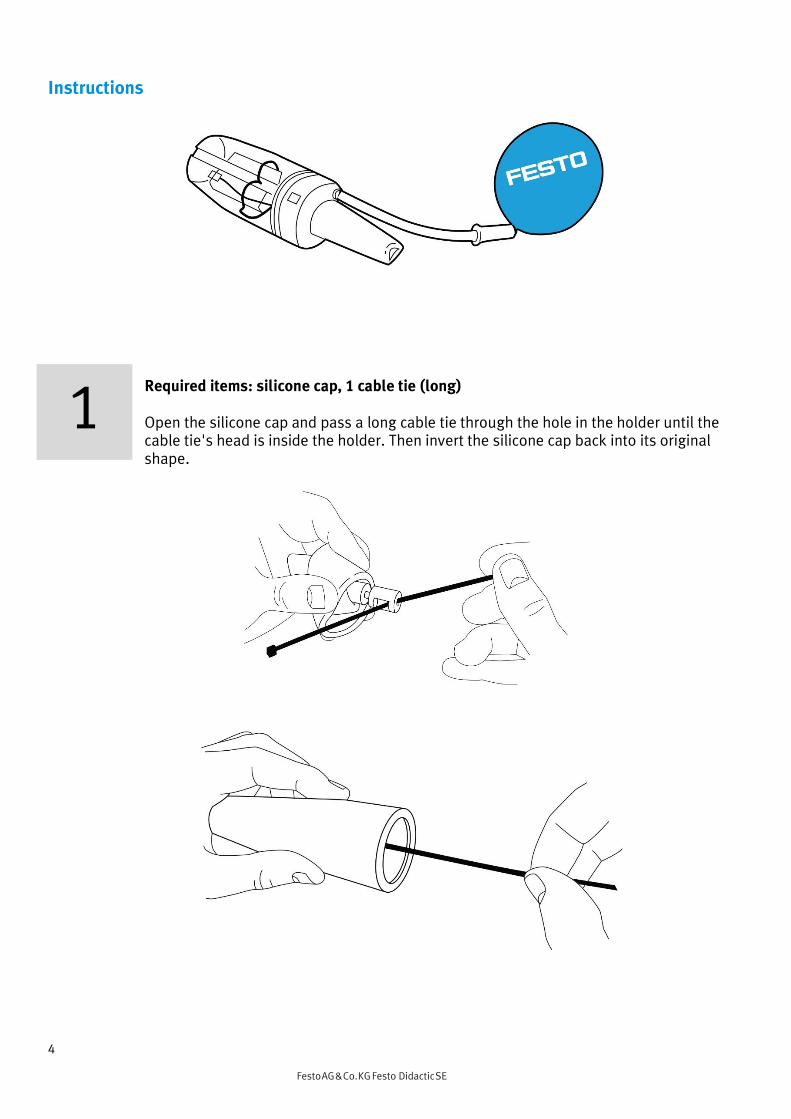
Required items: silicone cap, 1 cable tie (long) Open the silicone cap and pass a long cable tie through the hole in the holder until the cable tie's head is inside the holder. Then invert the silicone cap back into its original shape.
1
Festo AG & Co. KG Festo Didactic SE
5
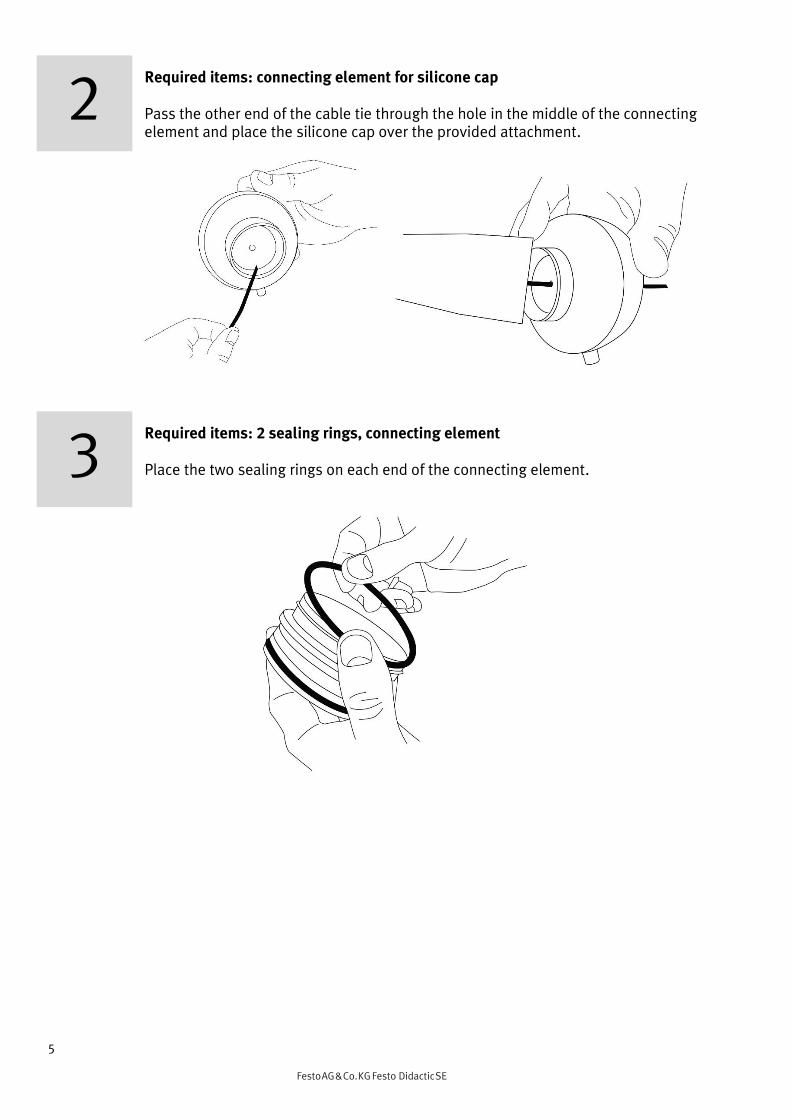
Required items: connecting element for silicone cap Pass the other end of the cable tie through the hole in the middle of the connecting element and place the silicone cap over the provided attachment.
Required items: 2 sealing rings, connecting element Place the two sealing rings on each end of the connecting element.
2
3

Festo AG & Co. KG Festo Didactic SE
6
Required items: waterproof servo motor, 1 cable tie, connecting element Attach the waterproof servo motor on the holder inside the connecting element and fasten it with a cable tie. Make sure the rudder horn of the motor is positioned in the center of the connecting element. Shorten the cable tie, if necessary.
Required items: connecting element, connecting element for silicone cap Attach the connecting element for the silicone cap to the other connecting element.
4
5
Festo AG & Co. KG Festo Didactic SE
7
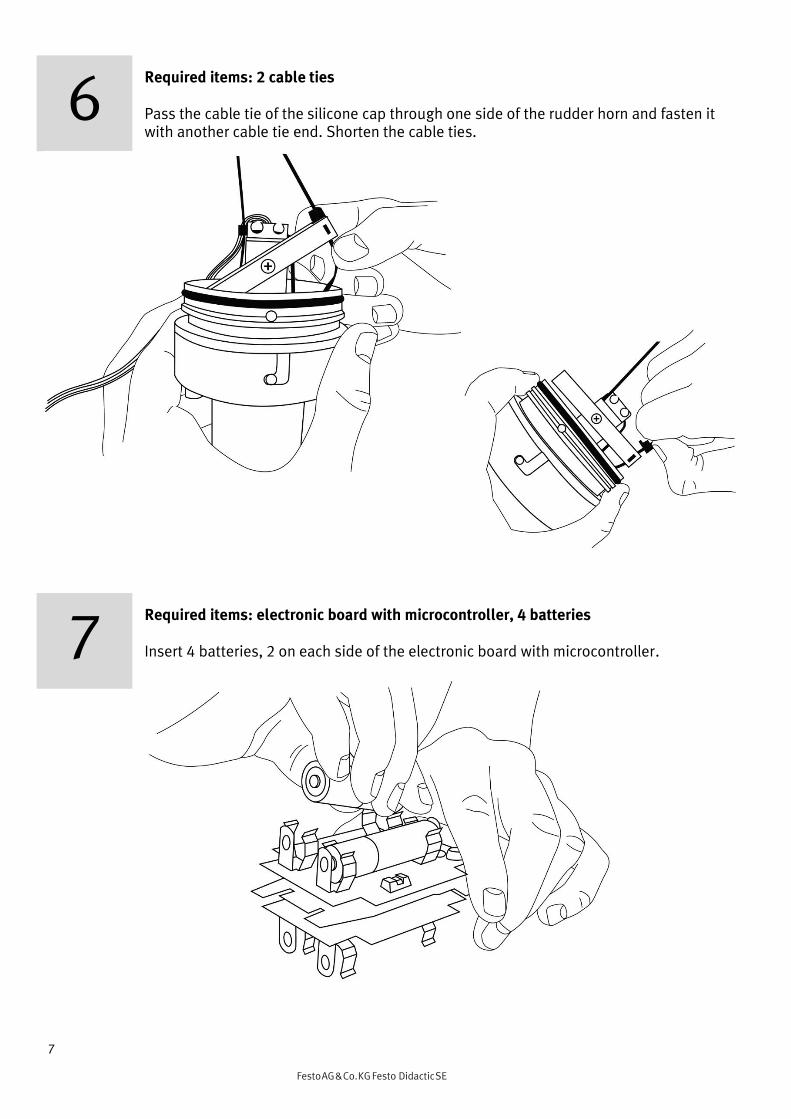
Required items: 2 cable ties Pass the cable tie of the silicone cap through one side of the rudder horn and fasten it with another cable tie end. Shorten the cable ties.
Required items: electronic board with microcontroller, 4 batteries Insert 4 batteries, 2 on each side of the electronic board with microcontroller.
6
7

Festo AG & Co. KG Festo Didactic SE
8
Required items: servo motor, electronic board with microcontroller Insert the plug from the servo motor onto the electronic board with microcontroller.
Turn on the electronic board with microcontroller using the small switch. The light turns on.
Required items: electronic board with microcontroller, transparent corpus (body) Insert the assembled electronic board with microcontroller into the body and slide it into the rail provided for this purpose. Make sure that the switch is still on and all connections are secure.
8
9
10

Festo AG & Co. KG Festo Didactic SE
9
Required items: transparent corpus (body), connecting element (with silicone cap) Attach the connecting element to the transparent corpus.
Required items: balloon, tube (clear), tube (black) Place one end of the black tube inside one end of the clear tube. Put the opening of the balloon over the other end of the black tube. Then inflate the balloon with the help of the clear tube.
11
12

Festo AG & Co. KG Festo Didactic SE
10
Required items: connecting element for silicone cap, tube (clear) Squeeze the open end of the clear tube with your fingers so that the air cannot escape from the balloon and put it over the hole on the connecting element.
Optional: make a body for your chameleon Print the silhouette template (available in the Downloads section on the bionics4education website) and draw any shape for your chameleon or use the body template already created. Attach the body to your robot using cable ties.
13
14

Festo AG & Co. KG Festo Didactic SE
11
Congratulations! Your Bionic Chameleon is ready. Continue with the next steps in the Getting Started section on the bionics4education website to learn how to control your bionic robot.