chatbot – code club - amazon web services introduction you are going to learn how to program your...
TRANSCRIPT

ChatBot
IntroductionYou are going to learn how to program your own talking robot!
Step 1: Your chatbot
Activity Checklist
Before you start making your chatbot, you need to decide on itspersonality. Think about:
What is their name?Where do they live?Are they happy? serious? funny? shy? friendly?
Start a new Scratch project, and delete the cat sprite so that your projectis empty.
1
This content is for non-commercial use only and we reserve the right at any time to withdraw permission for use. © 2012-2016 Raspberry Pi Foundation. UKRegistered Charity 1129409

Save your project
Step 2: A talking chatbotNow that you have a chatbot with a personality, let’s program it to talk to you.
Activity Checklist
Choose one of these character sprites, and add them to your project:
Choose a backdrop that fits your chatbot’s personality. Here’s anexample, although yours doesn’t have to look like this:
Click on your chatbot character, and add this code:
2
This content is for non-commercial use only and we reserve the right at any time to withdraw permission for use. © 2012-2016 Raspberry Pi Foundation. UKRegistered Charity 1129409

Click your chatbot to test it out. After you are asked your name, type itinto the box along the bottom of the stage.
Your chatbot simply replies What a lovely name! every time. You can
personalise your chatbot’s reply, by making use of the user’s answer.Change the chatbot’s code, so that it looks like this:
To create the last block, you’ll need to first drag on a green join block,
and drag it on to the say block.
3
This content is for non-commercial use only and we reserve the right at any time to withdraw permission for use. © 2012-2016 Raspberry Pi Foundation. UKRegistered Charity 1129409

You can then change the text hello to say Hi , and drag the light blue
answer block (from the ‘Sensing’ section) onto the text world .
Test out this new program. Does it work as you expected? Can you fixany problems that you can see? (Hint: you can try adding in a spacesomewhere!)
It may be that you want to store the user’s name in a variable, so thatyou can use it again later. Create a new variable called name . If you’ve
forgotten how to do this, the ‘Ghostbusters’ project will help you.
The information that you entered is already stored in a special variablecalled answer . Go to the Sensing group of blocks and click the answer
block so that a tick appears. The current value in answer should then be
shown on the top-left of the stage.
Once you’ve created your new variable, make sure that your chatbot’scode looks like this:
If you test your program again, you’ll notice that the answer is stored inthe name variable, and is shown in the top-left of the stage. The name
variable should now contain the same value as the answer variable.
4
This content is for non-commercial use only and we reserve the right at any time to withdraw permission for use. © 2012-2016 Raspberry Pi Foundation. UKRegistered Charity 1129409
Save your project
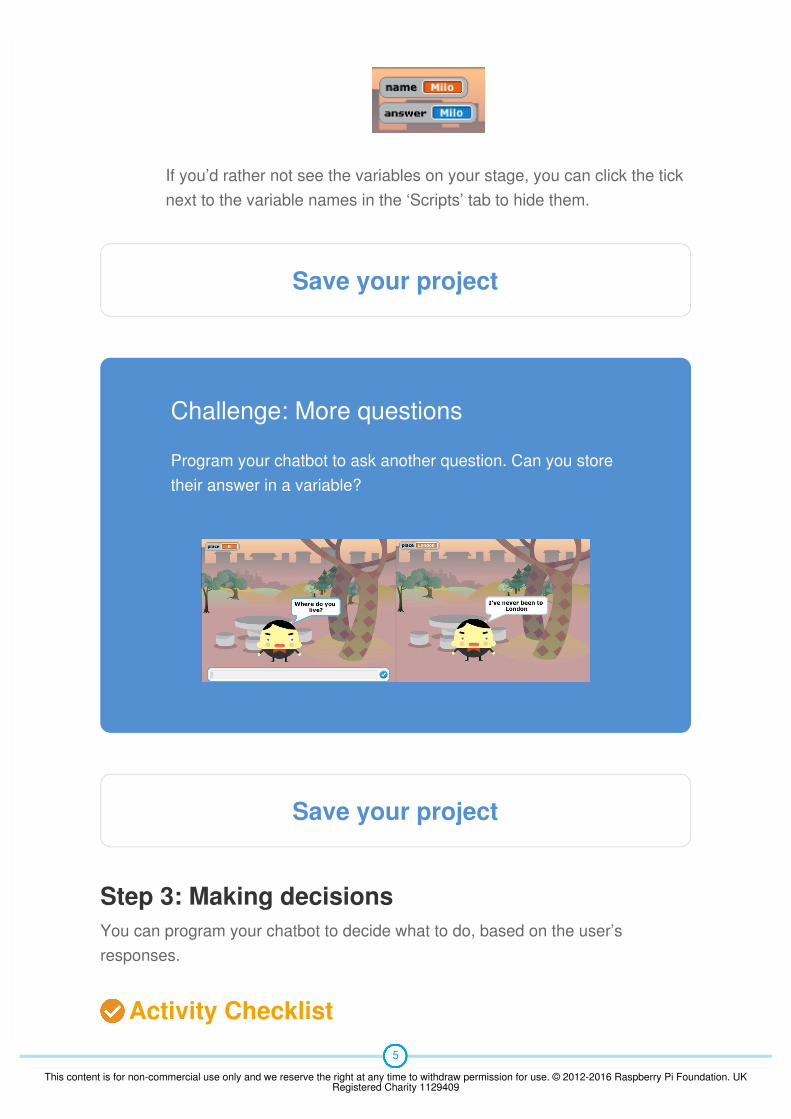
Challenge: More questions
Program your chatbot to ask another question. Can you storetheir answer in a variable?
Save your project
Step 3: Making decisionsYou can program your chatbot to decide what to do, based on the user’sresponses.
Activity Checklist
If you’d rather not see the variables on your stage, you can click the ticknext to the variable names in the ‘Scripts’ tab to hide them.
5
This content is for non-commercial use only and we reserve the right at any time to withdraw permission for use. © 2012-2016 Raspberry Pi Foundation. UKRegistered Charity 1129409

Let’s get your chatbot to ask the user a question which has a yes or
no answer. Here’s an example, but you can change the question if you
like:
Notice that now you’ve stored the user’s name in a variable, you can useit as much as you like.
To test this program properly, you’ll need to test it twice - once typingno as your answer, and once typing yes . You should only get a
response from your chatbot if you answer yes .
The trouble with your chatbot is that it doesn’t give a reply if the useranswers no . You can fix this, by changing the if block to an if/else
block, so that your code now looks like this:
If you test your code, you’ll now see that you get a response when youanswer yes or no . Your chatbot should reply with That's great to hear!
when you answer yes , but will reply with Oh no! if you type anything
other than yes ( else means ‘otherwise’).
6
This content is for non-commercial use only and we reserve the right at any time to withdraw permission for use. © 2012-2016 Raspberry Pi Foundation. UKRegistered Charity 1129409

You can put any code inside an if or else block, not just code to make
your chatbot speak. For example, you can change the chatbot’s costumeto match the response.
If you have a look at your chatbot’s costumes, you may see that there ismore than one. (If not, you can always add more yourself!)
You can use these costumes as part of your chatbot’s response, byadding this code:
7
This content is for non-commercial use only and we reserve the right at any time to withdraw permission for use. © 2012-2016 Raspberry Pi Foundation. UKRegistered Charity 1129409

Save your project
Challenge: More decisions
Program your chatbot to ask another question - somethingwith a yes or no answer. Can you make your chatbot
respond to the answer?
Test out your program, and you should see your chatbot’s face changedepending on the answer you give.
8
This content is for non-commercial use only and we reserve the right at any time to withdraw permission for use. © 2012-2016 Raspberry Pi Foundation. UKRegistered Charity 1129409

Save your project
Step 4: Changing locationYou can also program your chatbot to change its location.
Activity Checklist
Add another backdrop to your stage, for example the ‘beach’ backdrop.
You can now program your chatbot to change location, by adding thiscode to your chatbot:
9
This content is for non-commercial use only and we reserve the right at any time to withdraw permission for use. © 2012-2016 Raspberry Pi Foundation. UKRegistered Charity 1129409

You also need to make sure that your chatbot is outside when you starttalking to it. Add this block to the top of your chatbot code:
Test your program, and answer yes when asked if you want to go to the
beach. You should see that the chatbot’s location has changed.
Does your chatbot change location if you type no ? What about if you
type I'm not sure ?
You can also add this code inside your if block, to make your chatbot
jump up and down 4 times if the answer is yes :
10
This content is for non-commercial use only and we reserve the right at any time to withdraw permission for use. © 2012-2016 Raspberry Pi Foundation. UKRegistered Charity 1129409

Save your project
Challenge: Make your own chatbot
Use what you’ve learnt to finish creating your interactivechatbot. Here are some ideas:
Once you’ve finished making your chatbot, get your friends tohave a conversation with it! Do they like your character? Didthey spot any problems?
Save your project
Test your code again. Does your chatbot jump up and down if youanswer yes ?
11
This content is for non-commercial use only and we reserve the right at any time to withdraw permission for use. © 2012-2016 Raspberry Pi Foundation. UKRegistered Charity 1129409

12
This content is for non-commercial use only and we reserve the right at any time to withdraw permission for use. © 2012-2016 Raspberry Pi Foundation. UKRegistered Charity 1129409