congratualtions on choosing an ariston appliance, which
TRANSCRIPT
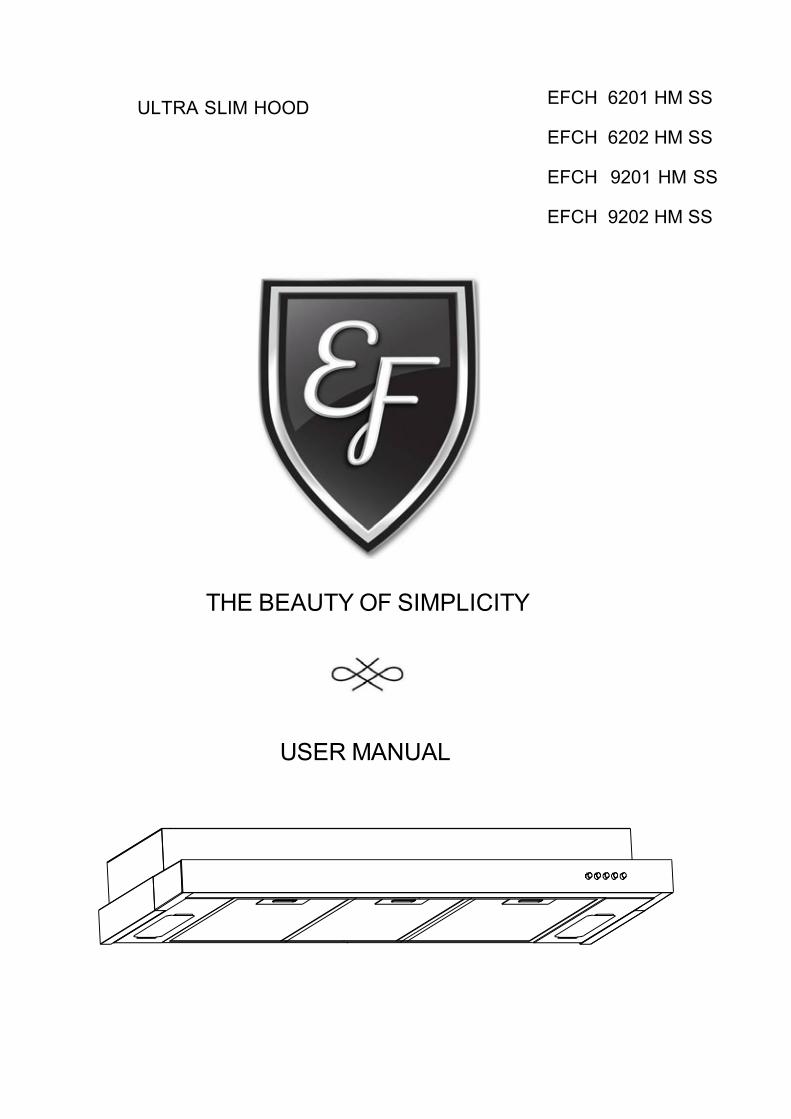
ULTRA SLIM HOOD
THE BEAUTY OF SIMPLICITY
USER MANUAL
EFCH 6201 HM SS
EFCH 6202 HM SS
EFCH 9201 HM SS
EFCH 9202 HM SS

TableofContent•From the Manufacturer 3
•Specifications 3
•Description of Parts 4
•Safety Regulations 4
•Control switch operation 5
•Operating mode-Recirculating 6
•Installation Instruction 7-8
•Electrical Connection 9
•Cleaning & Maintenance 9
•Troubleshooting 10
•Schematic Diagram 11

Dear Customer,
Thank you for having purchased and given your preference to our product. This manual provides ameans to make full use of the features of this product. We recommend that you read this manualfor best performance and to extend the life of your appliance.
Please preserve this manual for future use, in the event that doubts arise relating to the operation
From the Manufacturer
• This appliance and the packaging are produced by processes that minimize waste and friendlyto the environment.
• Please dispose the packaging in an environmentally friendly mannerSafety !
• Please do not allow young children to play with the plastic film and packaging as this mayresult in suffocation.
• Before disposing of any old appliances, be sure to cut off the power cord so that others will notbe endangered by a defective electric appliance
SpecificationsInput : 220-240V/50HzMotorLamps
: 170W: 2×40W
Total Power : 250W
Product Dimension :60cm version: 600 x 420 x 120mm 90cm version: 900 x 420 x 120mm
3
/
/

4
Description of Parts
6 screws2 screws(5mm×L35mm) are used for installing the hood to wall
4 screws(5mm×L15mm) are used for hanging the hood to the ceiling
• Do not connect the appliance if there are obvious signs of transportation damage.
• Read this user manual thoroughly before attempting to use this appliance.
• Installation and repair should be attempted only by qualified technical personnel.
• Do not modify any part of this appliance
• Ensure the location in which this appliance is installed has good, permanent ventilation.
• The distance between the "cooking appliance” to the lower part of the hood must not less
than 65 cm or higher than 75cm.
• Check that the main voltage in your area corresponds to the voltage of the appliance before
pugging in.
• The electrical connection of this appliance must be connected to earth.
Green & Yellow = EARTH
Blue
Brown
= NEUTRAL
= LIVE
Safety Regulagtions

5
• Multiple plugs and extension cables must not be used. Overload is dangerous and
may cause a fire.
• Ensure that the power supply cord is free from any heat source or sharp objects.
• The appliance should be switched off and the electrical supply has to bedisconnected before any cleaning or maintenance work can be carried out.
• The company declines all responsibilities in case of failure to adopt proper safety
measures stated in this manual.
OperationThe hood is equipped with 3 speed control.
Use the low speed for simmering, medium speed for light cooking.Use the high speed for frying or heavy cooking.
It is also equipped with a light bulb to illuminate you cooking area when needed.
Light On/Off Button(ⅰ)
On/Off switch for the light. Push the button in to turn the light ON,push again to turn the light OFF.
Blower Off Button(ⅱ)
Off switch for the blower. Push the button in to turn the blower OFF.
Blower Off Button(ⅲ,ⅳ&ⅴ)
Button(ⅲ) operates the blower on LOW speed.Push button(ⅳ) for MEDIUM speed.Push button(ⅴ) for HIGH speed.
It is advisable to switch on the appliance a few minutes before cooking and leave it on forapproximately 15min after cooking is finished.

6
Re-circulating
This appliance is configured to operate in the re-circulating mode ONLY.
• The cooking smells and odours are passed through a cleaning filter. Once filtered, the air isrecirculated into the kitchen through the grille on the upper part of the front of the appliance.
Caution:In recirculating mode, charcoal filter is to be fitted.

7
Installation Instructions
Wall Mounting
- The appliance should be placed at a distance of 650-750mm from the cooking surface for best effect.- Drill 2 x Ø8mm holes on the wall with the distance of 470mm for 60cm cooker hood and 800mm for 90 cm cooker hood.- Insert the nut into the holes (A).- Insert the screws into the nuts and leaving 5mm untightened.- Put up the cooker hood onto the screws till the screws are engaged in a narrow end of
the holes. Tighten screws completely (B)
- Make the electrical connection
AB

8
Installation Instructions
Cabinet Mounting
- Drill 4 holes of Ø 6mm at the bottom of the cabinet according to the positions of the screwholes on top of the cooker hood (C)
- Put the one-way valve on the cooker hood screw holes and lift the cooker hood to thebottom of the cabinet.
- Tighten the hood with the 4 screws provided to the four holes at the bottom of the cabinet (D)
- Make the electrical connection
Note:The vent hole must be covered at all times.
C
D

9
Electrical ConnectionBefore completing any connection, make sure the house voltage corresponds to the voltageindicated on the label affixed inside the applianceIt is advisable to call a qualified technician to make the electrical connection.
Appliance fitted with plugConnect it to a socket which conforms to current regulations. If you intend to connect it directly tothe electric mains, remove the plug and fit an approved bipolar switch with a minimumcontact opening of not less than 3mm.If the plug is not accessible once it has been inserted in the socket, it will however benecessary to fit an approved bipolar switch with a minimum contact opening of no less than3mm.
Appliance without plugFit an approved plug or an bi-polar switch with a minimum contact opening of no less than 3mm.The company is not liable for any problems caused by the user’s failure to comply with the aboveinstructions.
Cleaning & MaintenanceRegular maintenance and cleaning ensures good performance and reliability, while
extending the working-life of the appliance
SURFACES :
Wash with warm soapy water and a soft sponge. Never use abrasive detergent, scouring
pads ,steel wool or solvents on any part of this appliance as this will cause irreparable damage.
Note: Never use metallic scouring pads or abrasive products that could damage the surface.
Filter Cleaning:Aluminium Grease Filters : Wash in the dishwashers or soak the panels in a degreasing agent for an hour, then rinse off. The filter must be cleaned at least once a month or depending on the frequency of appliance usage.
LIGHT BULB REPLACEMENT : Before attempting to replace the light bulb, make sure that the light
switch is turned off. Remove the grease filter to access the lamp area. Remove the damaged light
bulb and replace an bulb with maximum 40W.
Charcoal Filters (only in re-circulating model): Charcoal filter cannot be reused. They must be replaced with the appropriate types once a year or de-pending on the frequency of appliance usage. For this appliance to function effectively, regular maintenance is a must. Clogged filters restrict airflow and may cause the motor to overheat.

10
Troubleshooting
Symptoms Possible Cause Action
Motor does not function
No electrical supply- Plug and main switch not
connected- Damaged switch or short
circuit
- Check that the plug isconnected and the mainswitched is turned on.
- Check if the switch isdamaged or short circuit –replace or repair.
Poor airflow
- Distance between the cookingappliance and the hood is toohigh
- Fan operation speed is too low- Charcoal filters clogged
- Adjust installation height- Replace motor or
capacitor – contacttechnician
- Replace charcoal filters
Motor running butNo airflow
Air flow blade isjammed
Adjust air flow blade -contact technician
Motor shut off after a few
minutes
- High temperature – safetydevice activated
- The hood is installed too nearto the cooking appliance
- The kitchen is notsufficiently ventilated
- Adjust installation height –must be at least 65cmfrom cooking appliance
Strong Vibration- Hood installed incorrectly- Fan installed incorrectly- Fan is damaged
- Reinstall the hoodcorrectly
- Reinstall the fan correctly- Replaced or repair
Strong cooking smellCharcoal filters not
installedIn re-circulating mode,charcoal filters must be
installed
Oil dripping onto stove Rectifier panel and oil cup issaturated
Wash rectifierpanel and oil cup
Whirring sound Foreign object in contactwith fan blade Contact technician
In the event of any uncertainties arise on appliance or if the appliance is not function properly,please stop using it and contact our customer service immediately

11
Schematic Diagram2 motor version

Please note:
Casa (S) Pte Ltd reserves all rights to the final interpretation of the content of this manual.Customer will not be notified in the event of any amendments to the content.
For original parts & reliable service:
CASA (S) PTE LTD15 KIAN TECK CRESCENT,SINGAPORE 628884TEL:+65 6268 0077FAX:+65 6898 0510Email:[email protected]