copyright 2013 © sap hairstyling hairstyling hairstyling is creating wearable art. the art of...
TRANSCRIPT
Copyright 2013 © SAP
Hairstyling
HAIRSTYLING
• Hairstyling is creating wearable art.
• The art of dressing and adorning hair dates back into ancient history.
• See yourself as a sculptor and hair is your clay.
• It is important for you to be able to perform a variety of techniques on all hair textures.
• In this first step in the hairstyling process, expose your client to current hairstyling trends.
• When guiding your client, consider her face shape, hair type, and lifestyle needs.
• You and the client need to listen to each other.
CLIENT CONSULTATION
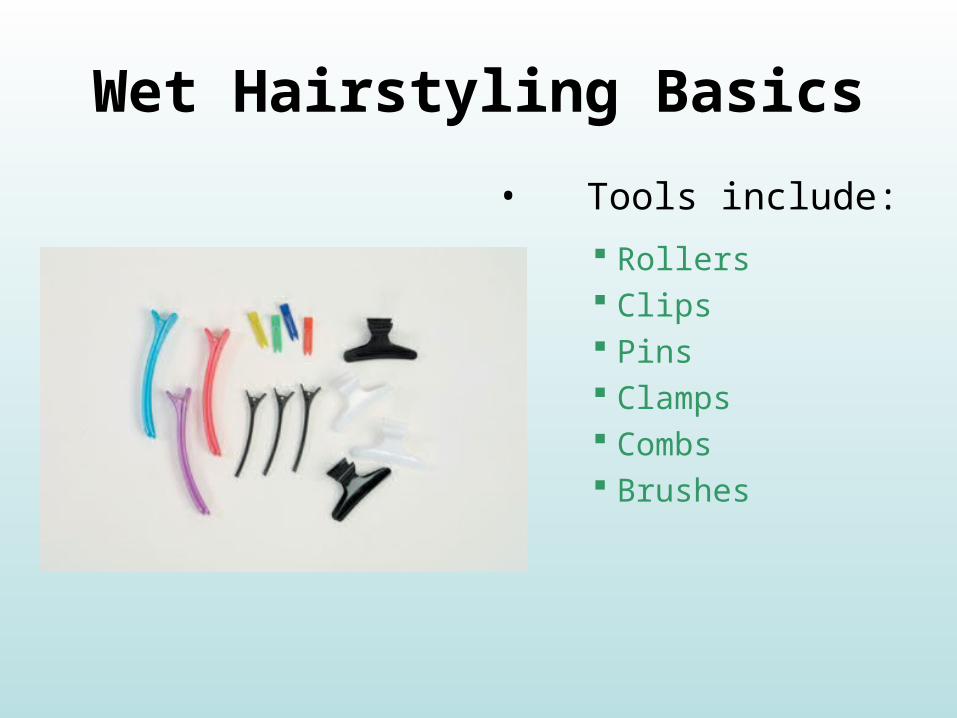
Wet Hairstyling Basics
• Tools include:
Rollers Clips Pins Clamps Combs Brushes
FINGER WAVING
• Learning to perform beautiful finger waves will challenge you, but will ultimately serve you well in your hair designing career.
• Even if styles requiring finger waving are not in demand, the technique teaches you how to move and direct the hair.
• It helps you develop the dexterity, coordination, and finger strength required for professional hairstyling.
• It provides you with valuable training in creating hairstyles and in molding hair to the curved surface of the head.
FINGER WAVING
• This process shapes and directs the hair into a pattern of “S” shaped waves through the use of the fingers, combs, and waving lotion.
• Finger waving is an excellent introduction to hairstyling.
FINGER WAVE LOTION
1. Makes hair pliable
2. Made from karaya gum found in trees of Africa and India
3. Can be diluted with water to a thin, watery consistency for fine hair
4. Can be concentrated for use on regular or coarse hair
5. Is harmless on hair
FINGER WAVE PROCEDURE
• Start at top of head; use circular movements toward crown.
• Slide hair half an inch at a time, making sure teeth go through to the scalp.
• Lay comb flat while teeth are still inserted in the ridge.
• Comb through without removing fingers.
DO NOT TRY TO INCREASE HEIGHT OR DEPTH OF RIDGE BY PINCHING OR PUSHING WITH FINGERS. THIS WOULD CREATE OVERDIRECTION.
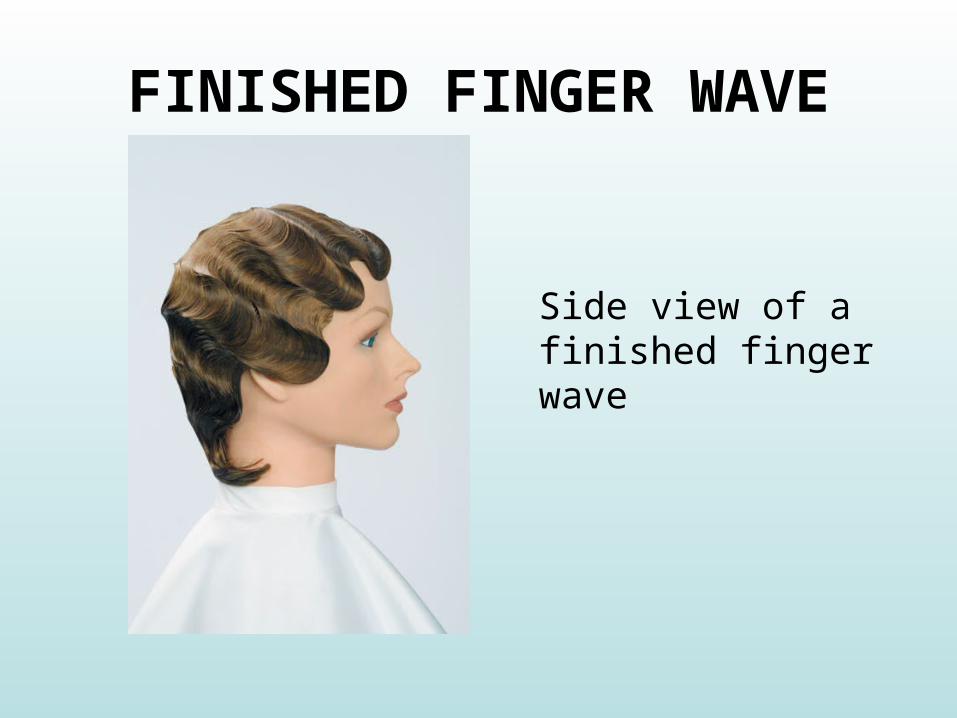
FINISHED FINGER WAVE
Side view of a finished finger wave
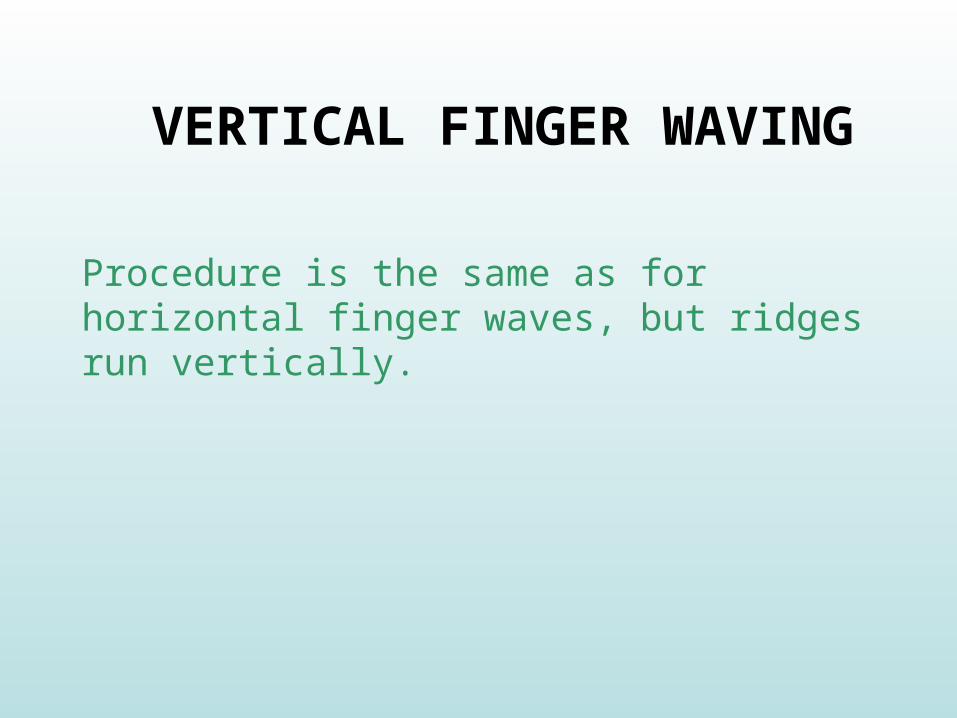
Procedure is the same as for horizontal finger waves, but ridges run vertically.
VERTICAL FINGER WAVING
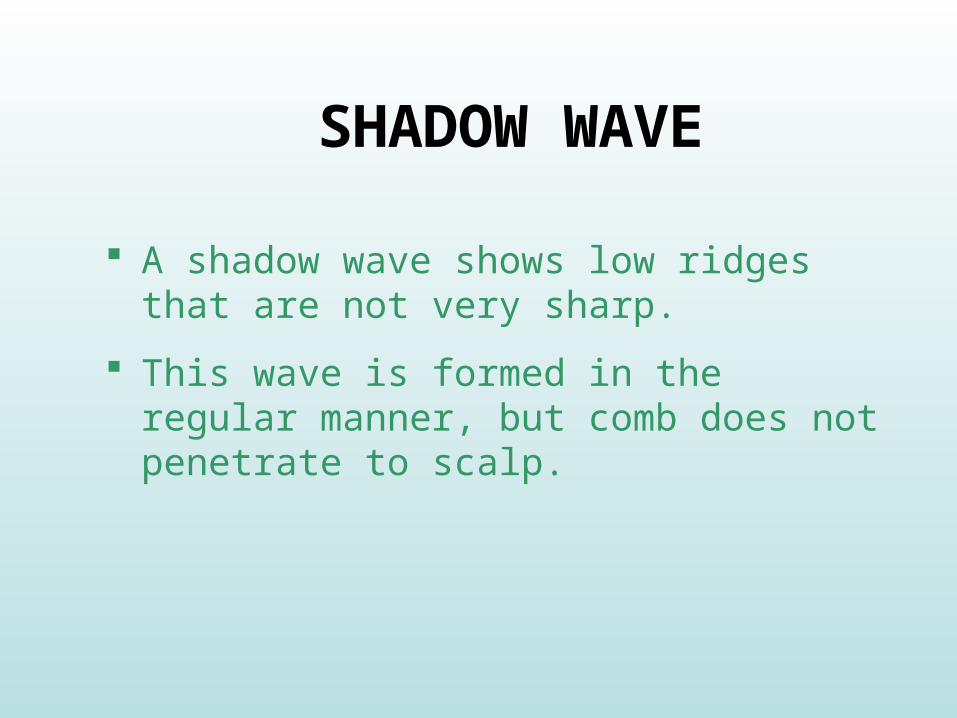
A shadow wave shows low ridges that are not very sharp.
This wave is formed in the regular manner, but comb does not penetrate to scalp.
SHADOW WAVE
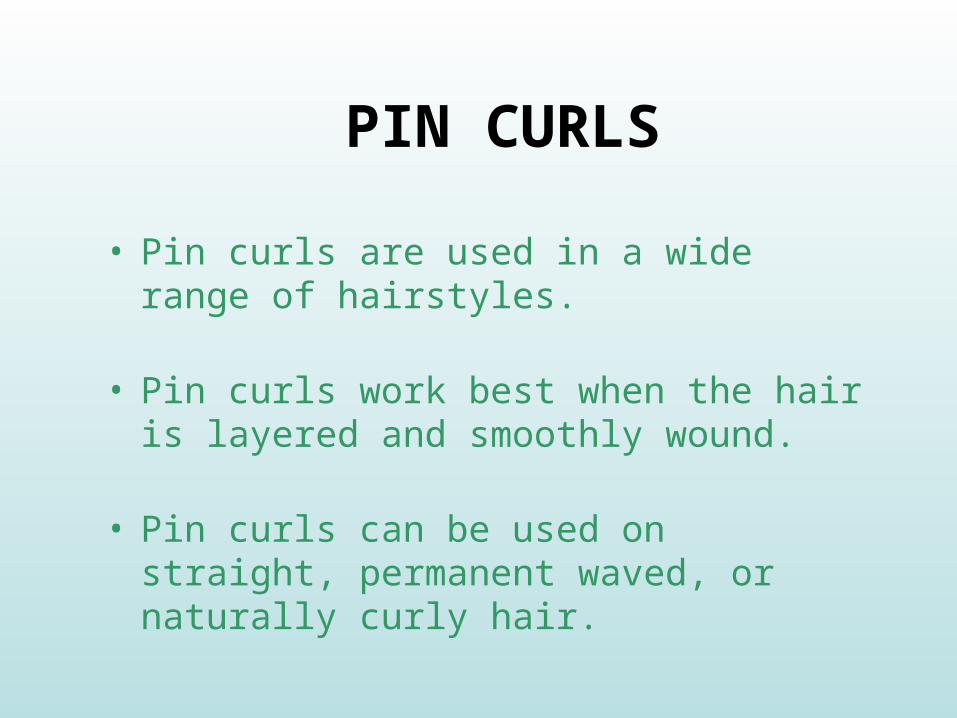
PIN CURLS
• Pin curls are used in a wide range of hairstyles.
• Pin curls work best when the hair is layered and smoothly wound.
• Pin curls can be used on straight, permanent waved, or naturally curly hair.
APPLYING LOTION
• Apply lotion while hair is damp.
• Use applicator to apply.
• Use comb to distribute through hair.
• Avoid using excessive amounts of waving lotion.
• Apply to one section of head at a time to prevent drying.
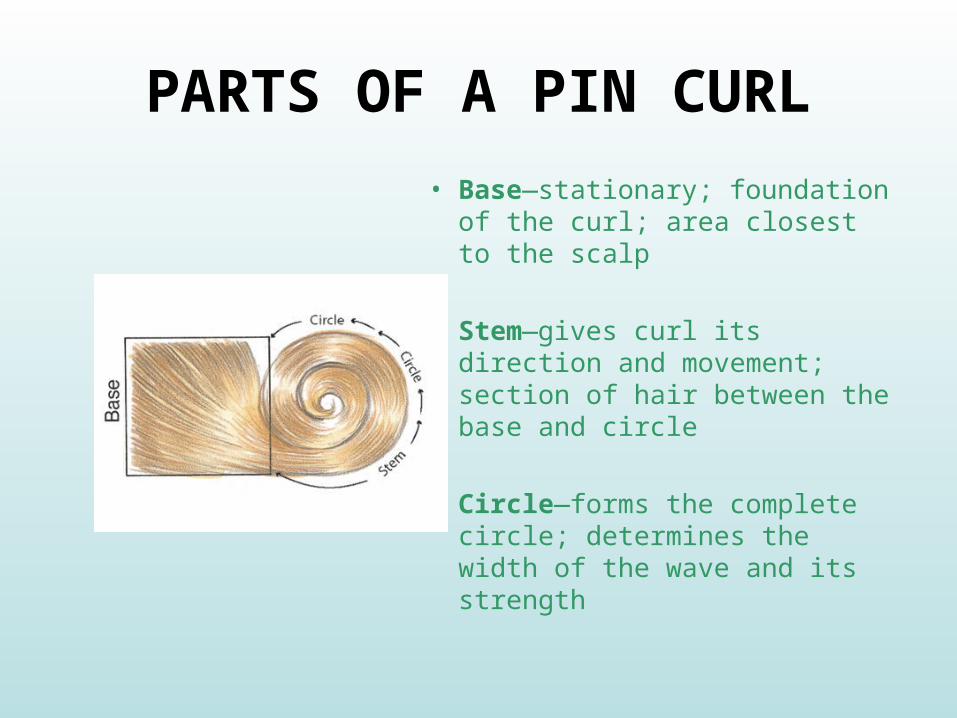
PARTS OF A PIN CURL
• Base—stationary; foundation of the curl; area closest to the scalp
• Stem—gives curl its direction and movement; section of hair between the base and circle
• Circle—forms the complete circle; determines the width of the wave and its strength
MOBILITY OF A CURL
• The stem of a pin curl determines mobility.
• Curl mobility is classified as– no-stem curl– half-stem curl– full-stem curl
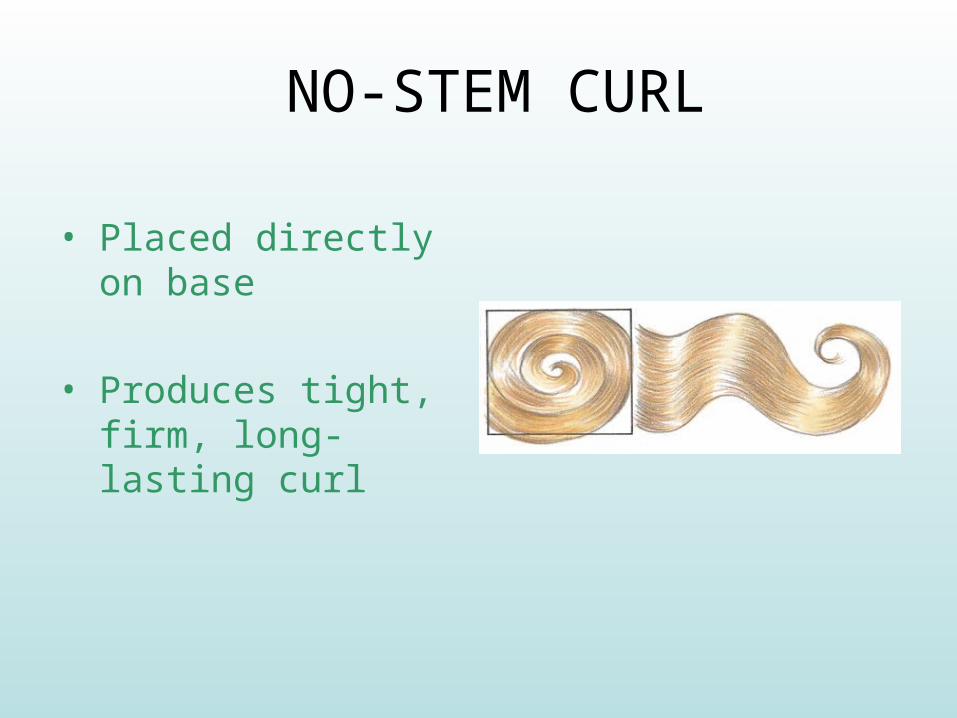
NO-STEM CURL
• Placed directly on base
• Produces tight, firm, long-lasting curl
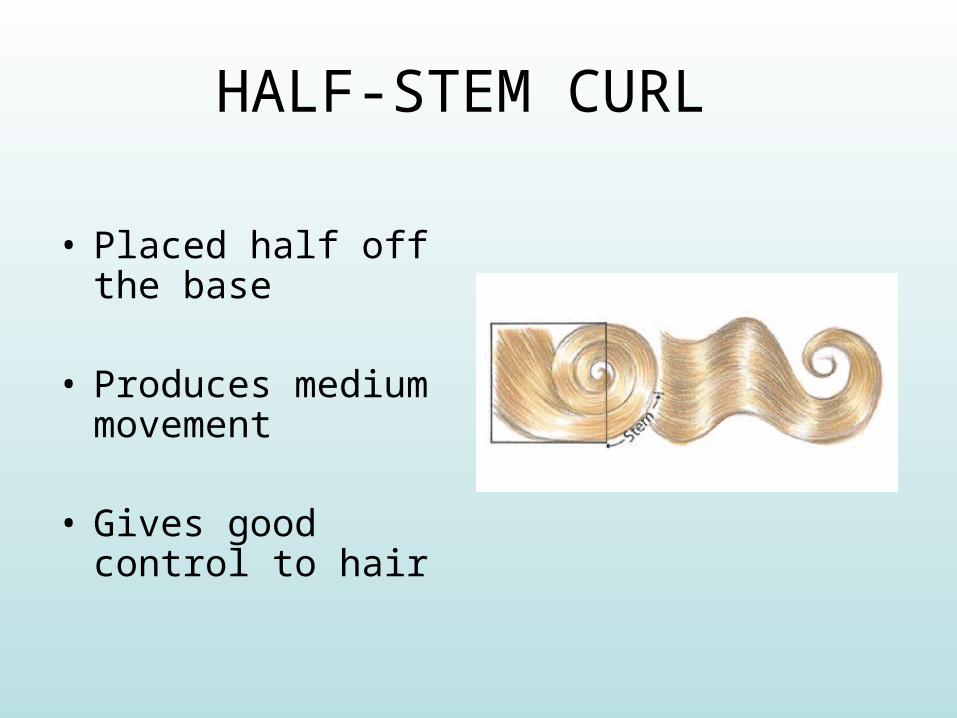
HALF-STEM CURL
• Placed half off the base
• Produces medium movement
• Gives good control to hair
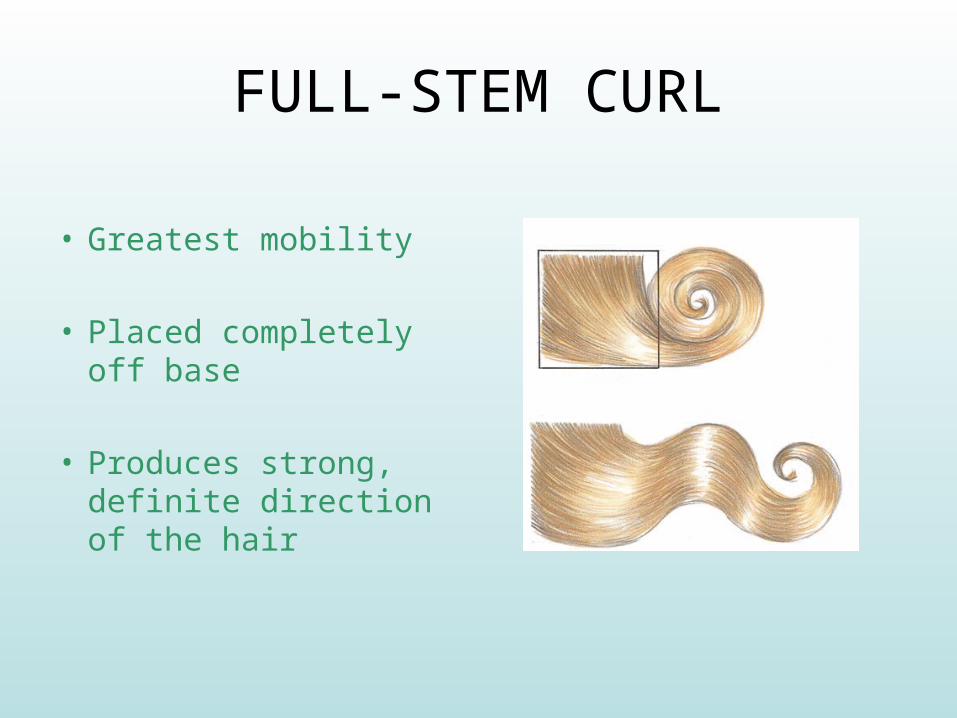
FULL-STEM CURL
• Greatest mobility
• Placed completely off base
• Produces strong, definite direction of the hair

SHAPING
• Hair is molded in a circular movement to prepare hair for pin curling.
• Always begin pin curl at the open end of the shaping.
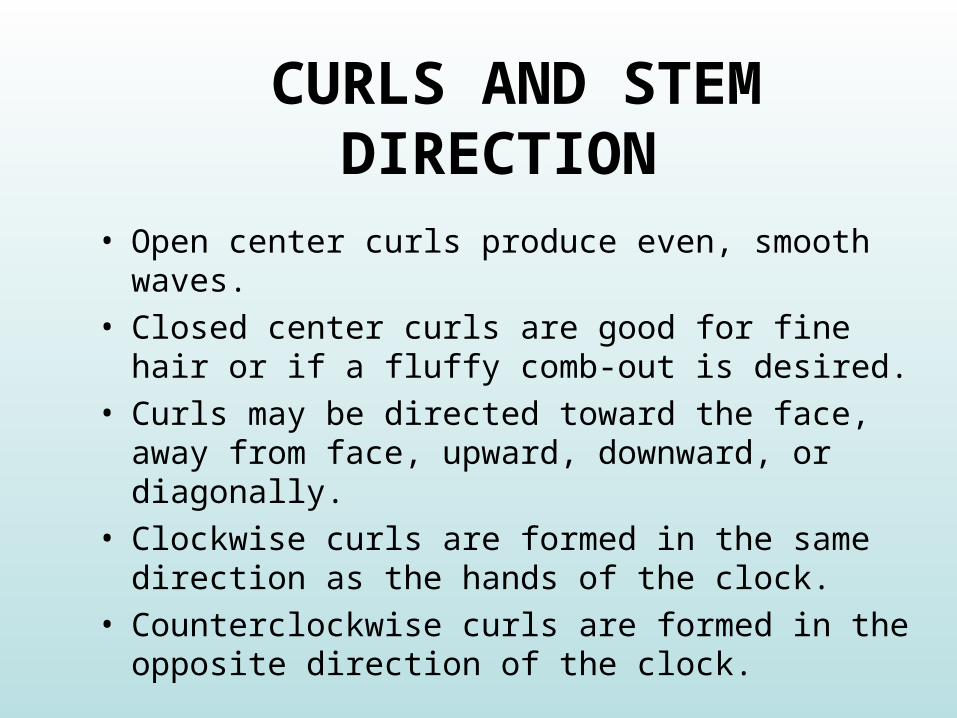
• Open center curls produce even, smooth waves.
• Closed center curls are good for fine hair or if a fluffy comb-out is desired.
• Curls may be directed toward the face, away from face, upward, downward, or diagonally.
• Clockwise curls are formed in the same direction as the hands of the clock.
• Counterclockwise curls are formed in the opposite direction of the clock.
CURLS AND STEM DIRECTION
• Rectangular
• Triangular
• Arc
• Square
PIN CURL BASES
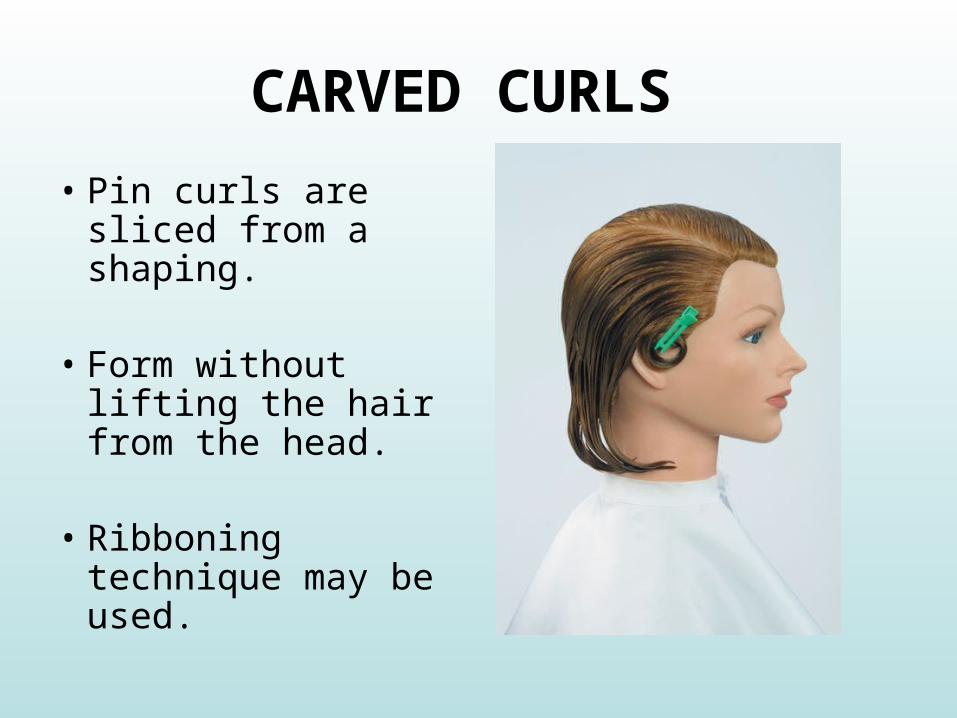
CARVED CURLS
• Pin curls are sliced from a shaping.
• Form without lifting the hair from the head.
• Ribboning technique may be used.
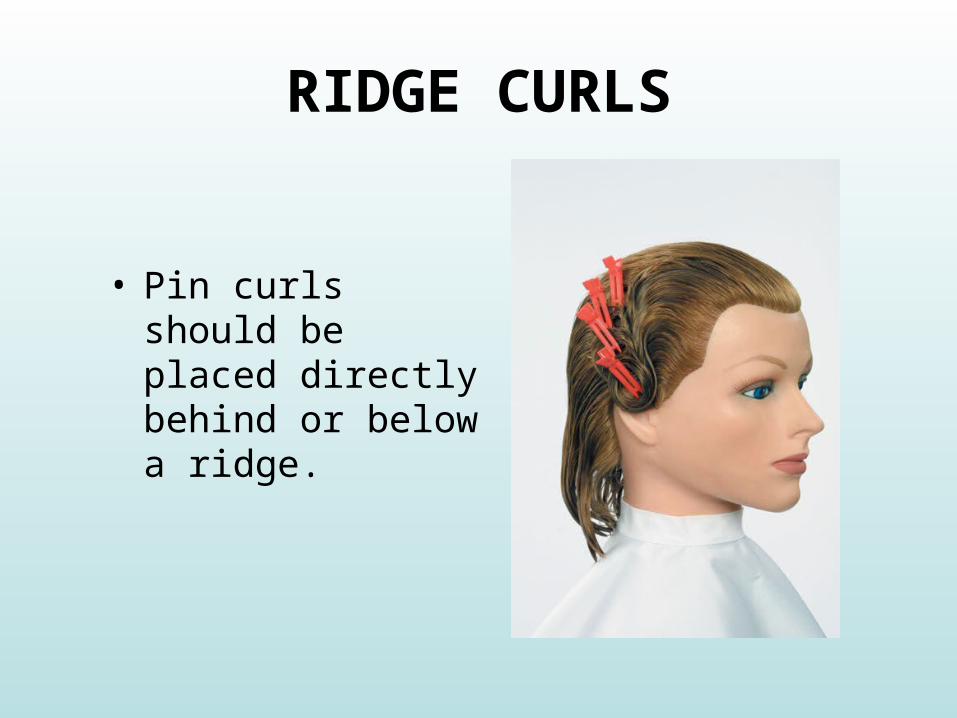
RIDGE CURLS
• Pin curls should be placed directly behind or below a ridge.
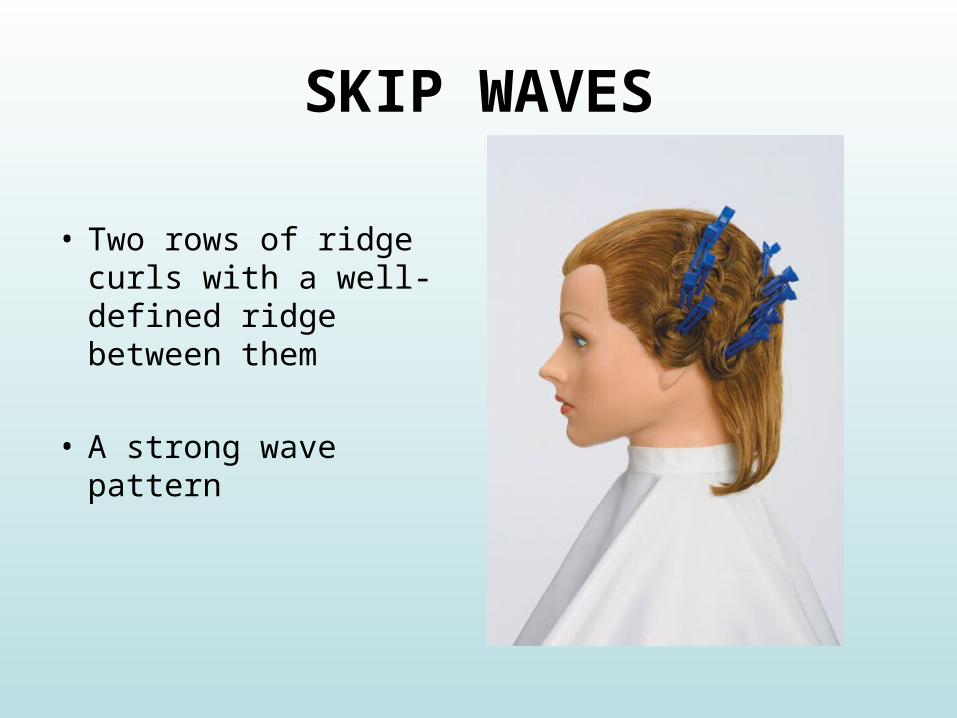
SKIP WAVES
• Two rows of ridge curls with a well-defined ridge between them
• A strong wave pattern
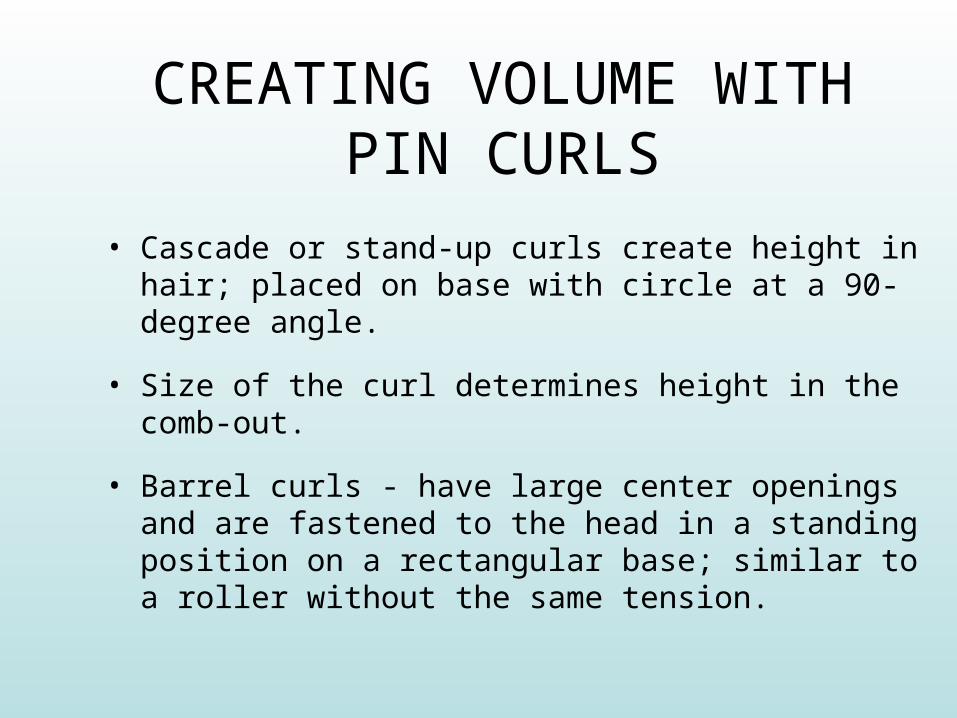
CREATING VOLUME WITH PIN CURLS
• Cascade or stand-up curls create height in hair; placed on base with circle at a 90-degree angle.
• Size of the curl determines height in the comb-out.
• Barrel curls - have large center openings and are fastened to the head in a standing position on a rectangular base; similar to a roller without the same tension.
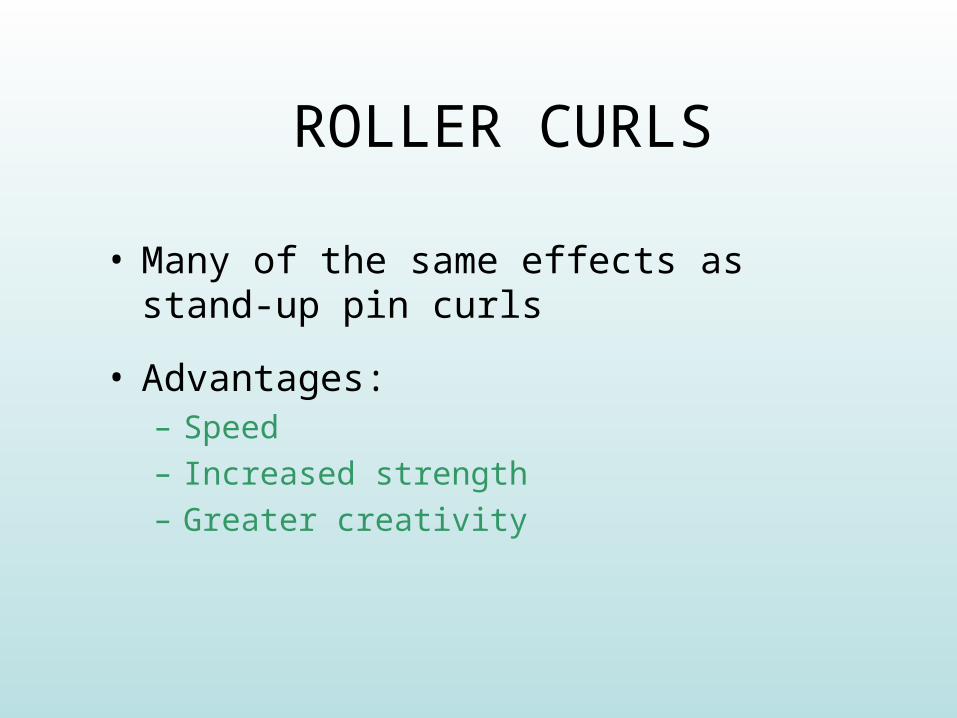
ROLLER CURLS
• Many of the same effects as stand-up pin curls
• Advantages:– Speed– Increased strength– Greater creativity
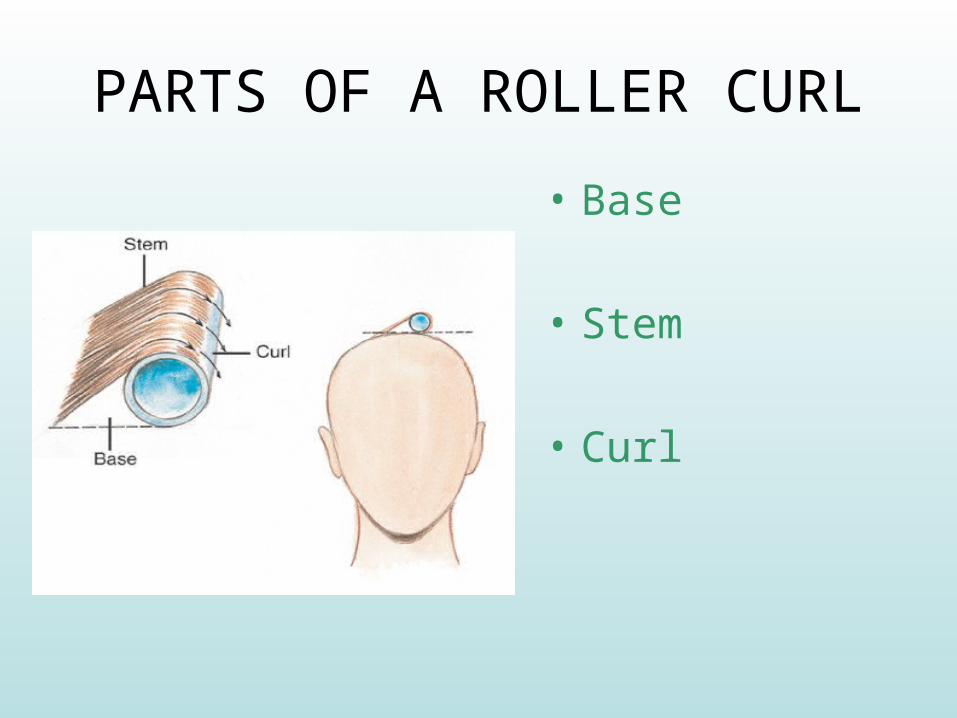
PARTS OF A ROLLER CURL
• Base
• Stem
• Curl
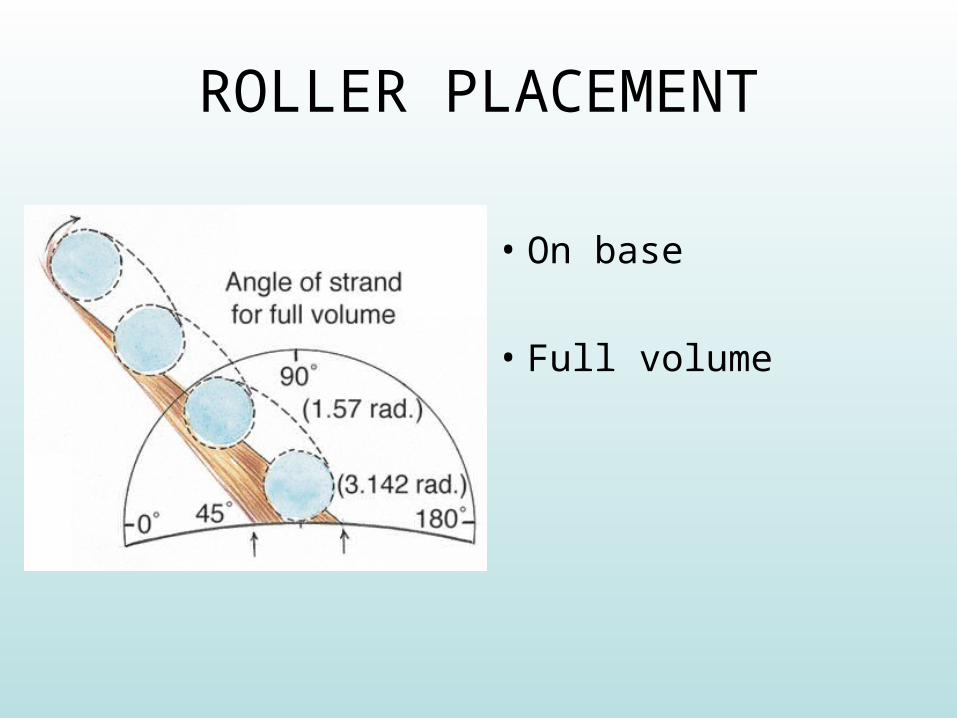
ROLLER PLACEMENT
• On base
• Full volume
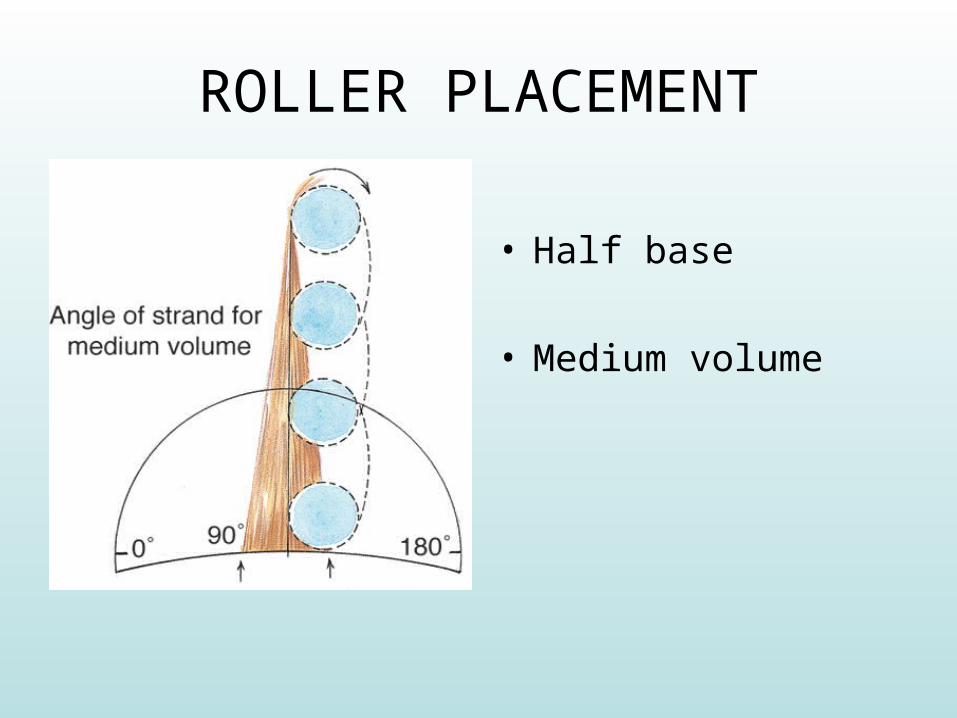
ROLLER PLACEMENT
• Half base
• Medium volume
ROLLER PLACEMENT
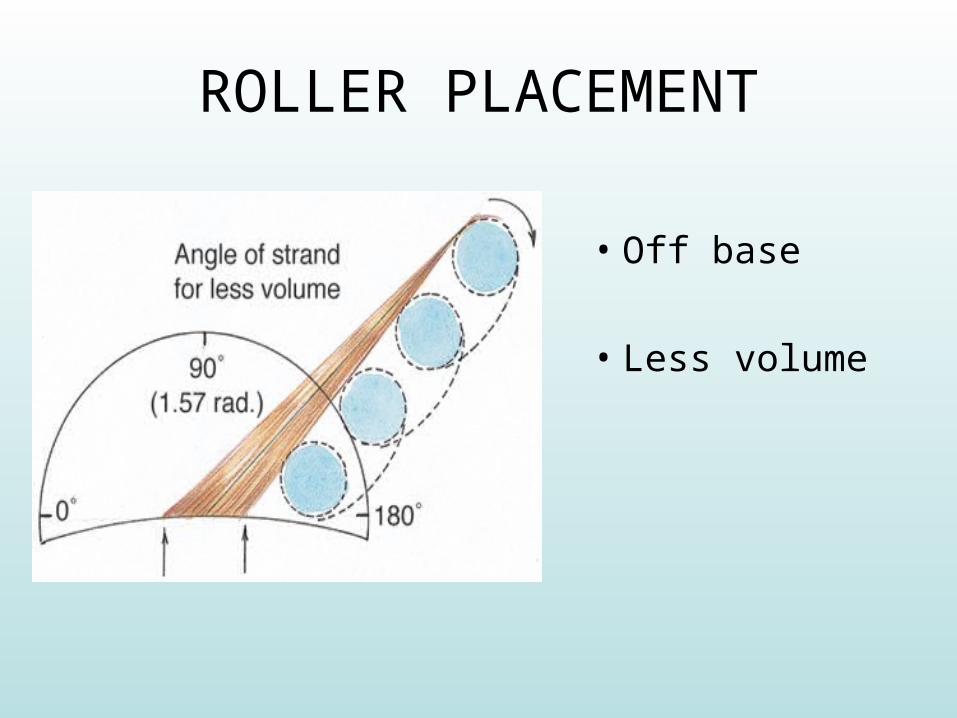
• Off base
• Less volume
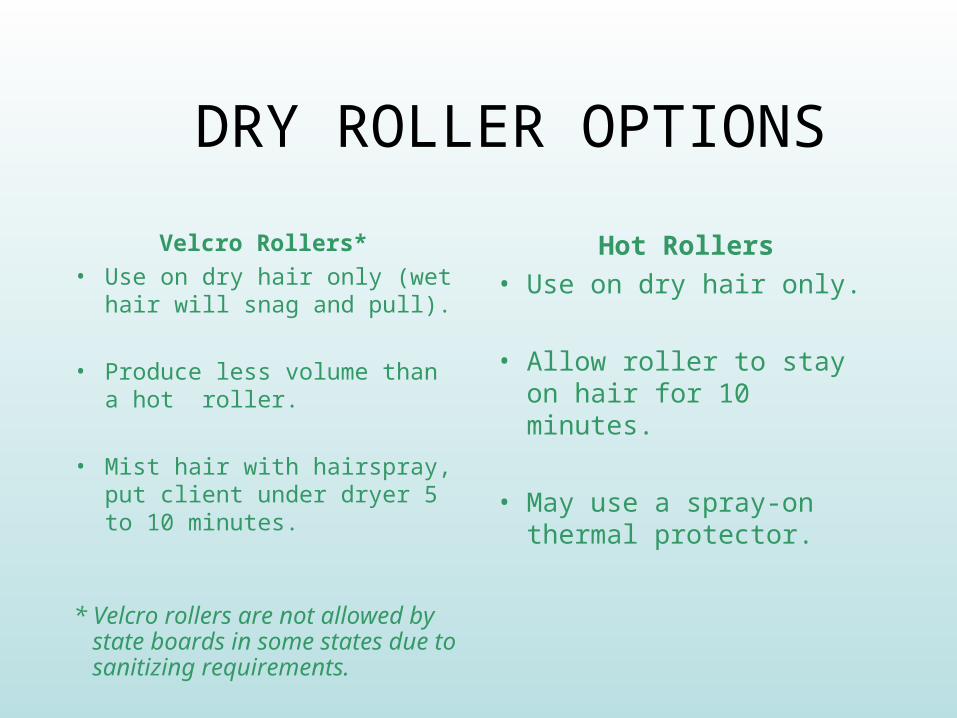
DRY ROLLER OPTIONS
Hot Rollers• Use on dry hair only.
• Allow roller to stay on hair for 10 minutes.
• May use a spray-on thermal protector.
Velcro Rollers*• Use on dry hair only (wet
hair will snag and pull).
• Produce less volume than a hot roller.
• Mist hair with hairspray, put client under dryer 5 to 10 minutes.
* Velcro rollers are not allowed by state boards in some states due to sanitizing requirements.
BACK-COMBING AND BACK-BRUSHING
• Back-combing is also called– teasing– ratting– matting– French lacing
• Comb small sections of hair from the ends toward the scalp to form a cushion.
• Back-brushing is also called– ruffing
• This technique is used to build a soft cushion or mesh two or more curl patterns together.
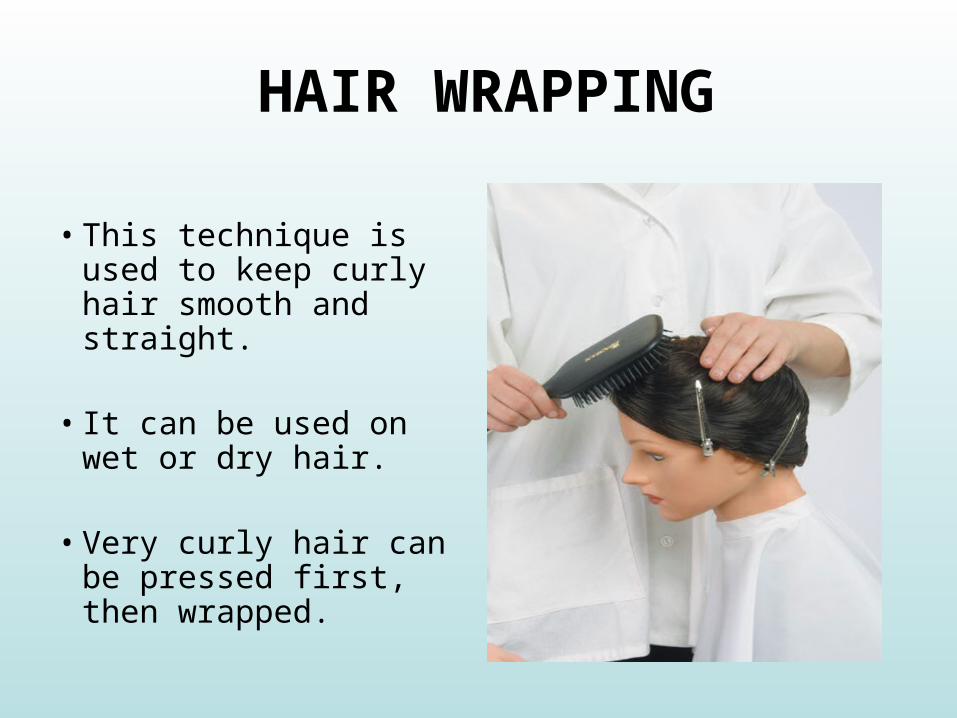
HAIR WRAPPING
• This technique is used to keep curly hair smooth and straight.
• It can be used on wet or dry hair.
• Very curly hair can be pressed first, then wrapped.
SUMMARY
• In mastering finger waving, you will develop the dexterity, coordination, and finger strength that will be of great benefit to you as a professional.
• Pin curls serve as the foundation for patterns, lines, waves, curls, and rolls used to create various effects in hairstyling.
• Rollers are used to create many of the same effects as stand-up pin curls but handle much more hair at a time; they also give a stronger and longer lasting style due to the tension used in wrapping the hair.
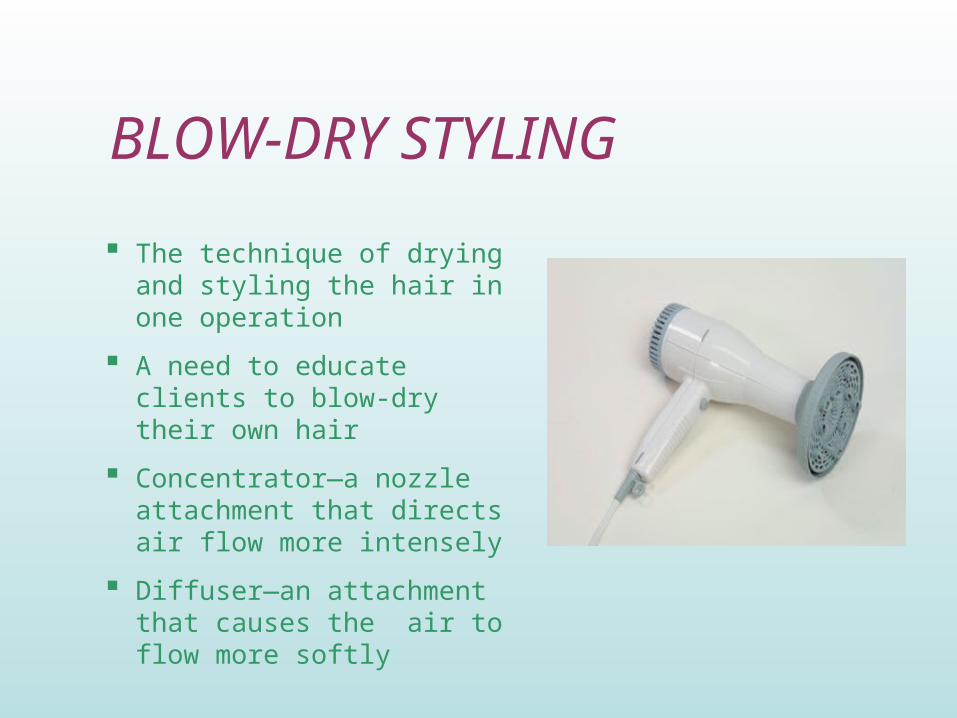
The technique of drying and styling the hair in one operation
A need to educate clients to blow-dry their own hair
Concentrator—a nozzle attachment that directs air flow more intensely
Diffuser—an attachment that causes the air to flow more softly
BLOW-DRY STYLING
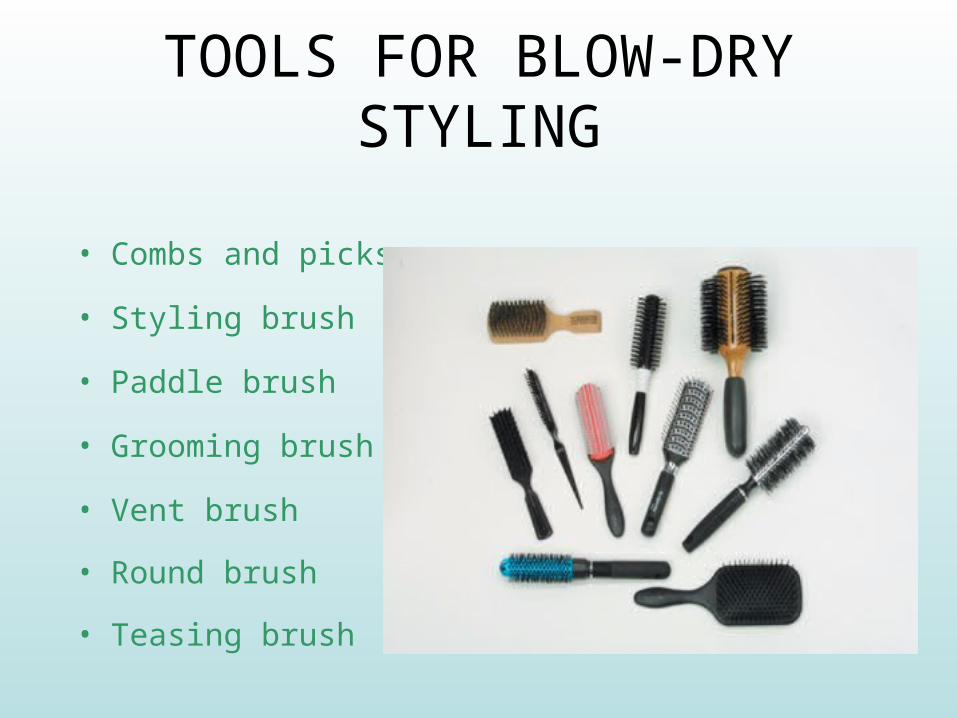
TOOLS FOR BLOW-DRY STYLING
• Combs and picks
• Styling brush
• Paddle brush
• Grooming brush
• Vent brush
• Round brush
• Teasing brush
STYLING LOTIONS
• “Liquid tools”—
products range in
light to firm hold
• Mousse
• Gel
• Texturizers
• Straightening gels
• Volumizers
• Pomade or wax
• Silicone shiners
• Hair spray
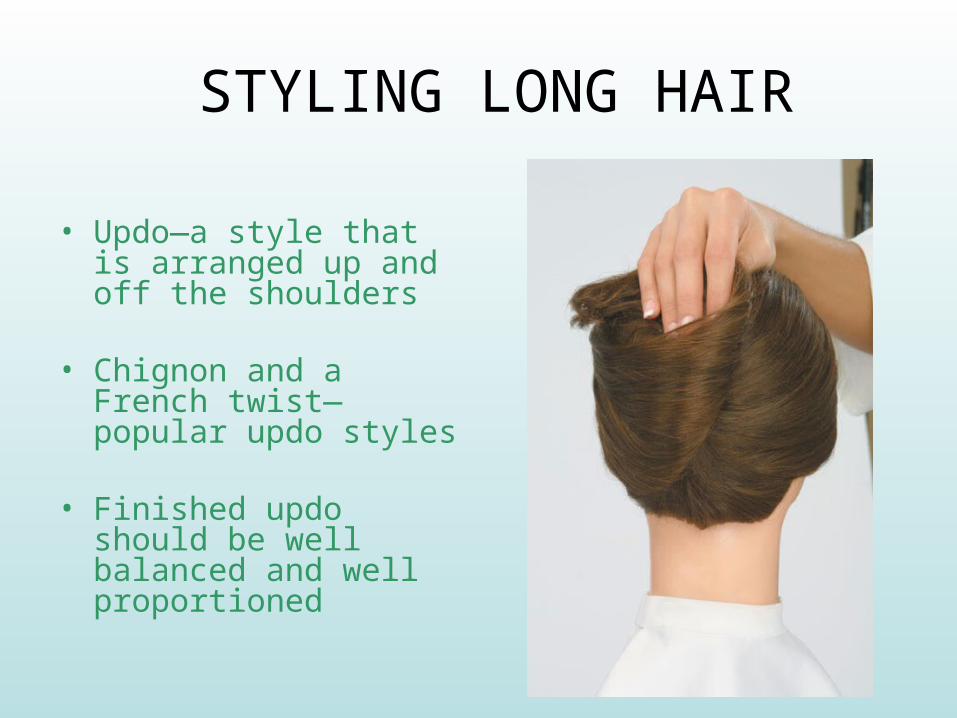
STYLING LONG HAIR
• Updo—a style that is arranged up and off the shoulders
• Chignon and a French twist—popular updo styles
• Finished updo should be well balanced and well proportioned

CLIENT CONSULTATION
• Make sure that you understand what the client has in mind.
• Have pictures from magazines, bridal books, and folders that show current styles.
• In consulting with a bride, you may have her come into the salon for a trial run.

THERMAL STYLING
THERMAL WAVING
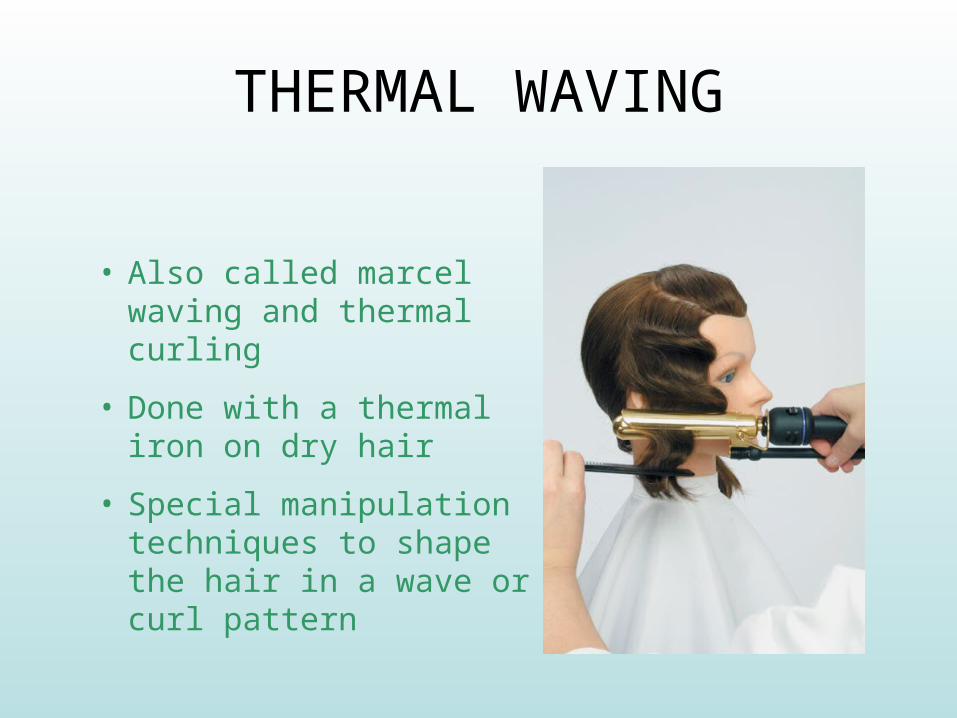
• Also called marcel waving and thermal curling
• Done with a thermal iron on dry hair
• Special manipulation techniques to shape the hair in a wave or curl pattern
THERMAL IRONS
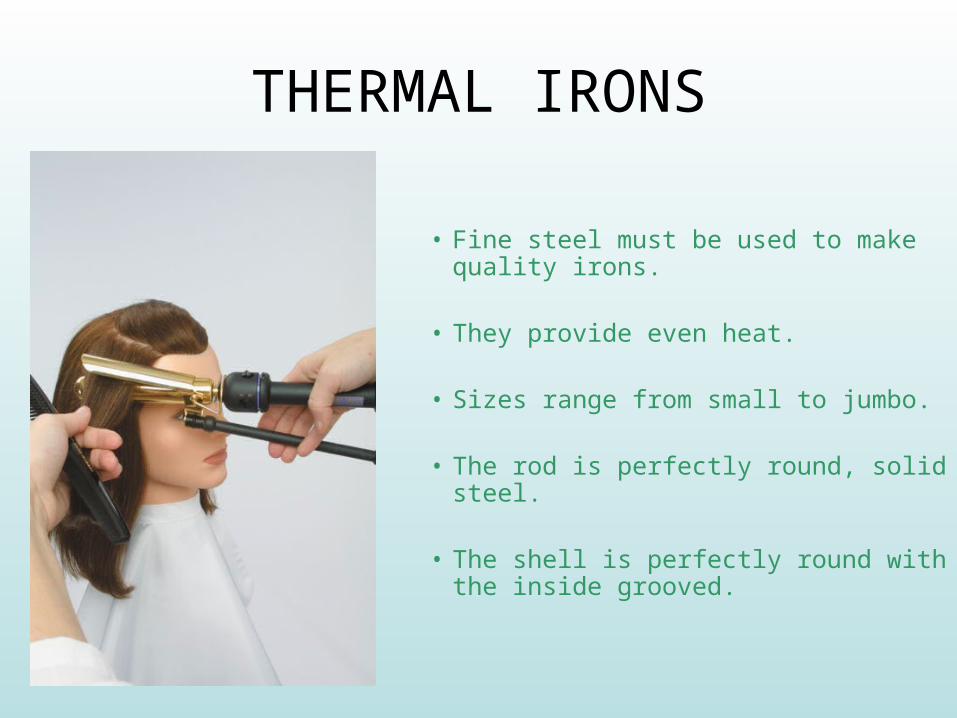
• Fine steel must be used to make quality irons.
• They provide even heat.
• Sizes range from small to jumbo.
• The rod is perfectly round, solid steel.
• The shell is perfectly round with the inside grooved.
Figure 12-147
TESTING THERMAL IRONS
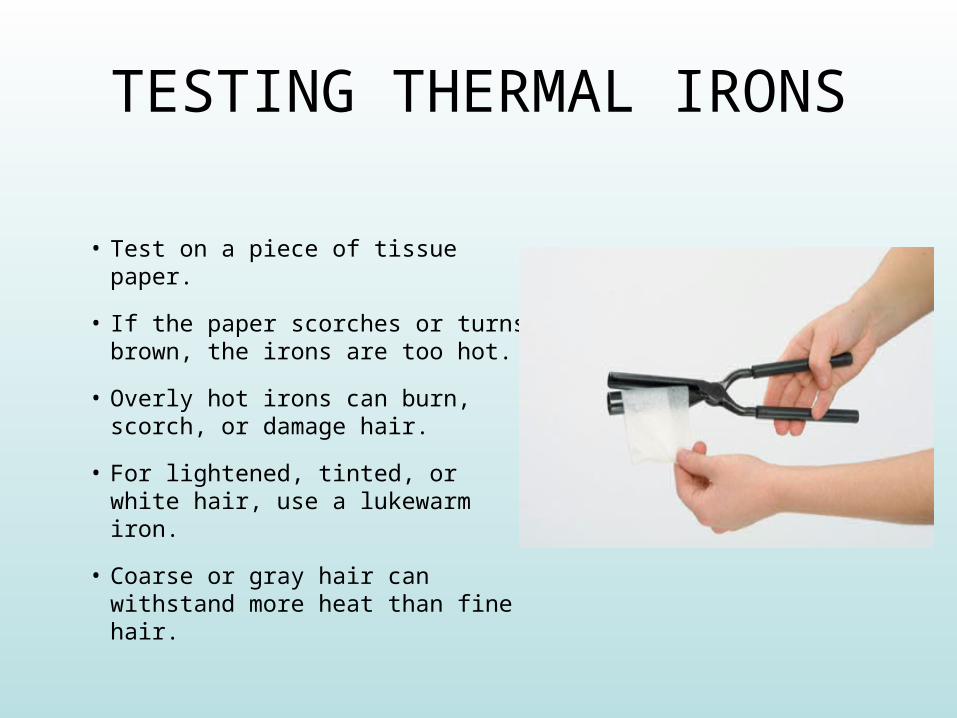
• Test on a piece of tissue paper.
• If the paper scorches or turns brown, the irons are too hot.
• Overly hot irons can burn, scorch, or damage hair.
• For lightened, tinted, or white hair, use a lukewarm iron.
• Coarse or gray hair can withstand more heat than fine hair.
Figure 12-144
CARE OF THERMAL IRONS
• Wash in soap solution with a few drops of ammonia.
• Use fine sandpaper or steel wool with a little oil.
• Oil the joints of the irons.

COMBS USED WITH THERMAL IRONS
• Comb should be about 7 inches long, made of hard rubber or other nonflammable substance, and should have fine teeth.
• Hold the comb between the iron and the scalp to prevent burning the client.
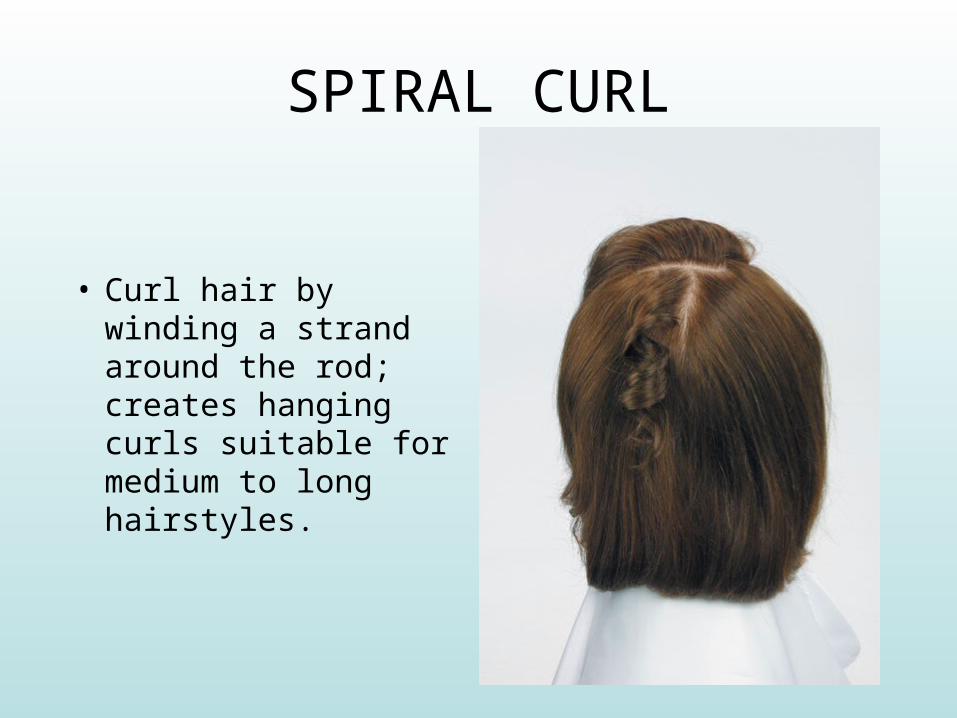
SPIRAL CURL
• Curl hair by winding a strand around the rod; creates hanging curls suitable for medium to long hairstyles.
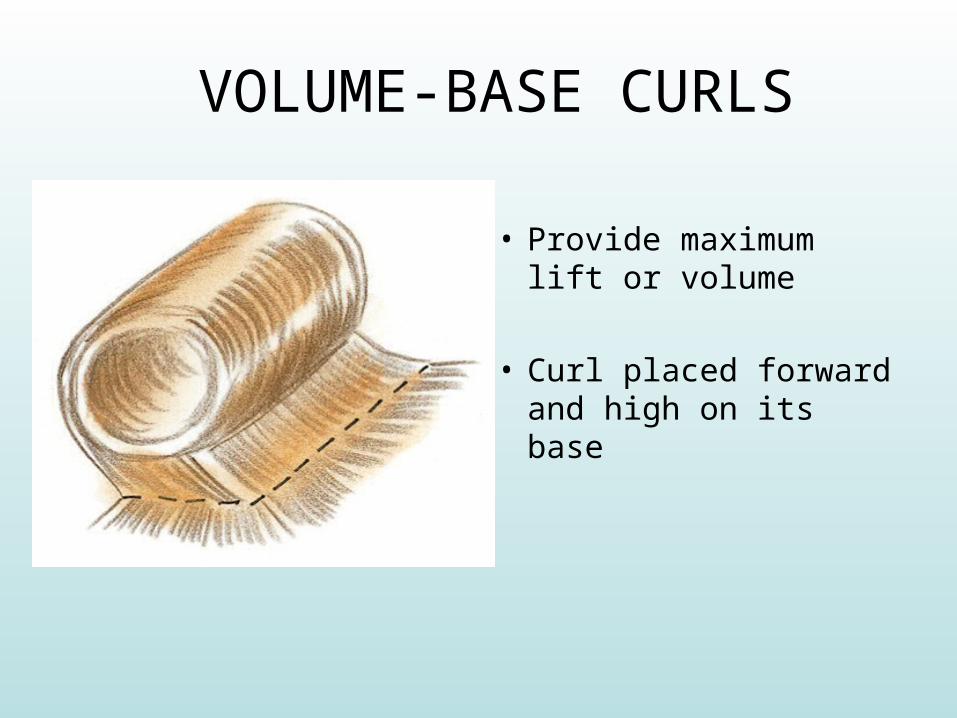
VOLUME-BASE CURLS
• Provide maximum lift or volume
• Curl placed forward and high on its base
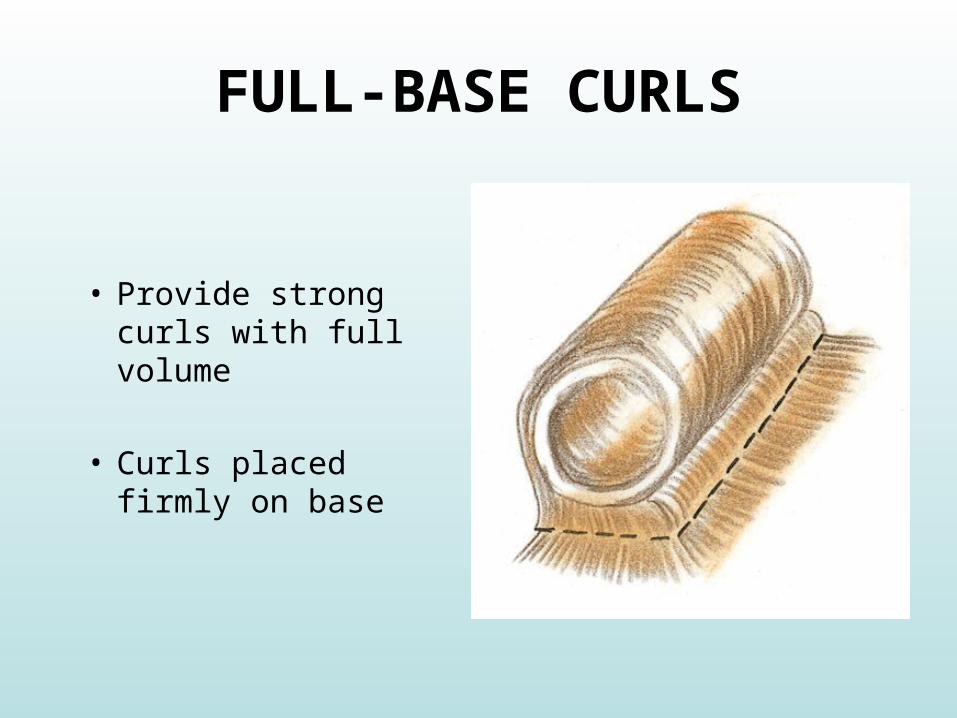
FULL-BASE CURLS
• Provide strong curls with full volume
• Curls placed firmly on base
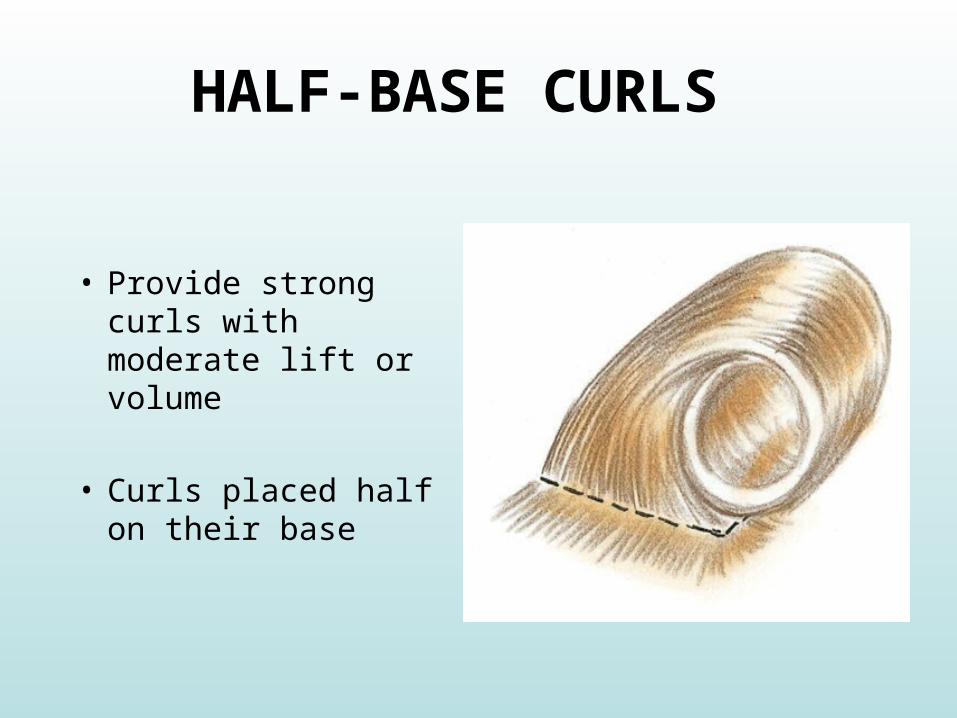
HALF-BASE CURLS
• Provide strong curls with moderate lift or volume
• Curls placed half on their base
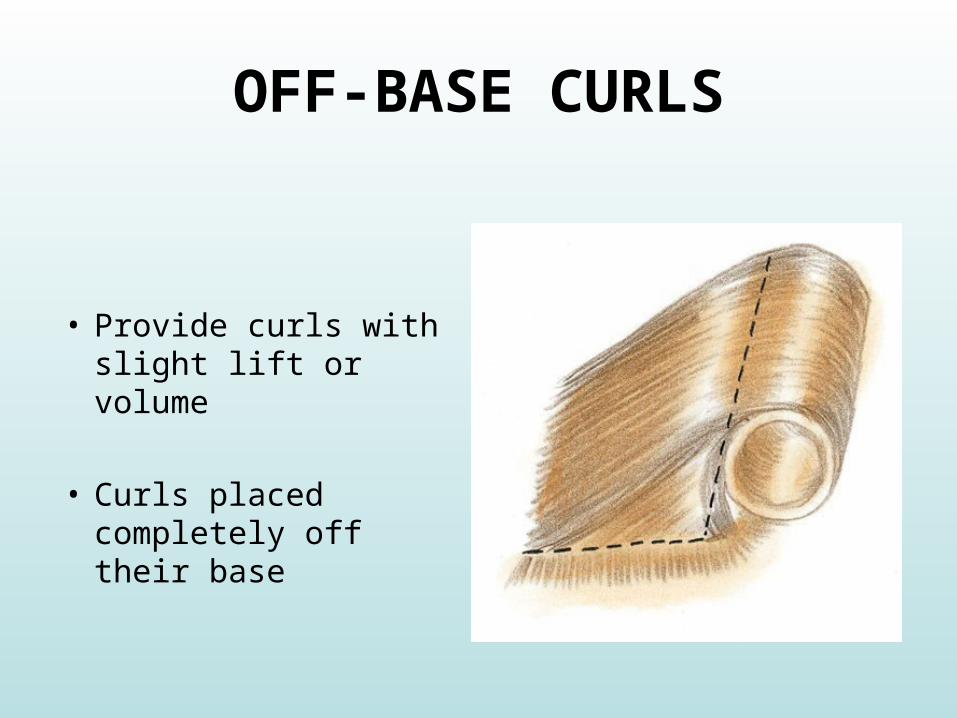
OFF-BASE CURLS
• Provide curls with slight lift or volume
• Curls placed completely off their base
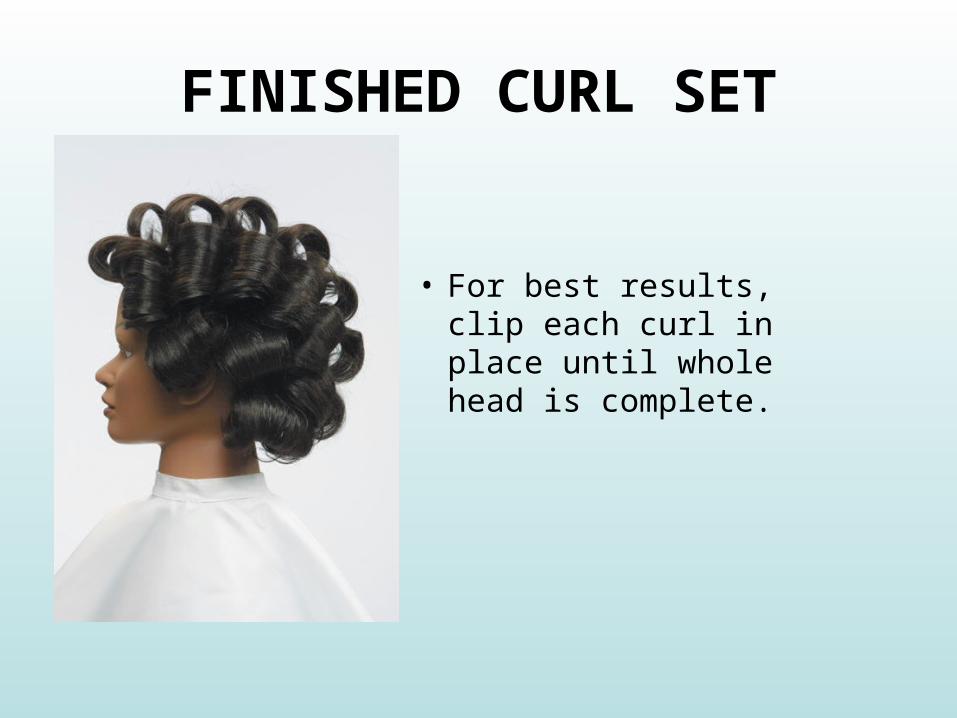
FINISHED CURL SET
• For best results, clip each curl in place until whole head is complete.
SAFETY MEASURES
• Get instructions for use of irons.• Keep irons clean and joints oiled.• Do not overheat.• Test temperature of irons.• Do not place hot irons near face.• Handle irons carefully.• Place hot irons in safe place to cool.
• Do not place handles too close to heater when heating.
• Properly balance irons in heater.
• Use only hard rubber or nonflammable combs.
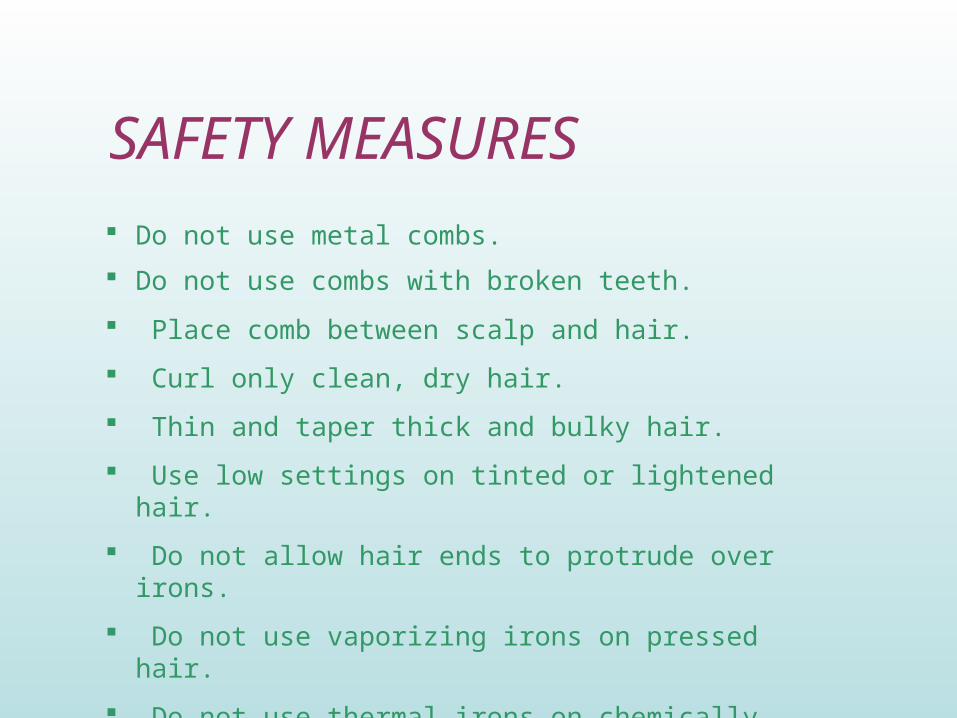
Do not use metal combs.
Do not use combs with broken teeth.
Place comb between scalp and hair.
Curl only clean, dry hair.
Thin and taper thick and bulky hair.
Use low settings on tinted or lightened hair.
Do not allow hair ends to protrude over irons.
Do not use vaporizing irons on pressed hair.
Do not use thermal irons on chemically treated hair.
Keep first aid kit on hand.
SAFETY MEASURES
SUMMARY
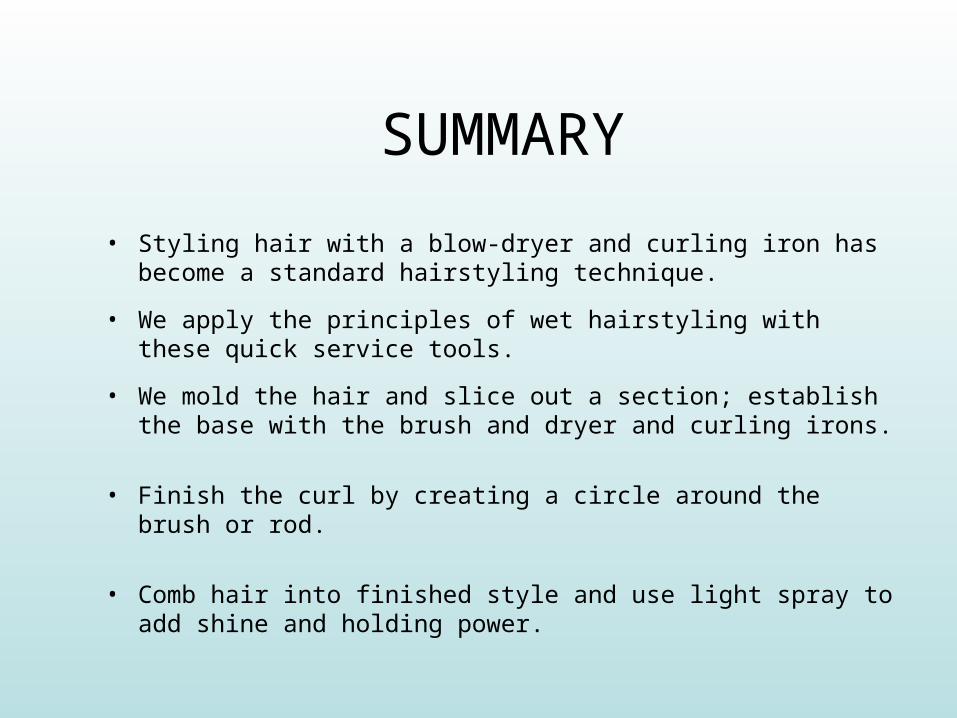
• Styling hair with a blow-dryer and curling iron has become a standard hairstyling technique.
• We apply the principles of wet hairstyling with these quick service tools.
• We mold the hair and slice out a section; establish the base with the brush and dryer and curling irons.
• Finish the curl by creating a circle around the brush or rod.
• Comb hair into finished style and use light spray to add shine and holding power.
HAIR PRESSING
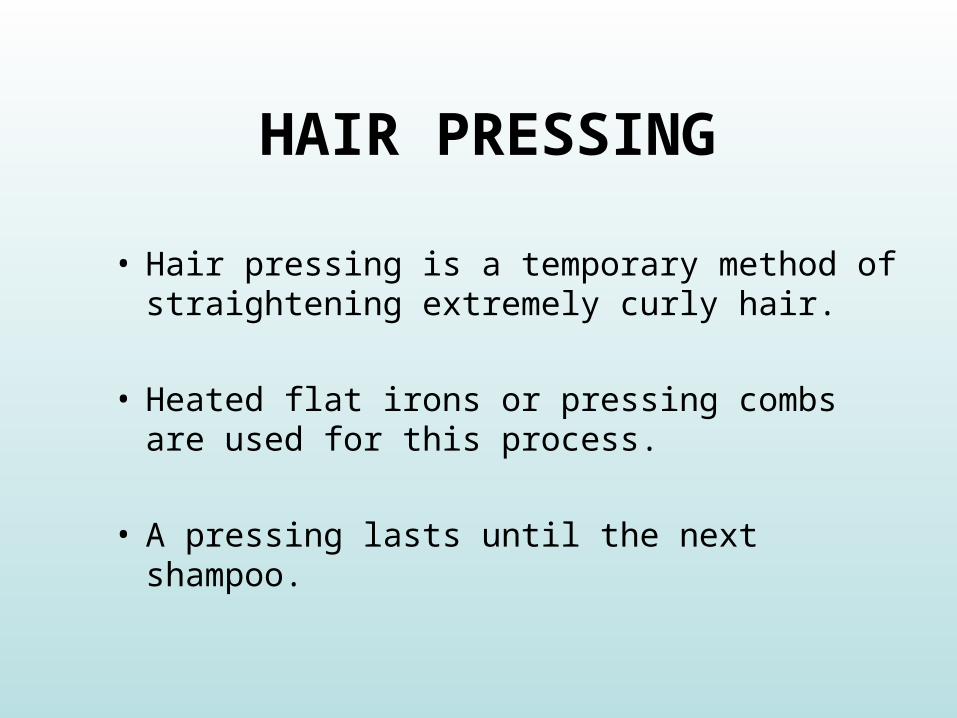
• Hair pressing is a temporary method of straightening extremely curly hair.
• Heated flat irons or pressing combs are used for this process.
• A pressing lasts until the next shampoo.
THREE TYPES OF PRESSING
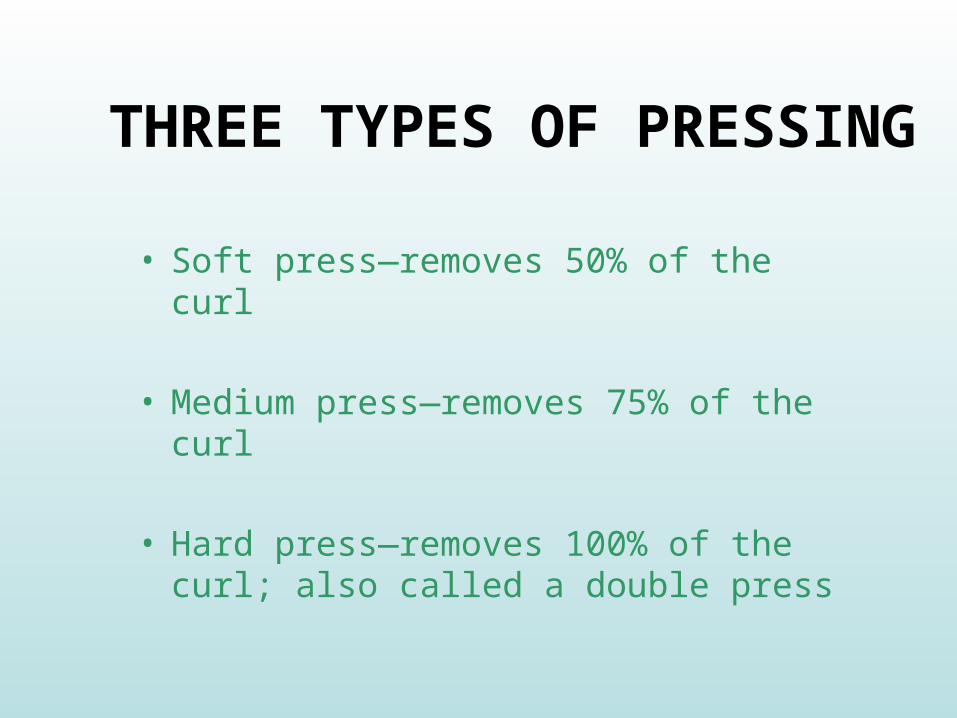
• Soft press—removes 50% of the curl
• Medium press—removes 75% of the curl
• Hard press—removes 100% of the curl; also called a double press
ANALYSIS OF HAIR AND SCALP
• A careful analysis of the client’s hair is essential.
• Look for a healthy scalp.
• Strong hair structure can take the heat of the pressing irons.
• Do not press hair if there is a scalp abrasion, contagious condition, injury, or chemical damage.
POINTS TO COVER
• Wave pattern in hair• Length of hair• Texture of hair• Feel of hair• Elasticity of hair • Shade of hair• Condition of hair• Condition of scalp
TEXTURE OF HAIR
• Coarse hair—requires more heat
• Medium hair—is least resistant when pressing
• Fine hair—requires special care; less heat and pressure to avoid breakage
• Wiry, curly hair—stiff, hard, and glassy; is very resistant to pressing, and requires more heat and pressure than other hair types
SCALP CONDITION CLASSIFICATIONS
• Normal—proceed with analysis
• Tight with coarse hair—press in direction of hair growth
• Flexible—pressing may take more pressure
CONDITIONING TREATMENTS
• Effective conditioning treatments involve special cosmetic preparations for the hair and scalp.
• These usually result in better hair pressing.
• Infrared lamp is optional, depending on the type of treatment being given.
• Tight scalp can be rendered more flexible by systematic use of scalp massage or hair brushing.
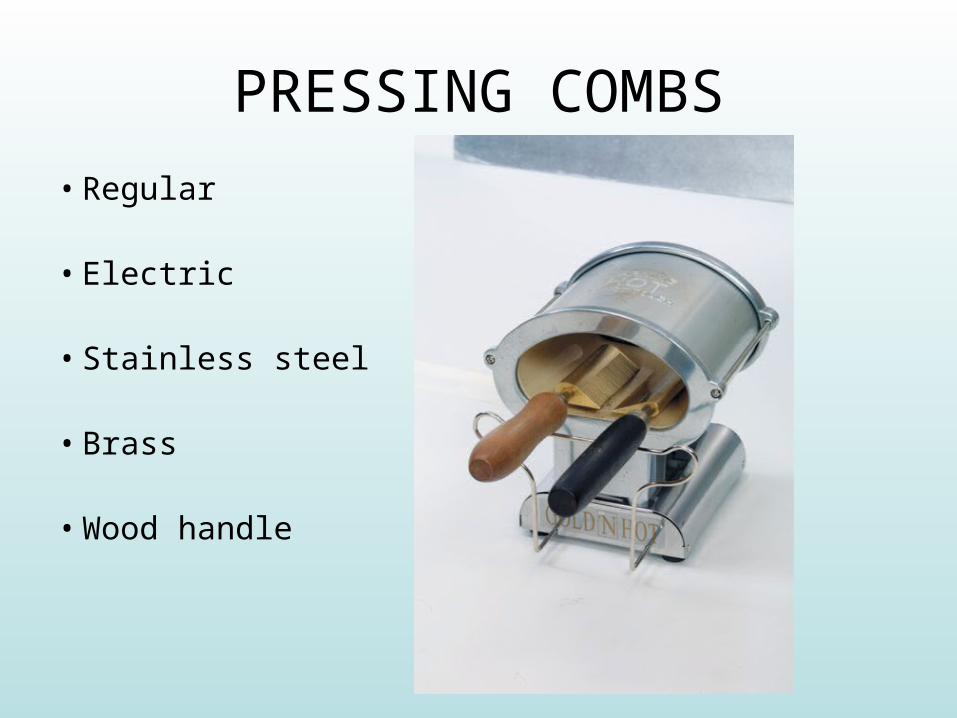
PRESSING COMBS
• Regular
• Electric
• Stainless steel
• Brass
• Wood handle
TEMPERING THE COMB
• Tempering allows the brass to hold heat evenly along the entire length of the comb—for better results.
• Tempering also burns off any polish the manufacturer may have used to coat the comb.
• Place the comb in heating appliance until very hot.
• Remove the comb and submerge or coat it in petroleum or pressing oil.
HEATING THE COMB
• Pressing combs may be heated on a gas stove or electrically.
• Face the teeth upward and keep handle away from the heat source.
• Test comb on a piece of light paper for scorching.
• Electric pressing combs have an “on” and “off” switch, or thermostat control switch.
CLEANING THE COMB
• Keep clean and free of carbon.
• Remove all hair, grease, and dust by wiping the comb after use.
• Use fine steel wool or sandpaper to remove carbon.
• Place comb in a solution of hot baking soda for one hour; rinse and dry.
PRESSING OIL OR CREAM
• Makes hair soft
• Prepares hair
• Helps prevent hair from burning or scorching
• Helps prevent breakage
• Conditions the hair after pressing
• Adds sheen to hair
• Helps hair to stay pressed longer

TOUCH-UPS
• Necessary when hair becomes curly due to– perspiration– dampness
• Same process as the original pressing treatment.
SAFETY PRECAUTIONS
• Two Types of Injuries
– Immediate physical damage—such as burnt hair that breaks off, burnt scalp that causes either temporary or permanent loss of hair, and burns on the ears and neck that form scars
– Damage not immediately evident—such as skin rash if the client is allergic to pressing oil or the breaking and shortening of hair due to overly frequent hair pressings
WHAT TO AVOID
• Excessive heat or pressure on hair and scalp
• Too much pressing oil on hair
• Perfumed pressing oil near scalp if client is allergic
• Too frequent hair pressing
REMINDERS AND HINTS
• Keep comb clean and free from carbon.• Avoid overheating pressing comb.• Test temperature of comb before applying.• Adjust temperature to texture and hair
condition.• Use heated comb carefully to avoid burning
skin, scalp, or hair.• Prevent smoking or burning of hair during
pressing treatment.• Use moderately warm comb to press short hair
on the temples and back of neck.
SPECIAL CONSIDERATIONS
• Pressing fine hair—less pressure
• Pressing short, fine hair—extra care around hairline
• Pressing coarse hair—more pressure so hair remains straight
• Pressing lightened or gray hair—moderate heat and light pressure
SUMMARY
• Hair pressing can be a very lucrative service in the salon.
• Good judgment should be used to avoid damage to the hair and scalp.
• Hair texture and density are key factors in determining which pressing procedure to use.
• Every precaution should be observed to ensure that the hair pressing is successful and that the client’s welfare is maintained.