creating android images for application development
TRANSCRIPT

Use of FTDI devices in life support and/or safety applications is entirely at the user’s risk, and the user agrees to defend, indemnify and hold FTDI harmless from any and all damages, claims, suits
or expense resulting from such use.
Future Technology Devices International Limited (FTDI) Unit 1, 2 Seaward Place, Glasgow G41 1HH, United Kingdom Tel.: +44 (0) 141 429 2777 Fax: + 44 (0) 141 429 2758
Web Site: http://ftdichip.com Copyright © 2013 Future Technology Devices International Limited
Technical Note
TN_146
Creating Android Images for Application Development
Version 1.1
Issue Date: 2013-01-28
This document shows how to build and install the Android Operating System on the BeagleBoard –xM
Technical Note
TN_146 Creating Android Images for Application Development Version 1.1
Document Reference No.: FT_000781 Clearance No.: FTDI# 326
1
Copyright © 2013 Future Technology Devices International Limited
Table of Contents
1 Introduction .................................................................................................................................... 2
1.1 Hardware and Software required ........................................................................................... 2
1.2 Get Android source files .......................................................................................................... 3
2 Prepare micro SD card .................................................................................................................... 4
2.1 Calculate Card Size .................................................................................................................. 4
2.2 Partition the Card .................................................................................................................... 4
2.3 Format the Partitions .............................................................................................................. 5
2.4 Install the Boot Files ................................................................................................................ 5
3 Installing the micro SD card on the BeagleBoard ........................................................................... 7
4 Conclusion ....................................................................................................................................... 8
5 Contact Information ........................................................................................................................ 9
Appendix A – References ...................................................................................................................... 10
Document References ....................................................................................................................... 10
Acronyms and Abbreviations ............................................................................................................ 10
Appendix B – List of Tables & Figures ................................................................................................... 11
List of Figures .................................................................................................................................... 11
Appendix C – Revision History .............................................................................................................. 12

Technical Note
TN_146 Creating Android Images for Application Development Version 1.1
Document Reference No.: FT_000781 Clearance No.: FTDI# 326
2
Copyright © 2013 Future Technology Devices International Limited
1 Introduction
This document explains how to build a working Android image for the BeagleBoard on a micro SD card. Much of this information was gleaned from the Gumstix.org website. This procedure can be be used with any small embedded Linux system. The BeagleBoard was chosen for its power and flexibility. It is also equipped with 4 USB Host ports, which makes it ideal for USB application development. Figure 1.1 shows the BeagleBoard PCB.
Figure 1.1 BeagleBoard XM
The image build procedure has been verified on the following versions of Android:
Gingerbread 2.3.4
Ice Cream Sandwich 4.0.1 Jelly Bean 4.1.1
1.1 Hardware and Software Required
2 GB Class 4 micro SD card (SDSC) with full size SD card adapter.
Linux PC running Ubuntu 11.10 or Linux Mint 14, equipped with SD card reader. (older laptop with built in SD card reader is ideal)
Make sure dosfsutils is installed on Linux PC.
Android image source code.
BeagleBoard-XM development board
5V, 2.0A power supply
Technical Note
TN_146 Creating Android Images for Application Development Version 1.1
Document Reference No.: FT_000781 Clearance No.: FTDI# 326
3
Copyright © 2013 Future Technology Devices International Limited
1.2 Get Android Source Files
Download the BeagleBoard-xM Ice Cream Sandwich image from code.google.com
Extract the files into your target directory.
Technical Note
TN_146 Creating Android Images for Application Development Version 1.1
Document Reference No.: FT_000781 Clearance No.: FTDI# 326
4
Copyright © 2013 Future Technology Devices International Limited
2 Prepare Micro SD Card
Insert the micro SD card into the Linux PC’s card reader slot. Open a Linux terminal window. Use the Linux df command to determine the device name of the micro SD Card. Before starting, you will need to unmount any mounted partition of the attached micro SD card:
sudo umount /dev/mmcblk0p1 (SD card name may be different on your Linux machine)
2.1 Calculate Card Size
A specific format of the micro SD card is needed to make micro SD cards work with the Android
boot file. Find the card size in the first line of the fdisk command (there will be many lines returned by this command) You will calculate the number of “cylinders” for your specific micro SD card.
sudo fdisk –l /dev/mmcblk0
(returns the following……)
Disk /dev/mmcblk0: 1990 MB, 1990197248 bytes
Divide the card size in bytes by 255 heads, 63 sectors, and 512 bytes per sectors and round down to the nearest integer, ie:
1990197248/255/63/512 = 241.96 = 241 cylinders
2.2 Partition the Card
The Android image needs at least two partitions: a FAT partition to store the boot files and a Linux partition to store the root file system. To start, clean up any existing partition data:
sudo dd if=/dev/zero of=/dev/mmcblk0 bs=1024 count=1024
Use the sfdisk tools to start the partitioning process:
sudo sfdisk -–force –D –uS –H 255 –S 63 –C 241 /dev/mmcblk0
In this case, -C refers to the number of cylinders calculated in the previous step. You should see the sfdisk> prompt appear. At this prompt, enter the following:
sfdisk>128,130944,0x0C,* <ret>
sfdisk> 1310722,,,- (press return 3 more times)
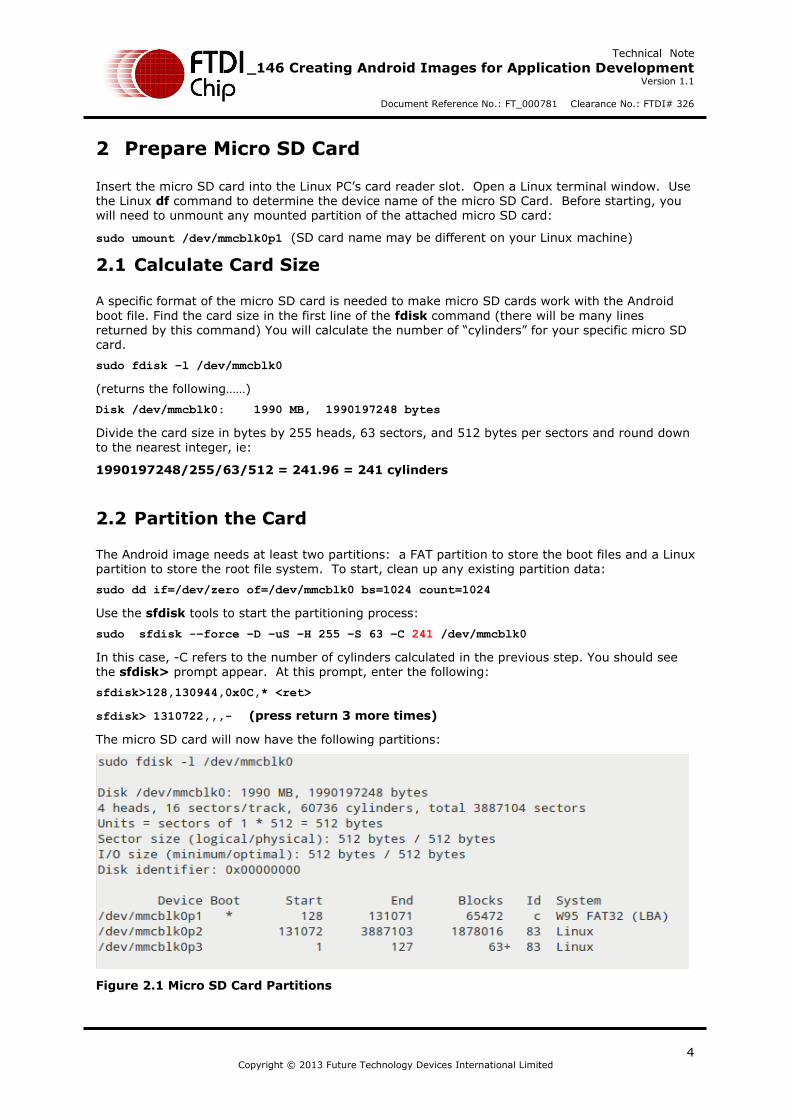
The micro SD card will now have the following partitions:
Figure 2.1 Micro SD Card Partitions
Technical Note
TN_146 Creating Android Images for Application Development Version 1.1
Document Reference No.: FT_000781 Clearance No.: FTDI# 326
5
Copyright © 2013 Future Technology Devices International Limited
2.3 Format the Partitions
Next, format the first partition as a FAT file system. (The –n argument names this partition boot)
sudo mkfs.vfat –F 32 /dev/mmcblk0p1 –n boot
Format the second partition for Linux. (The –L argument gives it the label rootfs).
sudo mke2fs –j –L rootfs /dev/mmcblk0p2
(This command will take about one minute to finish)
Mount the partitions:
sudo mkdir /media/boot
sudo mkdir /media/rootfs
sudo mount –t vfat /dev/mmcblk0p1 /media/boot
sudo mount –t ext3 /dev/mmcblk0p2 /media/rootfs
2.4 Install the Boot Files
The last step is to copy the Android boot files and root filesystem that will run on the BeagleBoard.
Point your terminal window to the directory containing the Android BeagleBoard source files and directories. The working directory will contain:
Boot_Images
Filesystem
Media_Clips
Mkmmc.android.sh
README.txt
Only the Boot_Images and Filesystem directories will be used to get basic Android functionality on the Beagleboard. You can ignore the README file and shell script (.sh) file.
The MLO (x-loader binary) file must be copied first. Go to the Boot_Images directory:
sudo cp MLO /media/boot/MLO
Copy the u-boot bootloader:
sudo cp u-boot.bin /media/boot/u-boot.bin
Copy the kernel binary image:
sudo cp uImage /media/boot/uImage
Copy the boot script:
sudo cp boot.scr /media/boot/boot.scr

Technical Note
TN_146 Creating Android Images for Application Development Version 1.1
Document Reference No.: FT_000781 Clearance No.: FTDI# 326
6
Copyright © 2013 Future Technology Devices International Limited
Next, go to the File system directory and extract the compressed root file system onto the second partition. (This file may have a different name, but it will be a compressed file.)
sudo tar xavf rootfs.tar.bz2 –C /media/rootfs
(This will take about a minute to extract and copy all of the files to the micro SD card)
Run the Sync command to make sure all files are written to micro SD Card:
sync
Unmount the partitions and the card is ready to load on the BeagleBoard:
sudo umount /media/boot
sudo umount /media/rootfs

Technical Note
TN_146 Creating Android Images for Application Development Version 1.1
Document Reference No.: FT_000781 Clearance No.: FTDI# 326
7
Copyright © 2013 Future Technology Devices International Limited
3 Installing the Micro SD Card on the BeagleBoard
Make sure the monitor, mouse and keyboard are connected. The monitor must be powered up before applying power to the Beagleboard. Insert the micro SD card into the micro SD socket next to the micro USB connector (refer to Figure 1.1). After these steps are completed, you can now apply 5V power to the BeagleBoard. The Android OS will begin to boot.
On first power up, many compressed files on the micro SD card will be uncompressed during boot up. This will take time. It has been found that pressing the reset button, waiting for a minute, and
then removing and re-installing the micro SD card will get Android to boot up properly. On first boot, the initial Android screens will take some time to appear. Subsequent boots will load much faster.
Technical Note
TN_146 Creating Android Images for Application Development Version 1.1
Document Reference No.: FT_000781 Clearance No.: FTDI# 326
8
Copyright © 2013 Future Technology Devices International Limited
4 Conclusion
With the Android image installed, you now have the capability to develop and test Android applications on the Beagleboard. You will need to have the Android SDK and Eclipse IDE installed on your Linux or Windows PC. The use of these tools is beyond the scope of this document.
By following the procedure in TN_134, you can install the FTDI D2XX driver and demo code which will allow you to demonstrate and develop Android to USB communication.
A key advantage of the Beagleboard as a development platform is the straightforward process to rebuild the Android image if it becomes corrupted during application development.

Technical Note
TN_146 Creating Android Images for Application Development Version 1.1
Document Reference No.: FT_000781 Clearance No.: FTDI# 326
9
Copyright © 2013 Future Technology Devices International Limited
5 Contact Information
Head Office – Glasgow, UK Future Technology Devices International Limited Unit 1, 2 Seaward Place, Centurion Business Park Glasgow G41 1HH United Kingdom Tel: +44 (0) 141 429 2777 Fax: +44 (0) 141 429 2758 E-mail (Sales) [email protected] E-mail (Support) [email protected] E-mail (General Enquiries) [email protected]
Branch Office – Taipei, Taiwan 2F, No. 516, Sec. 1, NeiHu Road Taipei 114 Taiwan , R.O.C.
Tel: +886 (0) 2 8791 3570 Fax: +886 (0) 2 8791 3576 E-mail (Sales) [email protected] E-mail (Support) [email protected] E-mail (General Enquiries) [email protected]
Branch Office – Tigard, Oregon, USA 7130 SW Fir Loop Tigard, OR 97223-8160 USA Tel: +1 (503) 547 0988 Fax: +1 (503) 547 0987 E-Mail (Sales) [email protected] E-Mail (Support) [email protected] E-Mail (General Enquiries) [email protected]
Branch Office – Shanghai, China Room 1103, No. 666 West Huaihai Road, Shanghai, 200052 China Tel: +86 21 62351596
Fax: +86 21 62351595 E-mail (Sales) [email protected] E-mail (Support) [email protected] E-mail (General Enquiries) [email protected]
Web Site http://ftdichip.com
System and equipment manufacturers and designers are responsible to ensure that their systems, and any Future Technology
Devices International Ltd (FTDI) devices incorporated in their systems, meet all applicable safety, regulatory and system-level
performance requirements. All application-related information in this document (including application descriptions, suggested
FTDI devices and other materials) is provided for reference only. While FTDI has taken care to assure it is accurate, this
information is subject to customer confirmation, and FTDI disclaims all liability for system designs and for any applications assistance provided by FTDI. Use of FTDI devices in life support and/or safety applications is entirely at the user’s risk, and the
user agrees to defend, indemnify and hold harmless FTDI from any and all damages, claims, suits or expense resulting from
such use. This document is subject to change without notice. No freedom to use patents or other intellectual property rights is
implied by the publication of this document. Neither the whole nor any part of the information contained in, or the product
described in this document, may be adapted or reproduced in any material or electronic form without the prior written consent
of the copyright holder. Future Technology Devices International Ltd, Unit 1, 2 Seaward Place, Centurion Business Park,
Glasgow G41 1HH, United Kingdom. Scotland Registered Company Number: SC136640
Technical Note
TN_146 Creating Android Images for Application Development Version 1.1
Document Reference No.: FT_000781 Clearance No.: FTDI# 326
10
Copyright © 2013 Future Technology Devices International Limited
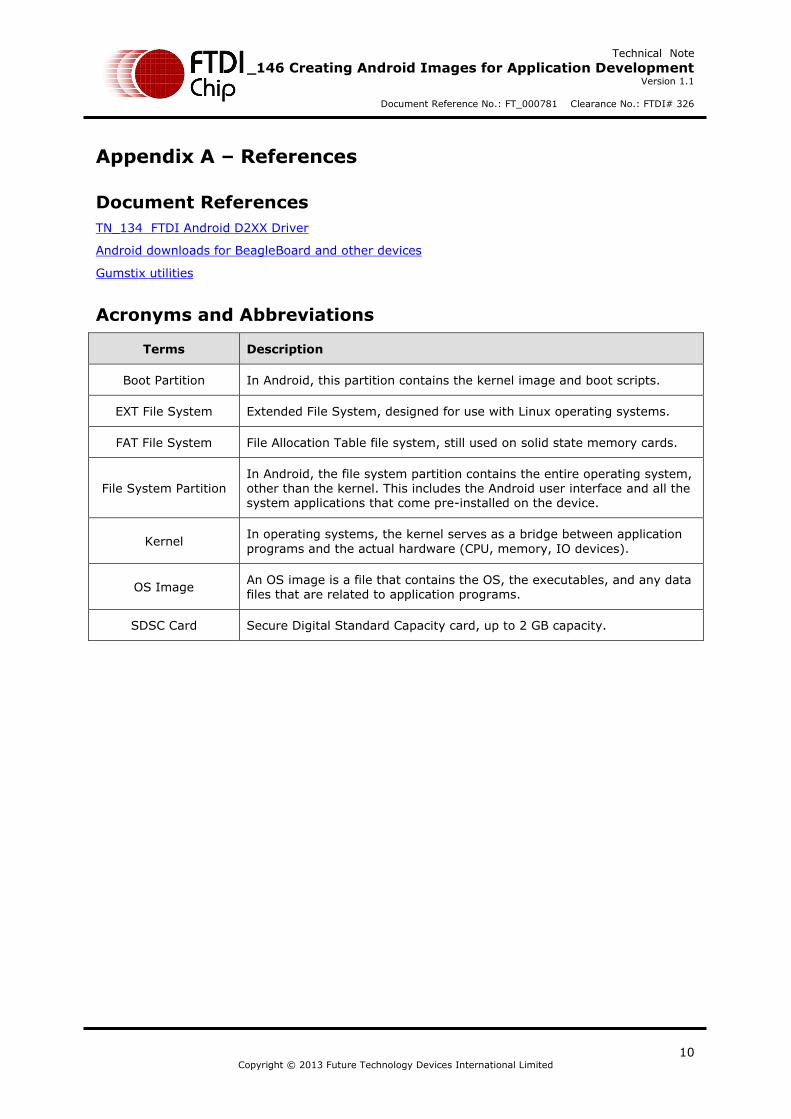
Appendix A – References
Document References
TN_134 FTDI Android D2XX Driver
Android downloads for BeagleBoard and other devices
Gumstix utilities
Acronyms and Abbreviations
Terms Description
Boot Partition In Android, this partition contains the kernel image and boot scripts.
EXT File System Extended File System, designed for use with Linux operating systems.
FAT File System File Allocation Table file system, still used on solid state memory cards.
File System Partition In Android, the file system partition contains the entire operating system, other than the kernel. This includes the Android user interface and all the system applications that come pre-installed on the device.
Kernel In operating systems, the kernel serves as a bridge between application
programs and the actual hardware (CPU, memory, IO devices).
OS Image An OS image is a file that contains the OS, the executables, and any data files that are related to application programs.
SDSC Card Secure Digital Standard Capacity card, up to 2 GB capacity.

Technical Note
TN_146 Creating Android Images for Application Development Version 1.1
Document Reference No.: FT_000781 Clearance No.: FTDI# 326
11
Copyright © 2013 Future Technology Devices International Limited
Appendix B – List of Tables & Figures
List of Figures
Figure 1.1 BeagleBoard XM .................................................................................................. 2
Figure 2.1 Micro SD Card Partitions ....................................................................................... 4
Technical Note
TN_146 Creating Android Images for Application Development Version 1.1
Document Reference No.: FT_000781 Clearance No.: FTDI# 326
12
Copyright © 2013 Future Technology Devices International Limited
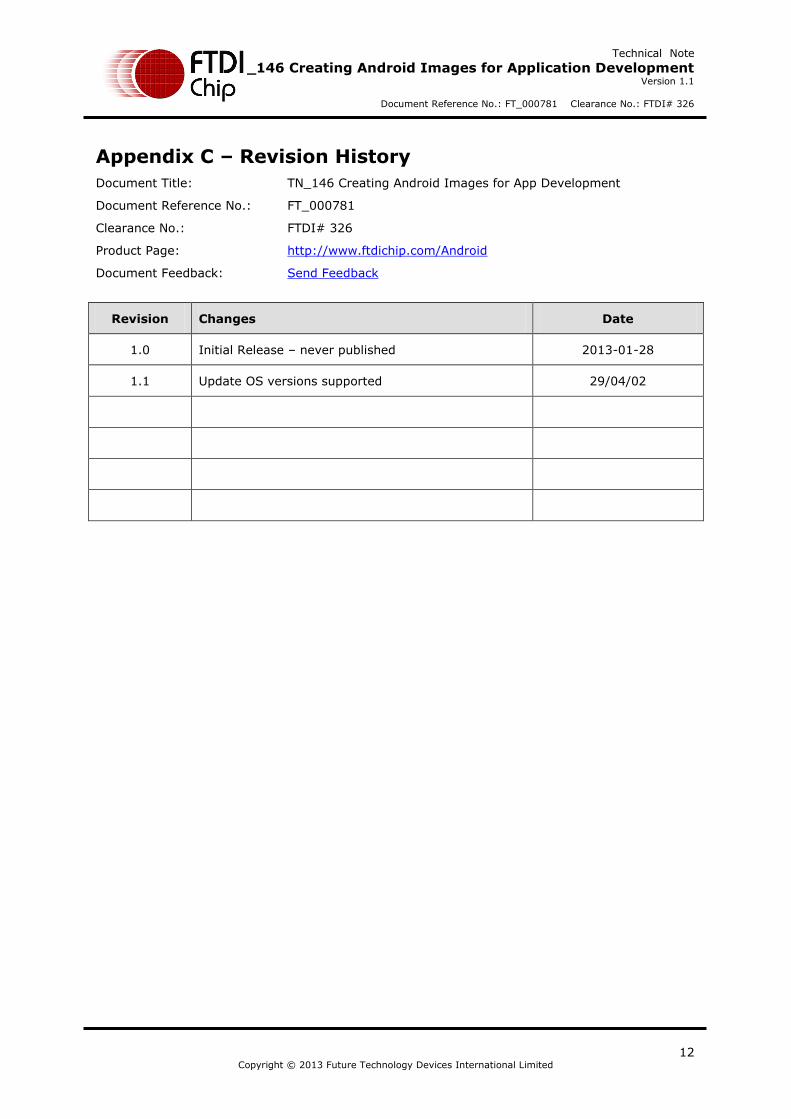
Appendix C – Revision History
Document Title: TN_146 Creating Android Images for App Development
Document Reference No.: FT_000781
Clearance No.: FTDI# 326
Product Page: http://www.ftdichip.com/Android
Document Feedback: Send Feedback
Revision Changes Date
1.0 Initial Release – never published 2013-01-28
1.1 Update OS versions supported 29/04/02

Technical Note
TN_146 Creating Android Images for Application Development Version 1.1
Document Reference No.: FT_000781 Clearance No.: FTDI# 326
13
Copyright © 2013 Future Technology Devices International Limited