creating animated gifs in adobe photoshop elements janet holland
Post on 21-Dec-2015
226 views
TRANSCRIPT

Creating Animated Gifs in Adobe Photoshop
Elements
Creating Animated Gifs in Adobe Photoshop
Elements
Janet HollandJanet Holland

Launch Photoshop ElementsLaunch Photoshop Elements
• File>Open & Locate the graphic image you wish to animate
• Image>Mode RGB to be able to edit
• Image>Resize Canvas if you need to add more area around the image to work on your animation
• File>Open & Locate the graphic image you wish to animate
• Image>Mode RGB to be able to edit
• Image>Resize Canvas if you need to add more area around the image to work on your animation

Preparing the LayersPreparing the Layers
• Windows>Layers needs to be selected as indicated by a check mark
• In the top right palette well click on the Layer Tab and drag the palette down onto the desktop so it stays visible
• Double click on the Background layer in italics and rename the layer so it becomes unlocked to allow image editing

Duplicate LayersDuplicate Layers• 2 ways to duplicate layers to
animate• Select the layer to duplicate• Layer>Duplicate Layer• Or Drag the layer to be
copied on top of the new layer icon near the bottom right corner of the layer palette
• Repeat until the desired number of layers are created for each movement to be animated
• 2 ways to duplicate layers to animate
• Select the layer to duplicate• Layer>Duplicate Layer• Or Drag the layer to be
copied on top of the new layer icon near the bottom right corner of the layer palette
• Repeat until the desired number of layers are created for each movement to be animated
Tool Moved Here

Double Click to Rename Each LayerDouble Click to Rename Each Layer
• Last Layer at the Top Where the Animation Loop Ends
• Layer at the Bottom where the Animation Loop Begins
• Last Layer at the Top Where the Animation Loop Ends
• Layer at the Bottom where the Animation Loop Begins
• Layer 5• Layer 4• Layer 3• Layer 2• Layer 1
• Layer 5• Layer 4• Layer 3• Layer 2• Layer 1
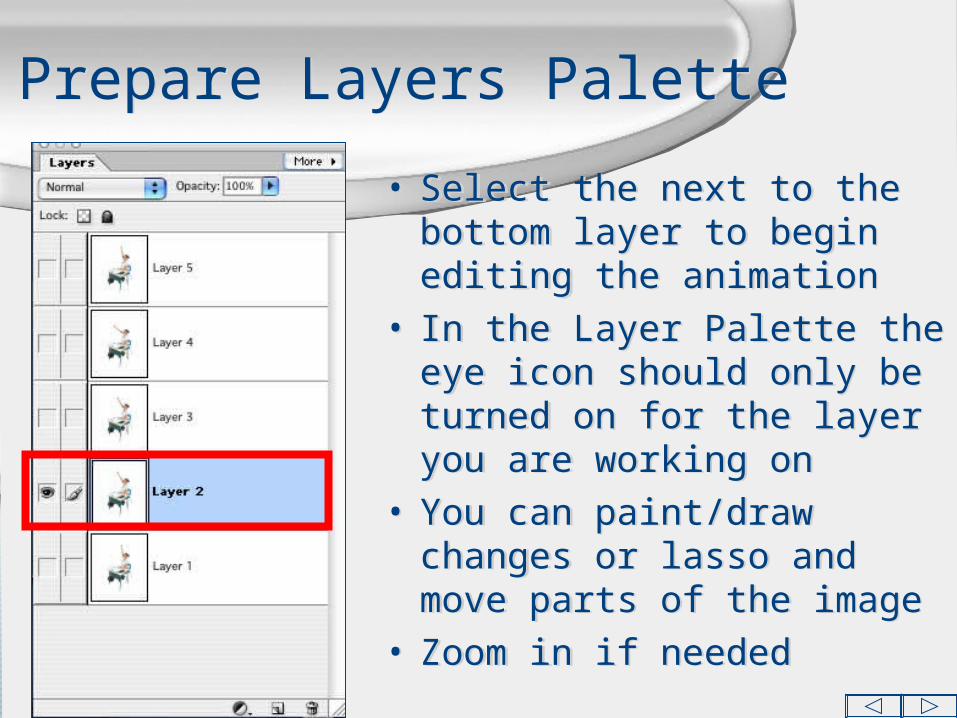
Prepare Layers PalettePrepare Layers Palette
• Select the next to the bottom layer to begin editing the animation
• In the Layer Palette the eye icon should only be turned on for the layer you are working on
• You can paint/draw changes or lasso and move parts of the image
• Zoom in if needed
• Select the next to the bottom layer to begin editing the animation
• In the Layer Palette the eye icon should only be turned on for the layer you are working on
• You can paint/draw changes or lasso and move parts of the image
• Zoom in if needed
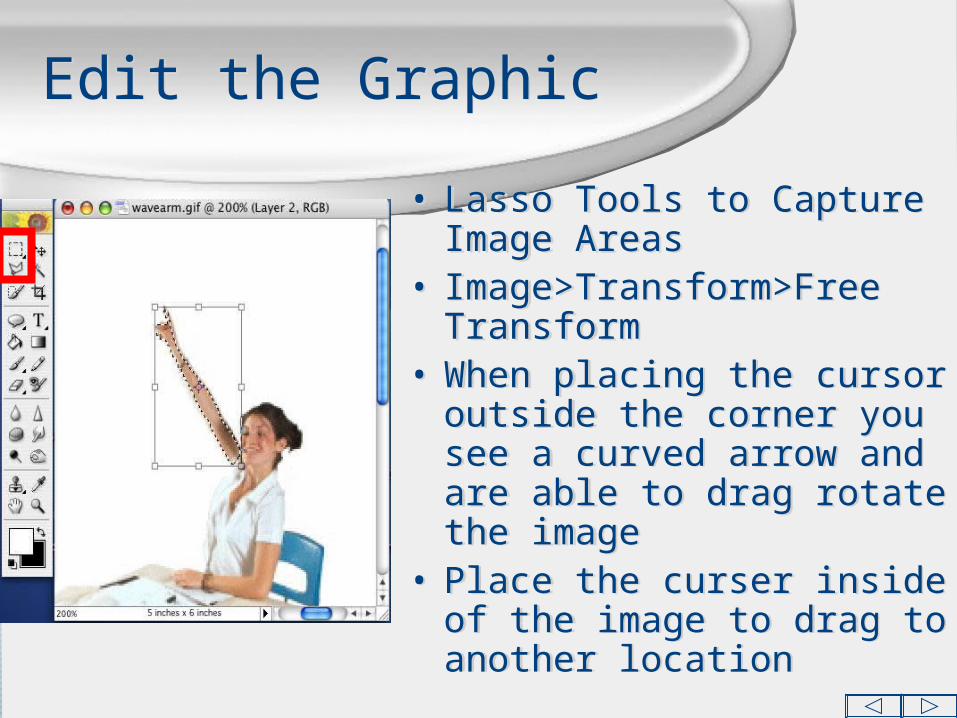
Edit the GraphicEdit the Graphic
• Lasso Tools to Capture Image Areas
• Image>Transform>Free Transform
• When placing the cursor outside the corner you see a curved arrow and are able to drag rotate the image
• Place the curser inside of the image to drag to another location
• Lasso Tools to Capture Image Areas
• Image>Transform>Free Transform
• When placing the cursor outside the corner you see a curved arrow and are able to drag rotate the image
• Place the curser inside of the image to drag to another location

Continue to Edit All LayersContinue to Edit All Layers
• Repair as needed with the paintbrush, clone stamp tool, etc.
• Repeat the process for each layer
• Select the layer you wish to change
• Turn the eye icon on for the active layer and turn the other layers off
• Repair as needed with the paintbrush, clone stamp tool, etc.
• Repeat the process for each layer
• Select the layer you wish to change
• Turn the eye icon on for the active layer and turn the other layers off

Saving AnimationsSaving Animations
• When all animation effects are complete
• Eye icon turned on for the top & bottom layer only
• File>Save for Web
• When all animation effects are complete
• Eye icon turned on for the top & bottom layer only
• File>Save for Web

Save Animation SettingsSave Animation Settings
• Select .gif• Check top
Animation Box• If you want a
continuous play check Animation loop box
• Set the Delay time as desired (0.5)
• Save to your folder
• Select .gif• Check top
Animation Box• If you want a
continuous play check Animation loop box
• Set the Delay time as desired (0.5)
• Save to your folder

Can Place in Web PageCan Place in Web Page
• Place .gif animation in your web page & save
• Preview in a Browser to be sure it is working properly
• Place .gif animation in your web page & save
• Preview in a Browser to be sure it is working properly

Another Example of an Animated .gifAnother Example of an Animated .gif
• Same Basic Process
• Transparent Paint
Technique Rather than moving parts of the image
• Same Basic Process
• Transparent Paint
Technique Rather than moving parts of the image