creditor address book migration tool instructions...@ creditor address book migration tool | page 1...
TRANSCRIPT

@ Creditor Address Book Migration Tool | Page 1 van 6
Step 1:Download the zip file ‘MMfW_Migratie_V10071.zip’ and save it on your computer (e.g. on your desktop).
Step 2:Open the zip file by double-clicking it. Then click ‘Extract’.
Step 3:On your computer, select the folder to which you wish to save the migration tool (e.g. on your desktop) and click ‘Extract’. The programme is extracted in the target folder.
You can convert creditor data from Money Manager for Windows to Access Online using the Creditor Ad-dress Book Migration Tool. The steps that must be executed to achieve this are given below.
Creditor Address Book Migration Tool Instructions

@ Creditor Address Book Migration Tool | Page 2 van 6
Step 4:Open the migration tool by double-clicking the folder ‘MMfW_Migratie_V10071’
Start the migration tool by double-clicking the file ´MMfW_Migratie’.
Step 5:Under ‘Language selection’, select the language of your choice. Select ‘I accept the terms in the agreement’ and click ‘Next’.
Step 6:After reading the introduction, click ‘Next’.
Creditor Address Book Migration Tool Instructions

@ Creditor Address Book Migration Tool | Page 3 van 6
Step 7:Under ‘I want my address book migrated to’, select ‘Access Online’. Under ‘My data is coming from’, select ‘Money Manager’.
Enter your UserID and Password for Money Manager for Windows and click ‘Login’.
Then click ‘Next’.
Step 8:An overview of all your creditors from Money Manager for Windows appears.
If data have not been fully entered for any of your creditors, the message ‘Warning: Some records will not be exported! Continue?’ will appear. Click ‘Yes’ to continue exporting the data for creditors with complete data.
Click ‘Print’ to display an overview of the creditors that could not be exported. You can add these credi-tors in Access Online manually later or you can cor-rect them in Money Manager for Windows and restart the migration tool.
Click ‘Next’.
Note! If you are unable to find your creditors via Money Manager, see the appendix for infor-mation on accessing them via the alternative G2MPREL route.
Creditor Address Book Migration Tool Instructions

@ Creditor Address Book Migration Tool | Page 4 van 6
Step 9:The migration tool creates a new creditor file and saves this file in the same folder as the migration tool itself. The creditor file is named ‘BUW_yyyy-mm-dd_hhmmss’. The tool automati-cally adds the date and time to the file name.
Click ‘OK’ to close the migration tool.
Step 10:Go to www.accessonline.abnamro.com and click ‘Access Online’. Follow the instructions on the screen to log into your personal e-banking environment.
Step 11:The following address appears in the main screen of Access Online:https://www.accessonline.abnamro.com/wos/closed/index.nl.html
Delete all characters to the right of ‘https://www.ac-cessonline.abnamro.com/ ‘. Then add ‘buw’ tot the address.
The resulting address is ‘https://www.accessonline.abnamro.com/buw’. Click ‘ENTER’
Step 12:Under ‘Select upload type’, select the format ‘Ge-neric XML File’ from the dropdown menu. .
Creditor Address Book Migration Tool Instructions

@ Creditor Address Book Migration Tool | Page 5 van 6
Step 13:To the right of ‘Select xml file’, click ‘Browse’ and select the creditor file you created using the migration tool. The file is named ‘BUW_yyyy-mm-dd_hhmmss’ and is stored in the same folder as the migration tool itself.
Click ‘Open’.
Click ‘Upload’.
Step 14:The file is readied for authorisation and the system generates a reference number. Write this number down.
Note: You can click ´Details’ to view the data details for the upload.
Step 15:At the top of the page, click the ‘Reports’ tab and enter the reference number you wrote down in the previous step in the ‘Reference No’ file. Click ‘Search’.
Step 16:The report is opened. Click the green search icon in the lower left-hand corner of the screen.
Scroll to the top of the screen and select the ‘Authorise’ tab.
Creditor Address Book Migration Tool Instructions

@ Creditor Address Book Migration Tool | Page 6 van 6
Step 17:Click the ‘Authorise’ button on the right-hand side of the page.
Step 18:The message ‘Are you sure you want to Authorise selected upload’ appears. Click ´Ok´ and authorise the creditor data with your card and e.dentifier.
Your creditors and creditor data are now avail-able in Access Online.
Creditor Address Book Migration Tool Instructions
@ APPENDIX 1
If you are unable to find the creditor file using the migration tool, you can export the file via Money Manag-er for Windows. Follow the export instructions below to export the file G2MPREL.TXT from Money Manager for Windows:
1: In the task bar at the top of the screen, click ´Tables´.2: Click ´Export´.3: Click ´Clients´.4: Select the location (e.g. your desktop) to which you wish to save the G2MPREL.TXT file.5: Click ´Save´.6: The message `Export complete` appears. Click ´OK´. The G2MPREL.TXT file is now available at the
specified location.
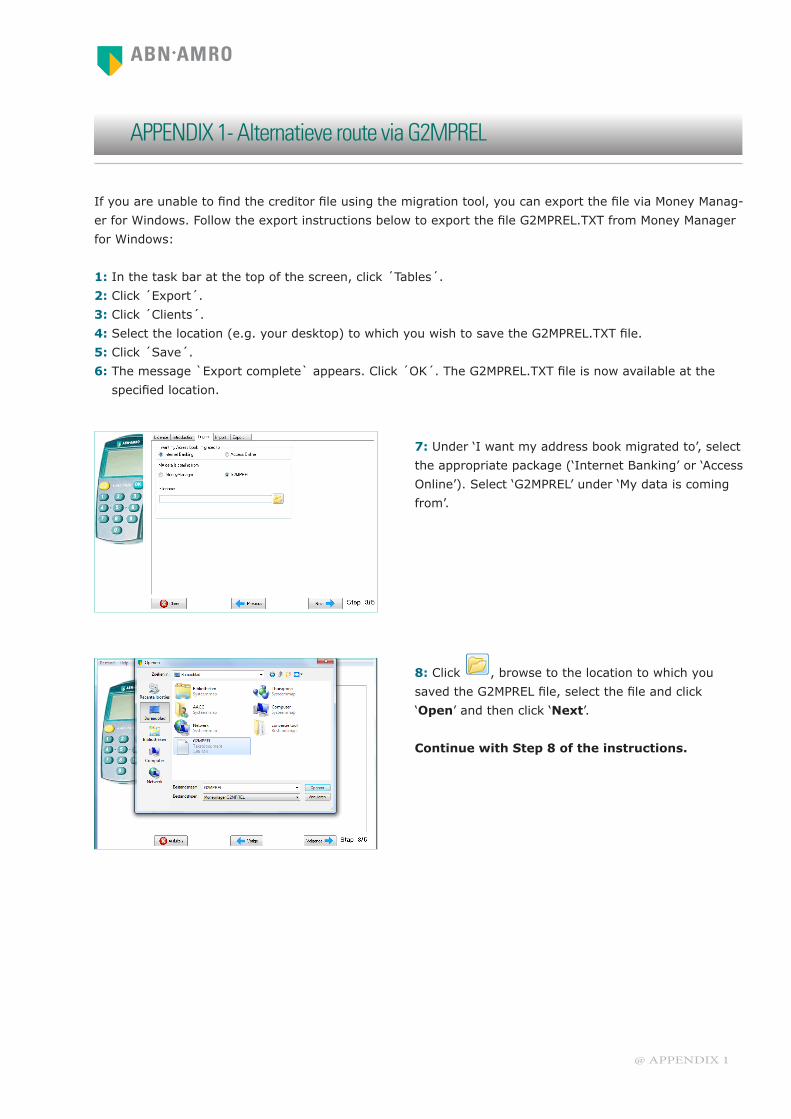
7: Under ‘I want my address book migrated to’, select the appropriate package (‘Internet Banking’ or ‘Access Online’). Select ‘G2MPREL’ under ‘My data is coming from’.
8: Click , browse to the location to which you saved the G2MPREL file, select the file and click ‘Open’ and then click ‘Next’.
Continue with Step 8 of the instructions.
APPENDIX 1- Alternatieve route via G2MPREL