crinoline lady towel topper 3 - embroidery weekly€¦ · crinoline ladies are fun and elegant. ......
TRANSCRIPT
Copyright © 2016 Embroidery Weekly
All rights reserved. Unauthorized reproduction, in any manner, is prohibited.
https://www.embweekly.co.za
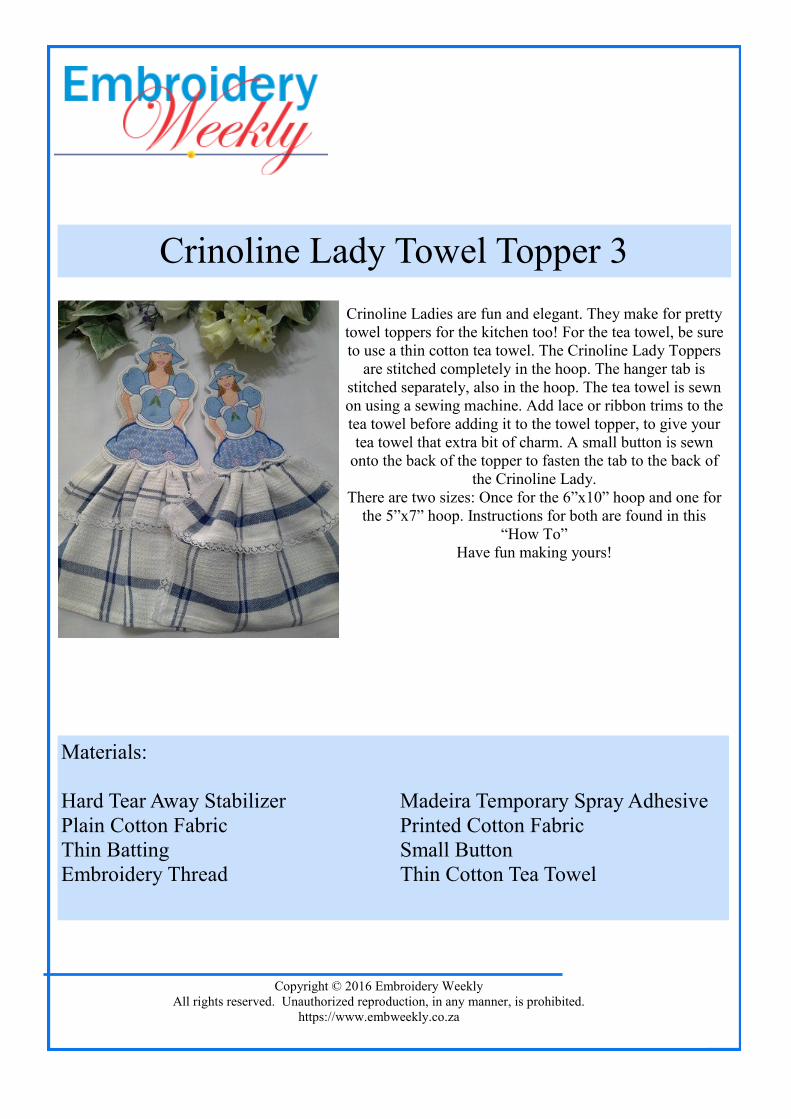
Crinoline Ladies are fun and elegant. They make for pretty
towel toppers for the kitchen too! For the tea towel, be sure
to use a thin cotton tea towel. The Crinoline Lady Toppers
are stitched completely in the hoop. The hanger tab is
stitched separately, also in the hoop. The tea towel is sewn
on using a sewing machine. Add lace or ribbon trims to the
tea towel before adding it to the towel topper, to give your
tea towel that extra bit of charm. A small button is sewn
onto the back of the topper to fasten the tab to the back of
the Crinoline Lady.
There are two sizes: Once for the 6”x10” hoop and one for
the 5”x7” hoop. Instructions for both are found in this
“How To”
Have fun making yours!
Materials:
Hard Tear Away Stabilizer Madeira Temporary Spray Adhesive
Plain Cotton Fabric Printed Cotton Fabric
Thin Batting Small Button
Embroidery Thread Thin Cotton Tea Towel
Crinoline Lady Towel Topper 3

Copyright © 2016 Embroidery Weekly
All rights reserved. Unauthorized reproduction, in any manner, is prohibited.
https://www.embweekly.co.za
6”x10” sizes (5”x7” sizes)
Load the design onto your machine. Hoop 1 layer of hard tear away stabilizer. Stitch the first color.
This is a die line on the stabilizer. Cut a piece of batting 7” x 11” (6”x8”). Spray the stabilizer with Ma-
deira Temporary Spray Adhesive and place the batting over the die line. Cut a piece of white cotton
fabric 7”x11”(6”x8”). Spray the batting with Madeira Temporary Spray Adhesive. Place the cotton fab-
ric onto the batting. Stitch the second color stop. This is a tack down to hold the batting in place.
Stitch color stop 3 - white. This is the die line for the skirt. Cut a piece of blue printed cotton bigger
than the die line. Spray the area with Madeira Temporary Spray Adhesive and place the blue cotton
fabric over the die line. Stitch color stop 4 - blue. This is the tack down. Remove the hoop from the ma-
chine and trim away the excess blue fabric. Stitch out the rest of the design until there are 5 color stops
left. Remove the hoop from the machine. Turn it over so that the back side of the hoop faces up. Spray
the stabilizer with Madeira Temporary Adhesive Spray. Cut a piece of white cotton fabric
7”x11”(6”x8”) and place over the stitched area. Put the hoop back into the machine and stitch color
stop 15. This is a tack down. Remove the hoop from the machine and trim away the excess fabric from
both sides of the hoop. Put the hoop back into the machine and stitch the last 4 color stops.

Copyright © 2016 Embroidery Weekly
All rights reserved. Unauthorized reproduction, in any manner, is prohibited.
https://www.embweekly.co.za
Remove the design from the stabilizer.
For the Hanger
Load the hanger design onto your machine. The same hanger design is used for both the 6”x10” design
as well as for the 5”x7” design.
Hoop 1 layer of hard tear away stabilizer. Stitch the first color stop. This is the die line. Cut a piece of
batting 3”x8”. Spray the stabilizer with Madeira Temporary Spray Adhesive. Cut 2 pieces of white cot-
ton fabric. Spray the batting with Madeira Temporary Spray Adhesive. Place one piece of white cotton
fabric over the batting. Turn the hoop over so the back side faces up. Spray the stabilizer with Madeira
Temporary Spray Adhesive. Place the second piece of white cotton fabric onto the stabilizer. Put the
hoop into the machine and stitch color stop 2. Remove the hoop from the machine. Trim away excess
fabric from both sides of the hoop. Put the hoop back into the machine and stitch color stop 3. Remove
the hanger piece from the stabilizer. Cut open the button hole.
Copyright © 2016 Embroidery Weekly
All rights reserved. Unauthorized reproduction, in any manner, is prohibited.
https://www.embweekly.co.za
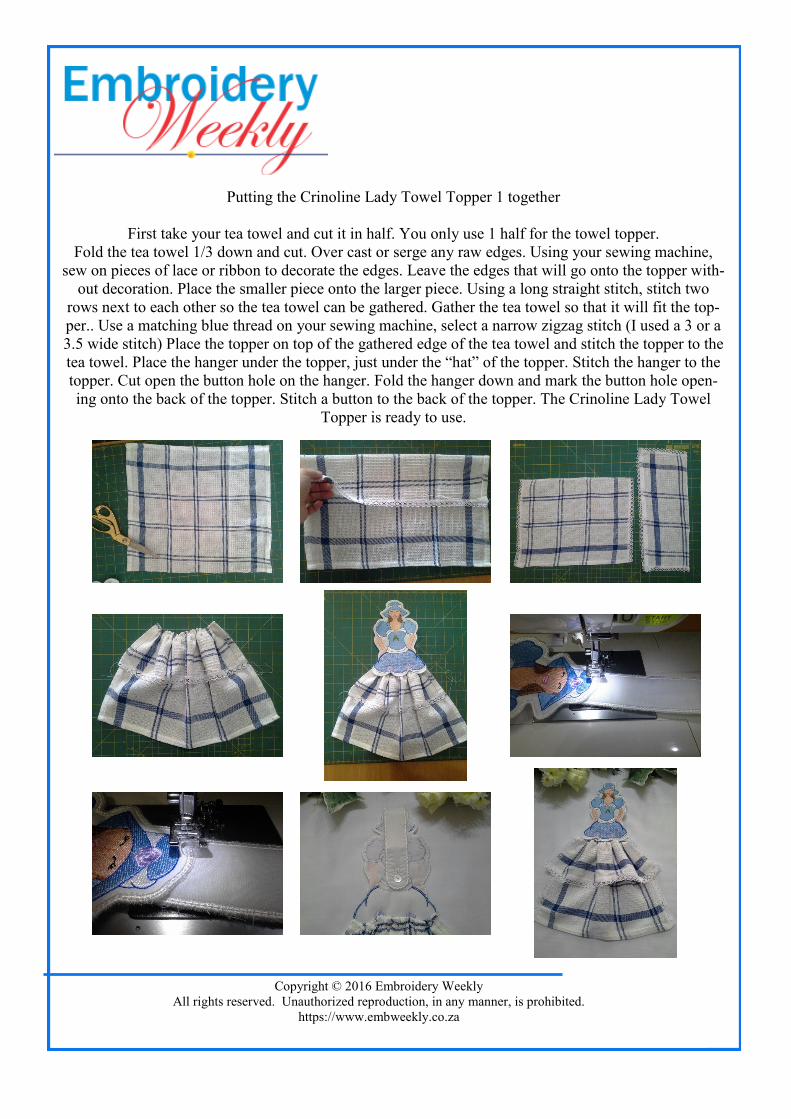
Putting the Crinoline Lady Towel Topper 1 together
First take your tea towel and cut it in half. You only use 1 half for the towel topper.
Fold the tea towel 1/3 down and cut. Over cast or serge any raw edges. Using your sewing machine,
sew on pieces of lace or ribbon to decorate the edges. Leave the edges that will go onto the topper with-
out decoration. Place the smaller piece onto the larger piece. Using a long straight stitch, stitch two
rows next to each other so the tea towel can be gathered. Gather the tea towel so that it will fit the top-
per.. Use a matching blue thread on your sewing machine, select a narrow zigzag stitch (I used a 3 or a
3.5 wide stitch) Place the topper on top of the gathered edge of the tea towel and stitch the topper to the
tea towel. Place the hanger under the topper, just under the “hat” of the topper. Stitch the hanger to the
topper. Cut open the button hole on the hanger. Fold the hanger down and mark the button hole open-
ing onto the back of the topper. Stitch a button to the back of the topper. The Crinoline Lady Towel
Topper is ready to use.