cse 590: computational photography homework … · cse 590: computational photography homework #3:...
TRANSCRIPT
CSE 590: Computational Photography
Homework #3: Face Morphism
Marina von Steinkirch, [email protected]
State University of New York at Stony Brook
April 8, 2013
1 Introduction
A morph is a simultaneous warp of the image shape and a cross-dissolveof the image colors. The warp is controlled by defining a correspondencebetween two pictures (e.g., the map between eyes, mouths, etc.).
In this work we describe the technique to morph two face images usingDelaunay Triangulation and we apply the method to compute a mean facefor many face images. In addition, we further illustrate this technique on funexamples such as caricatures and the transformation of a face to a zombie.
1
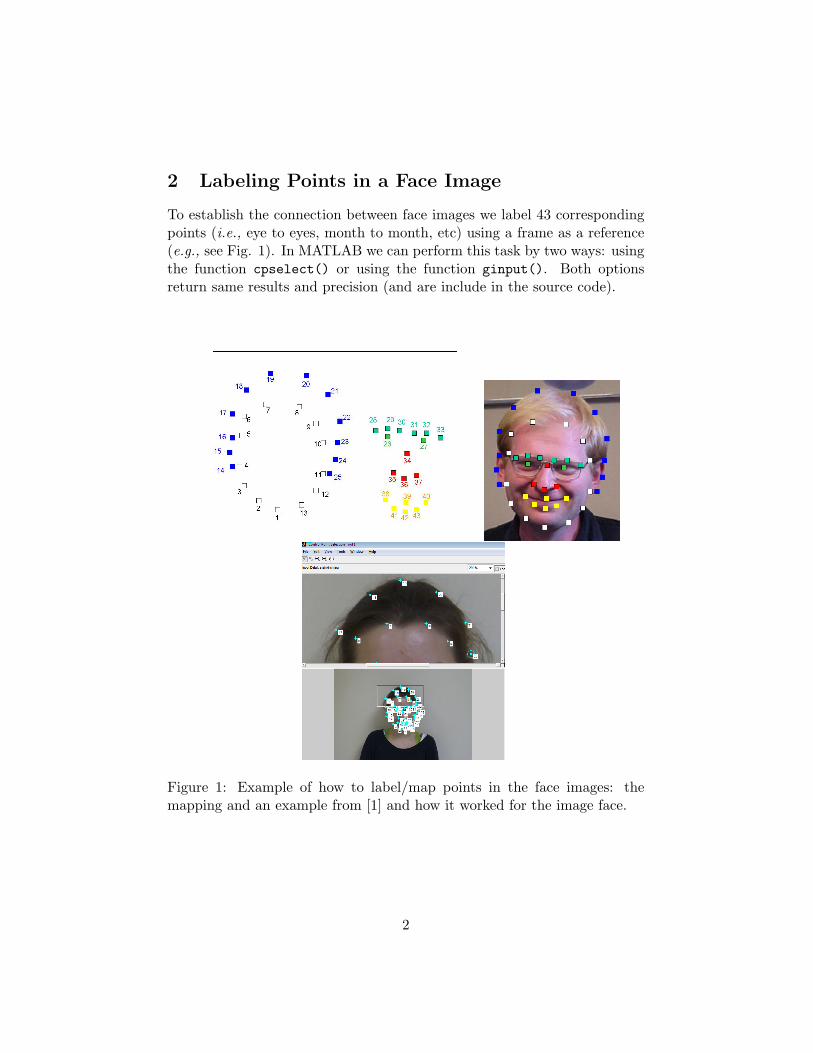
2 Labeling Points in a Face Image
To establish the connection between face images we label 43 correspondingpoints (i.e., eye to eyes, month to month, etc) using a frame as a reference(e.g., see Fig. 1). In MATLAB we can perform this task by two ways: usingthe function cpselect() or using the function ginput(). Both optionsreturn same results and precision (and are include in the source code).
Figure 1: Example of how to label/map points in the face images: themapping and an example from [1] and how it worked for the image face.
2
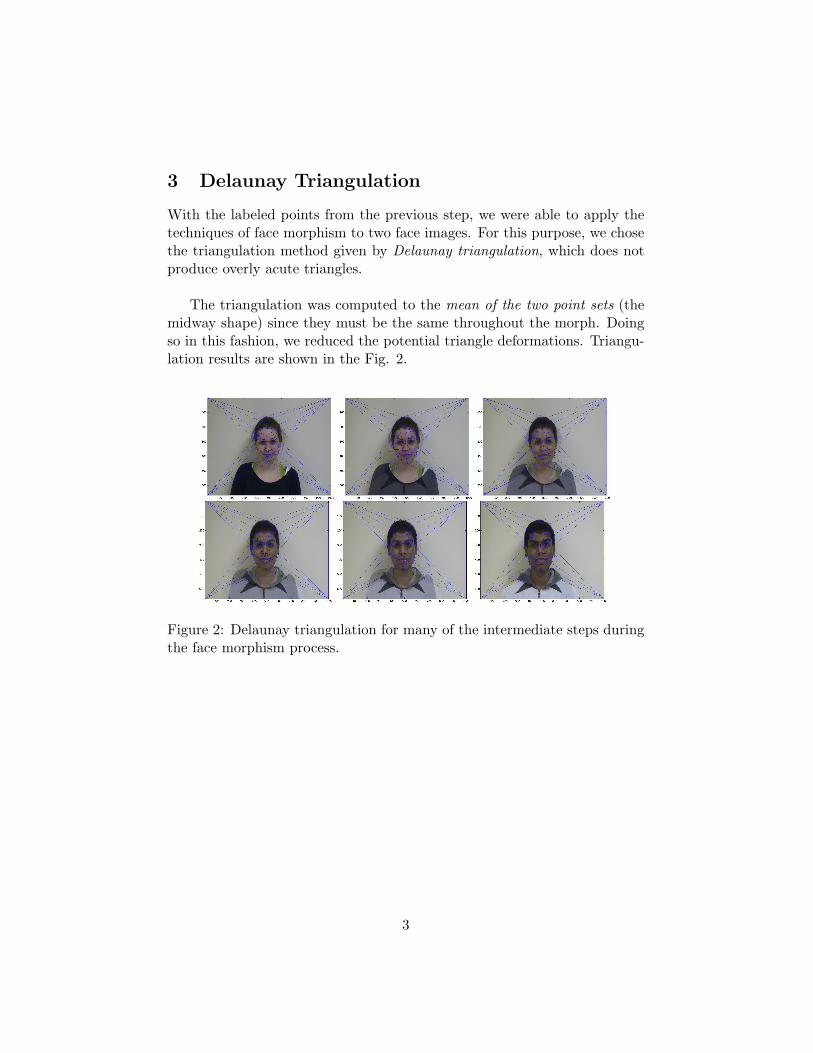
3 Delaunay Triangulation
With the labeled points from the previous step, we were able to apply thetechniques of face morphism to two face images. For this purpose, we chosethe triangulation method given by Delaunay triangulation, which does notproduce overly acute triangles.
The triangulation was computed to the mean of the two point sets (themidway shape) since they must be the same throughout the morph. Doingso in this fashion, we reduced the potential triangle deformations. Triangu-lation results are shown in the Fig. 2.
Figure 2: Delaunay triangulation for many of the intermediate steps duringthe face morphism process.
3
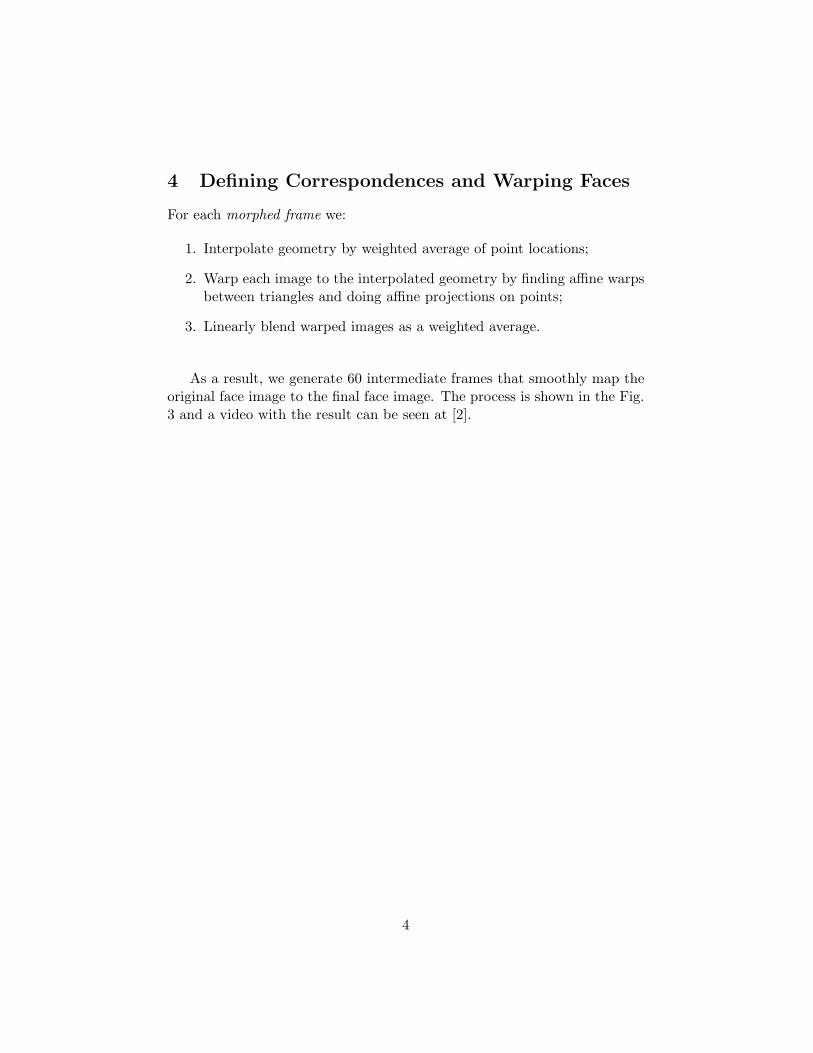
4 Defining Correspondences and Warping Faces
For each morphed frame we:
1. Interpolate geometry by weighted average of point locations;
2. Warp each image to the interpolated geometry by finding affine warpsbetween triangles and doing affine projections on points;
3. Linearly blend warped images as a weighted average.
As a result, we generate 60 intermediate frames that smoothly map theoriginal face image to the final face image. The process is shown in the Fig.3 and a video with the result can be seen at [2].
4
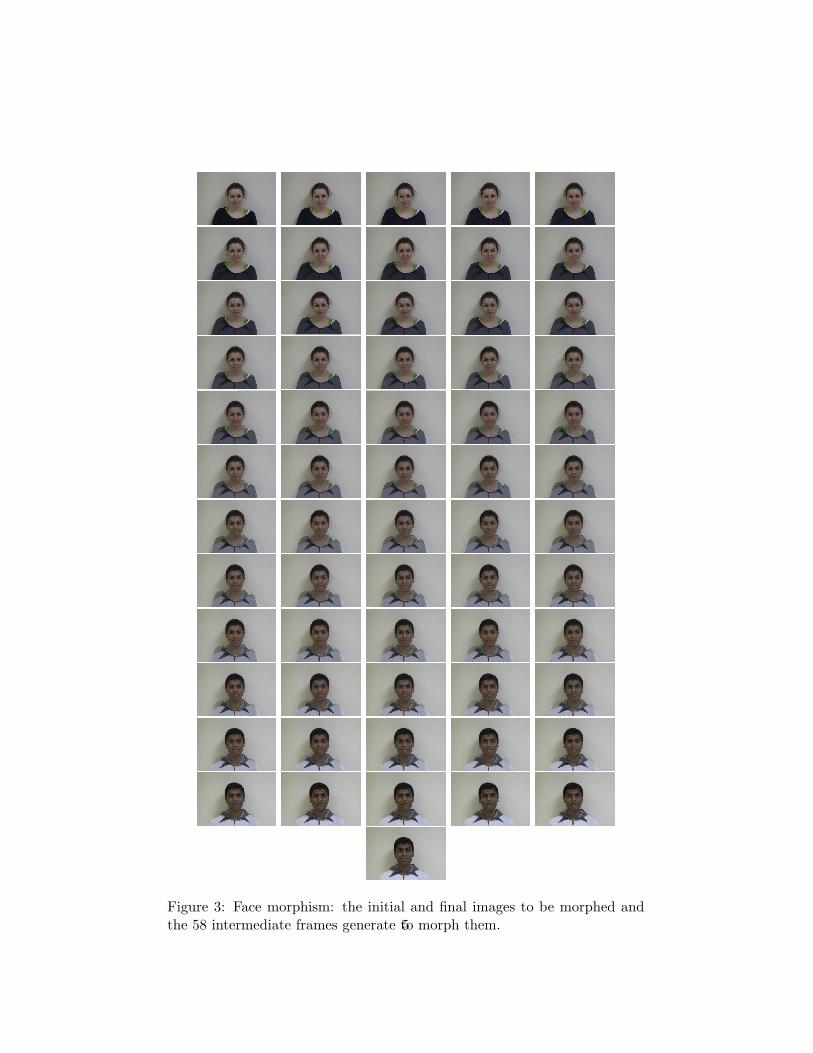
Figure 3: Face morphism: the initial and final images to be morphed andthe 58 intermediate frames generate to morph them.5
5 Calculating the Mean Face
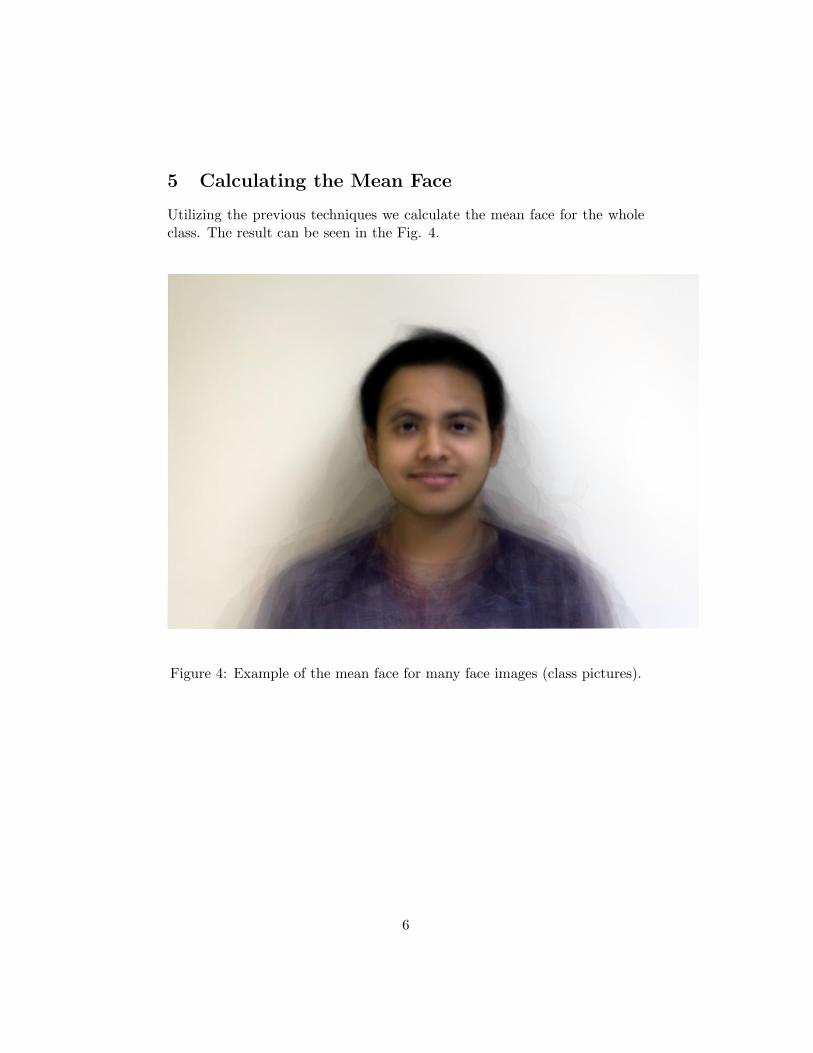
Utilizing the previous techniques we calculate the mean face for the wholeclass. The result can be seen in the Fig. 4.
Figure 4: Example of the mean face for many face images (class pictures).
6
6 Fun Example: Caricatures of a Face Image
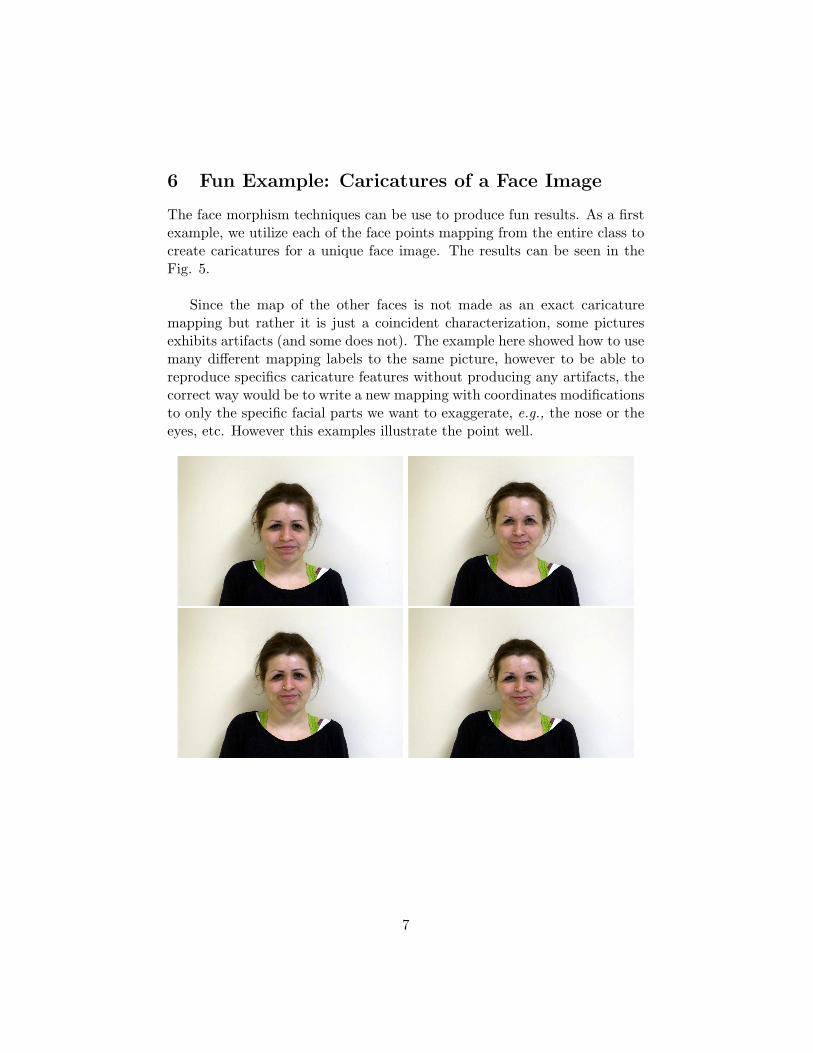
The face morphism techniques can be use to produce fun results. As a firstexample, we utilize each of the face points mapping from the entire class tocreate caricatures for a unique face image. The results can be seen in theFig. 5.
Since the map of the other faces is not made as an exact caricaturemapping but rather it is just a coincident characterization, some picturesexhibits artifacts (and some does not). The example here showed how to usemany different mapping labels to the same picture, however to be able toreproduce specifics caricature features without producing any artifacts, thecorrect way would be to write a new mapping with coordinates modificationsto only the specific facial parts we want to exaggerate, e.g., the nose or theeyes, etc. However this examples illustrate the point well.
7
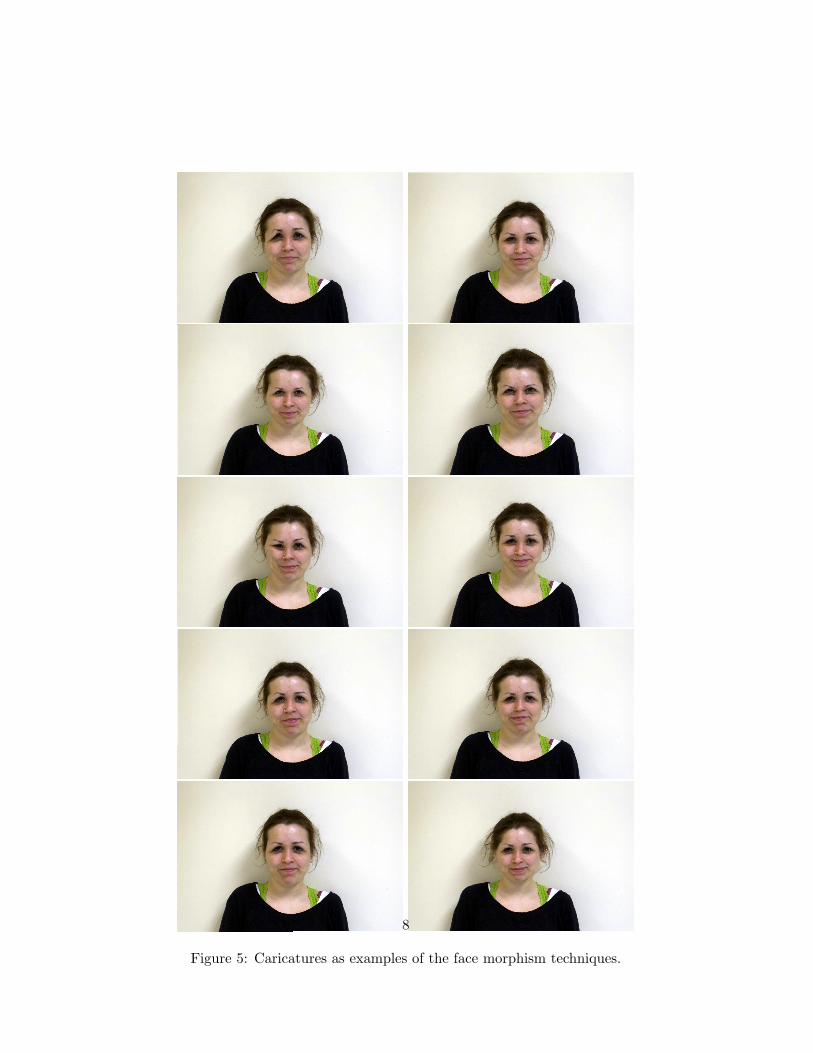
Figure 5: Caricatures as examples of the face morphism techniques.
8
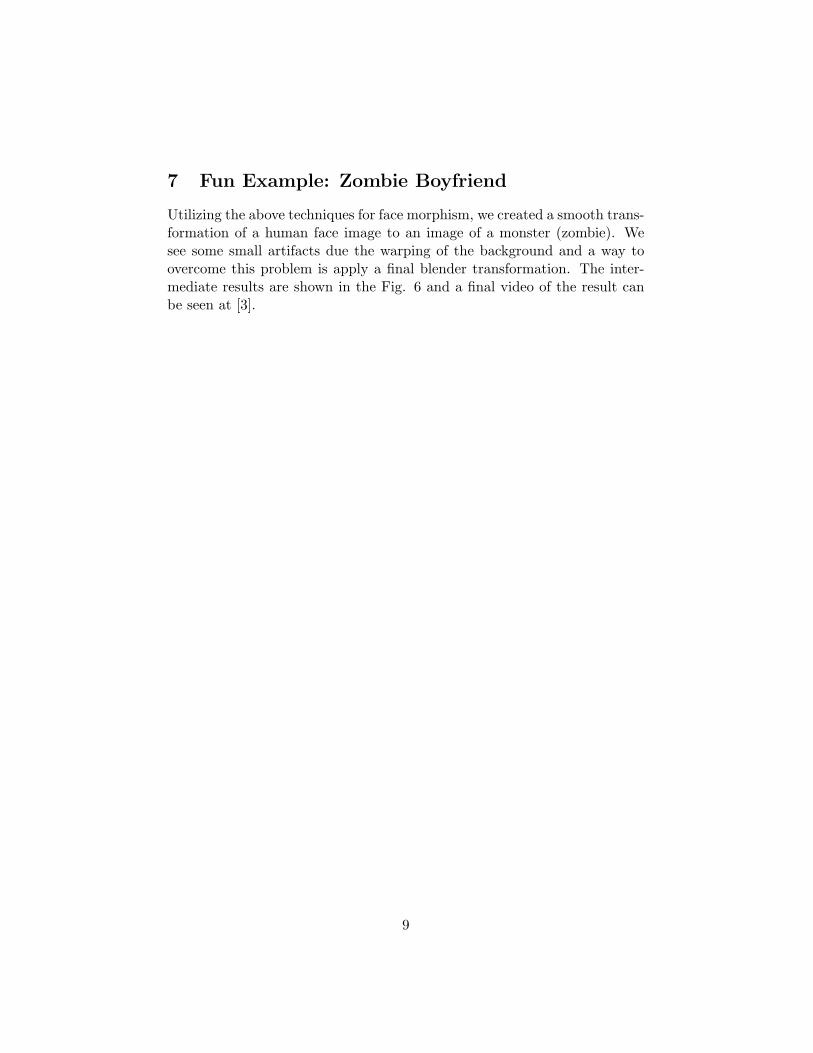
7 Fun Example: Zombie Boyfriend
Utilizing the above techniques for face morphism, we created a smooth trans-formation of a human face image to an image of a monster (zombie). Wesee some small artifacts due the warping of the background and a way toovercome this problem is apply a final blender transformation. The inter-mediate results are shown in the Fig. 6 and a final video of the result canbe seen at [3].
9
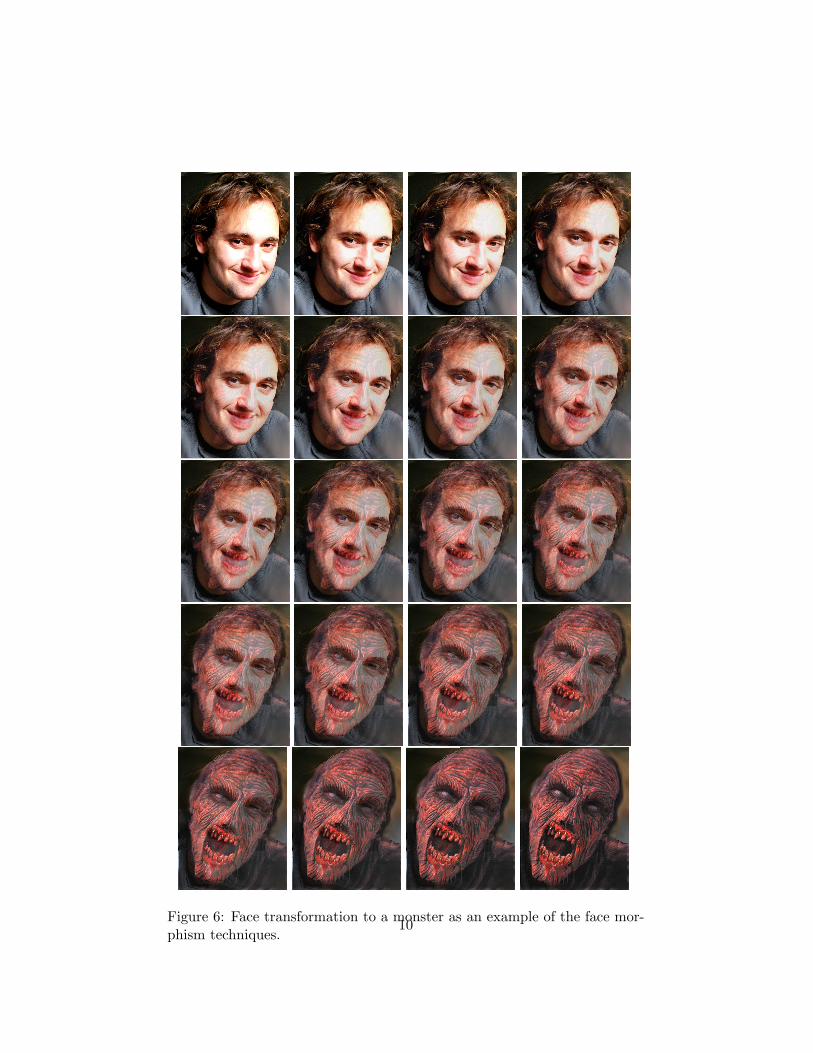
Figure 6: Face transformation to a monster as an example of the face mor-phism techniques.
10
References
[1] Tamara Berg’s Class, http://www.tamaraberg.com/teaching/Spring13/compphotog/3
[2] Link to a video with the Face Morphism result,http://www.youtube.com/watch?v=sMtAMN6JLho, 2013
[3] Link to a video with the Face Morphism example (zombie boyfriend),http://www.youtube.com/watch?v=O5nBHLGvPs, 2013
11