css basic syntax (3)
TRANSCRIPT
(BORDERS, PADDING, MARGINS)
Introduction
This presentation covers Part-3 of a basic introduction to CSS syntax
See “HTML Basic Tags” for an introduction to HTML markup
See Part-1 to get started with CSS
See Part-2 for Font and Text properties
This presentation is designed to be a next step for learning CSS
All you need to get started is a text editor and a browser
So, enjoy!
Objectives
With practice, you will be able to:
Set an element’s height and width property
Set border properties in a single declaration or with specific notation
Set rounded corners using the border-radius property
Set padding properties in a single declaration or with specific notation
Set margin properties in a single declaration or with specific notation
Center an element by setting margins
Recognize when margin collapse may occur
Calculate a container’s extended width and height using the box model
Set outline properties in a single declaration or with specific notation
Not Here
See other presentations in this series for
Selectors, color, and background properties – Part 1
Font and Text properties – Part 2
Lists, links, and tables - Part 4
Floats, layouts, and positioning elements – Part 5
Working with color – Part 6
Responsive and mobile design – depending on interest
CSS3 Effects – depending on interest
Template
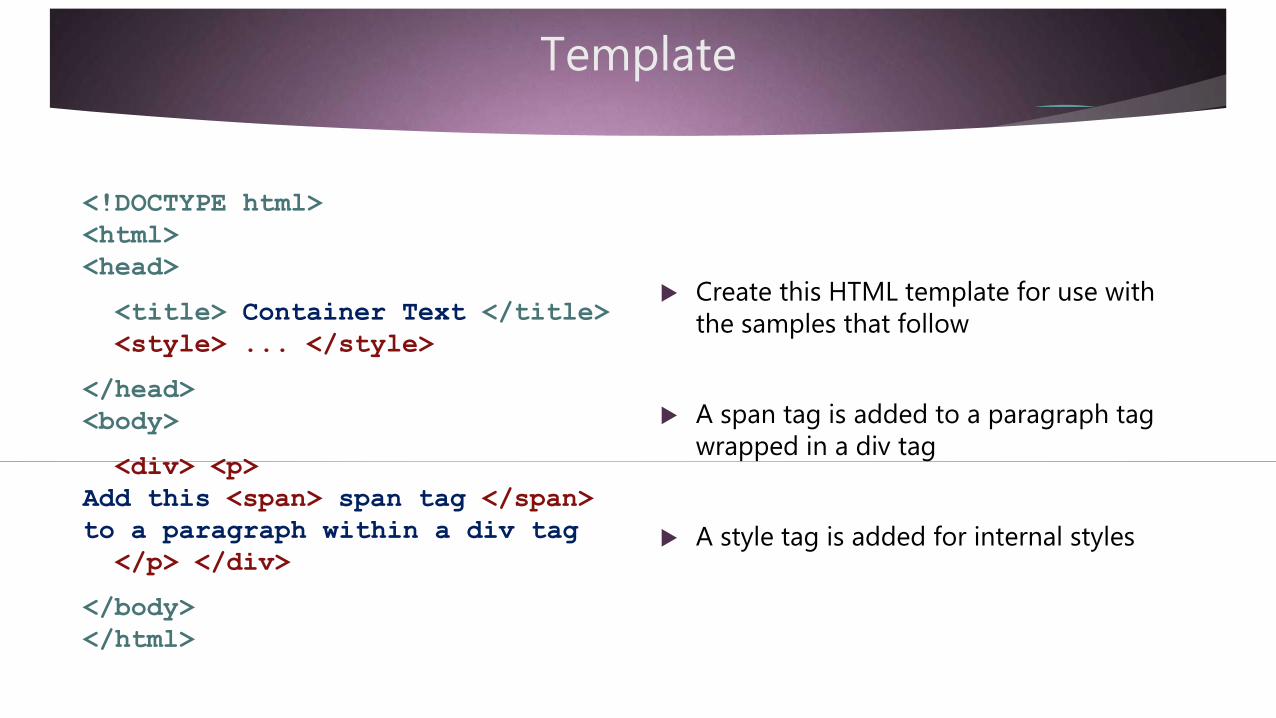
<!DOCTYPE html>
<html>
<head>
<title> Container Text </title>
<style> ... </style>
</head>
<body>
<div> <p>
Add this <span> span tag </span>
to a paragraph within a div tag
</p> </div>
</body>
</html>
Create this HTML template for use with the samples that follow
A span tag is added to a paragraph tag wrapped in a div tag
A style tag is added for internal styles

Containers
div {
background: darkGrey;
}
p {
background: lightGrey;
}
span {
background: yellow;
}
All HTML tags create containers for their content
Add a background to the template tags to see the default containers
Containers
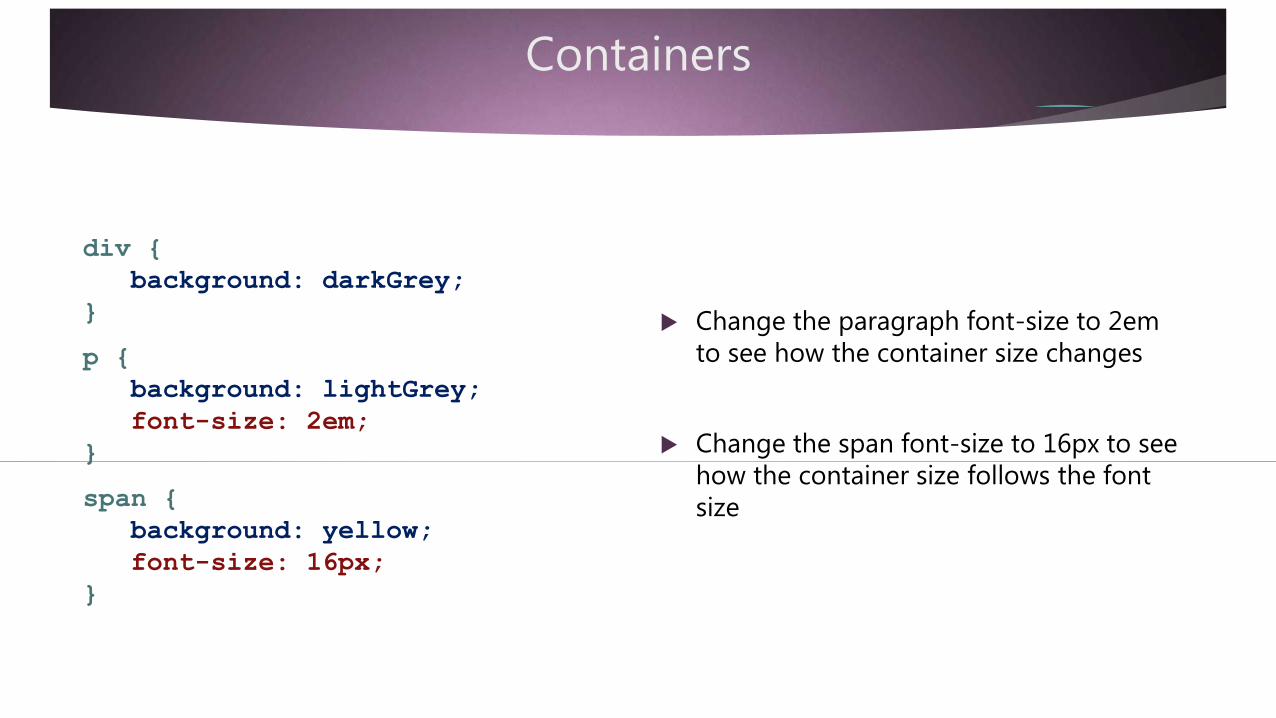
div {
background: darkGrey;
}
p {
background: lightGrey;
font-size: 2em;
}
span {
background: yellow;
font-size: 16px;
}
Change the paragraph font-size to 2em to see how the container size changes
Change the span font-size to 16px to see how the container size follows the font size
Containers
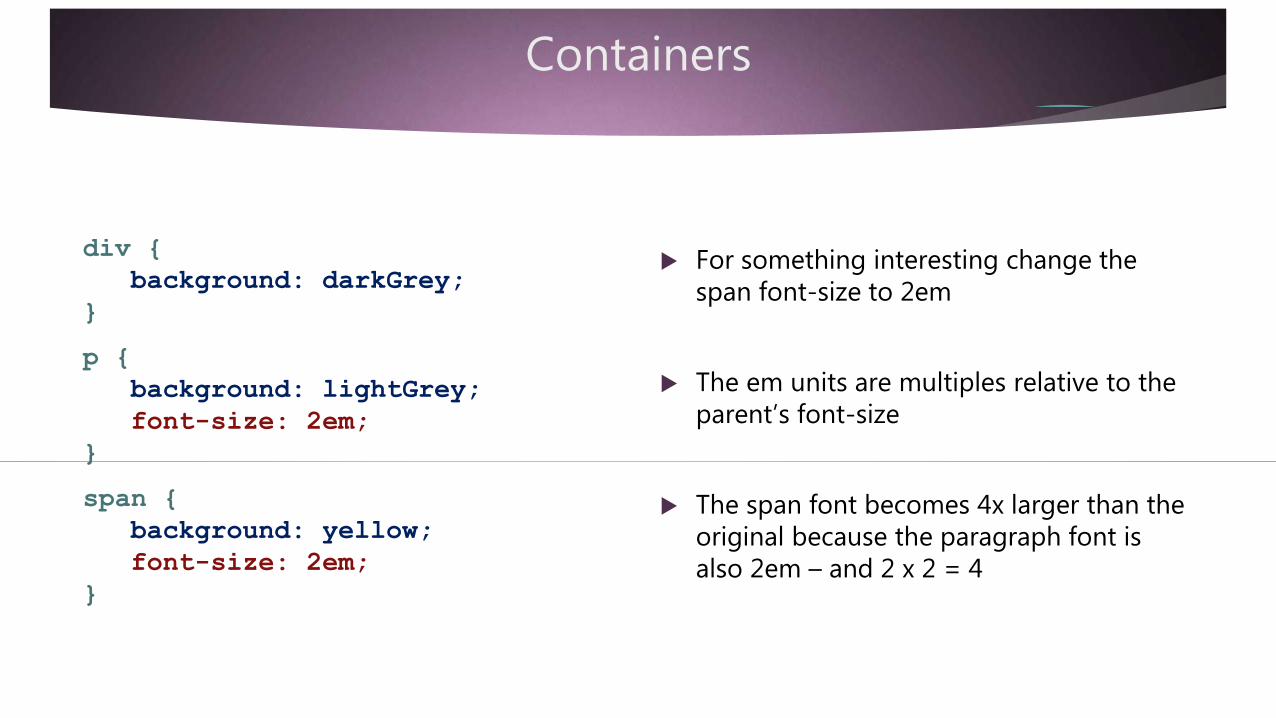
div {
background: darkGrey;
}
p {
background: lightGrey;
font-size: 2em;
}
span {
background: yellow;
font-size: 2em;
}
For something interesting change the span font-size to 2em
The em units are multiples relative to the parent’s font-size
The span font becomes 4x larger than the original because the paragraph font is also 2em – and 2 x 2 = 4
Containers
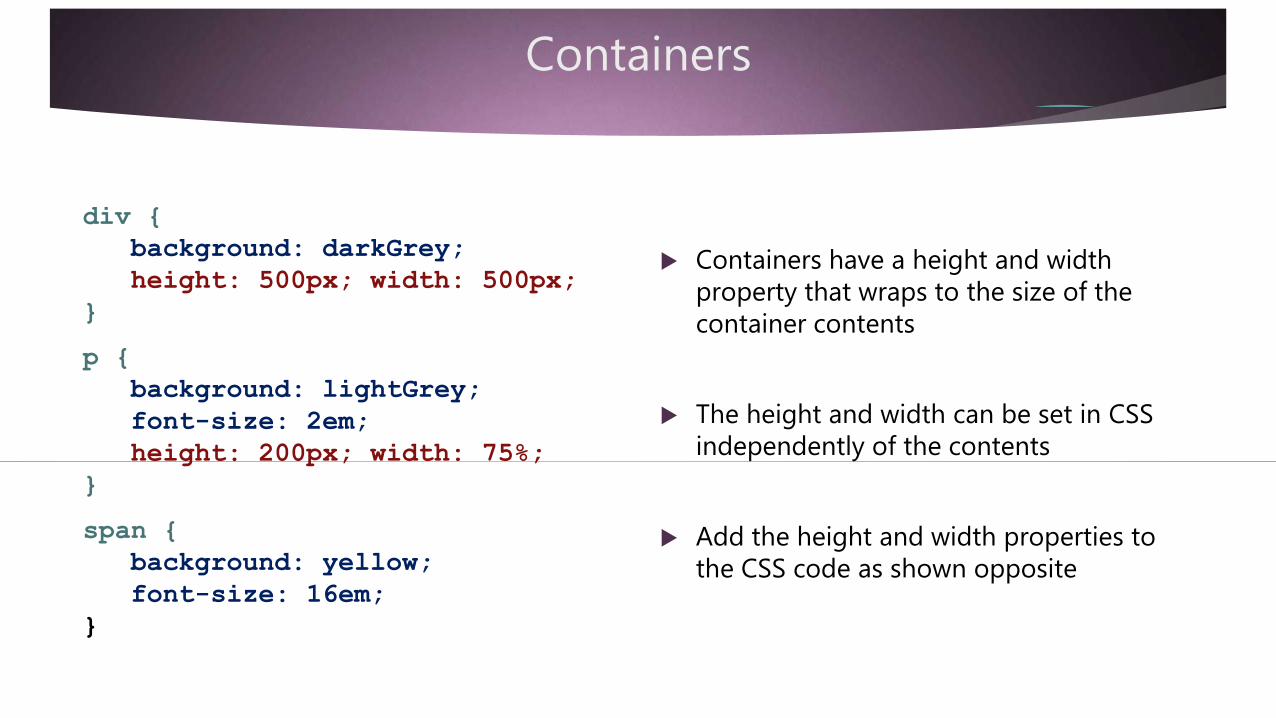
div {
background: darkGrey;
height: 500px; width: 500px;
}
p {
background: lightGrey;
font-size: 2em;
height: 200px; width: 75%;
}
span {
background: yellow;
font-size: 16em;
}
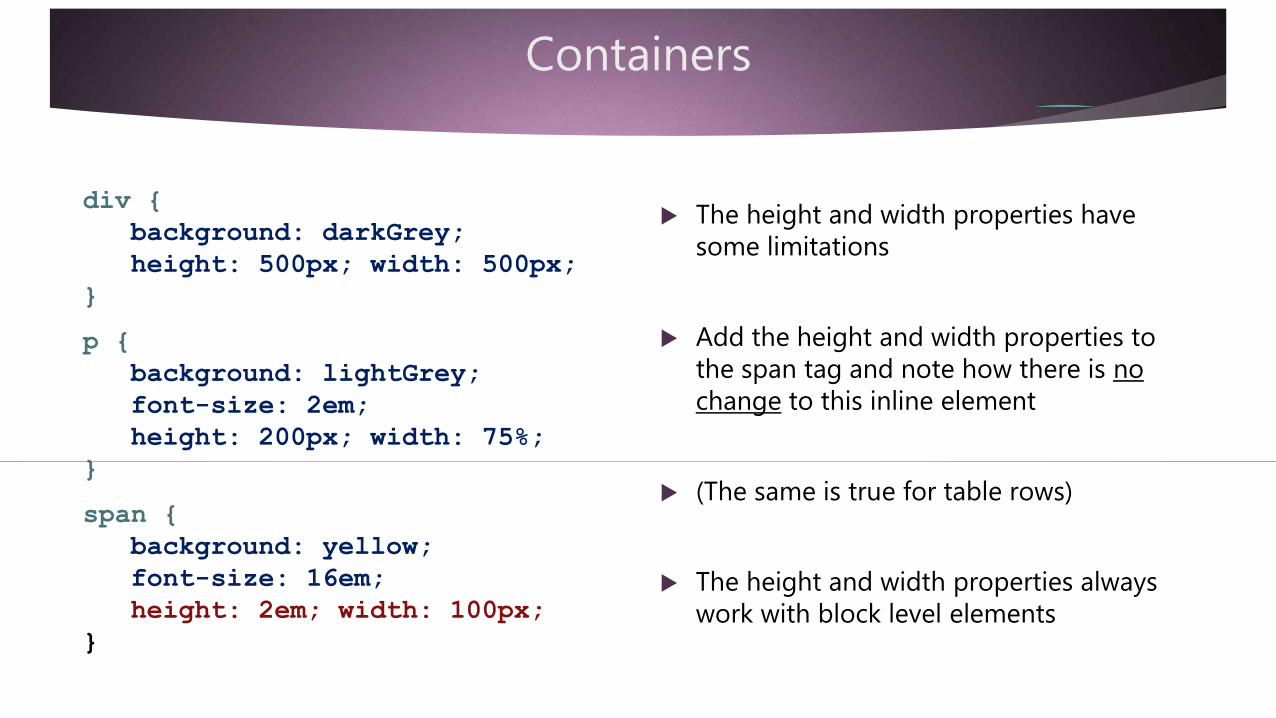
Containers have a height and width property that wraps to the size of the container contents
The height and width can be set in CSS independently of the contents
Add the height and width properties to the CSS code as shown opposite
Containers
div {
background: darkGrey;
height: 500px; width: 500px;
}
p {
background: lightGrey;
font-size: 2em;
height: 200px; width: 75%;
}
span {
background: yellow;
font-size: 16em;
height: 2em; width: 100px;
}
The height and width properties have some limitations
Add the height and width properties to the span tag and note how there is no change to this inline element
(The same is true for table rows)
The height and width properties always work with block level elements
Summary 1
All HTML tags create containers for their content
Containers have a height and width property that wraps to the size of the container contents
The height and width can be set in CSS independently of the contents
The height and width properties have some limitations but always work with block level elements
Borders
Borders can be added to any element
Borders are added outside of the container dimensions
Borders extend the visual size of the element and add to its overall dimensions
The content (container) width and height remain unchanged and as declared
The combined dimensions of border and container are the height and width of the contents plus the width of the border
The top and bottom border adds to the height
The left and right border adds to the width

Borders
div {
border: 2px solid red;
}
img {
border: 5px dashed blue;
}
Borders can be declare using a single border property
The values are declared in a space separated list as width, style and color
This applies the same border style to all four sides of the element
The order is significant with shorthand notation – width style color
Borders
div {
border-width: 2px;
border-style: solid;
border-color: red;
}
img {
border-width: 5px;
border-style: double;
border-color: blue;
}
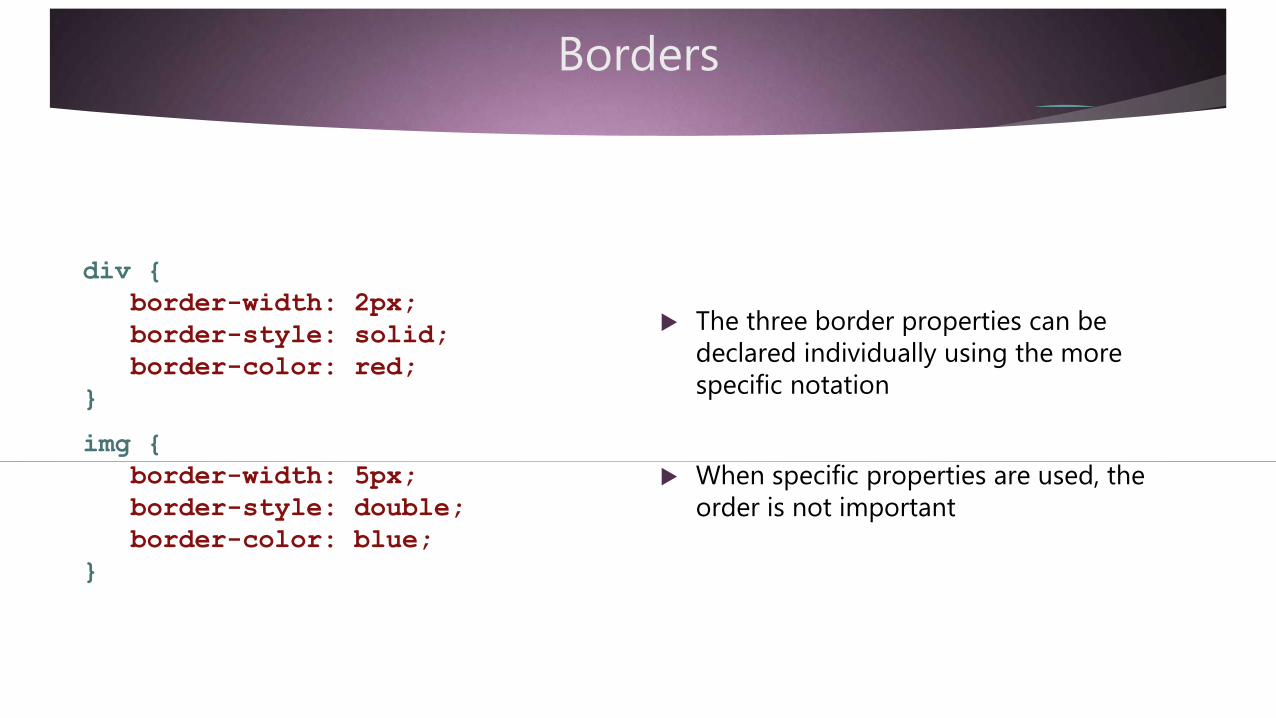
The three border properties can be declared individually using the more specific notation
When specific properties are used, the order is not important
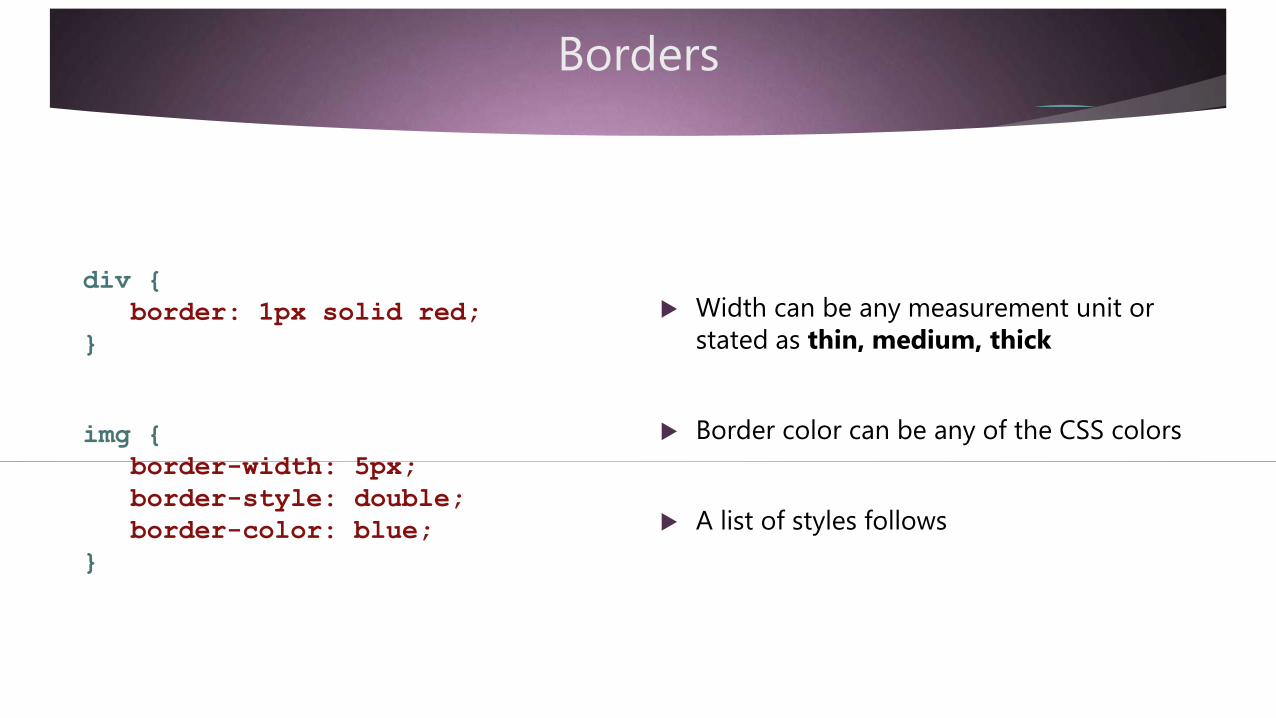
Borders
div {
border: 1px solid red;
}
img {
border-width: 5px;
border-style: double;
border-color: blue;
}
Width can be any measurement unit or stated as thin, medium, thick
Border color can be any of the CSS colors
A list of styles follows

Border Style
dotted, dashed, solid
double, groove, ridge
inset, outset
none, hidden
A style must be declared for the border to be displayed
Any of the styles shown opposite can be used
Some of the 3D effects will vary with the border color and width
A hidden border still takes up space
An image can also be used for the border – more later
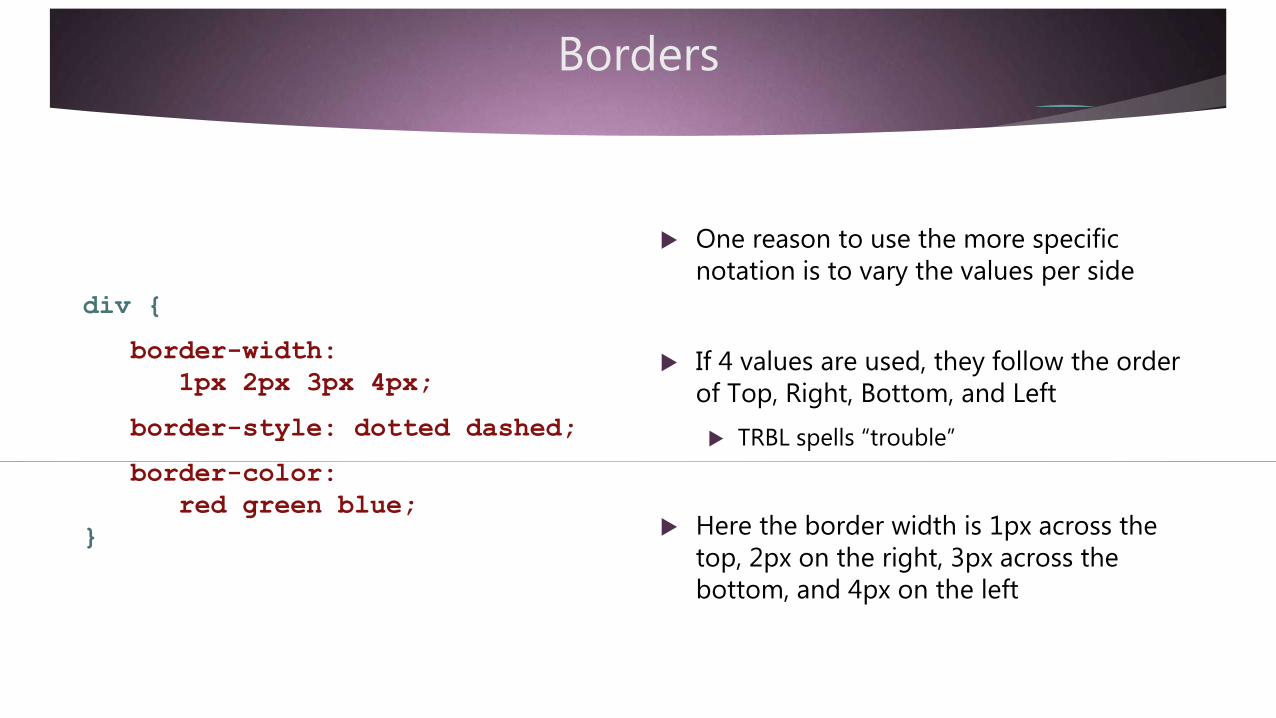
Borders
div {
border-width:
1px 2px 3px 4px;
border-style: dotted dashed;
border-color:
red green blue;
}
One reason to use the more specific notation is to vary the values per side
If 4 values are used, they follow the order of Top, Right, Bottom, and Left
TRBL spells “trouble”
Here the border width is 1px across the top, 2px on the right, 3px across the bottom, and 4px on the left
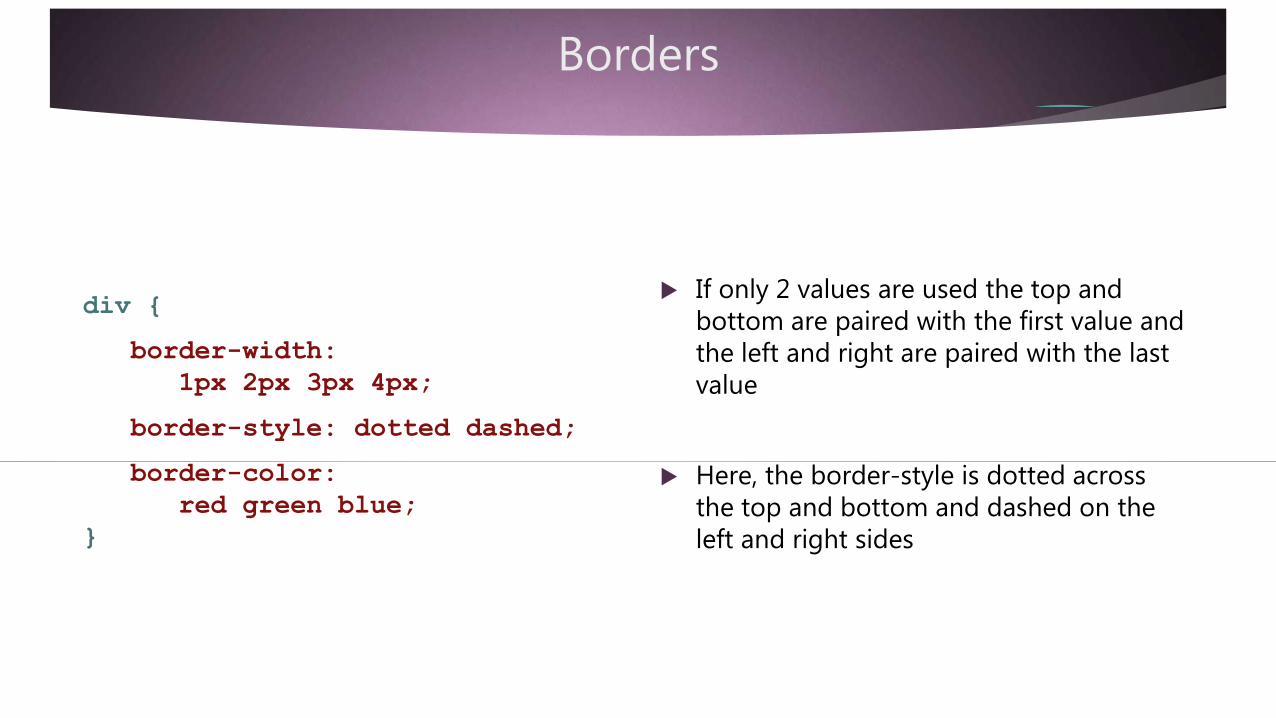
Borders
div {
border-width:
1px 2px 3px 4px;
border-style: dotted dashed;
border-color:
red green blue;
}
If only 2 values are used the top and bottom are paired with the first value and the left and right are paired with the last value
Here, the border-style is dotted across the top and bottom and dashed on the left and right sides
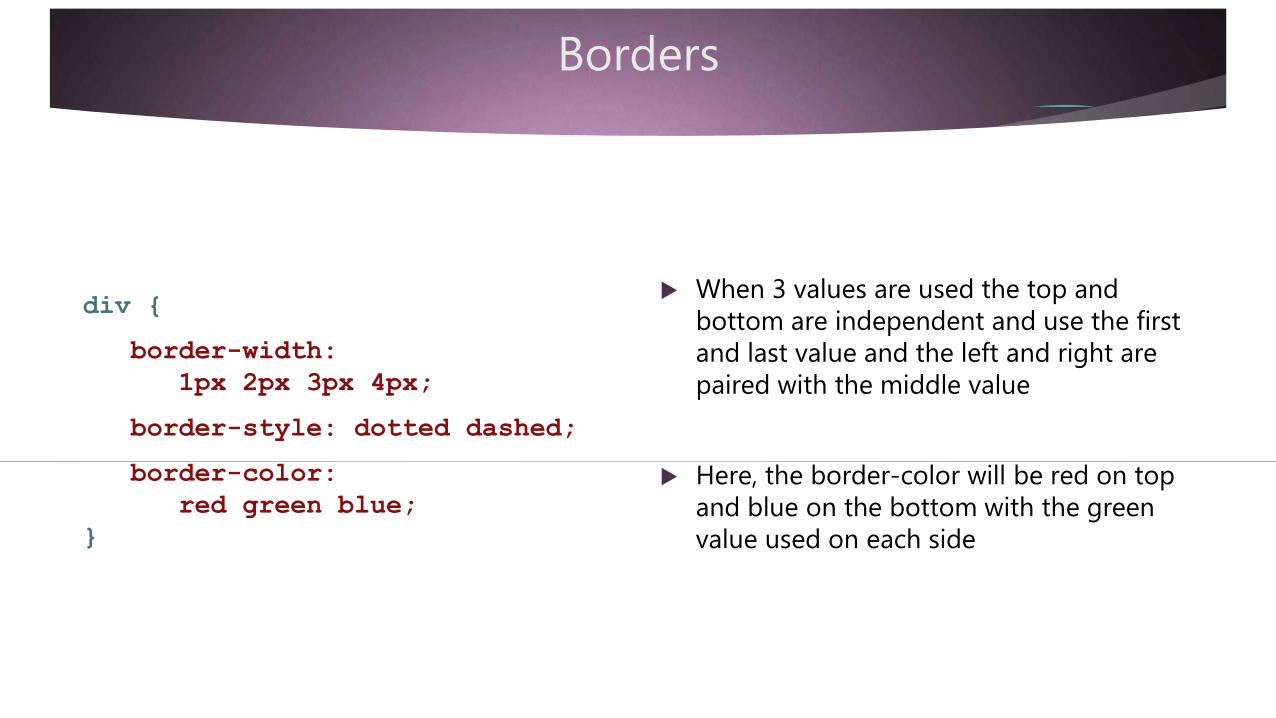
Borders
div {
border-width:
1px 2px 3px 4px;
border-style: dotted dashed;
border-color:
red green blue;
}
When 3 values are used the top and bottom are independent and use the first and last value and the left and right are paired with the middle value
Here, the border-color will be red on top and blue on the bottom with the green value used on each side
Borders
div {
border: 1px solid red;
}
img {
border-width: 5px;
border-style: double;
border-color: blue;
}
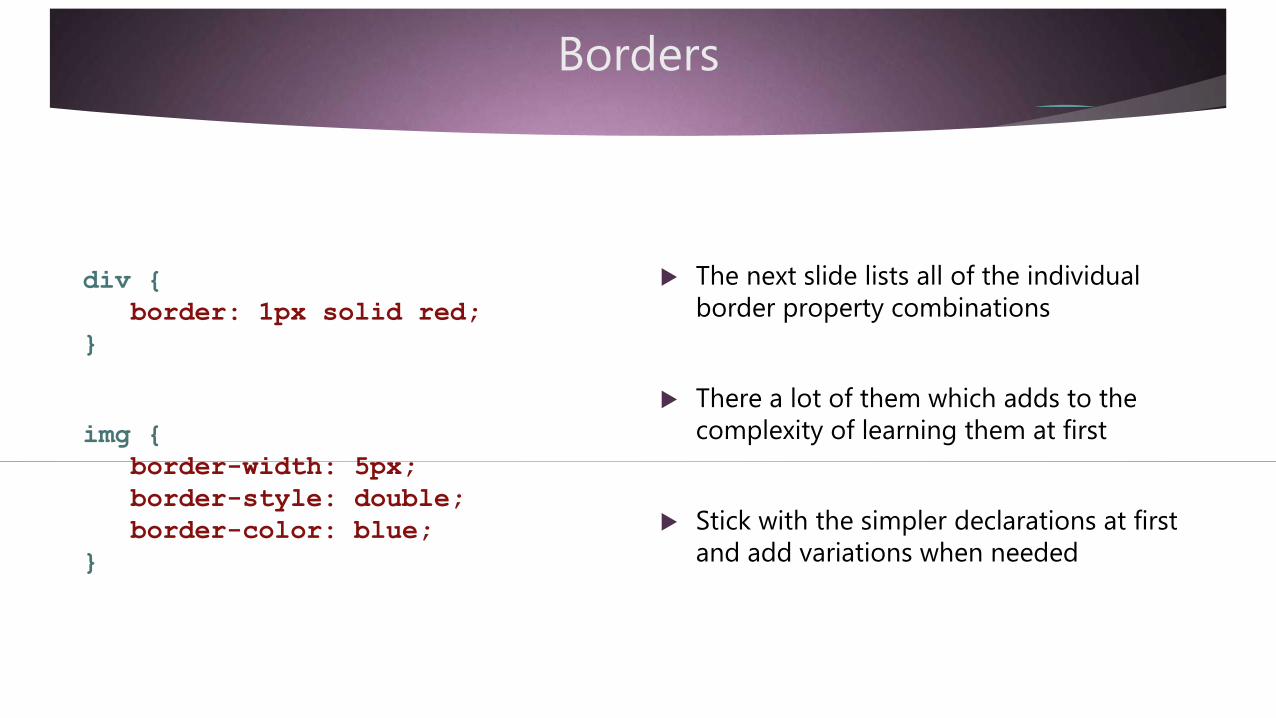
The next slide lists all of the individual border property combinations
There a lot of them which adds to the complexity of learning them at first
Stick with the simpler declarations at first and add variations when needed
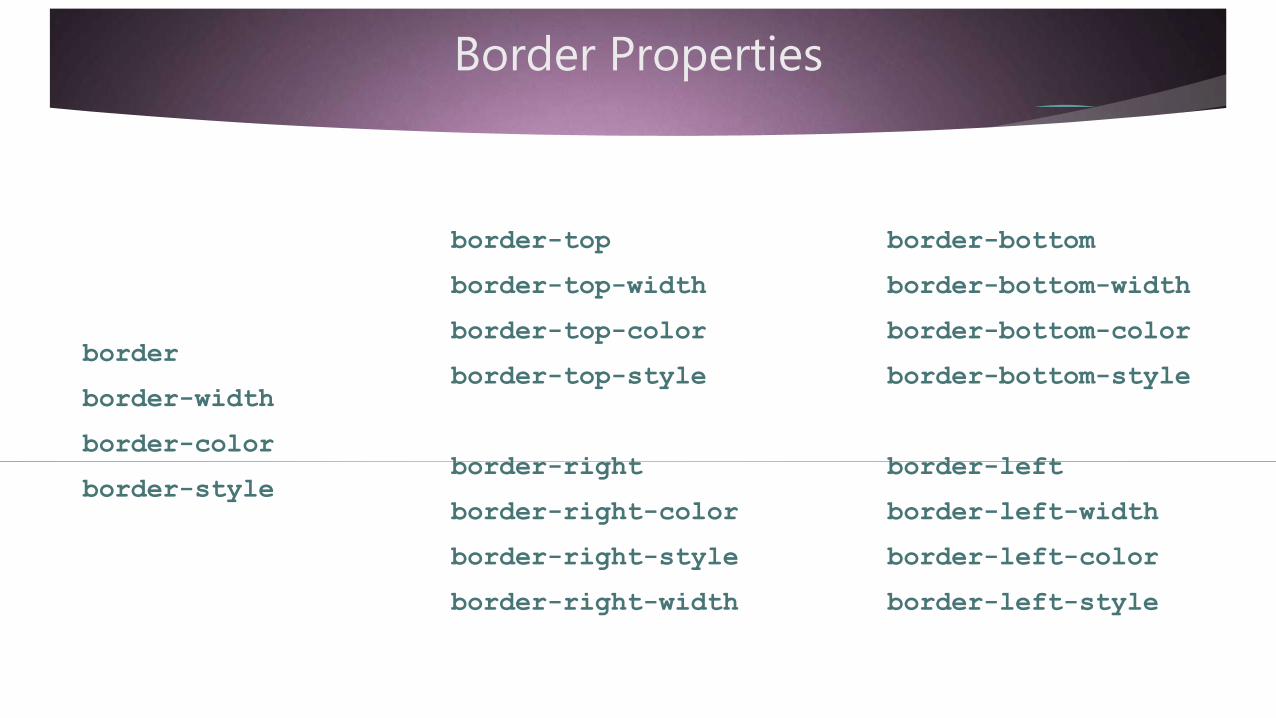
Border Properties
border
border-width
border-color
border-style
border-top
border-top-width
border-top-color
border-top-style
border-right
border-right-color
border-right-style
border-right-width
border-bottom
border-bottom-width
border-bottom-color
border-bottom-style
border-left
border-left-width
border-left-color
border-left-style
Summary 2
Borders are added outside of the container dimensions and extend the visual size of the element
The combined dimensions of border and container are the height and width of the contents plus the width of the border – added for each border
Borders can be declare using a single border property in a space separated list as width, style and color – the order is significant
Or, the borders can be declared in a more specific notation using any of the border property declarations

Summary 2
Width can be any measurement unit or stated as thin, medium, thick
Border color can be any of the CSS colors
A style must be declared for the border to be displayed
Values can be declared in a single declaration which applies to all sides
Values can be declared with 4 individual values for Top, Right, Bottom, and Left
If 2 values are declared the top and bottom are paired with the first value and the left and right are paired with the last value
If 3 values are declared the top and bottom are independent and use the first and last value and the left and right are paired with the middle value

Border-Radius
CSS3 provides for rounded corners using the border-radius property
Browser support for CSS3 is limited to the newest of browsers
The property can be applied to the background of an element even without a defined border
For this presentation we assume it is declared with borders
Border Radius
div {
border: 1px solid red;
border-radius: 25px ;
}
img {
border: 1px solid red;
border-radius:
15px 20px 25px 30px ;
}
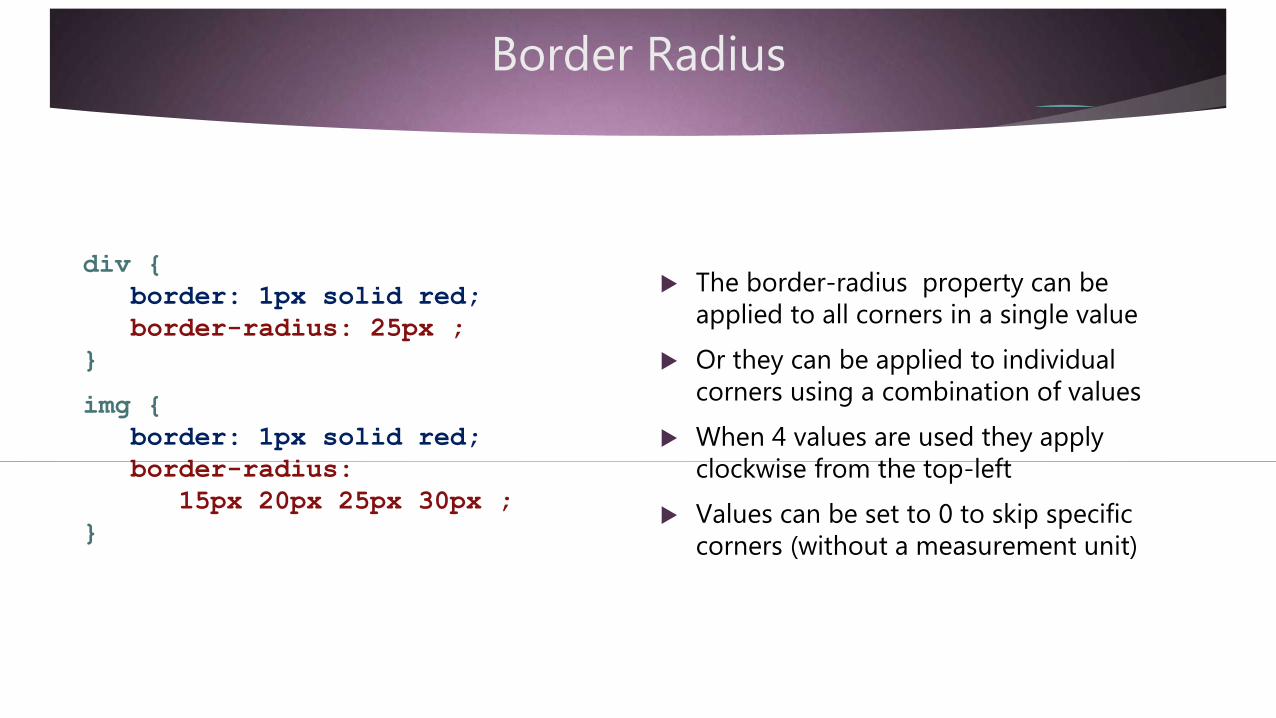
The border-radius property can be applied to all corners in a single value
Or they can be applied to individual corners using a combination of values
When 4 values are used they apply clockwise from the top-left
Values can be set to 0 to skip specific corners (without a measurement unit)
Border Radius
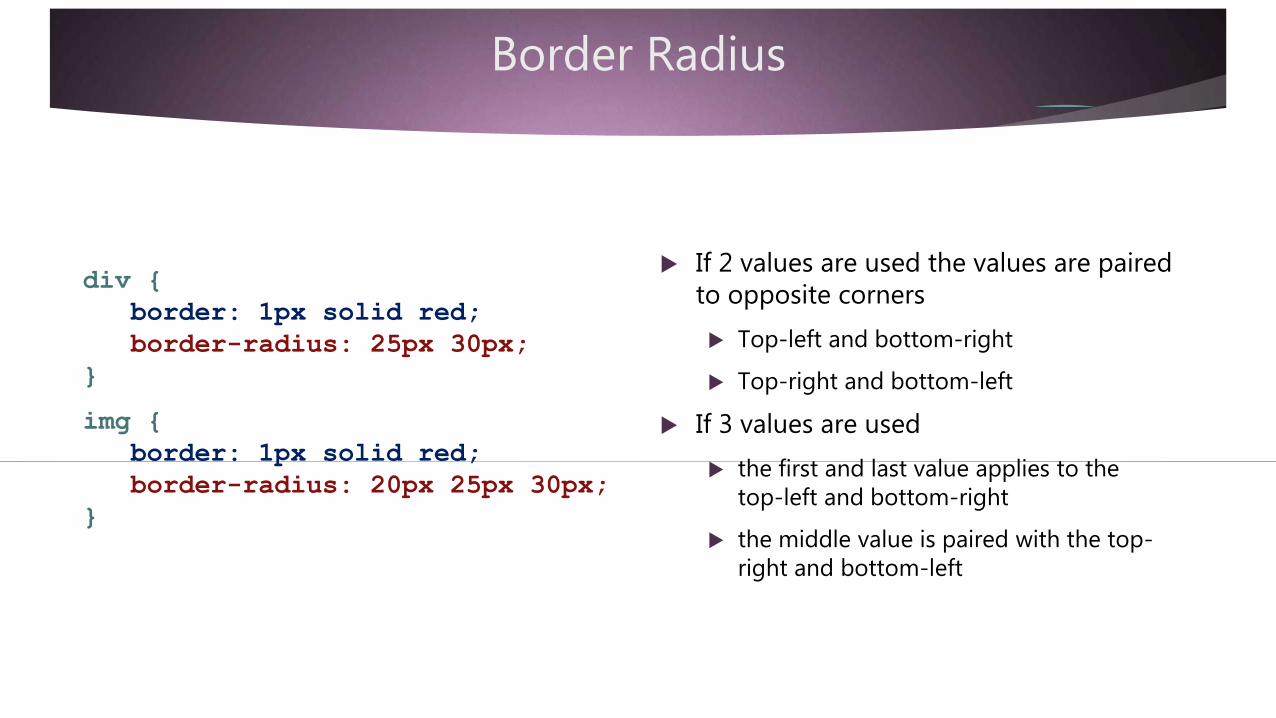
div {
border: 1px solid red;
border-radius: 25px 30px;
}
img {
border: 1px solid red;
border-radius: 20px 25px 30px;
}
If 2 values are used the values are paired to opposite corners
Top-left and bottom-right
Top-right and bottom-left
If 3 values are used
the first and last value applies to the top-left and bottom-right
the middle value is paired with the top-right and bottom-left
Border-Radius
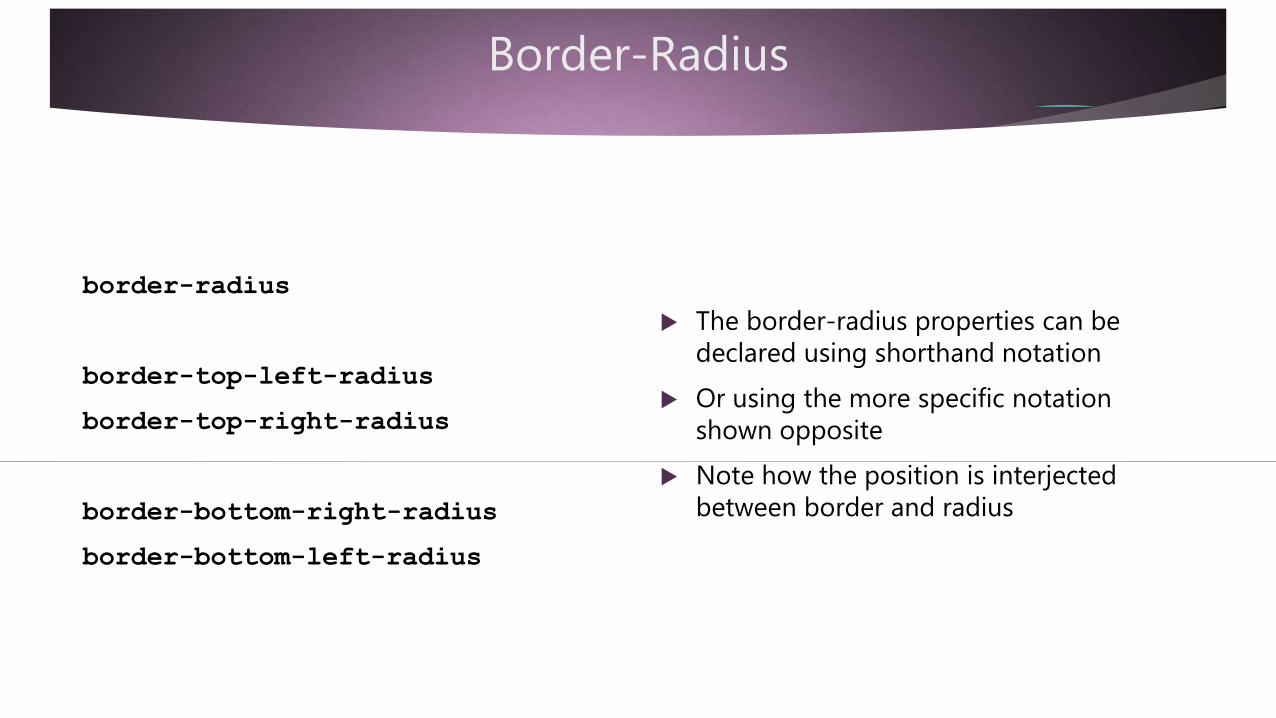
border-radius
border-top-left-radius
border-top-right-radius
border-bottom-right-radius
border-bottom-left-radius
The border-radius properties can be declared using shorthand notation
Or using the more specific notation shown opposite
Note how the position is interjected between border and radius
Summary 3
The border-radius property is new to CSS3 and limited to current browsers
It creates rounded corners for borders (and backgrounds even without a defined border)
The border-radius properties can be declared using shorthand notation
Or using the more specific notation – per corner
Summary 3
The border-radius property can be declared as a single value to all corners
Or to individual corners using a combination of values
When 4 values are used they apply clockwise from the top-left
2 values are paired to opposite corners
3 values combine the middle value with the top-right and bottom-left
Padding
Padding can be added to any element (with some exceptions)
Padding is added between the content container and the border if any
Or the content container and margin if no border
Padding
Padding extends the visual dimensions of the element and adds to its overall size
The visual dimensions of the element are the height and width of the contents plus the dimensions of the border and padding – on all four sides
The top and bottom add to the height
The left and right add to the width

Padding
div {
padding: 2em ;
}
img {
padding: 1px 2px 3px 4px;
}
Padding requires only a dimension value in its declaration
Padding takes on the background color of the container and does not have any style attribute
When declared as a single value it applies to all 4 sides
Four values are applied clockwise from the top – top, right, bottom, left
Padding
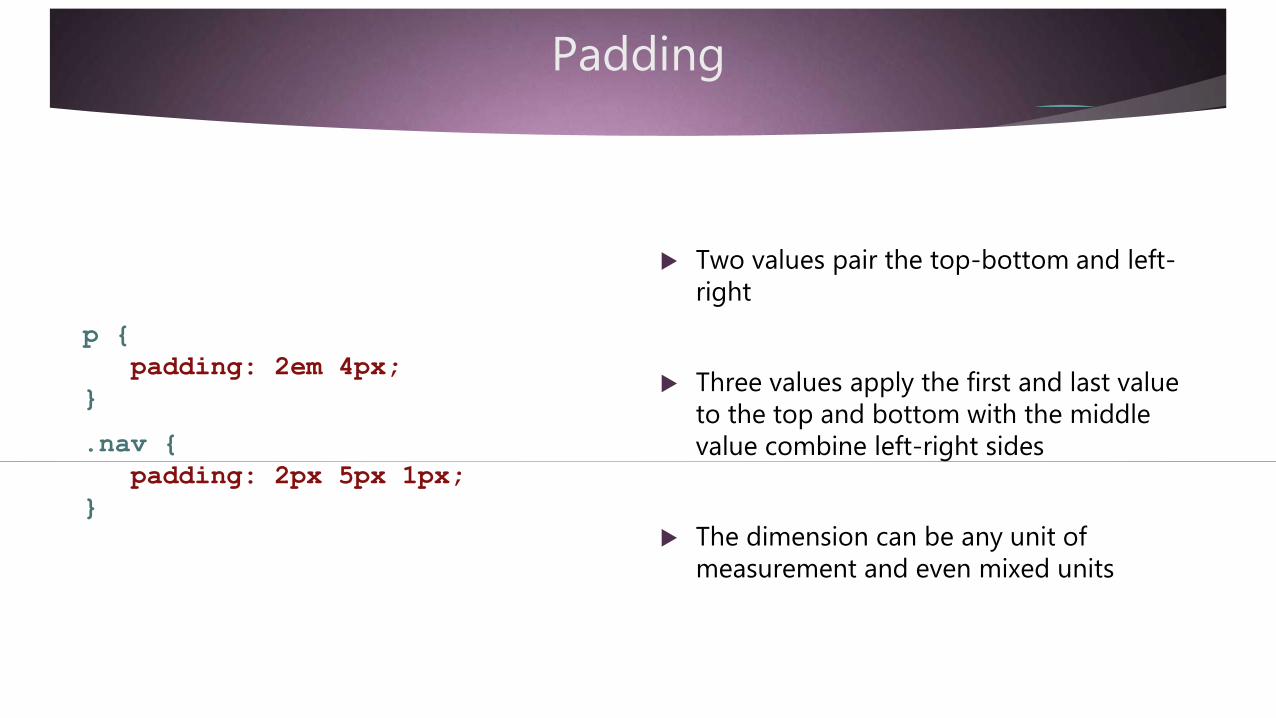
p {
padding: 2em 4px;
}
.nav {
padding: 2px 5px 1px;
}
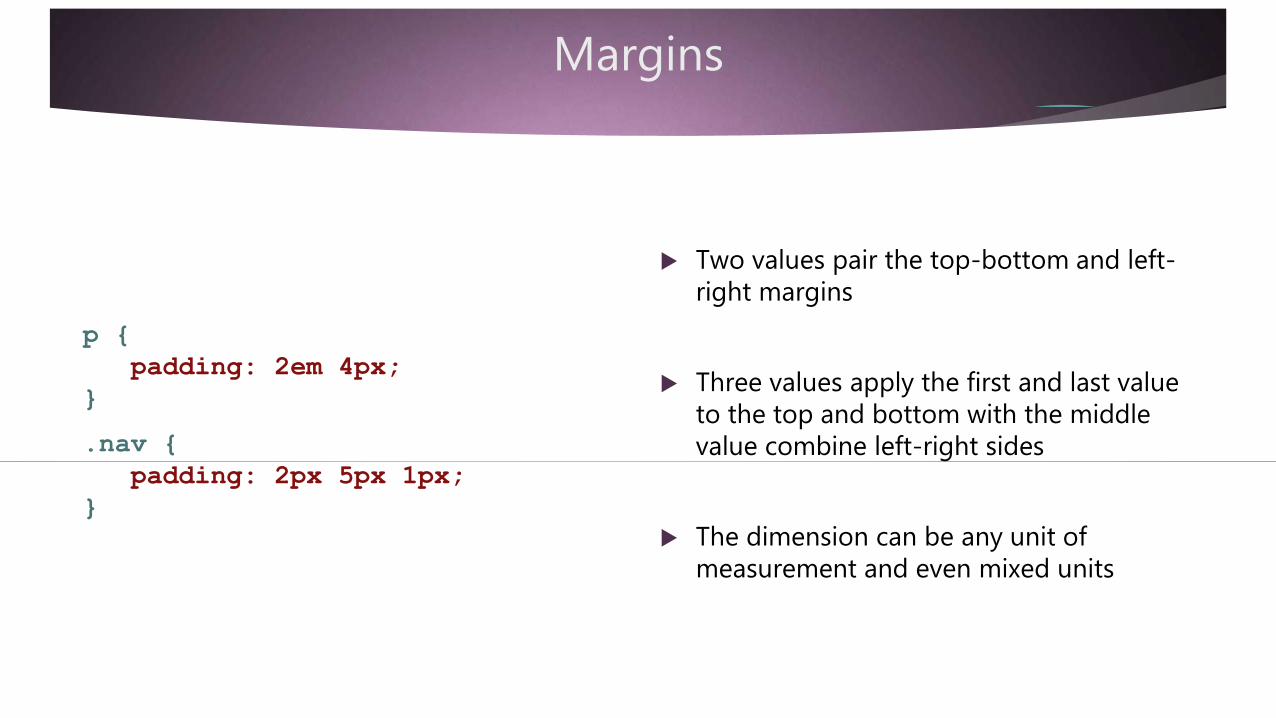
Two values pair the top-bottom and left-right
Three values apply the first and last value to the top and bottom with the middle value combine left-right sides
The dimension can be any unit of measurement and even mixed units
Padding
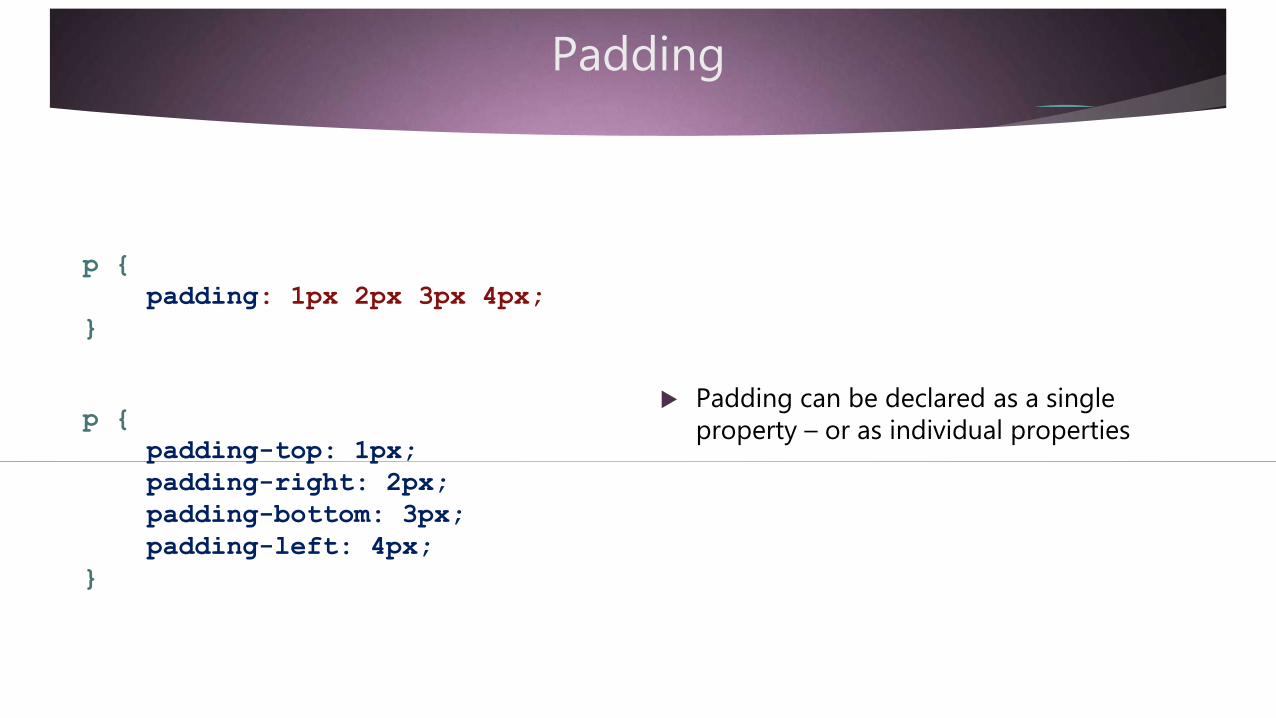
p {
padding: 1px 2px 3px 4px;
}
p {
padding-top: 1px;
padding-right: 2px;
padding-bottom: 3px;
padding-left: 4px;
}
Padding can be declared as a single property – or as individual properties
Summary 4
Padding is added between the content container and border if any
Or the content container and margin if no border
Padding extends the visual dimensions of the element
The top and bottom dimensions add to the height
The left and right dimensions add to the width
Padding requires only a dimension value and takes on the background color of the container and has no style attribute
Summary 4
When declared with a single value it applies to all 4 sides
Four values are applied clockwise from the top – top, right, bottom, left
Two values pair the top-bottom and left-right
Three values pair the middle value with the left and right sides
The dimension can be any unit of measurement and even mixed units
Padding can be declared as a single property – or as individual properties
Margins
Margins add visual separation between elements by adding space outside the border and padding areas
Margins add to the visual dimension of an element without changing the height and width properties of the content container
Margins aggregate when two elements are adjacent
Margins
div {
padding: 2em ;
}
img {
padding: 1px 2px 3px 4px;
}
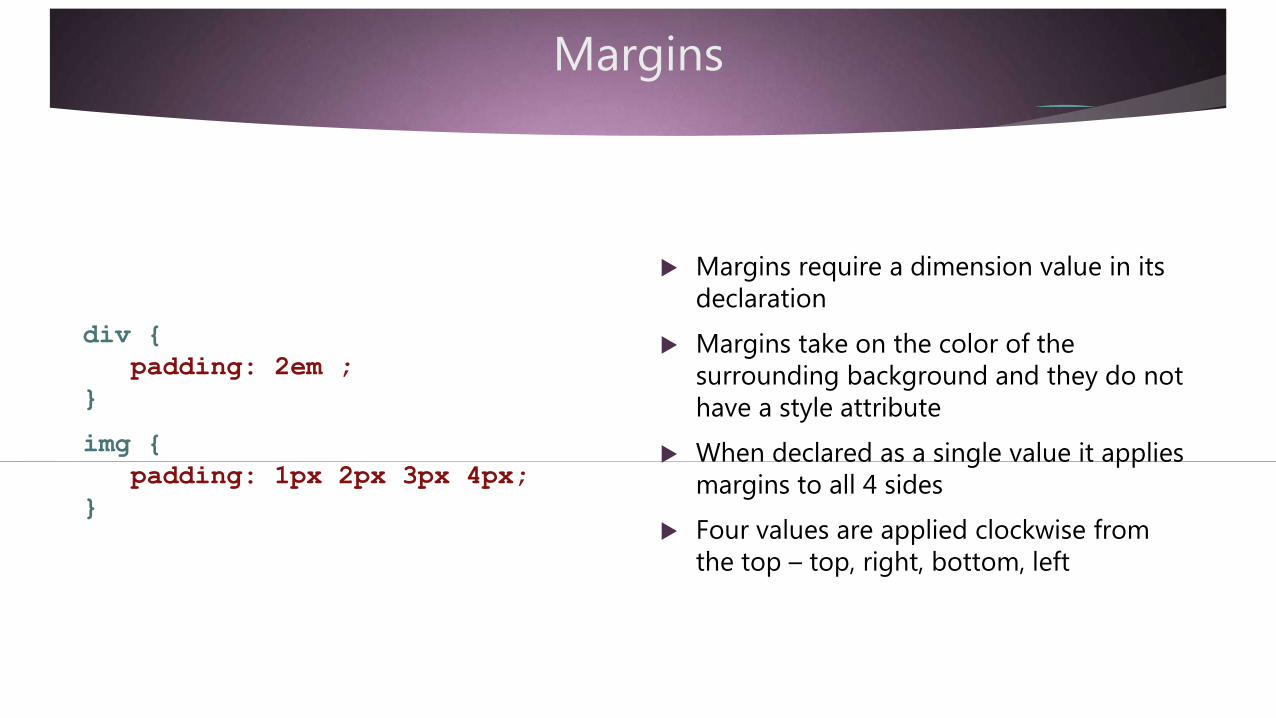
Margins require a dimension value in its declaration
Margins take on the color of the surrounding background and they do not have a style attribute
When declared as a single value it applies margins to all 4 sides
Four values are applied clockwise from the top – top, right, bottom, left
Margins
p {
padding: 2em 4px;
}
.nav {
padding: 2px 5px 1px;
}
Two values pair the top-bottom and left-right margins
Three values apply the first and last value to the top and bottom with the middle value combine left-right sides
The dimension can be any unit of measurement and even mixed units
Margins
p {
margin: 1px 2px 3px 4px;
}
p {
margin-top: 1px;
margin-right: 2px;
margin-bottom: 3px;
margin-left: 4px;
}
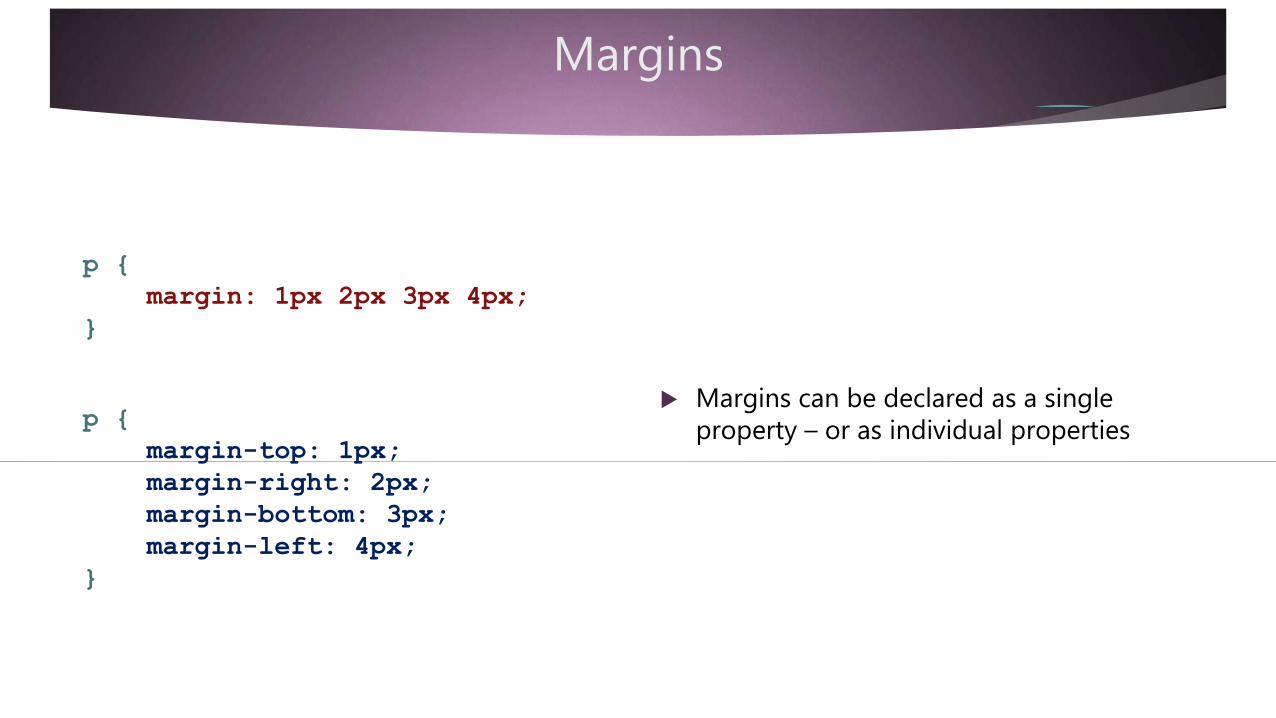
Margins can be declared as a single property – or as individual properties
Margins
div {
height: 500px; width: 500px;
border: 1px solid red;
margin: auto;
}
div {
margin-left: auto;
margin-right: auto;
}
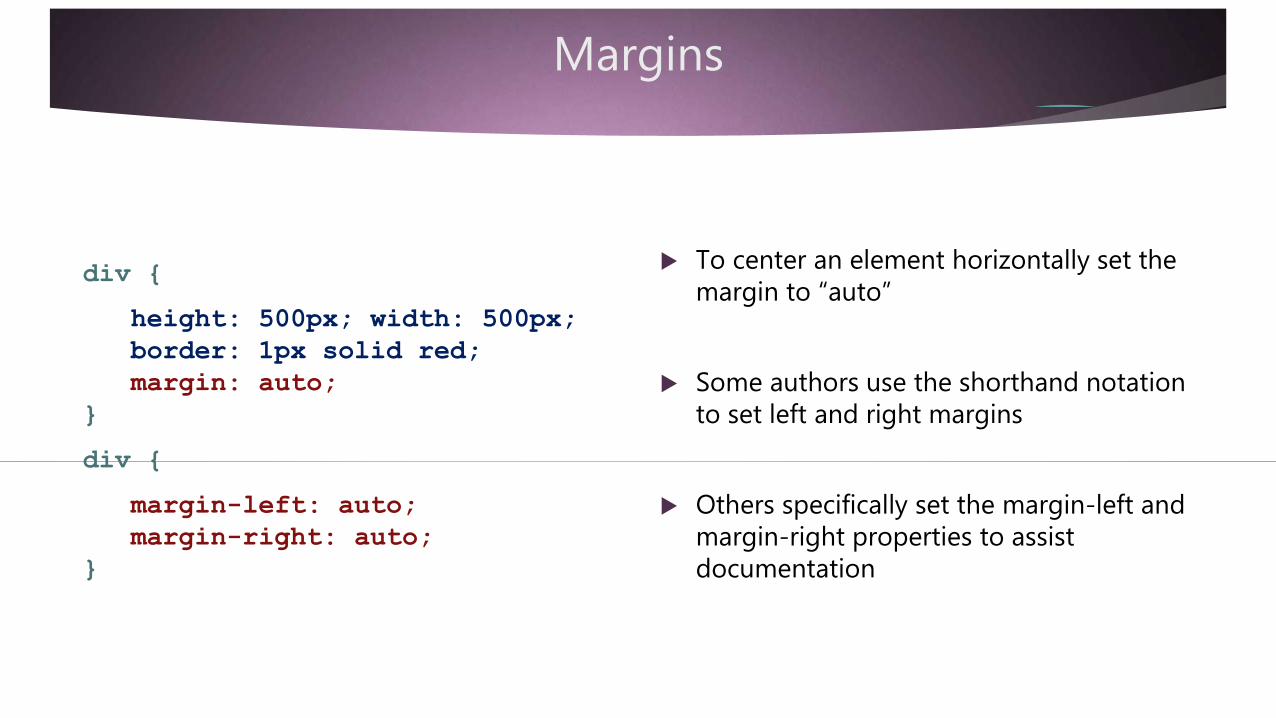
To center an element horizontally set the margin to “auto”
Some authors use the shorthand notation to set left and right margins
Others specifically set the margin-left and margin-right properties to assist documentation
Margin Collapse
h1 { margin: 10px ; }
h2 { margin: 20px ; }
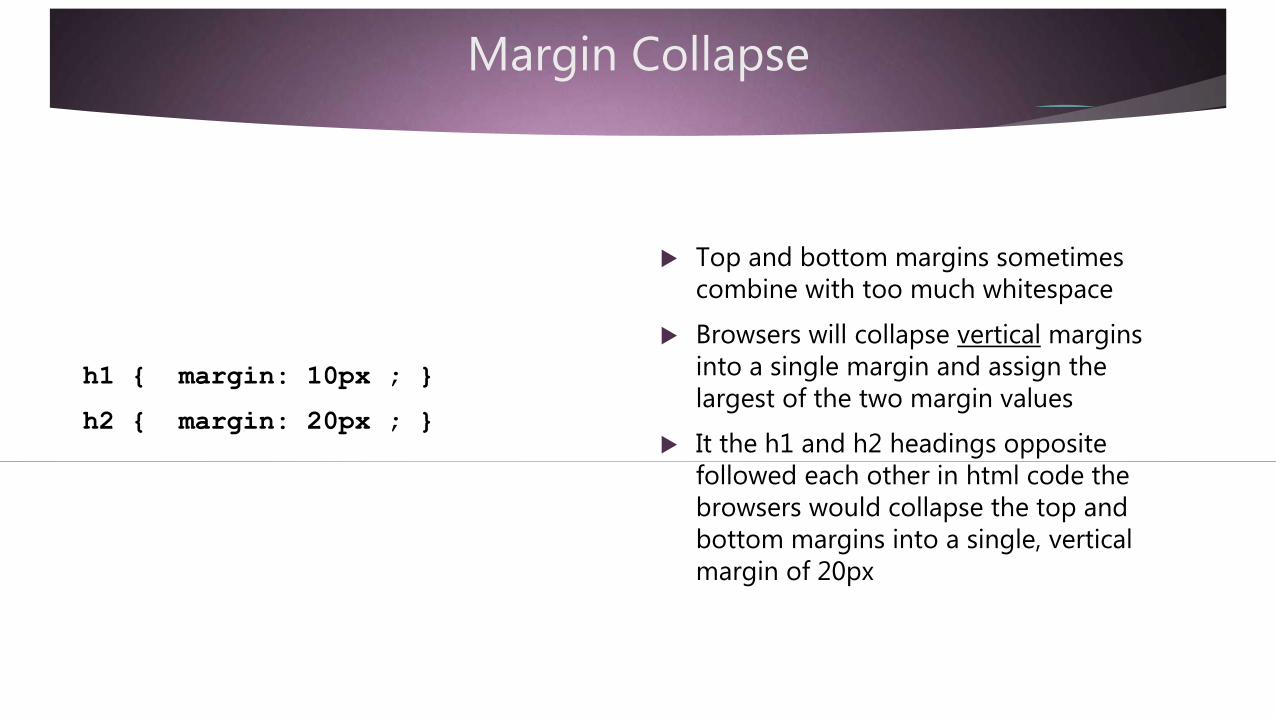
Top and bottom margins sometimes combine with too much whitespace
Browsers will collapse vertical margins into a single margin and assign the largest of the two margin values
It the h1 and h2 headings opposite followed each other in html code the browsers would collapse the top and bottom margins into a single, vertical margin of 20px
Summary 5
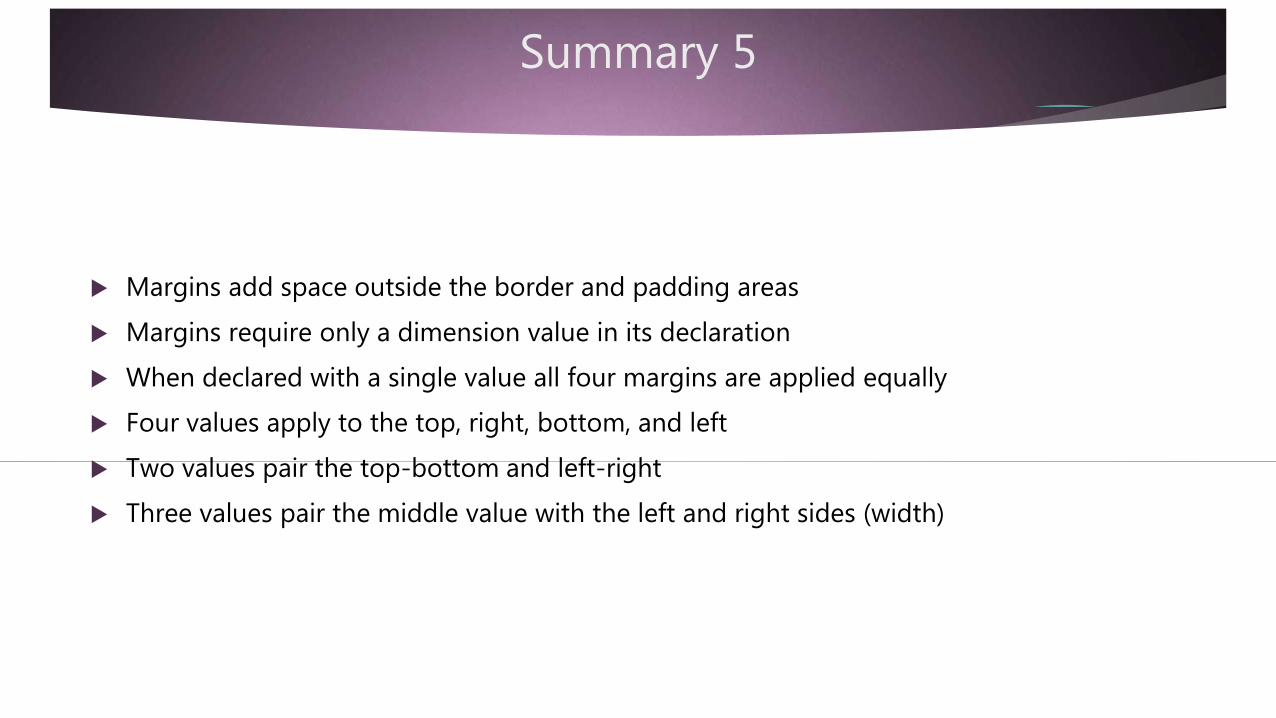
Margins add space outside the border and padding areas
Margins require only a dimension value in its declaration
When declared with a single value all four margins are applied equally
Four values apply to the top, right, bottom, and left
Two values pair the top-bottom and left-right
Three values pair the middle value with the left and right sides (width)
Summary 5
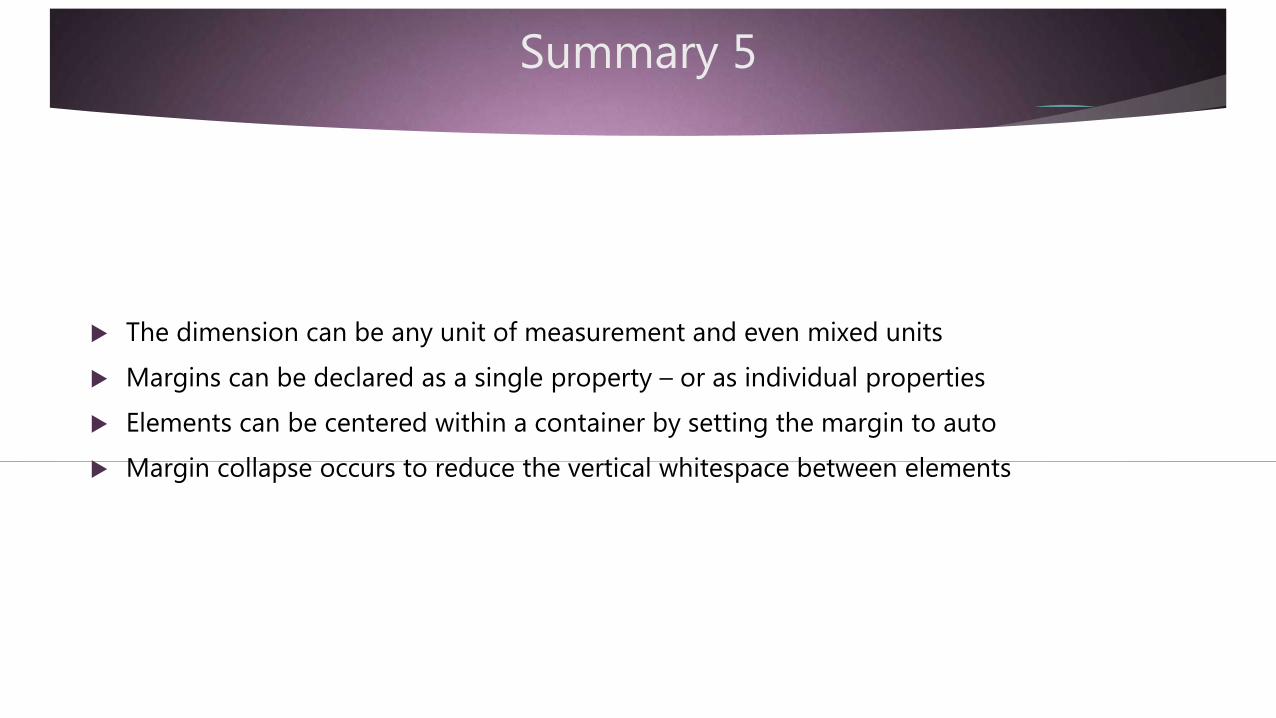
The dimension can be any unit of measurement and even mixed units
Margins can be declared as a single property – or as individual properties
Elements can be centered within a container by setting the margin to auto
Margin collapse occurs to reduce the vertical whitespace between elements
The Box Model
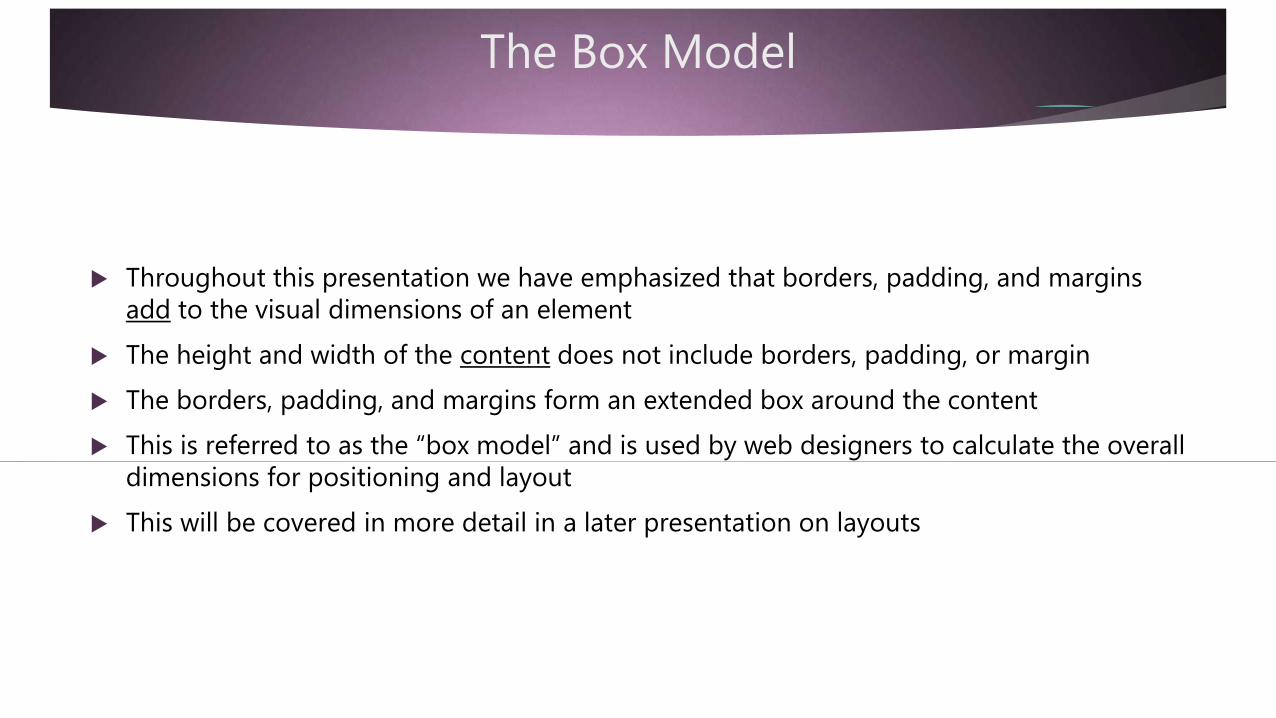
Throughout this presentation we have emphasized that borders, padding, and margins add to the visual dimensions of an element
The height and width of the content does not include borders, padding, or margin
The borders, padding, and margins form an extended box around the content
This is referred to as the “box model” and is used by web designers to calculate the overall dimensions for positioning and layout
This will be covered in more detail in a later presentation on layouts

Example
div {
height: 300px;
width: 300px;
padding: 25px;
border: 25px ;
margin: 25px;
}
The overall dimension of this div tag is 450px by 450px calculated as follows:
The height and width of the contents is set to 300px by 300px
Add the padding on all four sides:25 + 25 = 50px on height and width
Add the border on all four sides:25 + 25 = 50px on height and width
Add the margin on all four sides:25 + 25 = 50px on height and width
Outline
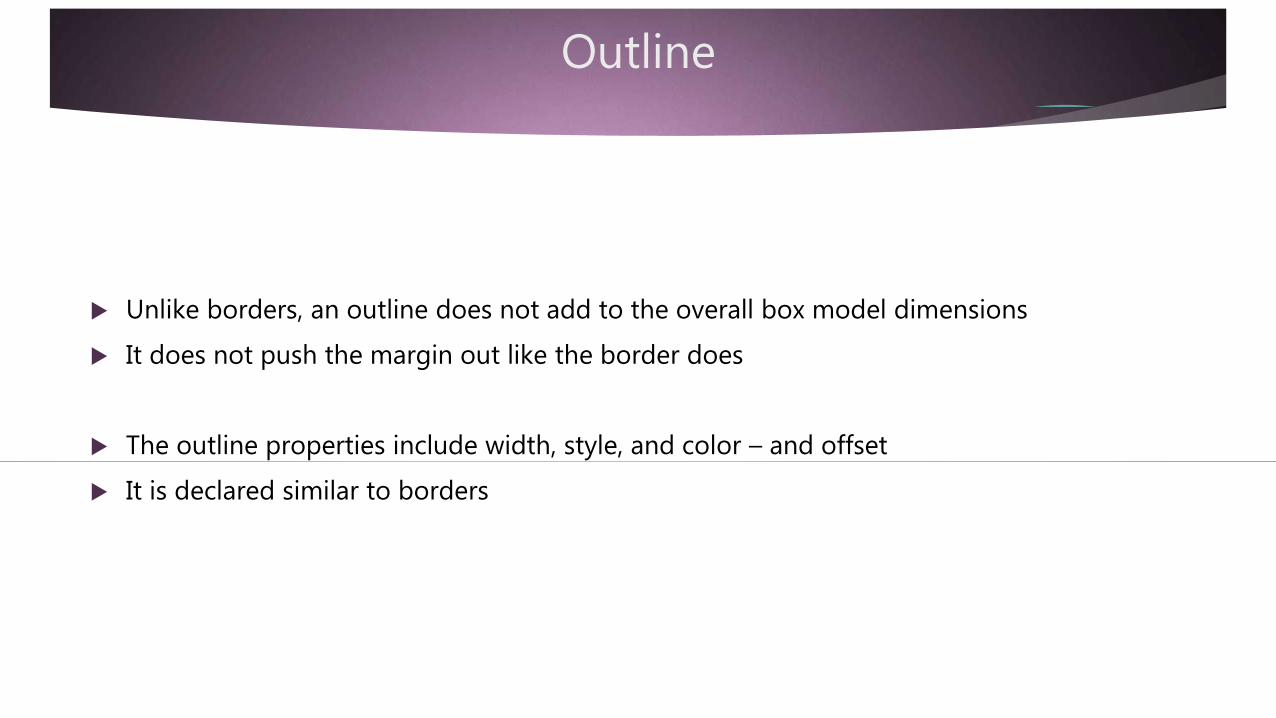
Unlike borders, an outline does not add to the overall box model dimensions
It does not push the margin out like the border does
The outline properties include width, style, and color – and offset
It is declared similar to borders
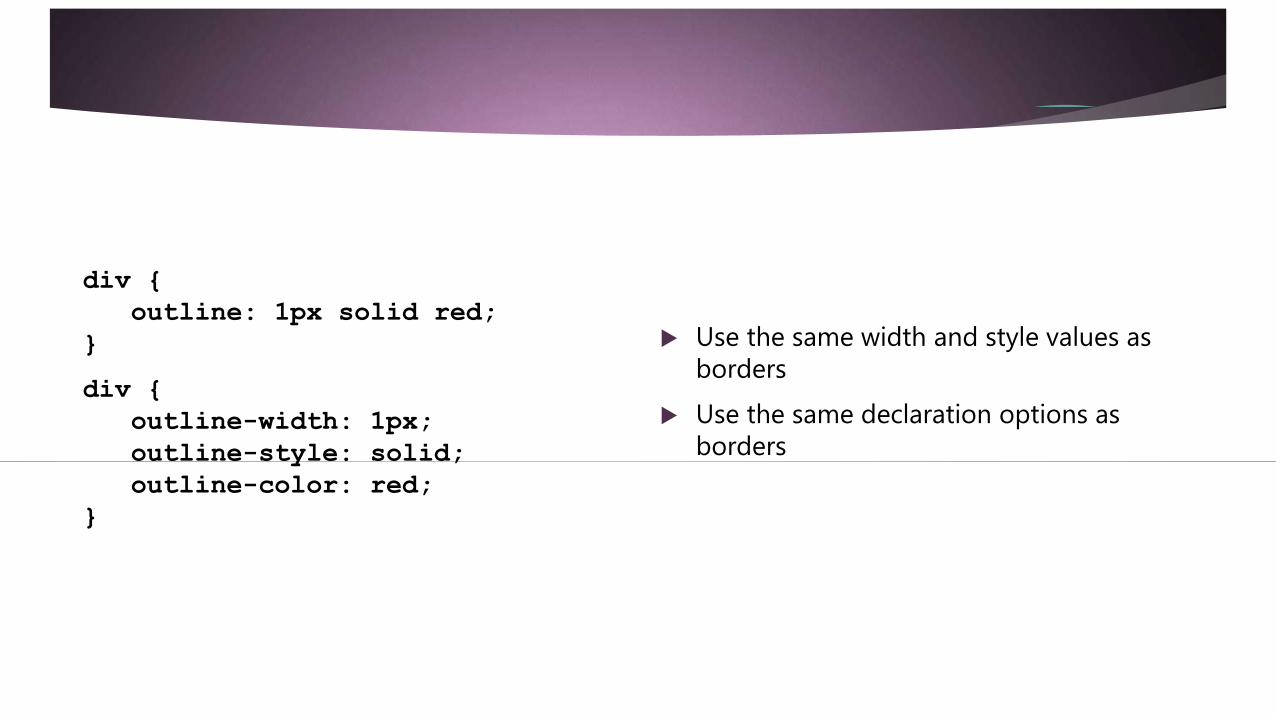
div {
outline: 1px solid red;
}
div {
outline-width: 1px;
outline-style: solid;
outline-color: red;
}
Use the same width and style values as borders
Use the same declaration options as borders
Summary 6
The box model is used for positioning and layout
It aggregates all of the border, padding, and margin values with the content
The outline property does not change the overall dimensions of the box model
It uses the same property declarations and values as borders

Review
How did you do? Are you able to:
Set an element’s height and width property
Set border properties in a single declaration or with specific notation
Set rounded corners using the border-radius property
Set padding properties in a single declaration or with specific notation
Set margin properties in a single declaration or with specific notation
Center an element by setting margins
Recognize when margin collapse may occur
Calculate a container’s extended width and height using the box model
Set outline properties in a single declaration or with specific notation
s l i d e d e c k b yP e t e r R u s h t o n
isharebyme @gmail.com