designed by steve · pdf filecut the front fretwork pattern and tape the two pieces together....
TRANSCRIPT

www.scrollsawworkshop.blogspot.com
Digital Patterns
Designed bySteve Good
Home of Scroll Saw Pattern Printerand the Scroll Saw Key Chain Printer
Copyright Steve Good [email protected]
Note to commercial print employees: I give my permission to print as many of this pattern book as your customer requires.
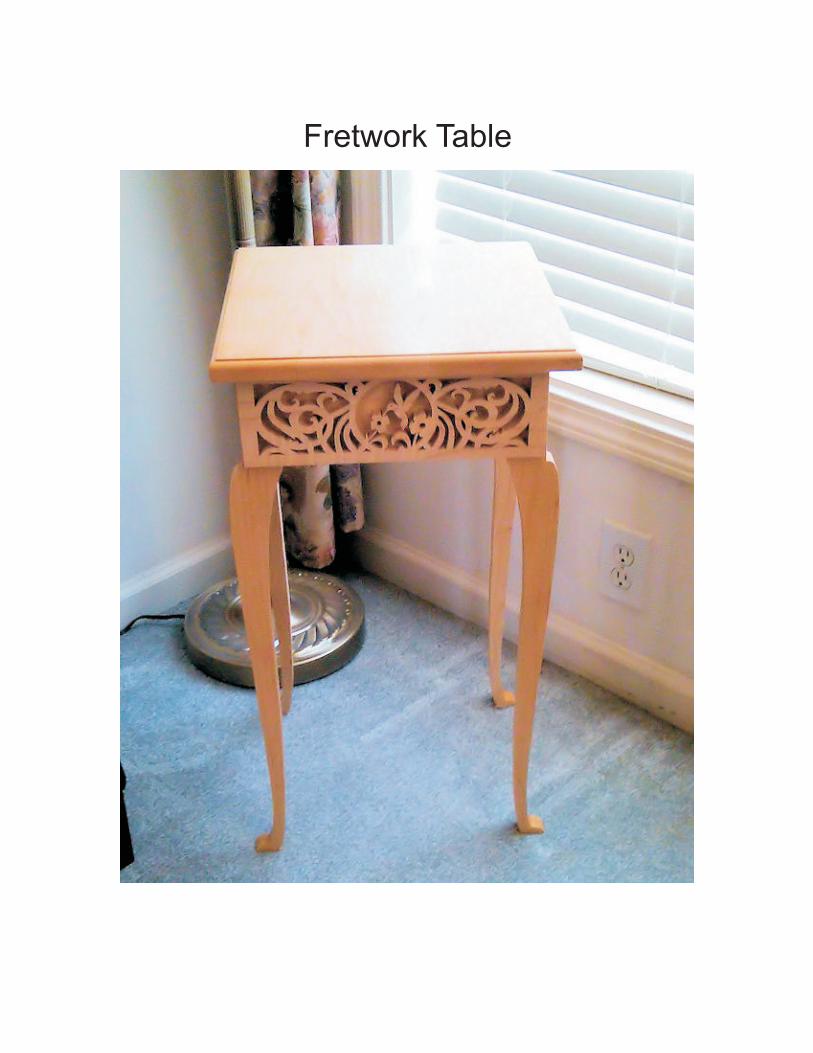
Fretwork Table

Fretwork Table
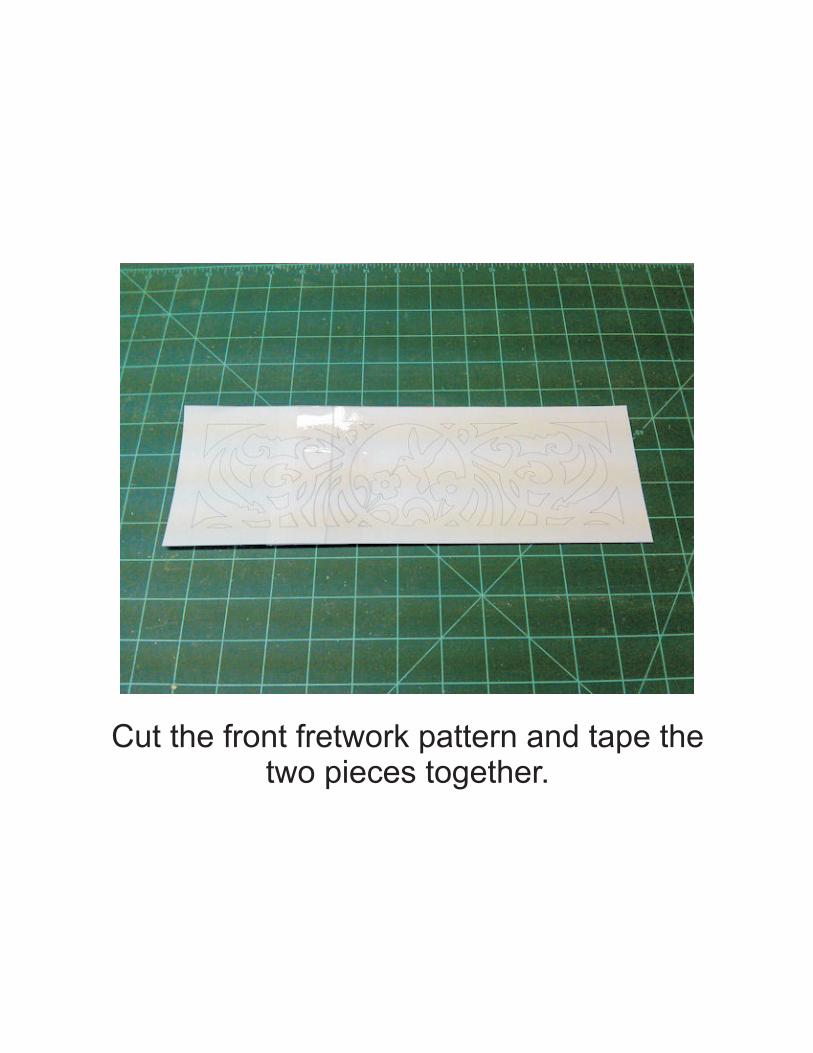
Cut the front fretwork pattern and tape thetwo pieces together.

Cut the four leg patterns and tape them together.

Setup your cut list.The legs require four 25.5” X 3.25” boards
The side require four 4” X 12” boards for the front, back and sides.

Cut the two sides and the back. All threeparts are 4” X 12”. The front is also 4” X 12”
and has the fret work cuts.
Miter the ends and glue the box together. Make sure the box is square and let the glue dry.
Side
Side
Back
Front
A A
A
B
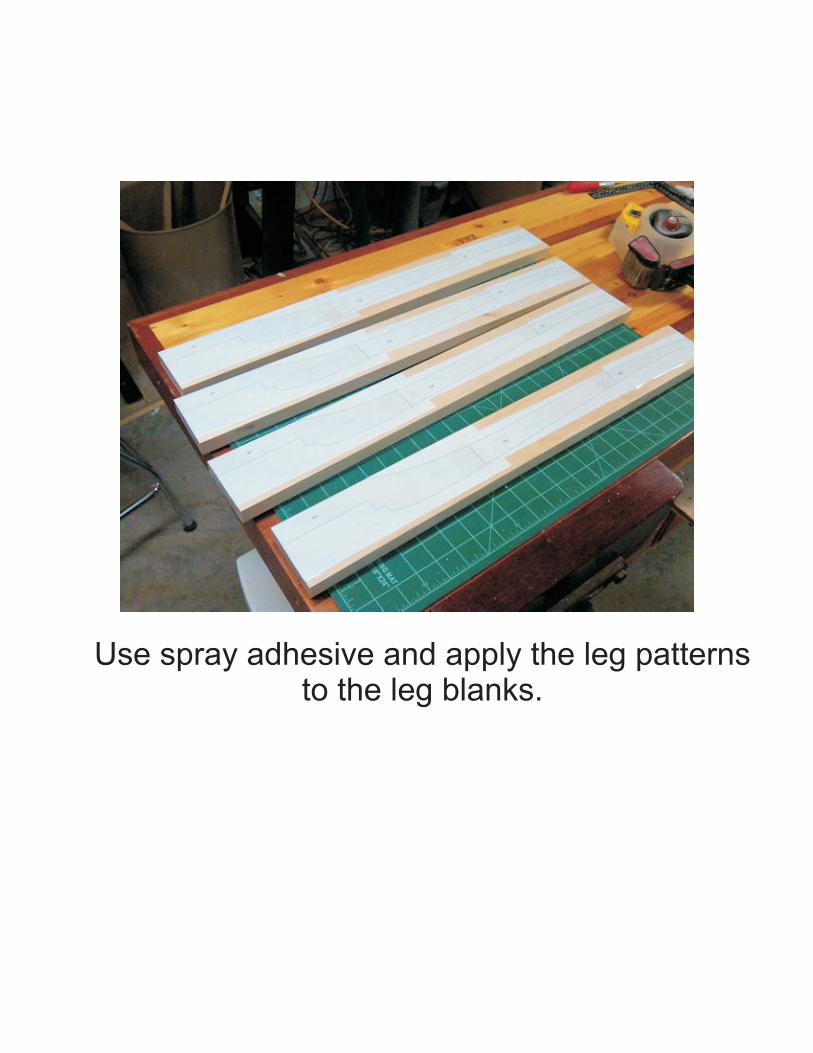
Use spray adhesive and apply the leg patternsto the leg blanks.

Make relief cuts so you can cut the lengthof the legs from both ends.
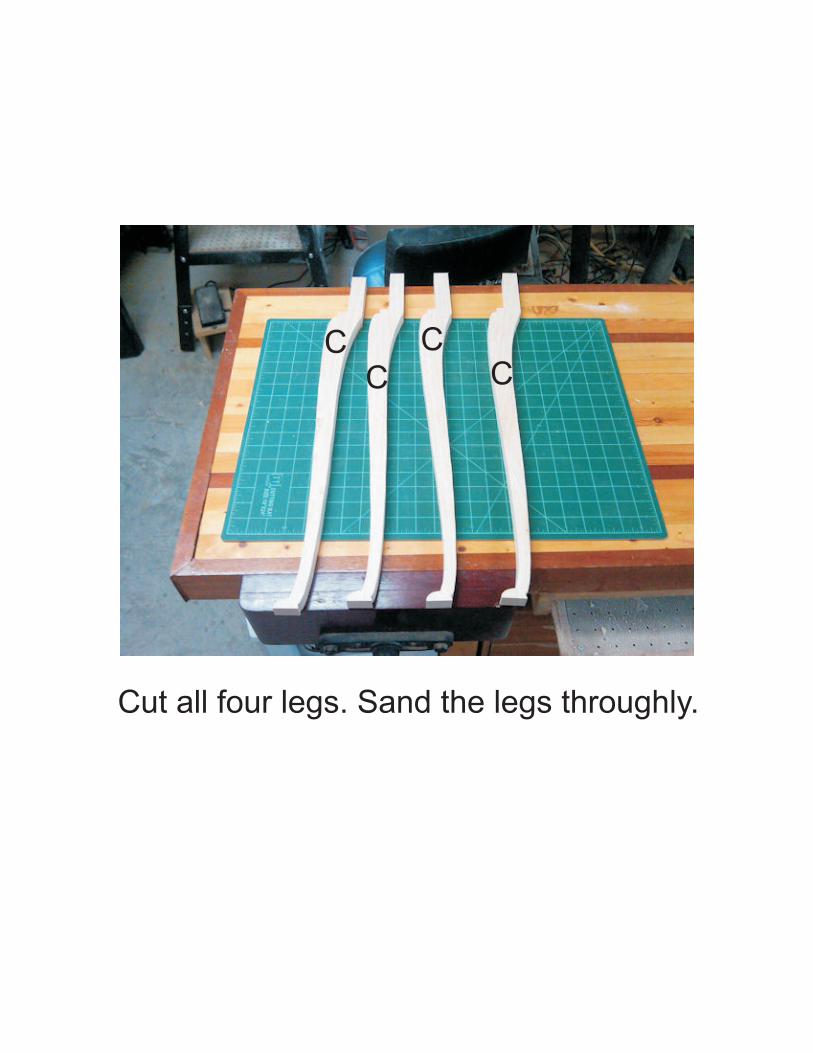
Cut all four legs. Sand the legs throughly.
CC
CC

Glue up the table top. It should be 14” X 14”.After the glue dries sand it flat and smooth.Route a decorative detail around the top.
D
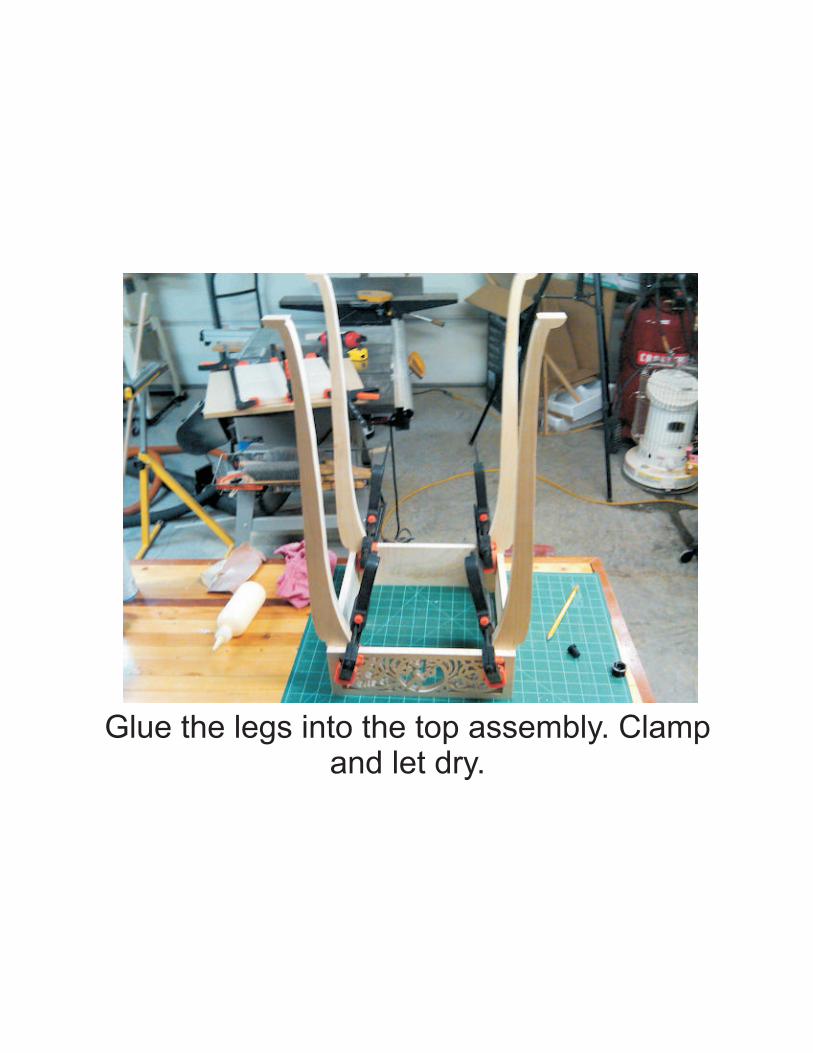
Glue the legs into the top assembly. Clampand let dry.

Cut this piece 3.75” wide and the length tofit between the front legs. This piece backs
up the fretwork.
3.7
5” to length
E

Cut these three pieces 2” wide and thelength to fit between the legs.
2” Length to fit
Glue these pieces to the sides and back.Make sure they are flush to the top and
capture all four legs.
Screw table top clips to each side. Centerthe table top on the base and screw it to
the base assembly.
F F
F

Completed Fretwork TableI used hard maple for my table.I finished it with spray acrylic.

Close up of the fretwork.The table makes a nice flower stand or a display
stand for other fretwork.

Pattern
contin
ues
next
page.
Front
B

Contin
uatio
n o
f pattern
fro
m p
revi
ous
page.
Front B
B

50% Scale
4”12”
4” 4”
12”
12”
Sid
e
Sid
e
Ba
ck
25
% S
cale
14”
14”
Top
A A A
D

2”2” 2”C
ut le
ngth
to fit
betw
een a
ssem
ble
d le
gs.
Cut le
ngth
to fit
betw
een a
ssem
ble
d le
gs.
Cut le
ngth
to fit
betw
een a
ssem
ble
d le
gs.
F F F

Cut le
ng
th to fit
betw
een a
ssem
ble
d le
gs.
4”
E

1 2
3
3/4 Inch ThickC

1 2
3
3/4 Inch ThickC

1 2
3
3/4 Inch ThickC

1 2
3
3/4 Inch ThickC