distal biceps injury: surgery and rehabilitation caroline chebli, md kennedy-white orthopaedic...
TRANSCRIPT

Distal Biceps Injury: Surgery and Rehabilitation
Caroline Chebli, MDKennedy-White Orthopaedic Center
Distal Biceps Tears
Caused by the elbow being forced straight against resistance (eccentric load)
Most commonly seen in men 40-60 yrs old-86% in dominant arm
Incidence 1.2/100,000 people per year Rare in women 7.5x incidence in smokers
Distal Biceps Tear
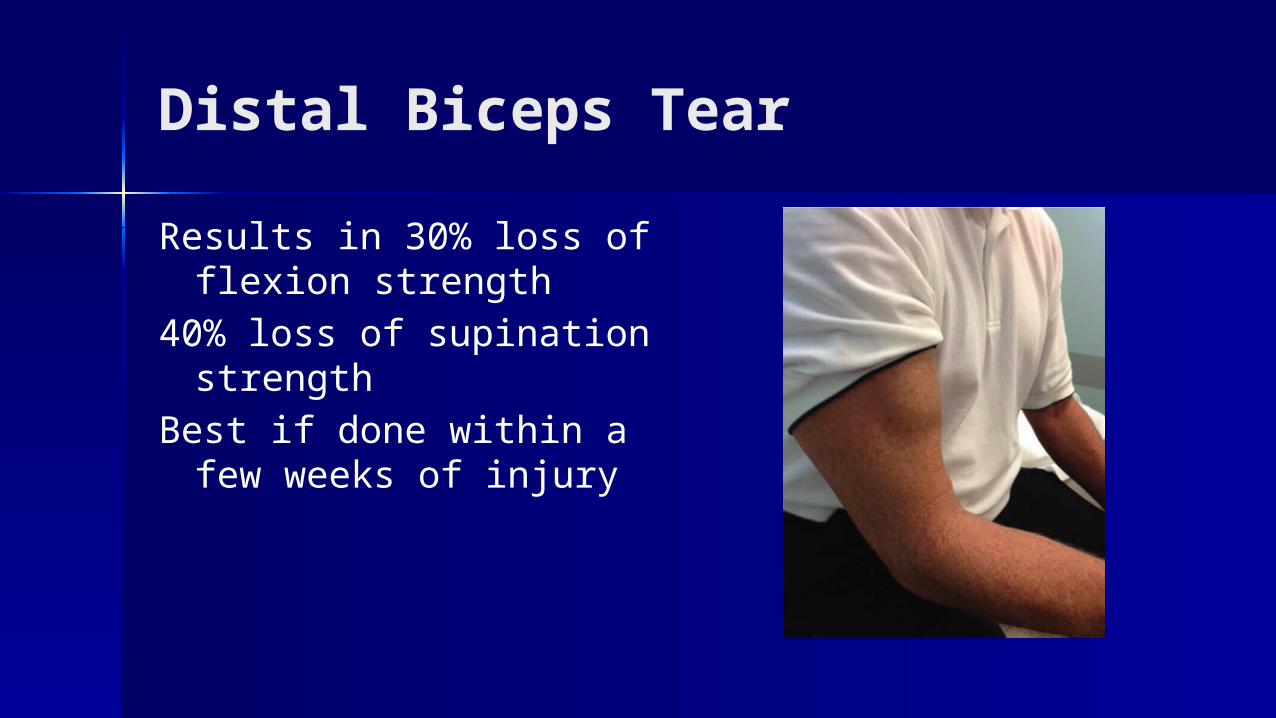
Results in 30% loss of flexion strength
40% loss of supination strength
Best if done within a few weeks of injury
Hook Test
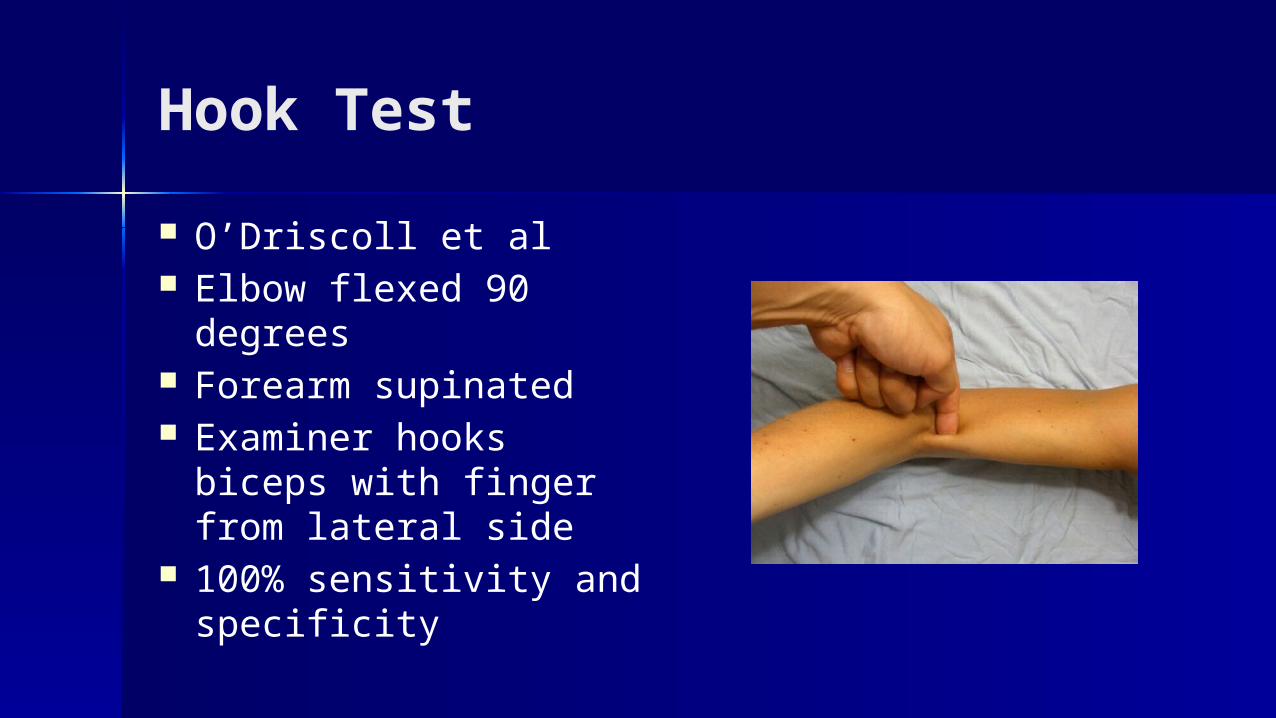
O’Driscoll et al Elbow flexed 90 degrees Forearm supinated Examiner hooks biceps
with finger from lateral side
100% sensitivity and specificity
Fixation Techniques
Repair needs to withstand 50N of force=force on biceps with elbow flexed to 90 degrees
1kg weight, force at 90 degrees is 112N Takes 204N to rupture a distal biceps
Fixation Techniques
Two-Incision (Boyd-Anderson)
One Incision
El-Hawary, et al. J Hand Surg Am. 2003;28:496-502.Mckee et al. J Shoulder Elbow Surg 2005;14:302-306.Kelly et al. JBJS Am. 2000;82:1575-1581
One-Incision Technique
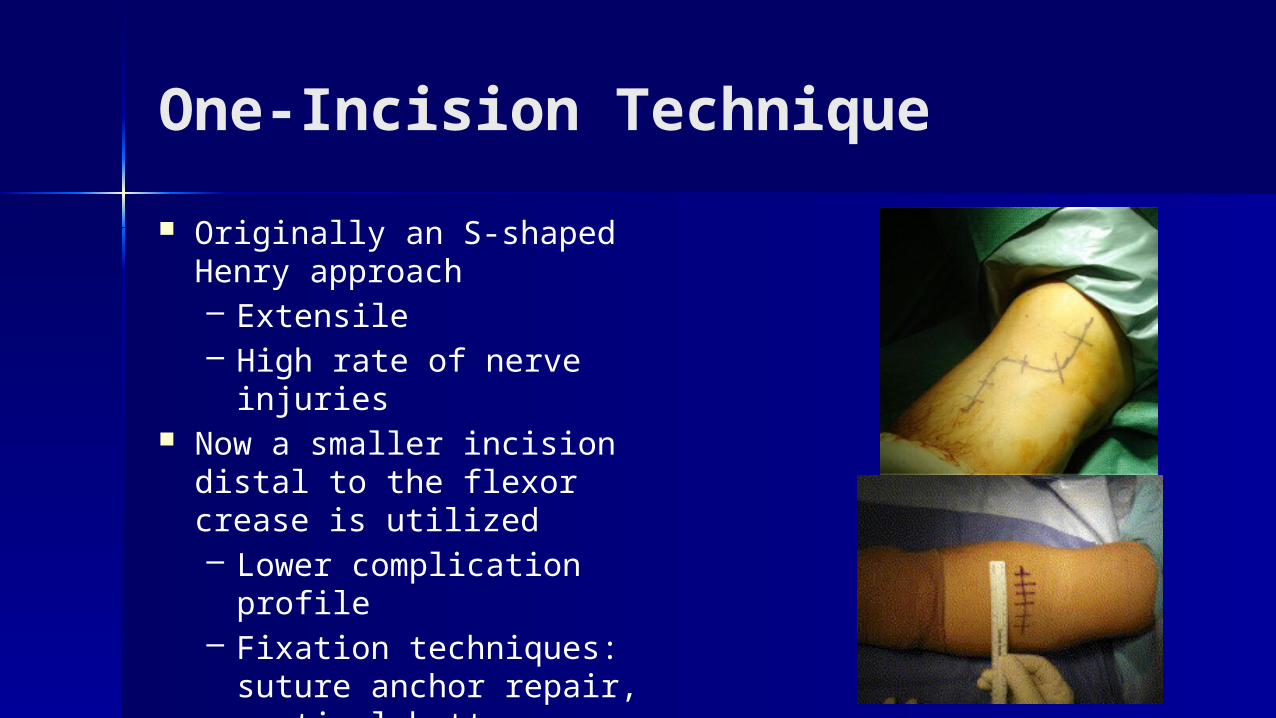
Originally an S-shaped Henry approach – Extensile– High rate of nerve injuries
Now a smaller incision distal to the flexor crease is utilized– Lower complication
profile– Fixation techniques:
suture anchor repair, cortical button, interference screw, hybrid technique
One Incision Technique
Pros– Direct approach, avoids
PIN injury (?)– Lower risk of HO and
radioulnar synostosis
Cons– May injure radial nerve– LABC nerve injury
2-Incision Technique
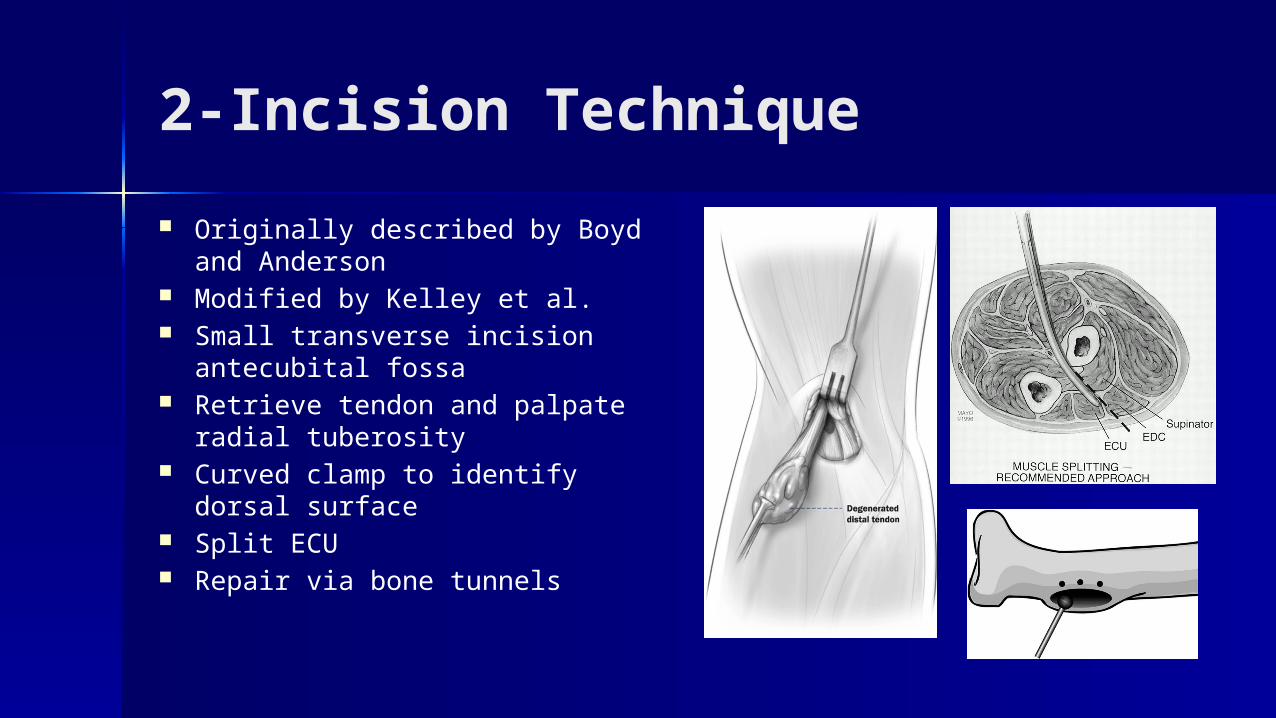
Originally described by Boyd and Anderson
Modified by Kelley et al. Small transverse incision
antecubital fossa Retrieve tendon and palpate
radial tuberosity Curved clamp to identify dorsal
surface Split ECU Repair via bone tunnels
Two Incision Technique
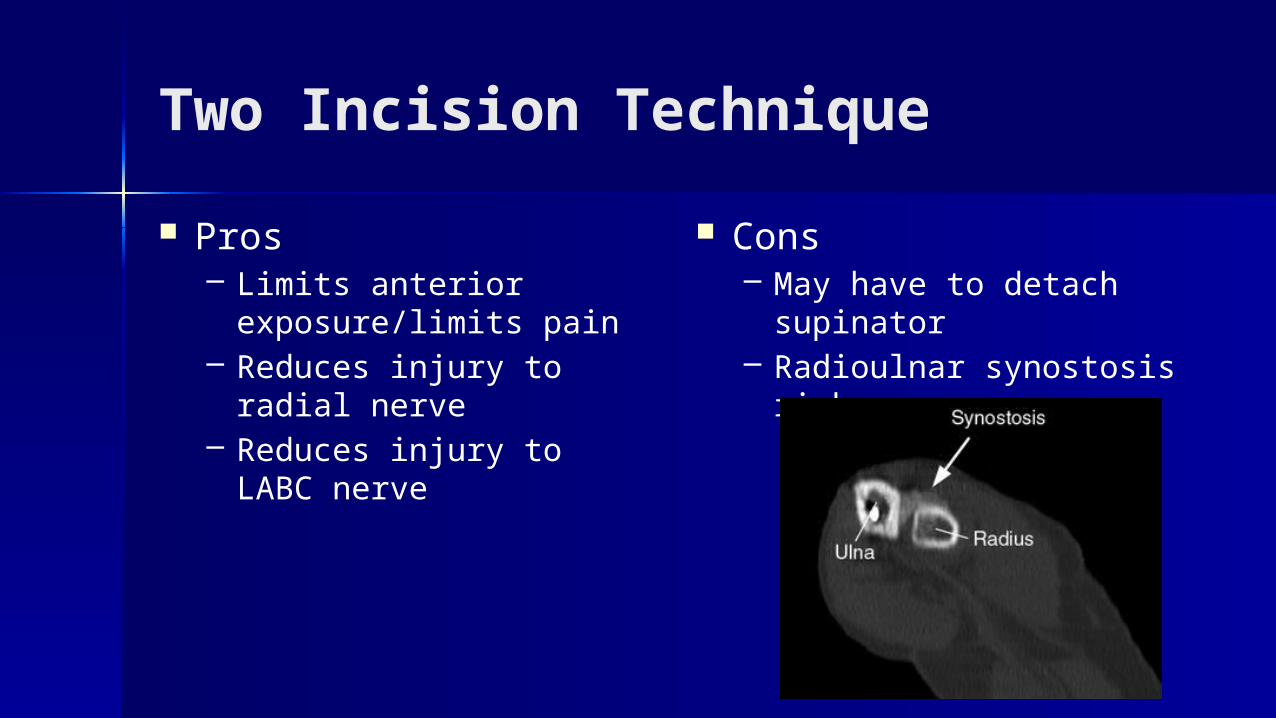
Pros– Limits anterior
exposure/limits pain– Reduces injury to radial
nerve– Reduces injury to LABC
nerve
Cons– May have to detach
supinator– Radioulnar synostosis risk
My Preferred Technique
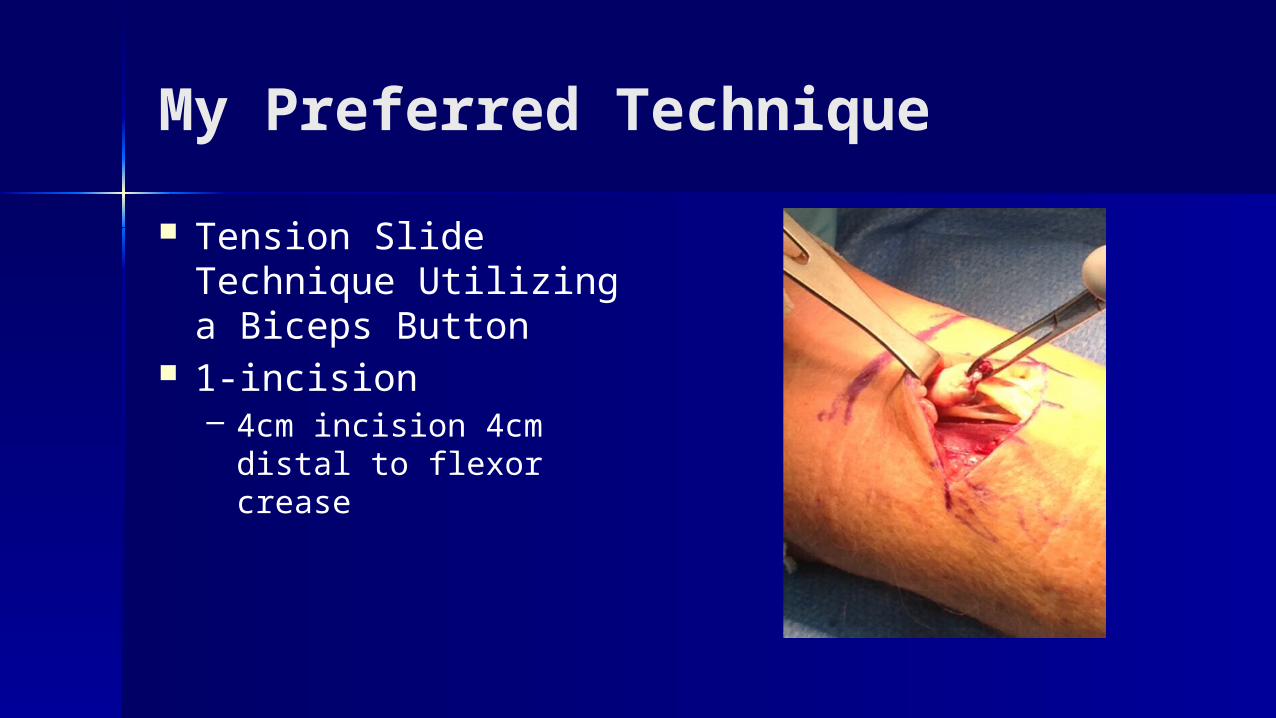
Tension Slide Technique Utilizing a Biceps Button
1-incision – 4cm incision 4cm distal to
flexor crease
Biceps Button
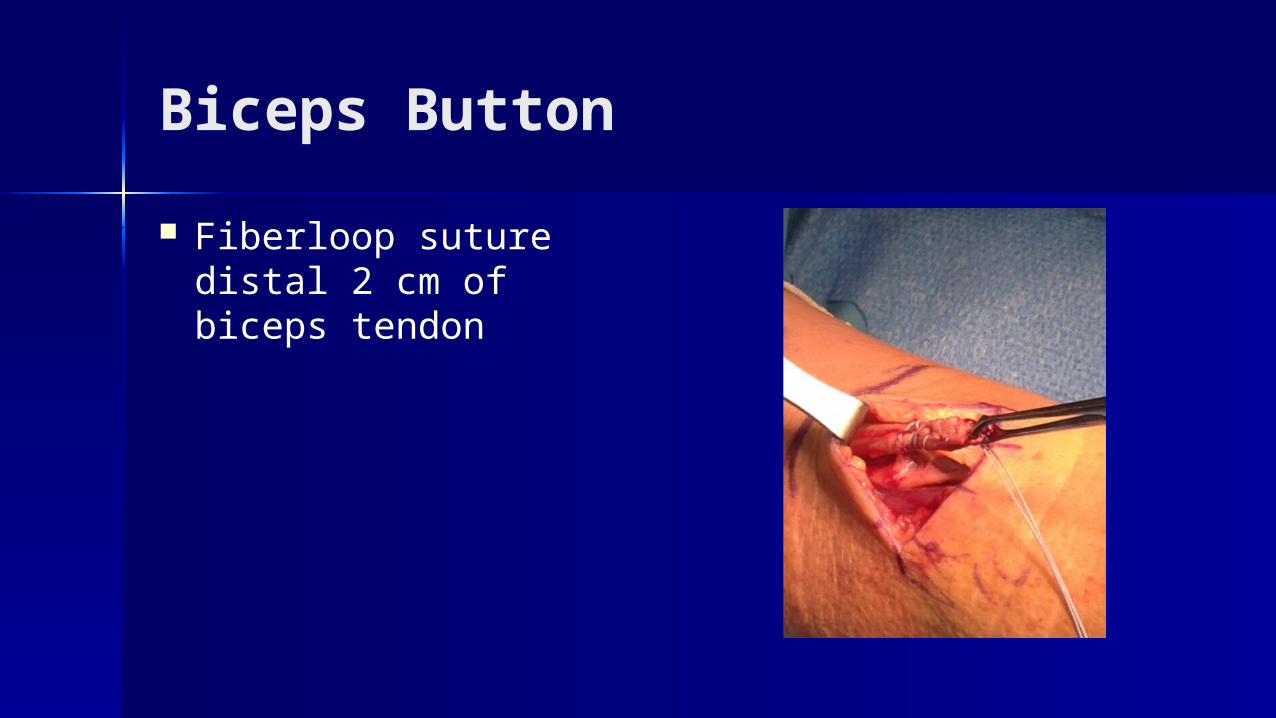
Fiberloop suture distal 2 cm of biceps tendon
Biceps Button
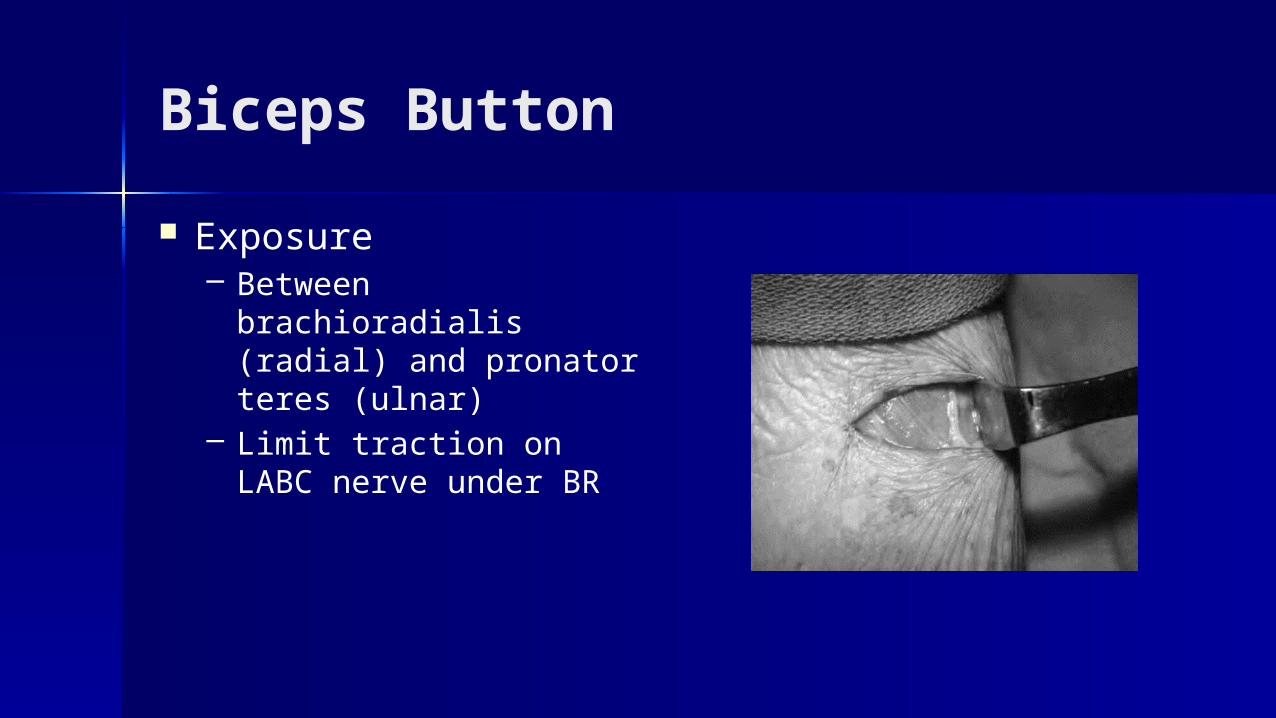
Exposure– Between brachioradialis
(radial) and pronator teres (ulnar)
– Limit traction on LABC nerve under BR
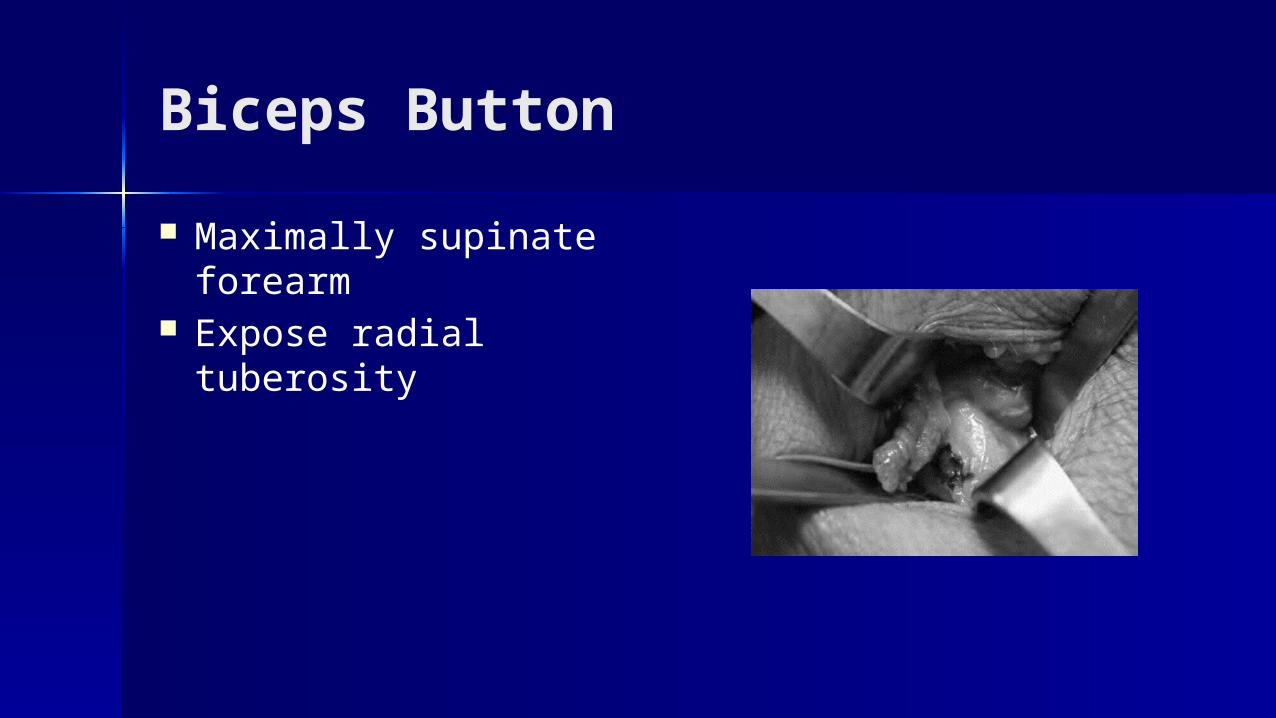
Biceps Button
Maximally supinate forearm
Expose radial tuberosity
Biceps Button
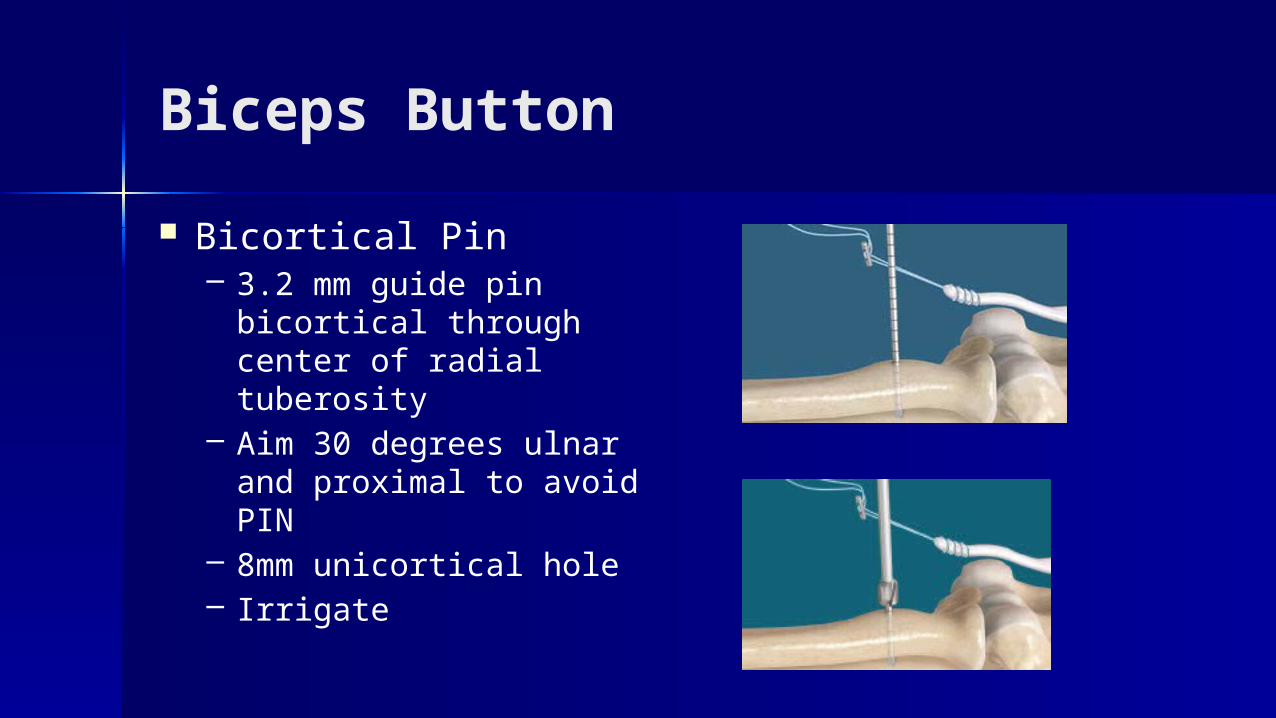
Bicortical Pin– 3.2 mm guide pin
bicortical through center of radial tuberosity
– Aim 30 degrees ulnar and proximal to avoid PIN
– 8mm unicortical hole– Irrigate

Biceps Button
Thread the Biceps Button
Biceps Button
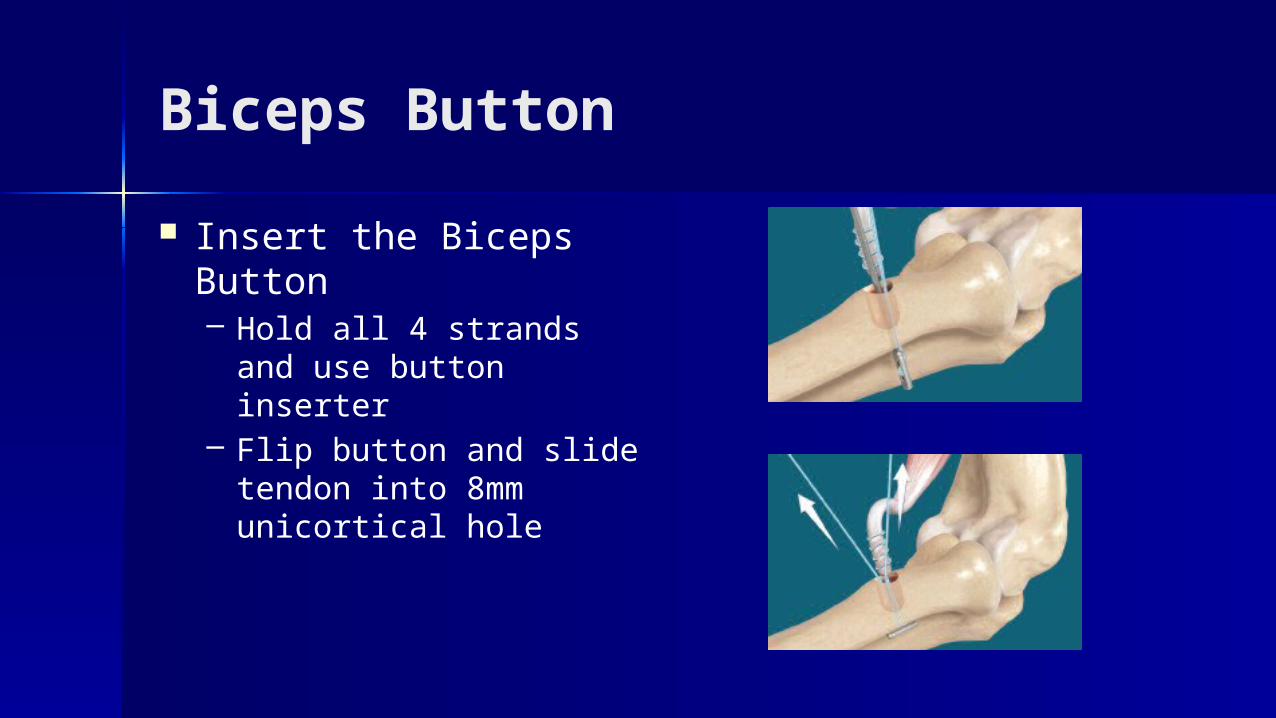
Insert the Biceps Button– Hold all 4 strands and use
button inserter– Flip button and slide
tendon into 8mm unicortical hole
Biceps Button
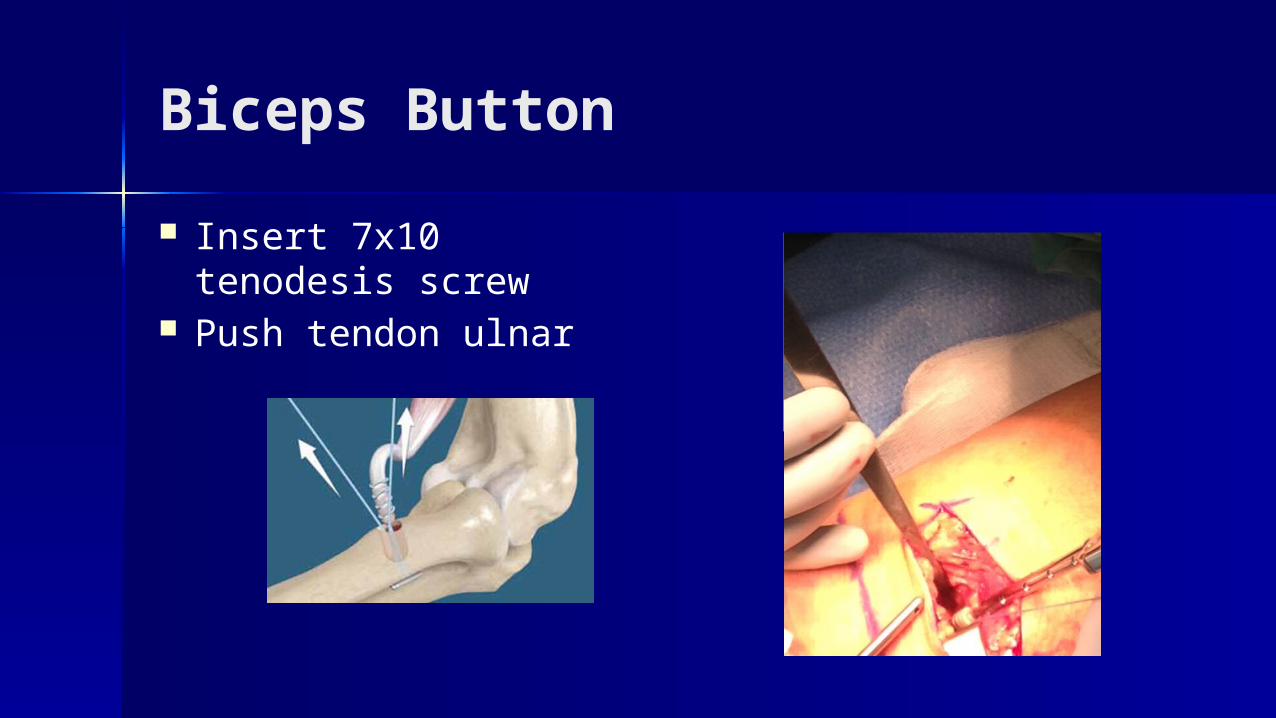
Insert 7x10 tenodesis screw
Push tendon ulnar
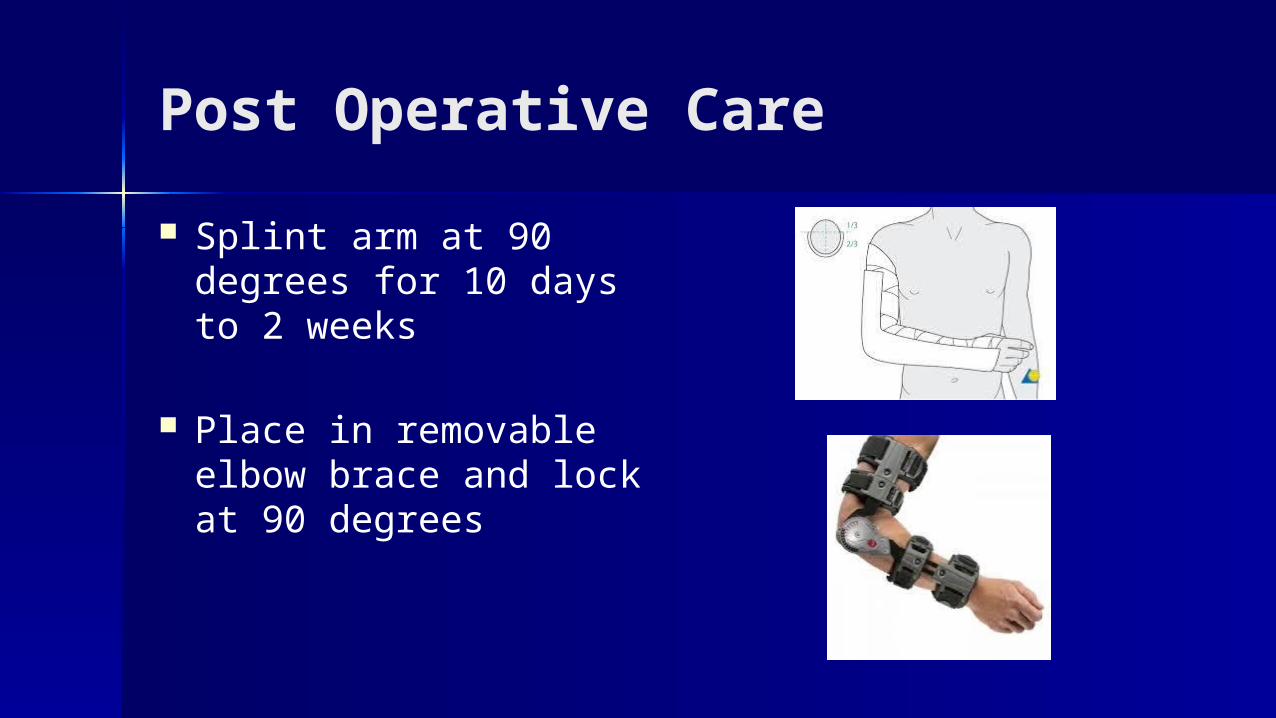
Post Operative Care
Splint arm at 90 degrees for 10 days to 2 weeks
Place in removable elbow brace and lock at 90 degrees
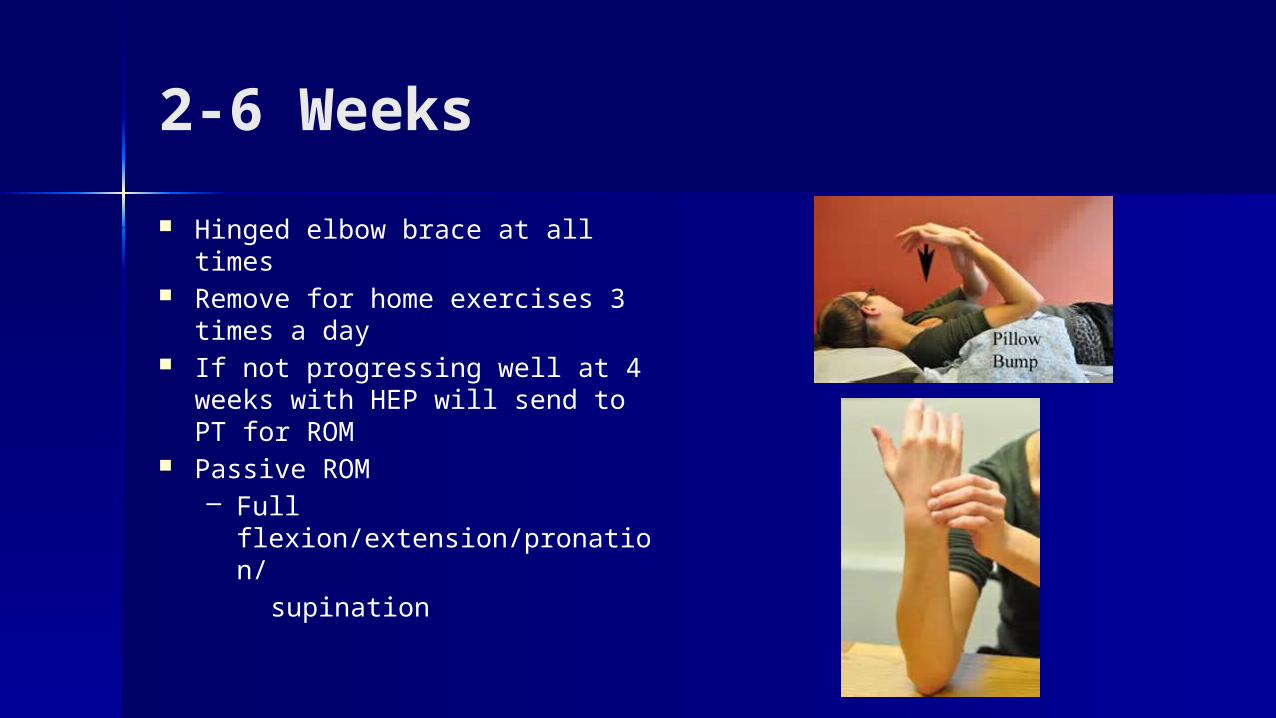
2-6 Weeks
Hinged elbow brace at all times Remove for home exercises 3
times a day If not progressing well at 4 weeks
with HEP will send to PT for ROM Passive ROM
– Full flexion/extension/pronation/
supination
2-6 weeks
Shoulder ROM while in brace Hand and wrist ROM
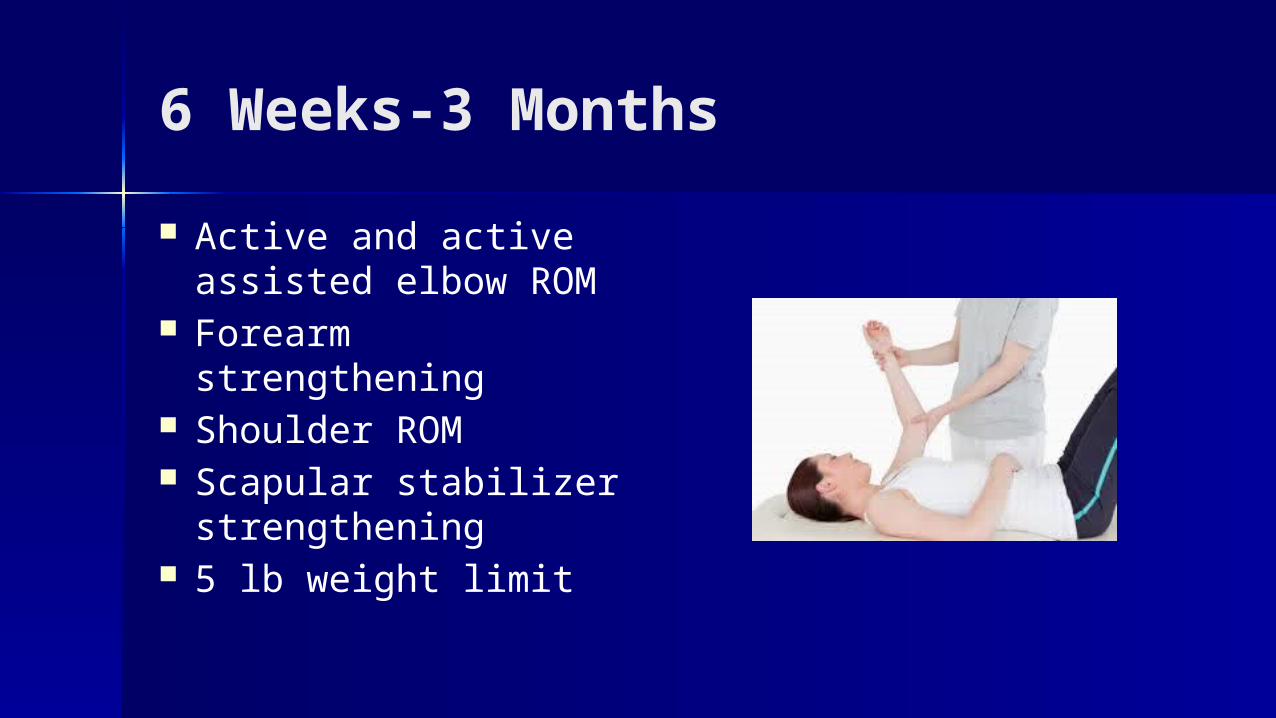
6 Weeks-3 Months
Active and active assisted elbow ROM
Forearm strengthening Shoulder ROM Scapular stabilizer
strengthening 5 lb weight limit
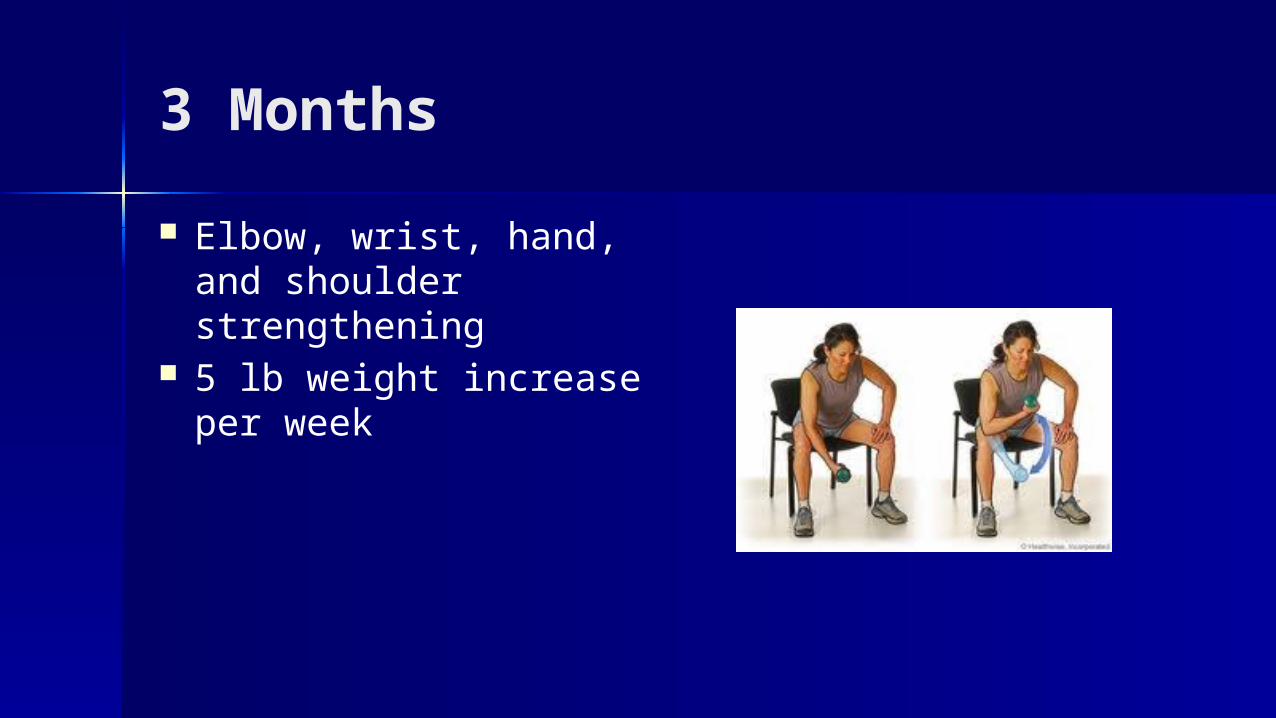
3 Months
Elbow, wrist, hand, and shoulder strengthening
5 lb weight increase per week

5-6 Months
Return to full activity
Thank You