diy sky imager for weather observation authors mentors
TRANSCRIPT

DIY Sky Imager For Weather Observation
A complete guide to build a ground-based sky imager usingoff-the-shelf components with automatic
cloud coverage computation
AuthorsSoumyabrata DEV1
Florian M. SAVOY2
MentorsYee Hui LEE1
Stefan WINKLER2
{soumyabr001, EYHLee}@ntu.edu.sg;{f.savoy, Stefan.Winkler}@adsc.com.sg
1Nanyang Technological University, Singapore2Advanced Digital Sciences Center, University of
Illinois at Urbana-Champaign, Singapore
Project Duration: 12 months
Project URL: https://github.com/FSavoy/DIY-sky-imager
DIY Sky Imager • July 2016
I. Introduction
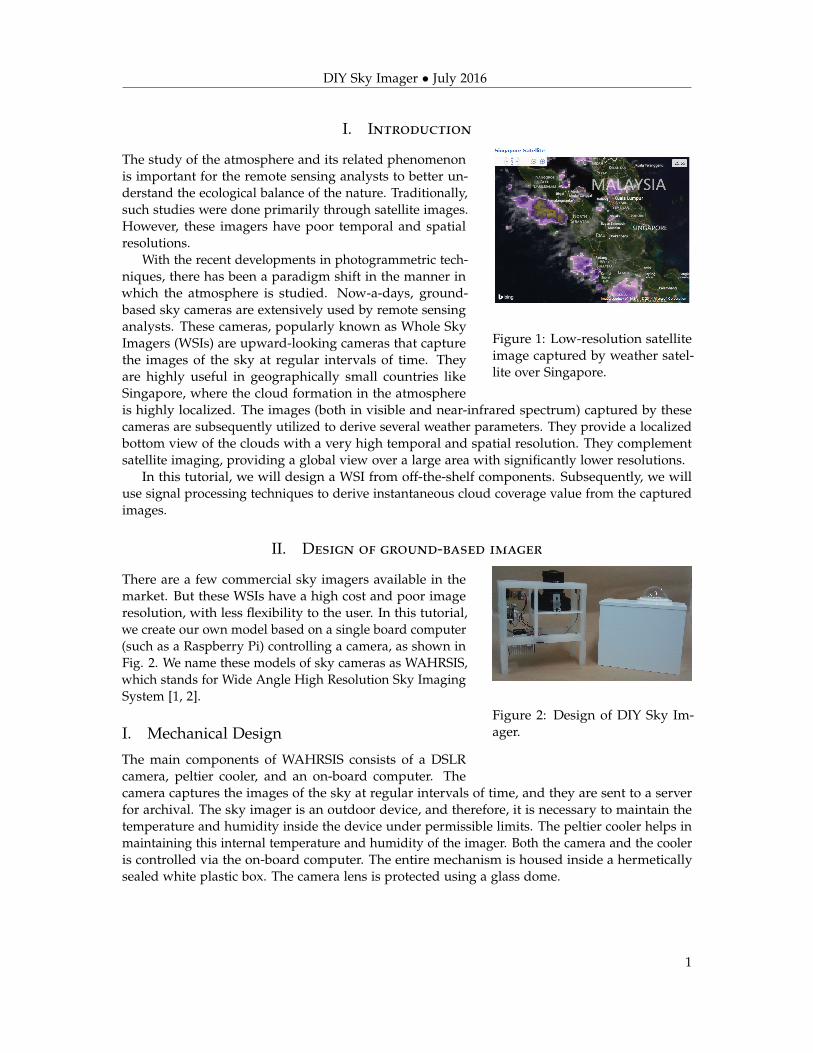
Figure 1: Low-resolution satelliteimage captured by weather satel-lite over Singapore.
The study of the atmosphere and its related phenomenonis important for the remote sensing analysts to better un-derstand the ecological balance of the nature. Traditionally,such studies were done primarily through satellite images.However, these imagers have poor temporal and spatialresolutions.
With the recent developments in photogrammetric tech-niques, there has been a paradigm shift in the manner inwhich the atmosphere is studied. Now-a-days, ground-based sky cameras are extensively used by remote sensinganalysts. These cameras, popularly known as Whole SkyImagers (WSIs) are upward-looking cameras that capturethe images of the sky at regular intervals of time. Theyare highly useful in geographically small countries likeSingapore, where the cloud formation in the atmosphereis highly localized. The images (both in visible and near-infrared spectrum) captured by thesecameras are subsequently utilized to derive several weather parameters. They provide a localizedbottom view of the clouds with a very high temporal and spatial resolution. They complementsatellite imaging, providing a global view over a large area with significantly lower resolutions.
In this tutorial, we will design a WSI from off-the-shelf components. Subsequently, we willuse signal processing techniques to derive instantaneous cloud coverage value from the capturedimages.
II. Design of ground-based imager
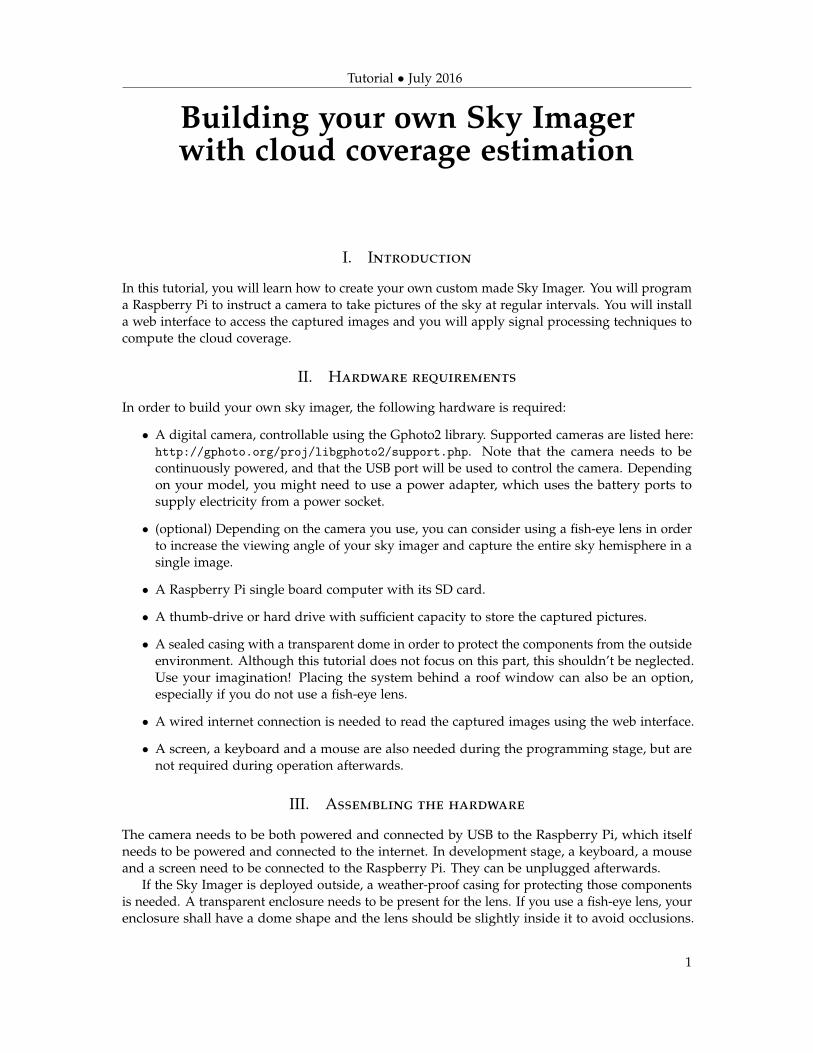
Figure 2: Design of DIY Sky Im-ager.
There are a few commercial sky imagers available in themarket. But these WSIs have a high cost and poor imageresolution, with less flexibility to the user. In this tutorial,we create our own model based on a single board computer(such as a Raspberry Pi) controlling a camera, as shown inFig. 2. We name these models of sky cameras as WAHRSIS,which stands for Wide Angle High Resolution Sky ImagingSystem [1, 2].
I. Mechanical Design
The main components of WAHRSIS consists of a DSLRcamera, peltier cooler, and an on-board computer. Thecamera captures the images of the sky at regular intervals of time, and they are sent to a serverfor archival. The sky imager is an outdoor device, and therefore, it is necessary to maintain thetemperature and humidity inside the device under permissible limits. The peltier cooler helps inmaintaining this internal temperature and humidity of the imager. Both the camera and the cooleris controlled via the on-board computer. The entire mechanism is housed inside a hermeticallysealed white plastic box. The camera lens is protected using a glass dome.
1

DIY Sky Imager • July 2016
II. Software Interface
The entire functioning of the imager is controlled from the on-board microcomputer. The code forthe entire project can be found in the following git repository: https://github.com/FSavoy/DIY-sky-imager. The captured images by WAHRSIS can be accessed from a simple web server.Moreover, the on-board micro-computer computes the instantaneous cloud coverage and generatesthe segmented binary image. More details about the image segmentation algorithm can be foundin Section III.
III. Computation of weather parameters
One of the most important measurements recorded by meteorologists is the cloud coverage ata given location on the earth. This is particularly important, as clouds help in maintainingthe hydrological balance in the earth. Moreover, it is important in areas such as solar andrenewable energy generation, air traffic control, weather prediction, and attenuation analysis.Traditionally, the computation of cloud coverage is done manually by cloud experts. However,these methods are expensive and time consuming. Now-a-days, remote sensing analysts havestarted using automated methods to compute the instantaneous cloud coverage. In this project, wewill use WAHRSIS’s images to compute cloud coverage ratio. We will use state-of-the-art cloudsegmentation algorithms for the purpose.
The segmentation of cloud is a challenging task because of its non-rigid structure and fuzzyboundaries. Classical segmentation algorithms based on shape-prior cannot be applied to cloudimages. Therefore, color is generally used as the discriminatory cue for cloud segmentation.Because of Rayleigh scattering, the sky is generally blue in color. The cloud pixels, on the otherhand, are achromatic and can be separated from sky pixels using color channel thresholding.
Suppose, R, G and B indicate the red-, green- and blue- color channels of an RGB sky/cloudimage captured by WAHRSIS. Several color channels were explored for effective sky/cloudsegmentation in such ground-based images. In our earlier work [3], we have done a systematicanalysis of different color spaces and components and concluded that (B − R)/(B + R) is a goodcolor channel for this purpose. This red/blue ratio channel is useful to discriminate the sky andcloud pixels in an image.
(a) Input image (b) Ratio image (c) Output binary image
Figure 3: Computation of cloud coverage from WAHRSIS images. The first image is a sampleimage captured by the sky camera. The second image is the red/blue ratio image used in thecomputation of cloud coverage, and the third image is the final output binary image. Note thatin ratio image and output image, the nearby occlusions are masked out. The computed cloudcoverage ratio computed in this illustration is 0.747.
We employ a simple algorithm to calculate the instantaneous cloud coverage. Fig. 3(a) shows asample image captured by WSI. The captured image is distorted, as we use a fish-eye lens in the
2

DIY Sky Imager • July 2016
design of the imager. The main advantage of using a fish-eye lens is its large field of view (approx.180 degrees), and all details of the sky scene can be successfully captured. However, it alsocaptures the neighboring building and occlusions in the captured 5184 × 3456 resolution image.In order to remove these occlusions, we create a circular binary mask with radius 1000 pixels.We extract the (B − R)/(B + R) ratio channel from the input image, and mask the occlusionsusing the circular mask and show it in Fig. 3(b). This ratio channel discriminates the sky andcloud pixels better, and can be used directly for color channel thresholding. We employ Otsu’sthresholding algorithm on this ratio channel to calculate the appropriate threshold for the givenimage. The output binary image is generated using this threshold, and shown in Fig. 3(c).
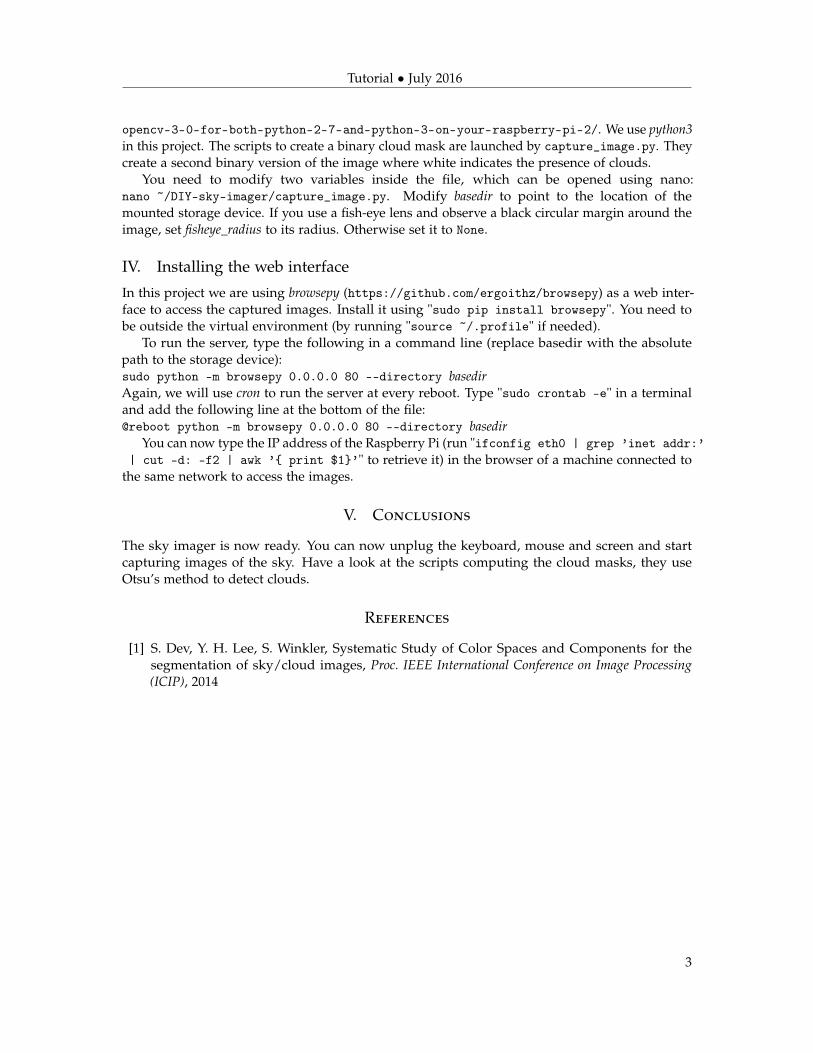
Figure 4: VISUO mobileapp.
These computation of cloud coverage is performed on the on-board micro computer of WAHRSIS. The instantaneous cloud cover-age ratio and the output binary image can be accessed from the webserver.
Sky imagers are typically used for weather monitoring, suchas for detecting cloud coverage or cloud altitude. They are alsogaining popularity in solar energy generation, where they are used inaccurate solar power forecasting. We have designed several versionsof WAHRSIS, and deployed them at various rooftops of the universitybuilding. A mobile app is also available to check the instantaneoustemperature, humidity, pressure, and rainfall rate, along with thesky/cloud image. It is freely available in App Store1 and Google PlayStore.
IV. Conclusion
In this project, we have discussed the design of a DIY sky imagerusing off-the-shelf components. This is useful for regular monitoringof cloud formation over a region. The captured sky/cloud imagescan be further analyzed to compute cloud coverage and provide a 3D volumetric estimation ofclouds.
References
[1] S. Dev, F. M. Savoy, Y. H. Lee, S. Winkler, WAHRSIS: A low-cost, high-resolution wholesky imager with near-infrared capabilities, Proc. IS&T/SPIE Infrared Imaging Systems: Design,Analysis, Modeling, and Testing, 2014
[2] S. Dev, F. M. Savoy, Y. H. Lee, S. Winkler, Design of low-cost, compact and weather-proofwhole sky imagers for high-dynamic-range captures, Proc. IEEE International Geoscience andRemote Sensing Symposium (IGARSS), 2015
[3] S. Dev, Y. H. Lee, S. Winkler, Systematic Study of Color Spaces and Components for thesegmentation of sky/cloud images, Proc. IEEE International Conference on Image Processing(ICIP), 2014
1https://itunes.apple.com/ca/app/visuo/id1001002983?mt=8
3
Tutorial • July 2016
Building your own Sky Imagerwith cloud coverage estimation
I. Introduction
In this tutorial, you will learn how to create your own custom made Sky Imager. You will programa Raspberry Pi to instruct a camera to take pictures of the sky at regular intervals. You will installa web interface to access the captured images and you will apply signal processing techniques tocompute the cloud coverage.
II. Hardware requirements
In order to build your own sky imager, the following hardware is required:
• A digital camera, controllable using the Gphoto2 library. Supported cameras are listed here:http://gphoto.org/proj/libgphoto2/support.php. Note that the camera needs to becontinuously powered, and that the USB port will be used to control the camera. Dependingon your model, you might need to use a power adapter, which uses the battery ports tosupply electricity from a power socket.
• (optional) Depending on the camera you use, you can consider using a fish-eye lens in orderto increase the viewing angle of your sky imager and capture the entire sky hemisphere in asingle image.
• A Raspberry Pi single board computer with its SD card.
• A thumb-drive or hard drive with sufficient capacity to store the captured pictures.
• A sealed casing with a transparent dome in order to protect the components from the outsideenvironment. Although this tutorial does not focus on this part, this shouldn’t be neglected.Use your imagination! Placing the system behind a roof window can also be an option,especially if you do not use a fish-eye lens.
• A wired internet connection is needed to read the captured images using the web interface.
• A screen, a keyboard and a mouse are also needed during the programming stage, but arenot required during operation afterwards.
III. Assembling the hardware
The camera needs to be both powered and connected by USB to the Raspberry Pi, which itselfneeds to be powered and connected to the internet. In development stage, a keyboard, a mouseand a screen need to be connected to the Raspberry Pi. They can be unplugged afterwards.
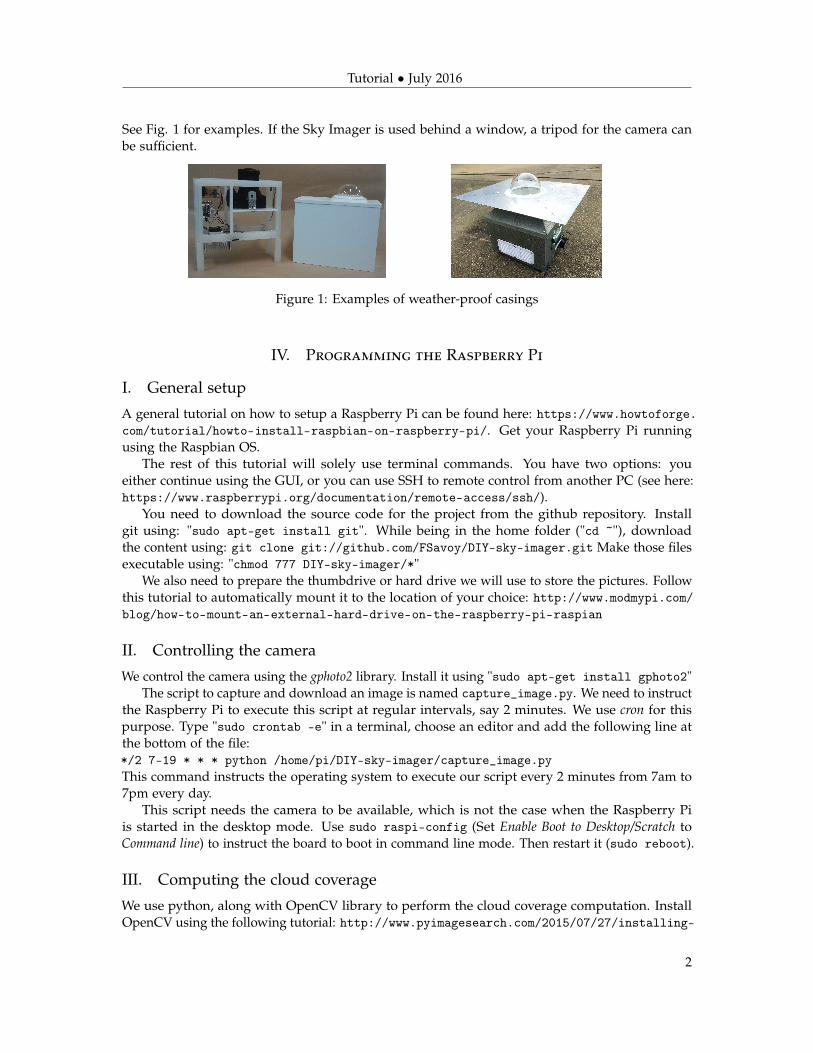
If the Sky Imager is deployed outside, a weather-proof casing for protecting those componentsis needed. A transparent enclosure needs to be present for the lens. If you use a fish-eye lens, yourenclosure shall have a dome shape and the lens should be slightly inside it to avoid occlusions.
1
Tutorial • July 2016
See Fig. 1 for examples. If the Sky Imager is used behind a window, a tripod for the camera canbe sufficient.
Figure 1: Examples of weather-proof casings
IV. Programming the Raspberry Pi
I. General setup
A general tutorial on how to setup a Raspberry Pi can be found here: https://www.howtoforge.com/tutorial/howto-install-raspbian-on-raspberry-pi/. Get your Raspberry Pi runningusing the Raspbian OS.
The rest of this tutorial will solely use terminal commands. You have two options: youeither continue using the GUI, or you can use SSH to remote control from another PC (see here:https://www.raspberrypi.org/documentation/remote-access/ssh/).
You need to download the source code for the project from the github repository. Installgit using: "sudo apt-get install git". While being in the home folder ("cd ~"), downloadthe content using: git clone git://github.com/FSavoy/DIY-sky-imager.git Make those filesexecutable using: "chmod 777 DIY-sky-imager/*"
We also need to prepare the thumbdrive or hard drive we will use to store the pictures. Followthis tutorial to automatically mount it to the location of your choice: http://www.modmypi.com/blog/how-to-mount-an-external-hard-drive-on-the-raspberry-pi-raspian
II. Controlling the camera
We control the camera using the gphoto2 library. Install it using "sudo apt-get install gphoto2"The script to capture and download an image is named capture_image.py. We need to instruct
the Raspberry Pi to execute this script at regular intervals, say 2 minutes. We use cron for thispurpose. Type "sudo crontab -e" in a terminal, choose an editor and add the following line atthe bottom of the file:*/2 7-19 * * * python /home/pi/DIY-sky-imager/capture_image.pyThis command instructs the operating system to execute our script every 2 minutes from 7am to7pm every day.
This script needs the camera to be available, which is not the case when the Raspberry Piis started in the desktop mode. Use sudo raspi-config (Set Enable Boot to Desktop/Scratch toCommand line) to instruct the board to boot in command line mode. Then restart it (sudo reboot).
III. Computing the cloud coverage
We use python, along with OpenCV library to perform the cloud coverage computation. InstallOpenCV using the following tutorial: http://www.pyimagesearch.com/2015/07/27/installing-
2
Tutorial • July 2016
opencv-3-0-for-both-python-2-7-and-python-3-on-your-raspberry-pi-2/. We use python3in this project. The scripts to create a binary cloud mask are launched by capture_image.py. Theycreate a second binary version of the image where white indicates the presence of clouds.
You need to modify two variables inside the file, which can be opened using nano:nano ~/DIY-sky-imager/capture_image.py. Modify basedir to point to the location of themounted storage device. If you use a fish-eye lens and observe a black circular margin around theimage, set fisheye_radius to its radius. Otherwise set it to None.
IV. Installing the web interface
In this project we are using browsepy (https://github.com/ergoithz/browsepy) as a web inter-face to access the captured images. Install it using "sudo pip install browsepy". You need tobe outside the virtual environment (by running "source ~/.profile" if needed).
To run the server, type the following in a command line (replace basedir with the absolutepath to the storage device):sudo python -m browsepy 0.0.0.0 80 --directory basedirAgain, we will use cron to run the server at every reboot. Type "sudo crontab -e" in a terminaland add the following line at the bottom of the file:@reboot python -m browsepy 0.0.0.0 80 --directory basedir
You can now type the IP address of the Raspberry Pi (run "ifconfig eth0 | grep ’inet addr:’| cut -d: -f2 | awk ’{ print $1}’" to retrieve it) in the browser of a machine connected to
the same network to access the images.
V. Conclusions
The sky imager is now ready. You can now unplug the keyboard, mouse and screen and startcapturing images of the sky. Have a look at the scripts computing the cloud masks, they useOtsu’s method to detect clouds.
References
[1] S. Dev, Y. H. Lee, S. Winkler, Systematic Study of Color Spaces and Components for thesegmentation of sky/cloud images, Proc. IEEE International Conference on Image Processing(ICIP), 2014
3