end user administration (in context of liferay cms) copyright © 2006 liferay, llc all rights...
TRANSCRIPT
End User Administration (in context of Liferay CMS)
Copyright © 2006 Liferay, LLC
All Rights Reserved.No material may be reproduced electronically or in print without written
permission from Liferay, LLC.
Overview
• Liferay has a built in CMS (Content Management System) called Liferay Journal.
• With Liferay you can quickly build pages and load them up with content.
• We will use the context of using the CMS to learn how to Administer Liferay.– Create some sample users (writer, editor, webmaster)– Create the corresponding roles to control each user’s
functionality– Login as each user to write the article, edit and
approve the article and publish the article on a page.

Liferay Journal Portlets are highlighted in Red. These particular portlets are all “Journal Content” Portlets, part of the built in Liferay CMS.
UsersFirst, we will need to create some new user accounts. Users are managed in the Enterprise Admin Portlet. There are 2 ways to create new User accounts, you can either:
1. Allow visitors to sign up for their own accounts (Users can click on the “Create Account” tab in the Log In Portlet). This functionality can be turned on or off in the Admin Portlet.
1. In Admin Portlet:2. Click “Users” Tab3. Click “Authentication ” Tab4. Toggle “Allow Strangers to Create Accounts”
2. Or, as the Admin, we can create new users in the Enterprise Admin Portlet
1. In Enterprise Admin Portlet:2. Click “Users” Tab3. Click “Add” Button
Exercise 1: Creating Users
Create users (several writers, editor and webmaster)
1. Find Enterprise Admin Portlet (add it if it is not there)2. Click “Users” Tab -> Click “Add” Button3. Type First Name, Last Name and Email for the
following email addresses:• “[email protected]” and “writer2..” and “writer3..”
“[email protected]” and “[email protected]”
4. Click “Save” Button5. Click “Password” Tab6. Enter “test” as password and click “Save”
Communities
Communities• Independent grouping of pages (Think of a community as a separate
website)• Managed from the Communities Portlet.• Power Users (and Admin Users) automatically get their own Private
Community.
By default, there is a Guest (Public), CMS (Private) and Support (Private) Community.
Logged in users can only see their Private Community (if they have one) and Communities that they are a part of.
Communities can be marked as “open”, which will allows users to join the community on their own. The only other way to be added to a community is to be “Assigned” to the community by the admin.
Exercise 2: Users & Communities
Login as one of the newly created users and notice that we are taken to the User’s Private Community. This is because by default, newly created users are set as “Power Users.”
Notice that they since they are not part of the Guest community, they can not switch to the Guest community.
We will need to use the Communities Portlet to add them to the Guest Community.
Assign newly created users to Guest community1. Log back in as “[email protected]” 2. Find Communities Portlet (add it if it is not there)3. Click “Available” Tab4. Click “Assign” corresponding to Guest community5. Click “Users” Tab -> Click “Available” Tab6. Locate and Check Users7. Click “Update Associations”
Portlet Permissions• Liferay has fine-grained permissioning. Almost every functionality is
“permissionable,” it can be given to or taken away from any user.
• Permissions can be configured for each Portlet instance-> Add any portlet to a page-> Click on the Configuration icon (top right corner of a portlet)-> Select the “Permissions” tab
• Depending on how the portlets are written, permissions may even be configured for portlet entries!– Journal Portlet’s Entries: Articles, Template and Structures– Message Boards Portlet’s Entries: Categories and Threads
• Which will let you give a user permission to manange specific threads in specific categories.
– Library Portlet’s Entries: Books
Exercise 3: Portlet Permissions for One User
Give “[email protected]” the “Add Article” permission for the Journal Portlet
1. Login as “[email protected]”
2. Switch to “Guest” Community
3. Add Journal Portlet to a page
4. Click “Configuration” Button (top right of Journal Portlet)
5. Click “Permissions” Tab
6. Click “Available” Tab
7. Locate and Check “[email protected]”
8. Click “Update Permissions” Button
9. Give “Add Article” and “View” Permissions
10. Click “Finished”
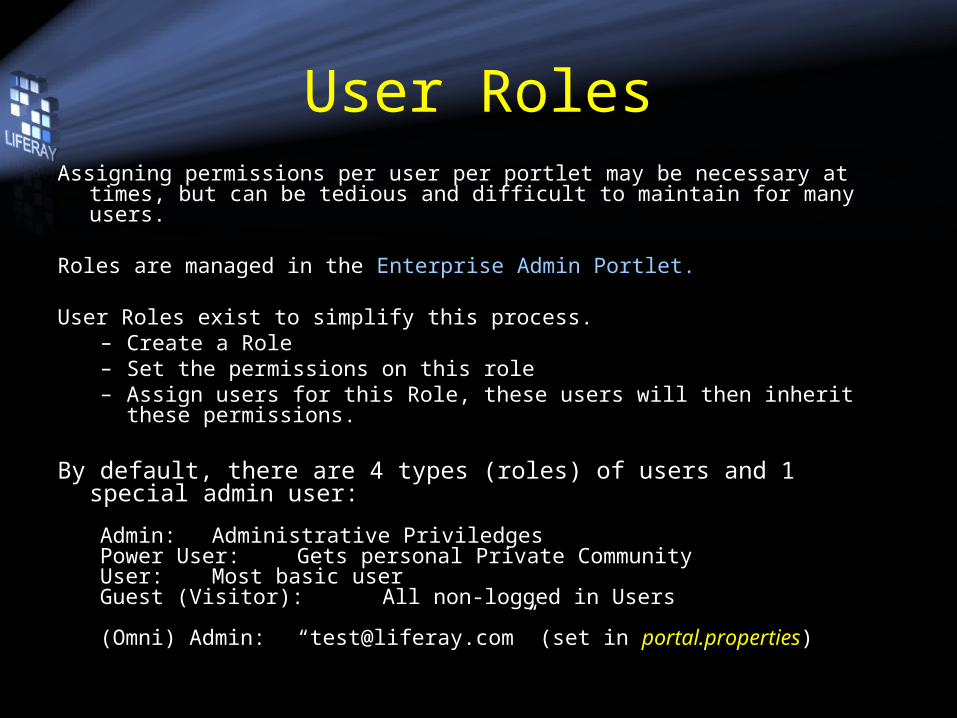
User RolesAssigning permissions per user per portlet may be necessary at times, but can
be tedious and difficult to maintain for many users.
Roles are managed in the Enterprise Admin Portlet.
User Roles exist to simplify this process.– Create a Role– Set the permissions on this role– Assign users for this Role, these users will then inherit these
permissions.
By default, there are 4 types (roles) of users and 1 special admin user:
Admin: Administrative PriviledgesPower User: Gets personal Private CommunityUser: Most basic userGuest (Visitor): All non-logged in Users
(Omni) Admin: “[email protected]” (set in portal.properties)
User Roles
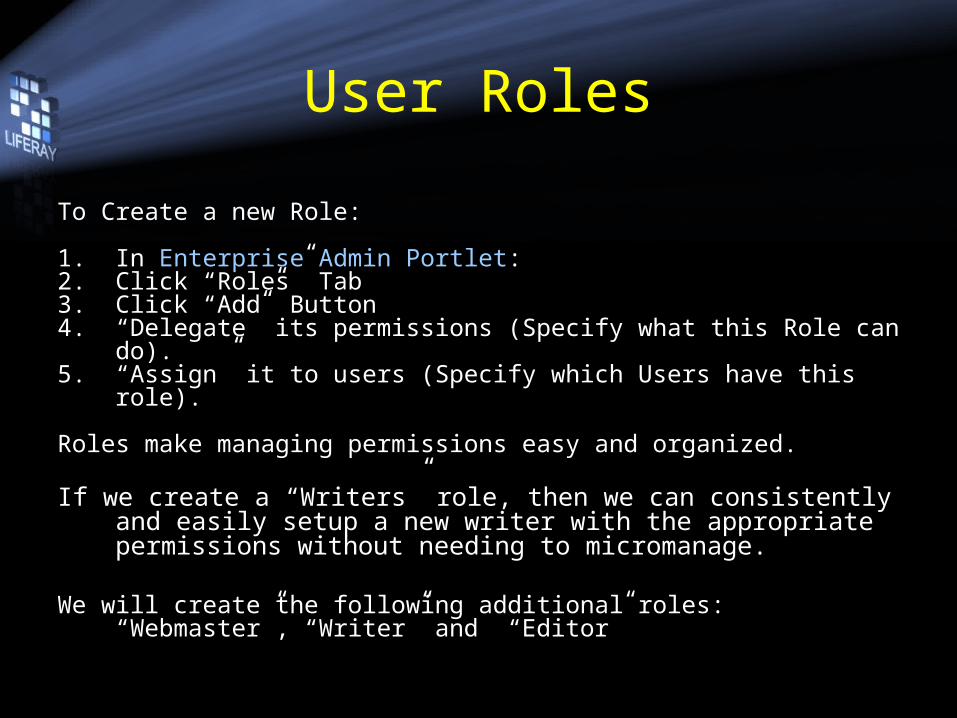
To Create a new Role:
1. In Enterprise Admin Portlet:2. Click “Roles” Tab3. Click “Add” Button4. “Delegate” its permissions (Specify what this Role can do). 5. “Assign” it to users (Specify which Users have this role).
Roles make managing permissions easy and organized.
If we create a “Writers” role, then we can consistently and easily setup a new writer with the appropriate permissions without needing to micromanage.
We will create the following additional roles: “Webmaster”, “Writer” and “Editor”
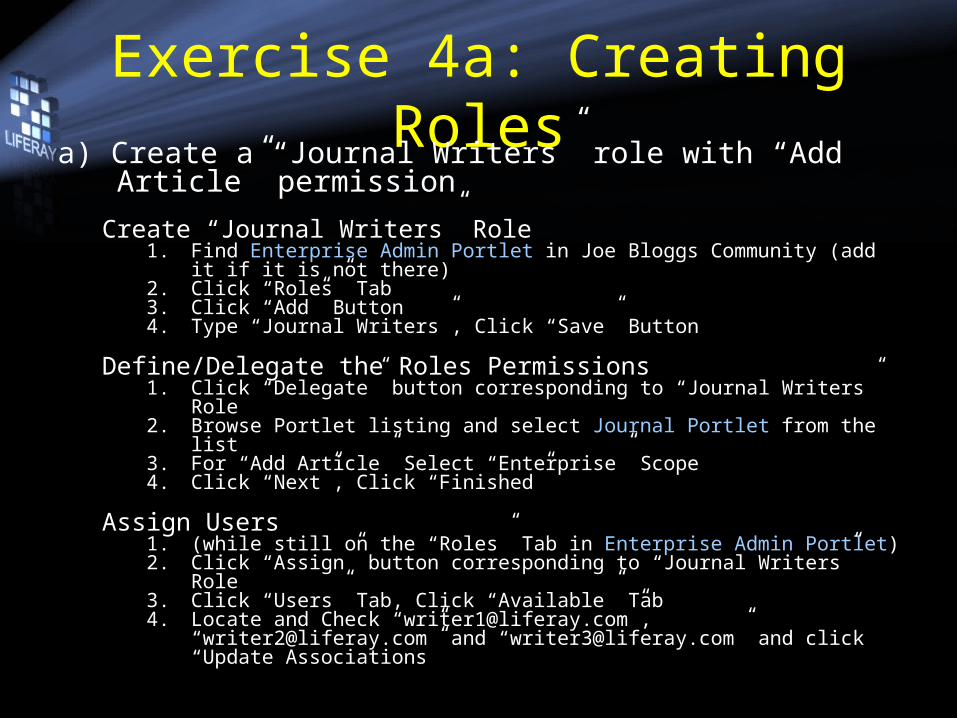
Exercise 4a: Creating Rolesa) Create a “Journal Writers” role with “Add Article”
permission
Create “Journal Writers” Role1. Find Enterprise Admin Portlet in Joe Bloggs Community (add it if it is not
there)2. Click “Roles” Tab3. Click “Add” Button4. Type “Journal Writers”, Click “Save” Button
Define/Delegate the Roles Permissions1. Click “Delegate” button corresponding to “Journal Writers” Role2. Browse Portlet listing and select Journal Portlet from the list3. For “Add Article” Select “Enterprise” Scope4. Click “Next”, Click “Finished”
Assign Users1. (while still on the “Roles” Tab in Enterprise Admin Portlet)2. Click “Assign” button corresponding to “Journal Writers” Role3. Click “Users” Tab, Click “Available” Tab4. Locate and Check “[email protected]”, “[email protected]” and
“[email protected]” and click “Update Associations”
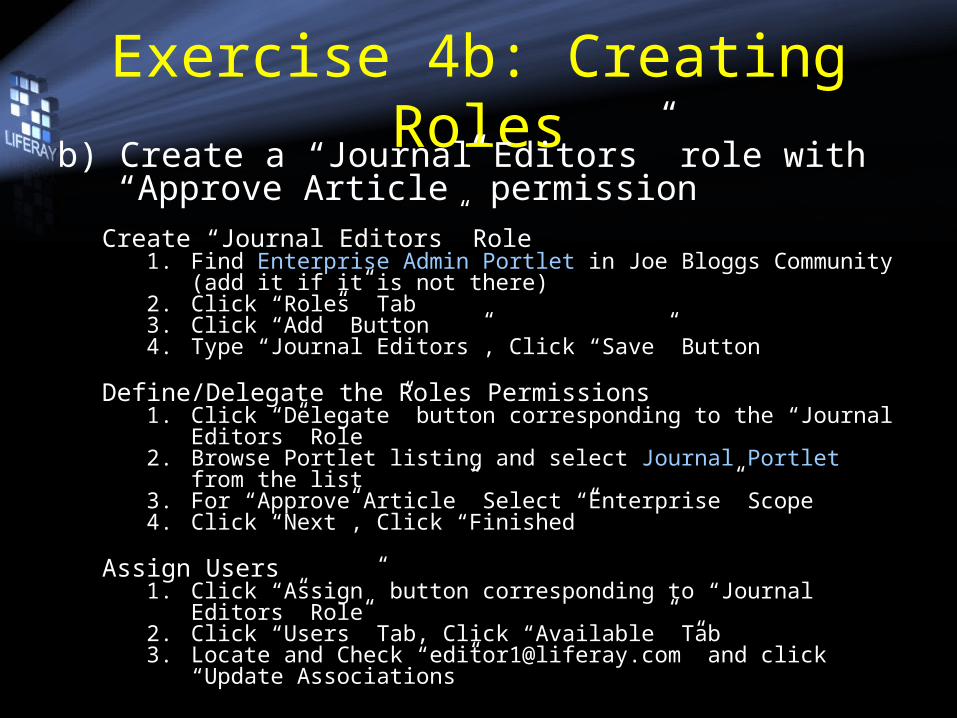
Exercise 4b: Creating Rolesb) Create a “Journal Editors” role with “Approve
Article” permissionCreate “Journal Editors” Role
1. Find Enterprise Admin Portlet in Joe Bloggs Community (add it if it is not there)
2. Click “Roles” Tab3. Click “Add” Button4. Type “Journal Editors”, Click “Save” Button
Define/Delegate the Roles Permissions1. Click “Delegate” button corresponding to the “Journal Editors”
Role2. Browse Portlet listing and select Journal Portlet from the list3. For “Approve Article” Select “Enterprise” Scope4. Click “Next”, Click “Finished”
Assign Users1. Click “Assign” button corresponding to “Journal Editors” Role2. Click “Users” Tab, Click “Available” Tab3. Locate and Check “[email protected]” and click “Update
Associations”
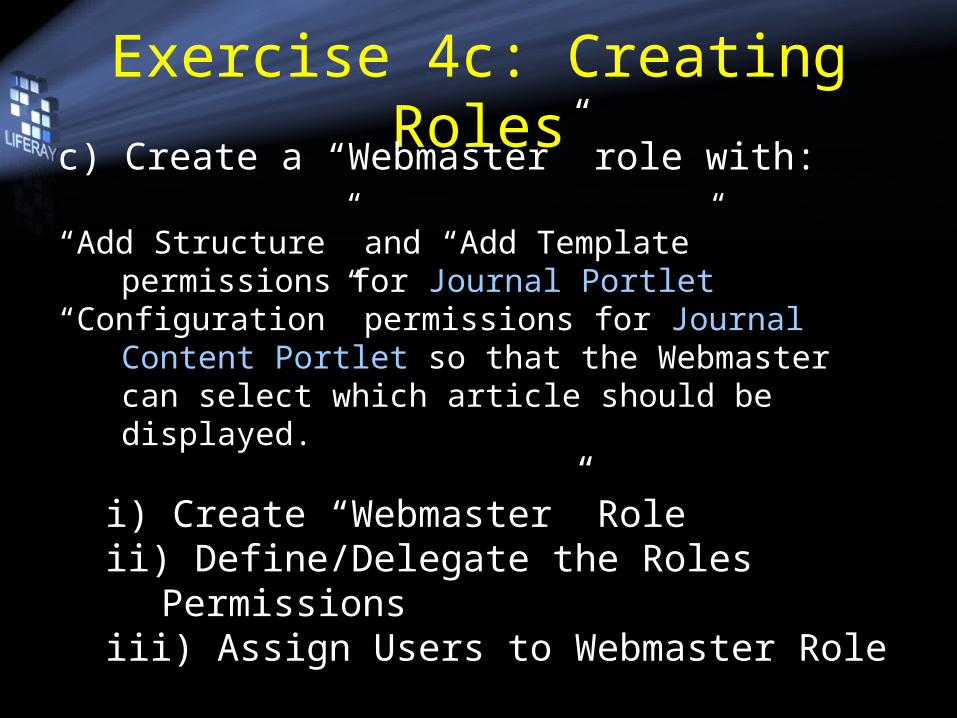
Exercise 4c: Creating Rolesc) Create a “Webmaster” role with:
“Add Structure” and “Add Template” permissions for Journal Portlet
“Configuration” permissions for Journal Content Portlet so that the Webmaster can select which article should be displayed.
i) Create “Webmaster” Roleii) Define/Delegate the Roles Permissionsiii) Assign Users to Webmaster Role
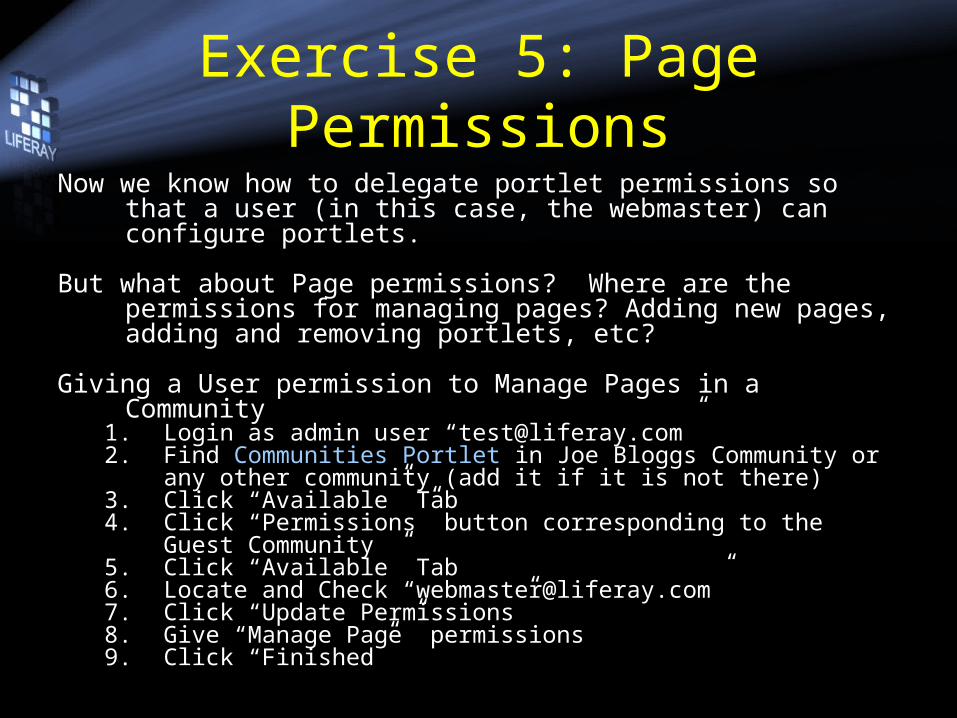
Exercise 5: Page PermissionsNow we know how to delegate portlet permissions so that a user (in
this case, the webmaster) can configure portlets.
But what about Page permissions? Where are the permissions for managing pages? Adding new pages, adding and removing portlets, etc?
Giving a User permission to Manage Pages in a Community1. Login as admin user “[email protected]” 2. Find Communities Portlet in Joe Bloggs Community or any other
community (add it if it is not there)3. Click “Available” Tab4. Click “Permissions” button corresponding to the Guest Community5. Click “Available” Tab6. Locate and Check “[email protected]”7. Click “Update Permissions”8. Give “Manage Page” permissions 9. Click “Finished”
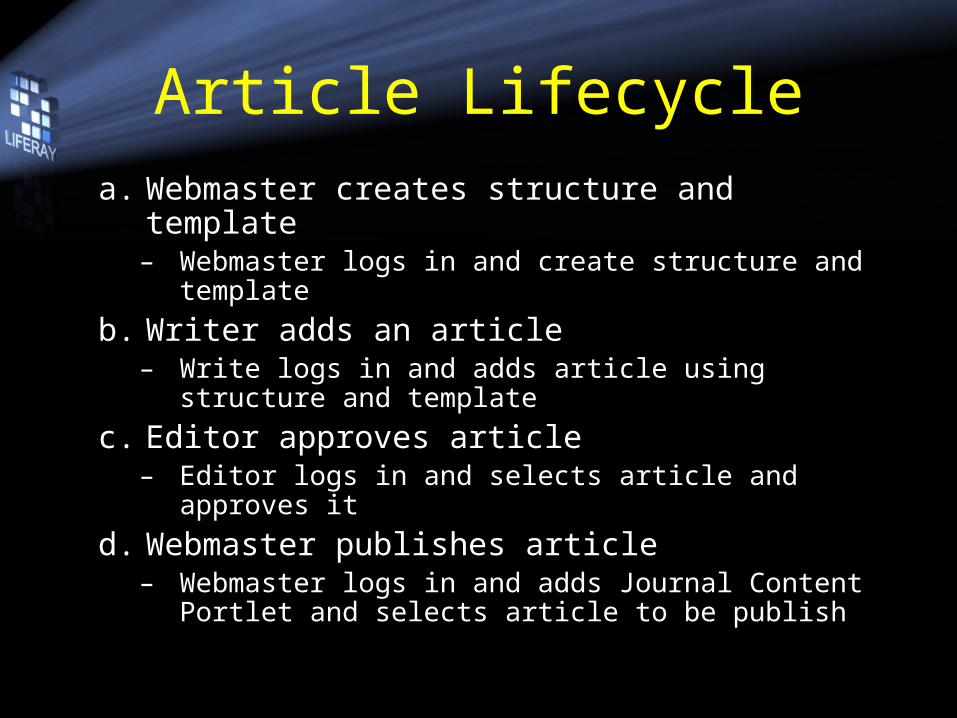
Article Lifecycle
a. Webmaster creates structure and template– Webmaster logs in and create structure and
template
b. Writer adds an article– Write logs in and adds article using structure and
template
c. Editor approves article– Editor logs in and selects article and approves it
d. Webmaster publishes article– Webmaster logs in and adds Journal Content
Portlet and selects article to be publish
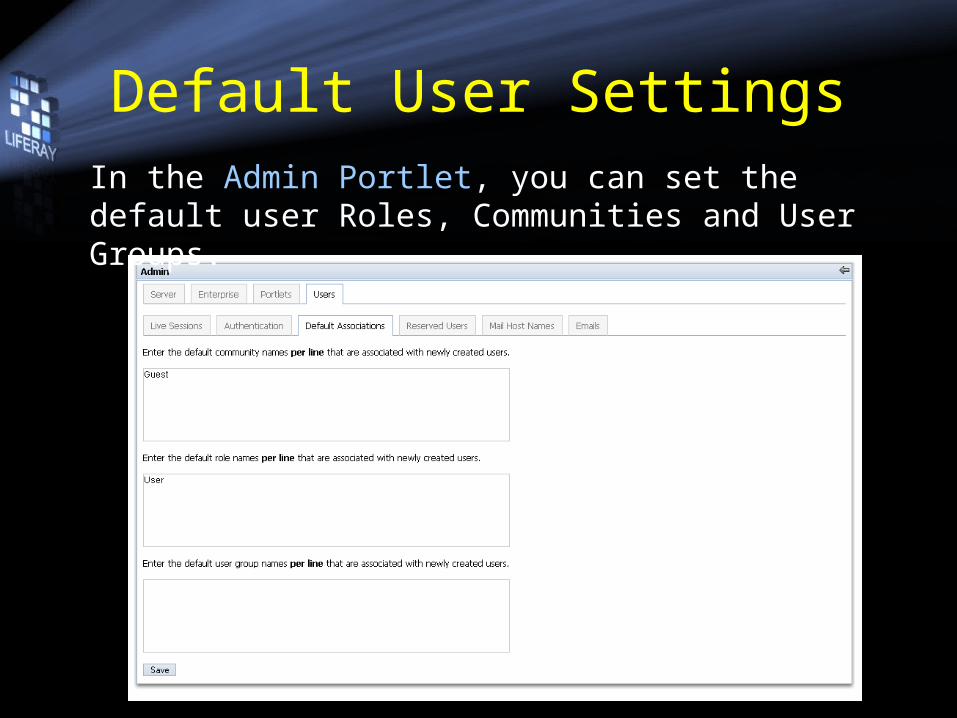
Default User SettingsIn the Admin Portlet, you can set the default user Roles, Communities and User Groups.
Revision History
2006/11/02 – Scott Lee
• Created slides from scratch for more logical break down and presentation of end user training
2007.03.09 – Scott Lee• Major Update. Users, Roles, Communities, Permissions