eva drivers version 5 - imageworkscorporation.com drivers 6.1 and twain installation guide for ......
TRANSCRIPT

8 Westchester Plaza, Suite 112, Elmsford, NY 10523 (914) 592-6100 Fax (914) 592-6148
www.ImageWorksCorporation.com
Page 1 P/N: 870-000267, Rev B
EVA Drivers 6.1 and TWAIN Installation Guide for
EVA Classic Digital Sensors
Note: This guide is relevant only to customers looking to connect an EVA Classic digital sensor to dental imaging software other than EVAsoft (i.e., ProImage or other third party software)
The EVA Drivers 6.1 will work on these operating systems ONLY:
Windows XP 32-bit
Windows Vista 32-bit
Windows 7 32-bit and 64-bit
Windows 8 32-bit and 64-bit (NOTE: ProImage software is NOT supported for Windows 8)
It is very important to follow the correct order when installing the new drivers. For ProImage users, always install ProImage digital imaging software first and then install the EVA drivers 6.1. This is due to the fact that previous versions of ProImage also install drivers and can overwrite the correct files. If at any time you re-install ProImage, always re-install the EVA drivers 6.1 as well. It is not necessary to upgrade or re-install ProImage when upgrading the EVA drivers. The new EVA drivers 6.1 are backward compatible and will function correctly with previous versions of ProImage. Table of Contents: New Installations of the EVA Drivers 6.1………………………………………………………………………………………….Page 2 Upgrading the EVA Drivers………………………………………………………………………………………………………………Page 7 EVA TWAIN Installation…………………………………………………………………………………………………………………..Page 8 Using the EVA TWAIN Application…..…………………………………………………………………………………………….Page 14
Page 2 P/N: 870-000267, Rev B
New Installations of the EVA Drivers 6.1 Follow these steps after you have installed ProImage or a software package other than EVASoft that you will be using to capture x-rays with an EVA Classic sensor.
1. On Window XP, please login to the computer as the Administrator On Windows Vista, please turn off the “User Account Control” On Windows 7 or 8, please lower the User Account Control settings to “Never Notify”
2. Disconnect all EVA sensors
3. Insert the USB Hardware and TWAIN Drivers Installation CD
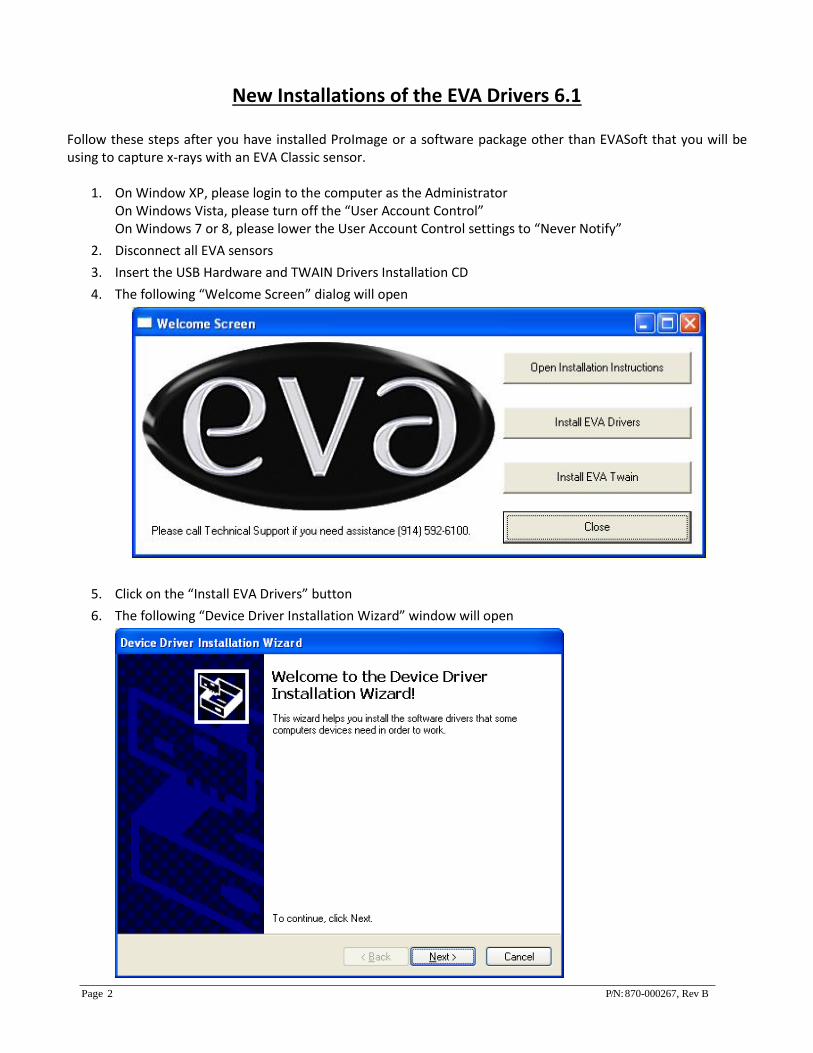
4. The following “Welcome Screen” dialog will open
5. Click on the “Install EVA Drivers” button
6. The following “Device Driver Installation Wizard” window will open
Page 3 P/N: 870-000267, Rev B
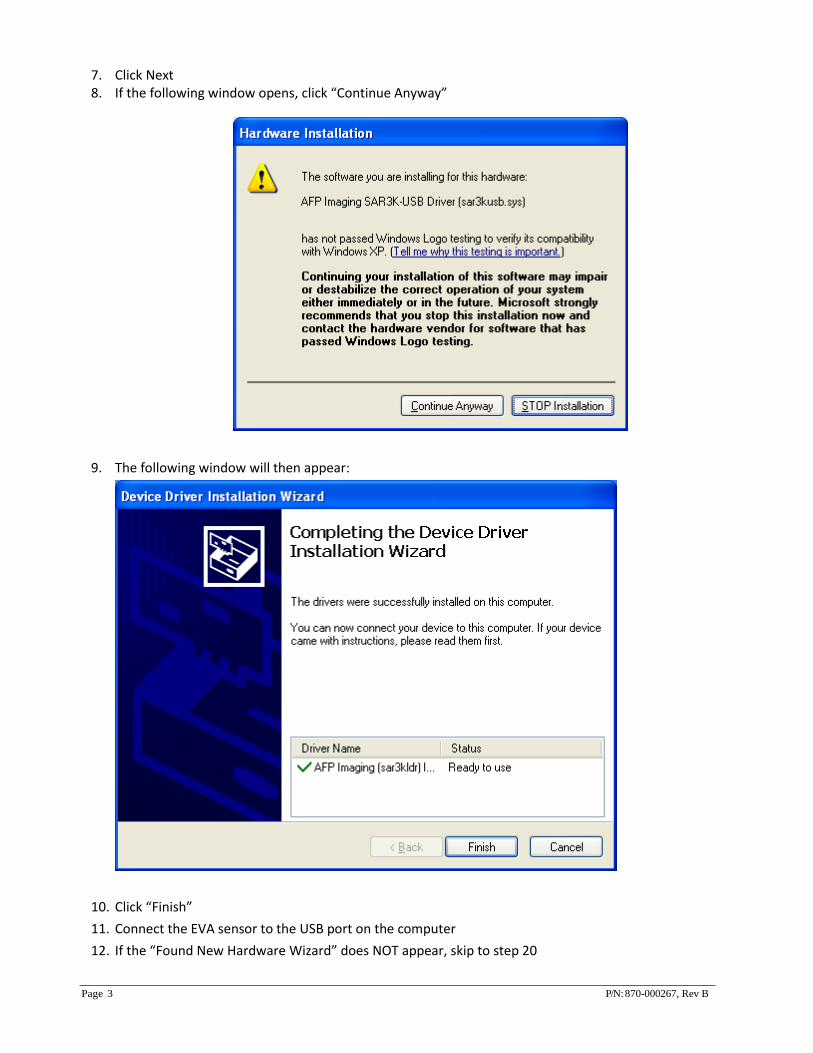
7. Click Next 8. If the following window opens, click “Continue Anyway”
9. The following window will then appear:
10. Click “Finish”
11. Connect the EVA sensor to the USB port on the computer
12. If the “Found New Hardware Wizard” does NOT appear, skip to step 20
Page 4 P/N: 870-000267, Rev B
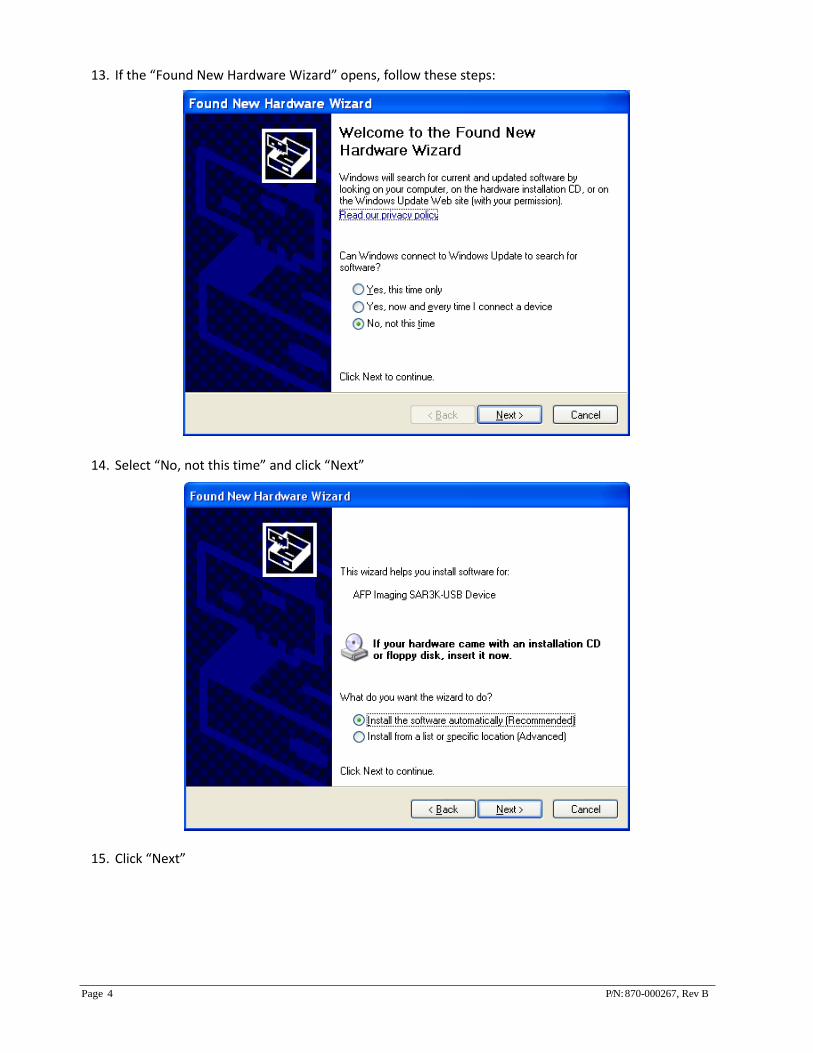
13. If the “Found New Hardware Wizard” opens, follow these steps:
14. Select “No, not this time” and click “Next”
15. Click “Next”

Page 5 P/N: 870-000267, Rev B
16. Choose “Continue Anyway”
Page 6 P/N: 870-000267, Rev B
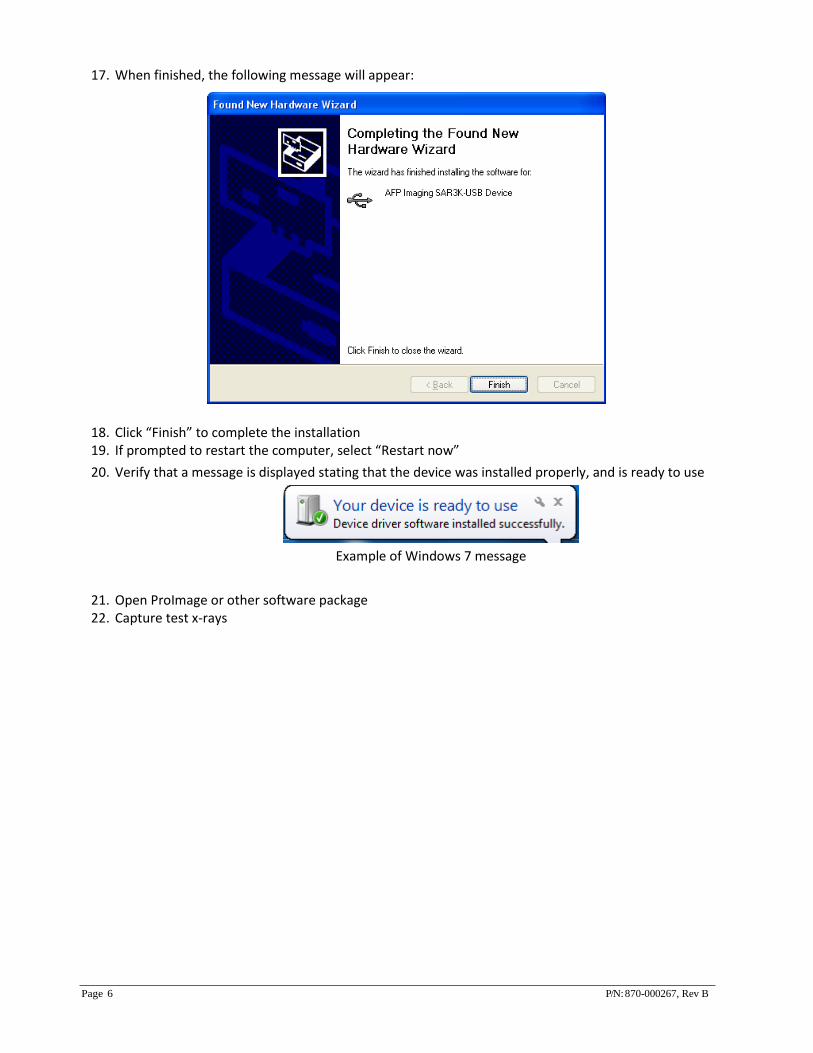
17. When finished, the following message will appear:
18. Click “Finish” to complete the installation 19. If prompted to restart the computer, select “Restart now”
20. Verify that a message is displayed stating that the device was installed properly, and is ready to use
Example of Windows 7 message
21. Open ProImage or other software package 22. Capture test x-rays

Page 7 P/N: 870-000267, Rev B
Upgrading the EVA Drivers On a PC with the previous version of the EVA drivers installed, follow the steps below:
1. On Window XP, please login to the computer as the Administrator
On Windows Vista, please turn off the “User Account Control”
On Windows 7 or 8, please lower the User Account Control settings to “Never Notify”
2. Disconnect all EVA sensors
3. First start by un-installing the OLD version of the EVA drivers:
a. Insert the USB Hardware and TWAIN Drivers Installation CD for the OLD version of the drivers
b. Select “Remove” from the Install Wizard
c. Restart the computer
4. Secondly, install the EVA Drivers version 6.1:
d. Insert the NEW USB Hardware and TWAIN Drivers Installation CD version 6.1
e. Follow the directions for New Installations of the EVA Drivers 6.1 beginning on Page 2
Page 8 P/N: 870-000267, Rev B
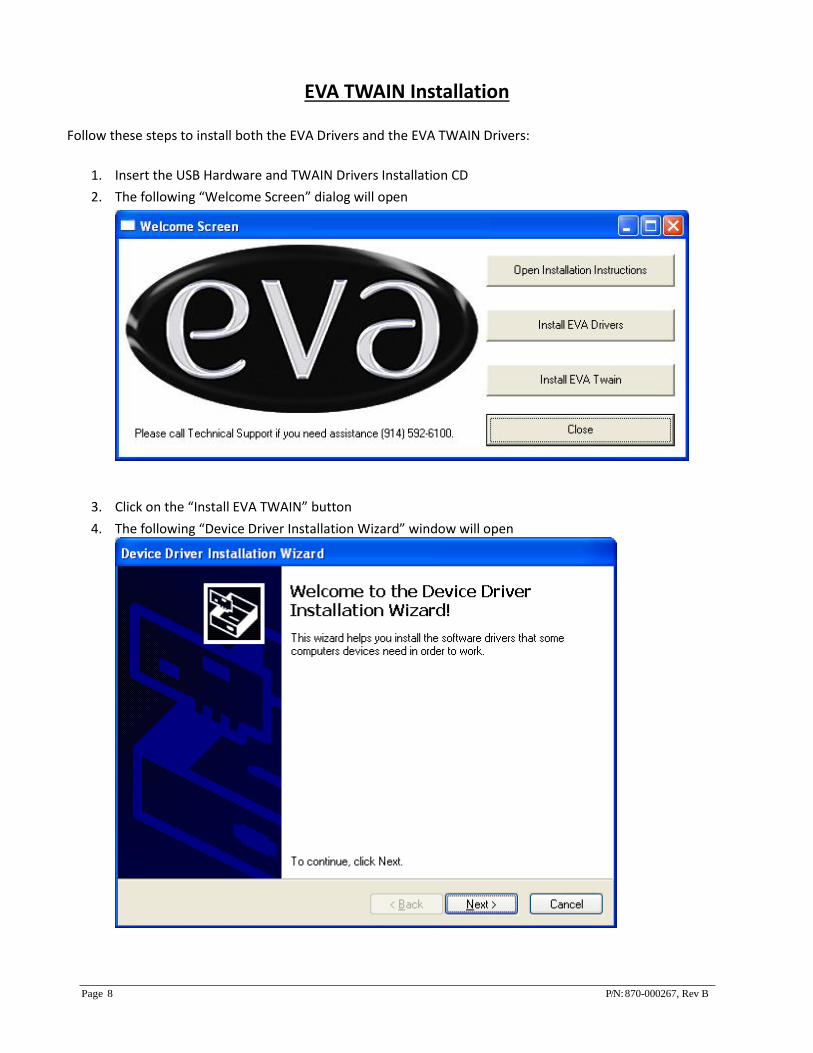
EVA TWAIN Installation Follow these steps to install both the EVA Drivers and the EVA TWAIN Drivers:
1. Insert the USB Hardware and TWAIN Drivers Installation CD
2. The following “Welcome Screen” dialog will open
3. Click on the “Install EVA TWAIN” button
4. The following “Device Driver Installation Wizard” window will open

Page 9 P/N: 870-000267, Rev B
5. Click Next 6. If the following window opens, click “Continue Anyway”
7. The following window will then appear:
8. Click “Finish”
Page 1 0 P/N: 870-000267, Rev B
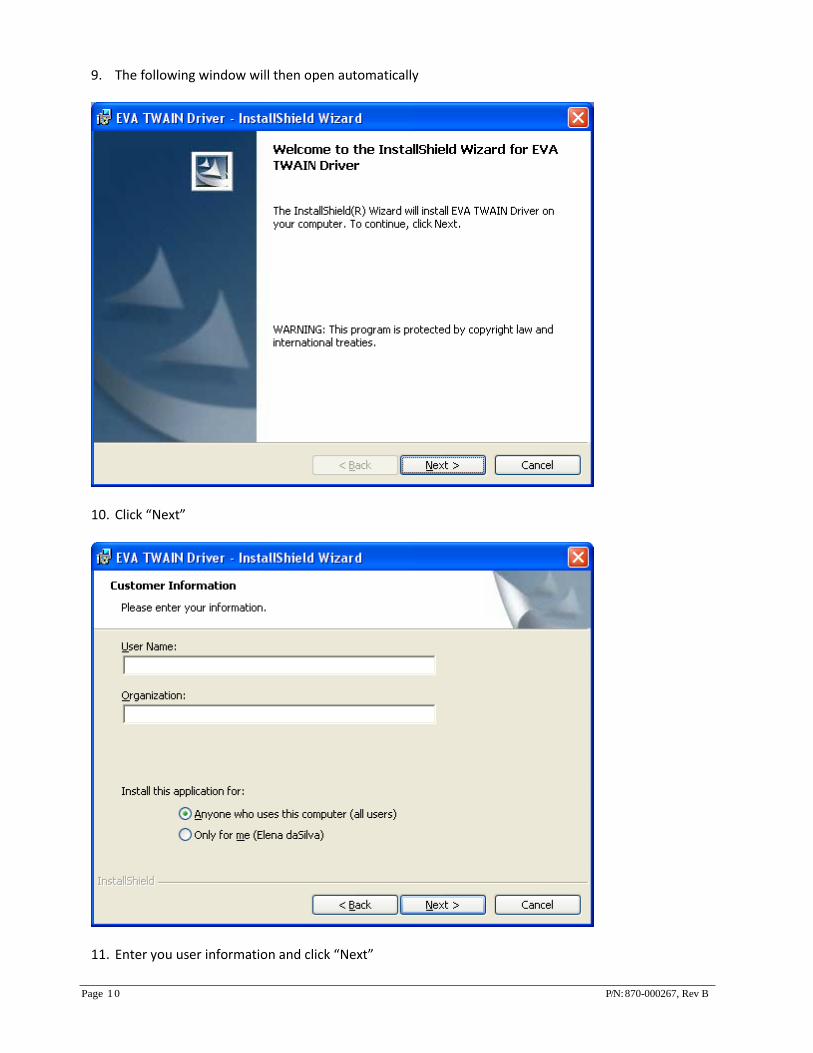
9. The following window will then open automatically
10. Click “Next”
11. Enter you user information and click “Next”
Page 1 1 P/N: 870-000267, Rev B
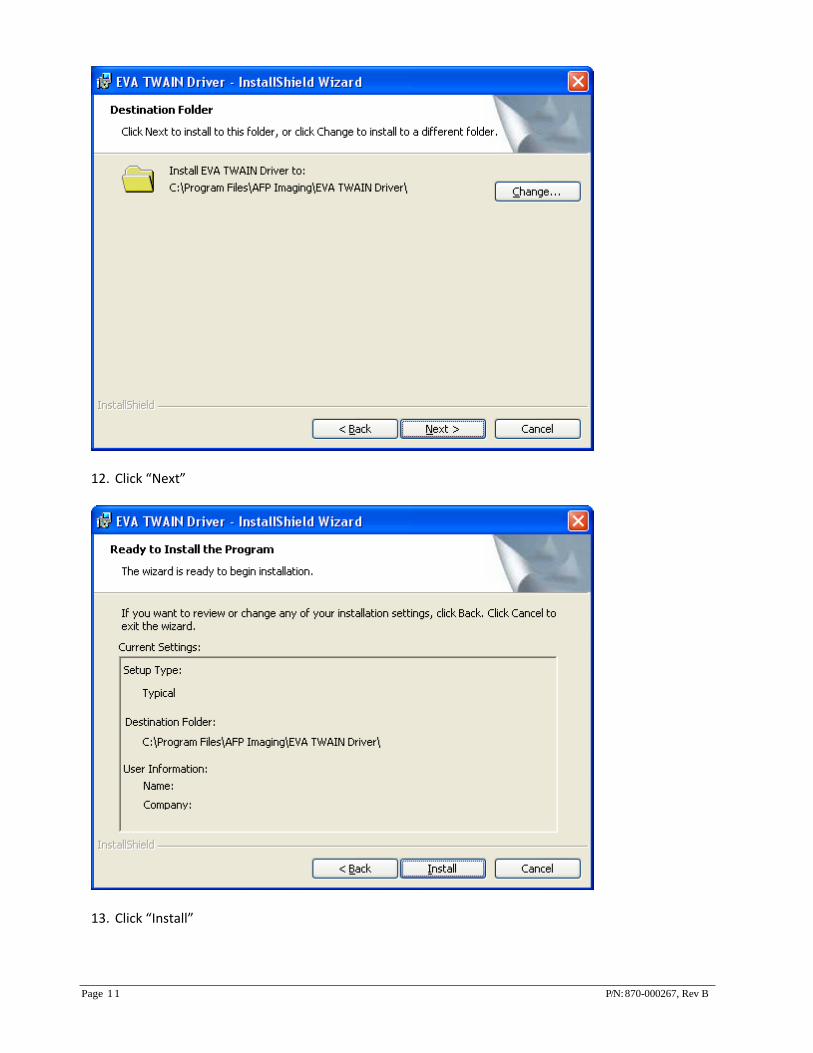
12. Click “Next”
13. Click “Install”
Page 1 2 P/N: 870-000267, Rev B
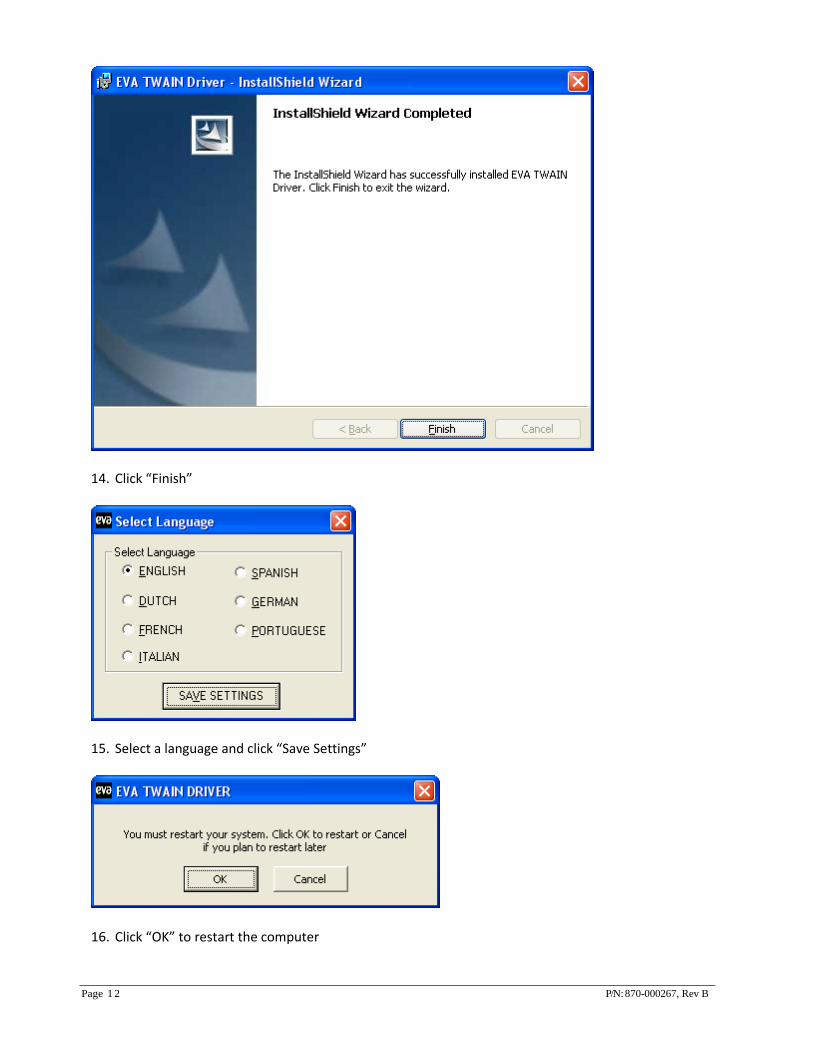
14. Click “Finish”
15. Select a language and click “Save Settings”
16. Click “OK” to restart the computer
Page 1 3 P/N: 870-000267, Rev B
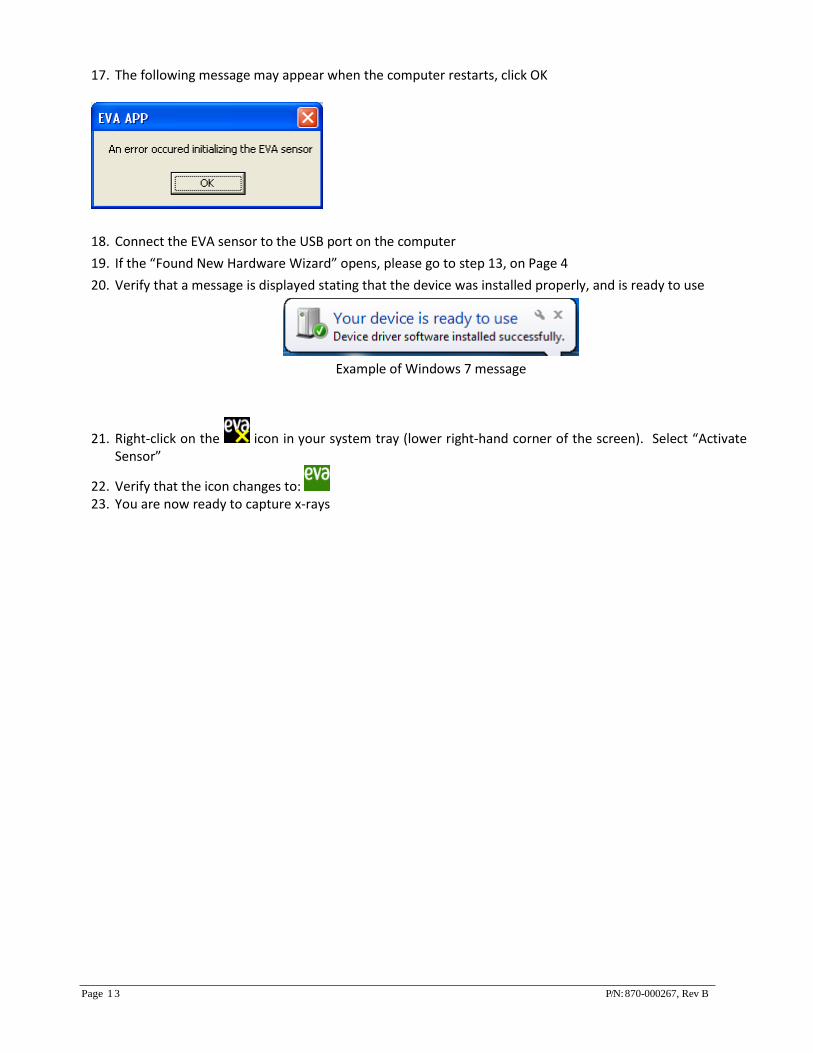
17. The following message may appear when the computer restarts, click OK
18. Connect the EVA sensor to the USB port on the computer
19. If the “Found New Hardware Wizard” opens, please go to step 13, on Page 4
20. Verify that a message is displayed stating that the device was installed properly, and is ready to use
Example of Windows 7 message
21. Right-click on the icon in your system tray (lower right-hand corner of the screen). Select “Activate Sensor”
22. Verify that the icon changes to: 23. You are now ready to capture x-rays

Page 1 4 P/N: 870-000267, Rev B
Using the EVA TWAIN Application General Use:
A Small EVA TWAIN icon will appear in the system tray at the bottom of the screen
If the EVA sensor is not connected to the computer, the following EVA TWAIN icon will appear: .
To proceed, plug the EVA sensor to the USB port of the computer, right click on the EVA TWAIN icon and choose
“Activate Sensor”. Then, the EVA TWAIN icon will be replaced by:
In case an error occurs while EVA is connected, the following icon will appear: Capturing Images:
When capturing images with the EVA sensor, the following “EVA Images” blinking icon will also appear in the
system tray (in addition to the EVA TWAIN icon):
Left click on the “EVA Images” icon in order to view the captured images. All the captured images will appear in a viewing window. As new images are being captured, they will be added continuously in this window
Please note the following system limitation: The EVA TWAIN software will only keep up to 64 images in memory. It is recommended that the images be downloaded to the main imaging application after each patient’s full x-ray session.
Please also note that directions for using the TWAIN device from a software application other than ProImage or EVASoft should be provided from that software application manufacturer. In most cases, there is an option to import images from the TWAIN devices available on the system. Disconnecting EVA: If you wish to disconnect the EVA sensor, left click on the EVA TWAIN icon and choose “Remove Sensor”. Then, unplug the EVA sensor. Reconnecting EVA: If you wish to reconnect the EVA sensor, plug the EVA sensor into the computer via the USB port. Wait until the green light shows up in the EVA sensor docking station. Then, right click on the EVA TWAIN icon and choose “Activate Sensor”. Reconnecting after a sudden disconnect: If an EVA sensor has been disconnected and reconnected without clicking on “Remove Sensor” first, please left click on the EVA TWAIN icon and choose “Remove Sensor”. Unplug the EVA sensor. Plug the EVA sensor back in and wait until the green light shows up in the EVA sensor docking station. Then, right click on the EVA TWAIN icon and choose “Activate Sensor”.