evaluation part 4
TRANSCRIPT
HOW DID YOU USE MEDIA TECHNOLOGIES IN THE CONSTRUCTION AND RESEARCH, PLANNING AND EVALUATION STAGES?

WHILE PLANNING AND RESEARCH I USED LOTS OF DIFFERENT PROGRAMMES SUCH AS:
slideshare

To research for film in my genre, the internet and websites was my main search engine I used sites such as YouTube. Google was another useful search engine that I used while I was carrying out my research, I used google to search for well-known films from my genre, at first a genre wasn’t clear but after using YouTube the genre I wanted to use was a dram/soap opera.
The hosting sites of the soaps and dramas such as BBC and ITV were also accessible when doing my research. I got a lot of ideas from current soaps. From there I started to pick my favourite storylines, I then analysed what I liked about them and how I could possibly create something of my own along the lines of what I researched.

USING BLOGGER- RESEARCH & PLANNING
I used Blogger to present my project. Because of my experience with it in As-level I found it easy to use. I used it to write about my work. Blogger was good as it was easy to use to keep track of our progress while working. We blogged every step that we went along with, from introduction to our project to the evaluation of our project. Regular check up’s with my teacher allowed me to keep on track and help improve any work that needed it.

CONTINUED…
Blogger was very beneficial as I could insert pictures and videos to show where I was getting my ideas and inspiration from.
I could also embed all of my planning documents – such as my shooting schedule, screenplay, storyboard etc. I used Blogger to record the process of my production; I was constantly updating it with ideas and progress, after filming shoots and editing days, I was also able to update posts when given feedback.
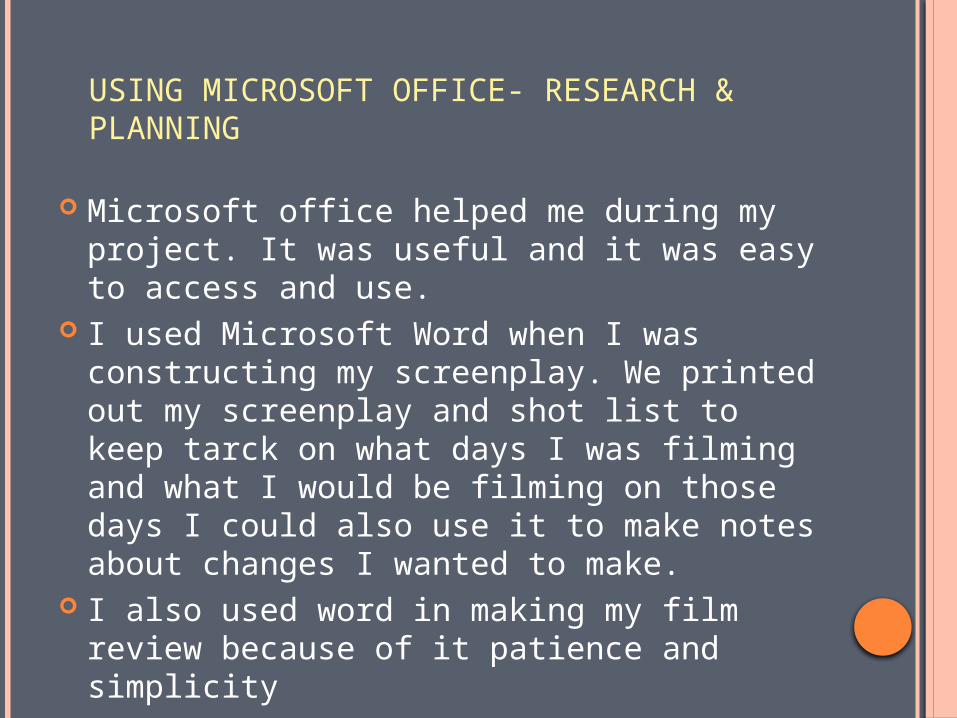
USING MICROSOFT OFFICE- RESEARCH & PLANNING
Microsoft office helped me during my project. It was useful and it was easy to access and use.
I used Microsoft Word when I was constructing my screenplay. We printed out my screenplay and shot list to keep tarck on what days I was filming and what I would be filming on those days I could also use it to make notes about changes I wanted to make.
I also used word in making my film review because of it patience and simplicity

Editing in Premier Pro & Photoshop
To edit and construct my final piece, I used Premier Pro cs6. Adobe Premiere Pro is a timeline-based video editing software application. At As-level I used an apple mac whilst editing in cs4 this meant I had no real experience with cs6 because it was so new. Due to this update I found the editing a lot easier, I also had the option to used new feature that I hadn’t ever used before such as “warp stabilizer” this particular piece of kit was a lifesaver when editing, if I found my footage was shaky in any way I could drop and drag “WS” on the clip and it would stabilize to footage giving it a professional finish without losing any quality or sound.

CREATING TITLES IN PREMIERE
Here are some screenshots of how I created my titles in premiere.
I used the same method when letterboxing my footage.
Instead of inserting text I used the rectangle shape and placed them as a layer over my footage.
I found that this technique was more visually appealing and gave a cinematic look when watching my footage back. The black also works well with my chosen colour scheme which consists of blues

COLOURISING MY CLIPS
The colourisation stages of my film where actually quite difficult, because It was hard matching the same colours so It had a continuous flow. My Attention to detail was very important for this very reason.
The colourisation acted as a second lighting technique it help create an atmosphere and mood lighting in certain scenes for example … the gas scene in the class room consisted of illuminating blues this was to help the room look empty and cold.

IMPORTING
I had no problems with importing my clips as it was the same process with CS4. the screenshots above are of how I imported my clips into premiere The clip for eOne entertainment had to be exported off YouTube then converted into an mp3 format, but again I used the same process in As level so I had no problems.

USING WARP STABILIZER
If I found my footage was shaky in any way which some of it was, I was able to drop and drag “WS” on the clip and it would stabilize the footage giving it a professional finish without losing any quality or sound.
The clip where its most apparent is the last explosion scene. I did originally want the footage to be hand held but after trying warp stabilizer I found it was a lot more effective, because it actually looked as if I had used a crane.
Using this also meant tripod weren't always necessary during the filming process.

CONTINUED…
Adobe Photoshop was another new program I used. I used this mainly to create my poster due to it versatility and industry effects.
After effects was again something I had never used but I had to use it when creating the explosion, my first real experience was a test clip I dragged and drop a few effects for the action essentials folder I had on my computer. Once I was capable of using after effects I then went on in creating my other sfx such as the light bursting and the explosion itself.

To begin I choose a random photo from Google.
As you can see I have done nothing to it yet except add a few wisps o smoke and dust
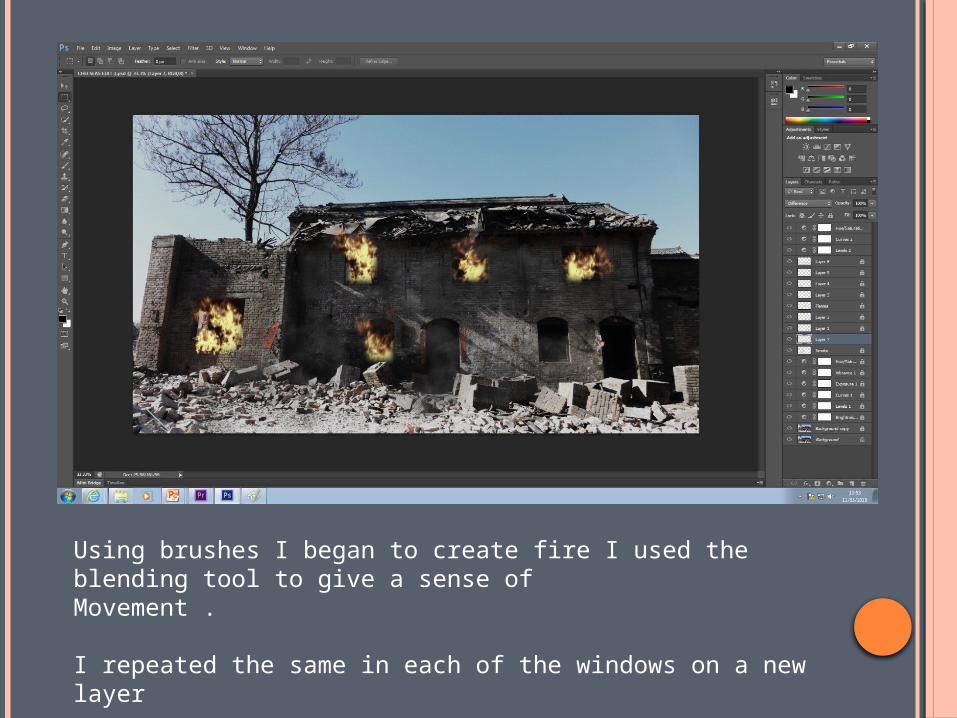
Using brushes I began to create fire I used the blending tool to give a sense of Movement .
I repeated the same in each of the windows on a new layer

Above you can see the front of the school which is what I was tryingto create in Photoshop.
I created a text layer, to which I then distorted to make it look like it had Been blown up and burnt.
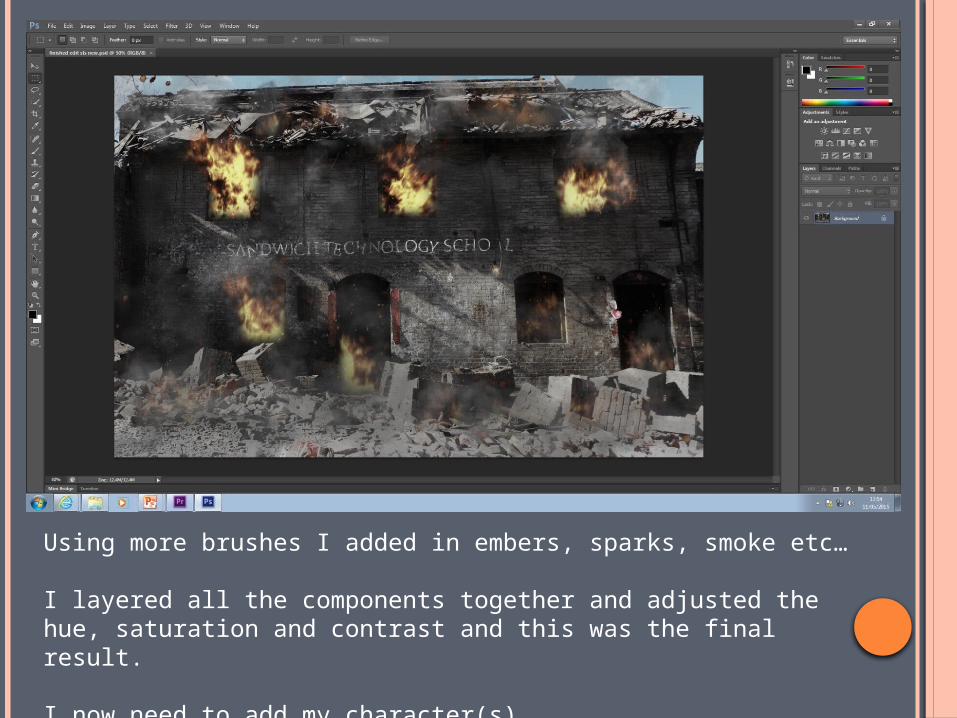
Using more brushes I added in embers, sparks, smoke etc…
I layered all the components together and adjusted the hue, saturation and contrast and this was the final result.
I now need to add my character(s)

The next when creating my poster was to add in my character, I need Kayleigh to look vulnerable and scared.
The reason for putting Kayleigh in front of the green screen was so that it was easer when it came to masking her out when placing her in front of my background I previously made.

I then used more brushes to create what appears to be debris and then scratch wounds with blood to enhance this idea that kayleigh has in fact be in an explosion.

FINAL POSTER.I then added text that matched with all of my other products, I then added credits in the bottom to give information about the film.