exploring your watershed: k-3 grade teacher script · any water that runs off the wax paper into...
TRANSCRIPT
Teacher Handout, Exploring Your Watershed Module Teacher Script to read for K-3rd grade students
US Environmental Protection Agency | May be reproduced for educational purposes only 1
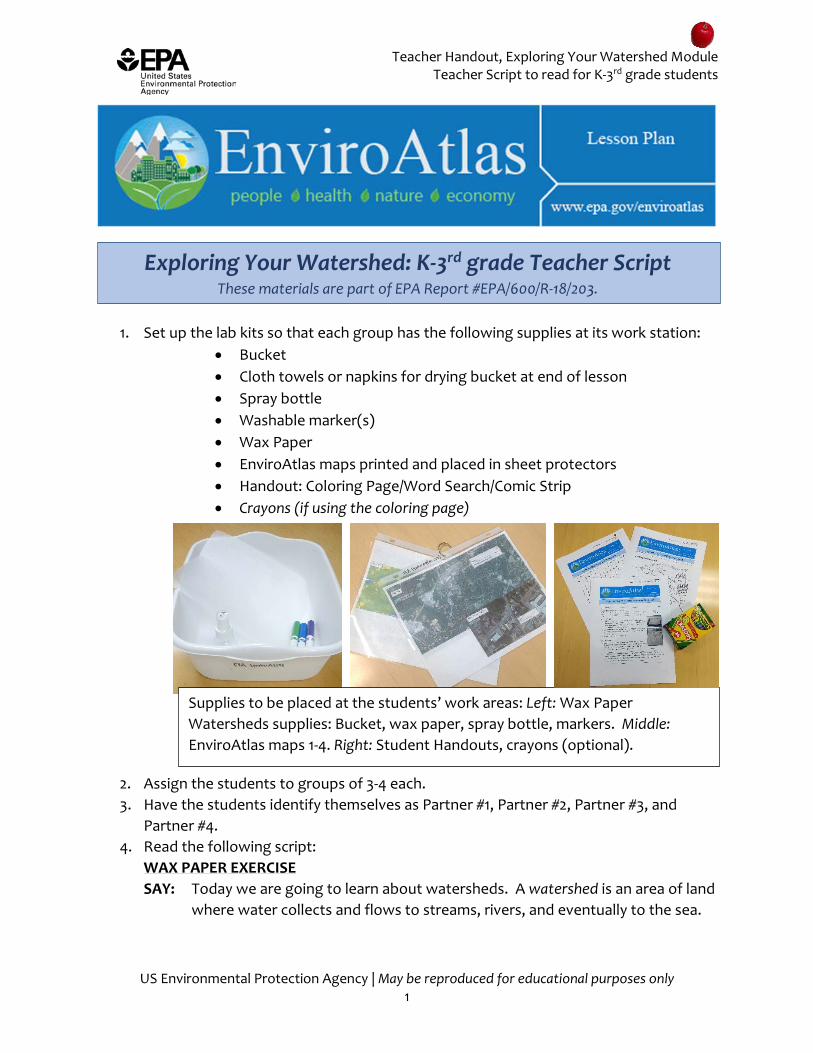
1. Set up the lab kits so that each group has the following supplies at its work station:• Bucket• Cloth towels or napkins for drying bucket at end of lesson• Spray bottle• Washable marker(s)• Wax Paper• EnviroAtlas maps printed and placed in sheet protectors• Handout: Coloring Page/Word Search/Comic Strip• Crayons (if using the coloring page)
2. Assign the students to groups of 3-4 each.3. Have the students identify themselves as Partner #1, Partner #2, Partner #3, and
Partner #4.4. Read the following script:
WAX PAPER EXERCISESAY: Today we are going to learn about watersheds. A watershed is an area of land
where water collects and flows to streams, rivers, and eventually to the sea.
Exploring Your Watershed: K-3rd grade Teacher Script These materials are part of EPA Report #EPA/600/R-18/203.
Supplies to be placed at the students’ work areas: Left: Wax Paper Watersheds supplies: Bucket, wax paper, spray bottle, markers. Middle: EnviroAtlas maps 1-4. Right: Student Handouts, crayons (optional).

Teacher Handout, Exploring Your Watershed Module Teacher Script to read for K-3rd grade students
US Environmental Protection Agency | May be reproduced for educational purposes only 2
To start, no one touch any of the supplies. Partner #1: Remove all of the supplies except the wax paper and set them all off to the side.
SAY: Partner #1: Watch me do the demonstration first.
SAY AND DEMO: Lightly crinkle up the wax paper (not all the way, and do not flatten it back out afterwards).
DO: Walk around and monitor student work.
SAY: Once you have finished, pass the wax paper to Partner #2. Partner #2, watch me do the demonstration first. All Partners, if this wax paper is your landscape, what kinds of features do you see? What are the high points? (Answer: Hills, mountains) What are the low points? (Answer: valleys, streams)
SAY AND DEMO: The highest points, or the tops of the hills and mountains, are also called ridges or divides. Using your markers, lightly color along these high points—just the peaks. Discuss with your partners which parts you’ll color, and once you all agree, Partner #2 can begin to color some of the ridges. I’ll come around and check each group’s work.
SAY: Partner #2, pass the wax paper and the markers to Partner #3. Partner #3, color in any of the remaining ridges.
DO: Allow time for students to finish.
SAY: Partner #3, collect the markers and place them to the side. Then, place the wax paper in the bucket and pass the bucket to Partner #4.
SAY: We are now going to simulate precipitation, or rain, onto our landscape. In science, we often make predictions or guesses, called hypotheses, about what we think will happen in experiments. With your group, make a hypothesis about what you think will happen when we spray water onto our landscapes. Use the words precipitation and ridges or divides in your hypothesis. Be prepared to share your hypothesis with the class. What will happen when the rain hits one of the ridges? (Answer: it will go to either side). The ridges that send water to collect in one basin area are what determine the boundaries of the watershed. Have students share their hypotheses.
Teacher Handout, Exploring Your Watershed Module Teacher Script to read for K-3rd grade students
US Environmental Protection Agency | May be reproduced for educational purposes only 3
SAY AND DEMO: One of the most important things about conducting science is making observations, so make sure that all of the partners can see the landscape. Demonstrate how to spray the wax paper. You’ll want it to be light enough that all of the water doesn’t run off at the same time. This can take some time—remind students to keep spraying until small pools of water form in the bottom of the wax paper.
SAY: Partner #4, using the spray bottle, lightly spray onto your landscape. Watch as the colors move on the landscape. Once Partner #4 has sprayed the landscape, trade the spray bottle with other partners.
DO: At this point, walk around the room to monitor the students’ work. When water starts to pool at the bottom of the wax paper, talk with the students about that. Ask them: what do you think that represents in the natural world? (Answer: a pond or lake). Ask them: as the water runs down the side of the hills or mountains, what do you think that represents in the natural world? (Answer: a stream or creek). Tell them that, when all of the water collects in ponds and lakes, the streams and creeks that run into that pond or lake are a part of the watershed—the watershed includes the streams and creeks that all end up in the same pond or lake. Any water that runs off the wax paper into the pan represents water in creeks, streams and rivers that flow into larger rivers that are part of larger watersheds, and eventually into the sea. Once all students have finished, discuss the concepts with the entire class that you spoke with students about individually.
Clean up: Have one of the partners dry the bucket, another one discard the wax paper, and another one return the materials to the front of the room, etc.
ENVIROATLAS MAPPING EXERCISE SAY: We are now going to use our understanding of watersheds to look at the part
of our watershed right here at our school! Partner #1, take out the set of maps. Look at Map #1. Partner #1, find our school on the map and point it out to the other members of your group.
Discuss the map and the area around your school. Are there woods? Parking lots? Playgrounds? Athletic fields? Make sure that the students feel oriented. Optional: discuss the map features, such as the scale bar and map directions.

Teacher Handout, Exploring Your Watershed Module Teacher Script to read for K-3rd grade students
US Environmental Protection Agency | May be reproduced for educational purposes only 4
SAY: Partner #1, find the orange lines on the map. Point out those lines to your group. They represent the boundaries of our local and neighboring watersheds!
Partner #1, pass the maps to Partner #2.
SAY: Partner #2, look at Map #2. Find your school again. Map #2 shows the “percent cropland” in your school’s watershed and surrounding watersheds. Using the Map Legend to the right, what is the percent cropland in your school’s watershed? Is it similar to the other watersheds nearby?
Note: You might need to explain what cropland is.
SAY: Partner #2, turn to Map #3. Discuss with your group what you see in Map #3. Map #3 is an image of the entire State with percent cropland shown. Discuss where in the State there is more/less cropland. This discussion will vary based on your specific State.
SAY: Partner #2, pass the maps to Partner #3. Partner #3, turn to Map #4. Find your school again on Map #4. Map #4 shows the path of a raindrop from your school to the nearest body of water (stream, creek, lake, etc.). The red dot is your start point, and the end point is where the red line ends. The thin red line shows the path of a raindrop from your school. On the map, trace the red line with your finger and show it to your group mates on the map.
Discussion points: Does your raindrop cross a parking lot or road? This could contribute to pollution getting into the rivers and lakes. Does your raindrop go through the woods or the forest? Forests can help absorb water during a heavy rain event. How far does your raindrop have to travel (look at the Map Legend)?
Note: the red line does not take storm drains or culverts into account. Discuss with the students that the red line represents what would happen without storm drains, but that if the raindrop crosses a road or parking lot, it will likely go down a storm drain.
At this point, if it is safe, students can navigate the path of their raindrop outside: “Follow Your Raindrop!”

Student Handout (K-3): Coloring Page Exploring Your Watershed
US Environmental Protection Agency | May be reproduced for educational purposes only 5
Student Name: ____________________________________________________
Exploring Your Watershed: Coloring Page
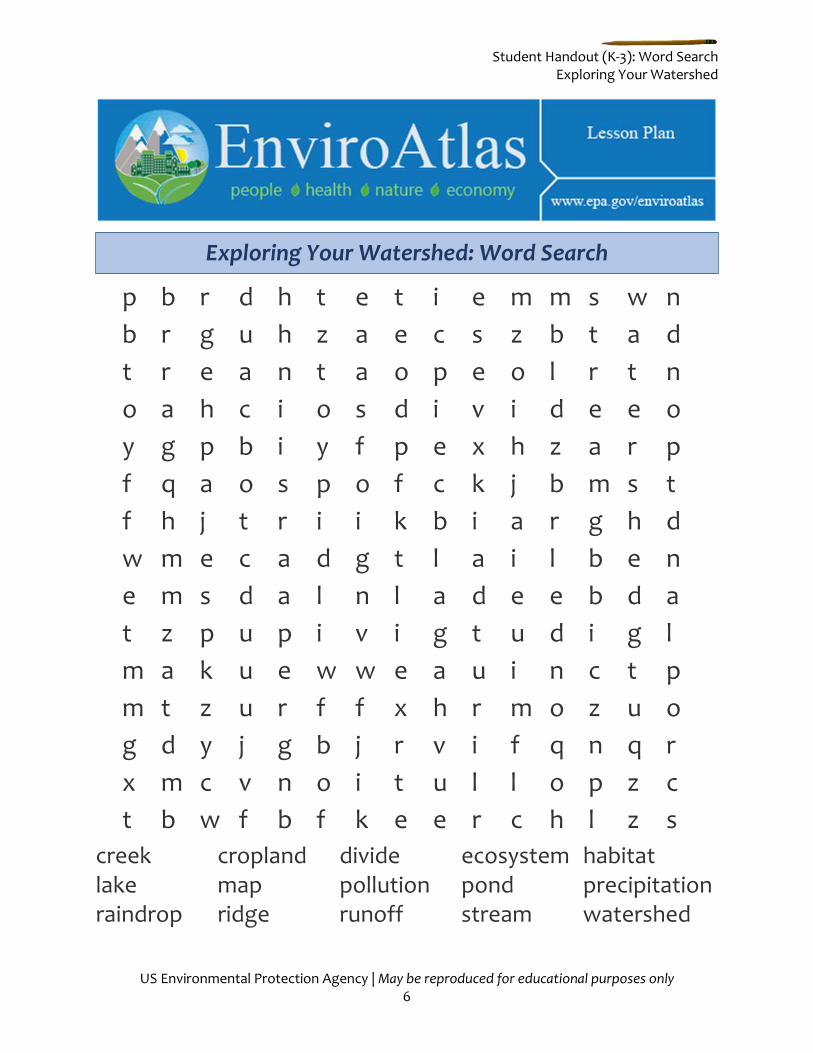
Student Handout (K-3): Word Search Exploring Your Watershed
US Environmental Protection Agency | May be reproduced for educational purposes only 6
creek cropland divide ecosystem habitat lake map pollution pond precipitation raindrop ridge runoff stream watershed
p b r d h t e t i e m m s w n b r g u h z a e c s z b t a d t r e a n t a o p e o l r t no a h c i o s d i v i d e e oy g p b i y f p e x h z a r p f q a o s p o f c k j b m s tf h j t r i i k b i a r g h d w m e c a d g t l a i l b e n e m s d a l n l a d e e b d a t z p u p i v i g t u d i g l m a k u e w w e a u i n c t p m t z u r f f x h r m o z u og d y j g b j r v i f q n q r x m c v n o i t u l l o p z ct b w f b f k e e r c h l z s
Exploring Your Watershed: Word Search

Teacher Handout (K-3): Word Search Exploring Your Watershed, ANSWER KEY
US Environmental Protection Agency | May be reproduced for educational purposes only 7

Student Handout (K-3), Watersheds: Comic Strip Exploring Your Watershed
US Environmental Protection Agency | May be reproduced for educational purposes only 8
Student Name: ____________________________________________________
Exploring Your Watershed: Comic StripIn the spaces below, draw the path of a raindrop from your location with short captions.

US Environmental Protection Agency | May be reproduced for educational purposes only 9
Additional K-3 Ideas/Resources
• Extension Ideas:1) Outdoor Science—Macroinvertebrate Sampling: For a
more hands-on approach, this lesson can be pairednicely with an outdoor macroinvertebrate count at yourlocal stream or creek. A pilot group did this inconjunction with the lesson plan; it was highly successfulfor supplementing student understanding with ecologyfieldwork.
2) Art/English—Story Stones: Have students paint smoothstones showing the path of their local Raindrop or theWater Cycle. Then have the students tell their stories toone another using their stones or write down their storiesusing their stones as a guide.
3) English/Read-Aloud—A Drop Around the World, by Barbara Shaw McKinney. Thebook leads readers around the world and teaches about the processof the water cycle.
Macroinvertebrate sampling
Story Stones