ford super duty front axle u-joint replacementjcray/04f250/pdfs/f250axleujoints.pdf · ford super...
TRANSCRIPT
Ford Super Duty
Front Axle U-Joint Replacement
2004 F250 4x4 XLT Sport Crew Cab
Back to 2004 F250 Main Page
Click Here for a PDF version of this article
While I was replacing my ball joints, I decided to replace a few other things while I had it apart. One of those items was the
front axle u-joints. Mine weren't particularly bad but its a long ways in there so I decided to replace them while I was there.
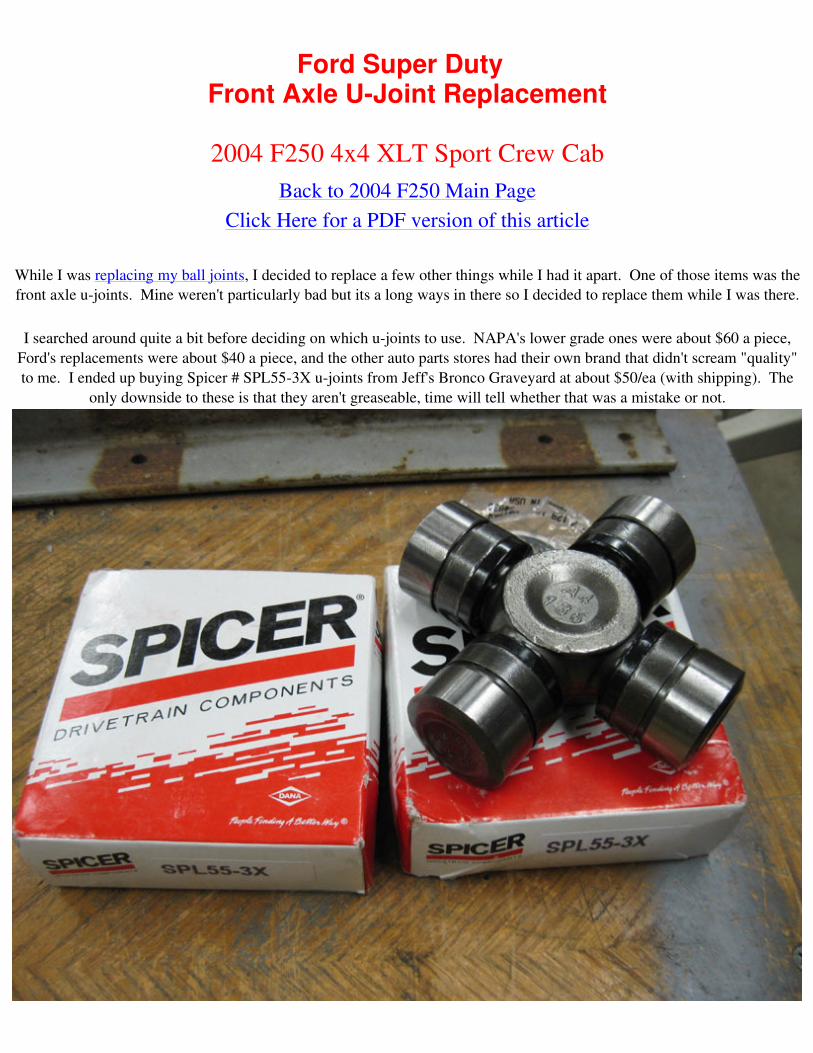
I searched around quite a bit before deciding on which u-joints to use. NAPA's lower grade ones were about $60 a piece,
Ford's replacements were about $40 a piece, and the other auto parts stores had their own brand that didn't scream "quality"
to me. I ended up buying Spicer # SPL55-3X u-joints from Jeff's Bronco Graveyard at about $50/ea (with shipping). The
only downside to these is that they aren't greaseable, time will tell whether that was a mistake or not.
The process of replacing axle u-joints is fairly straight forward, although they can be a real pain sometimes. I used my press
to remove & install them but before that I used a bench vice in place of the press. Same principle, just a little more difficult.
Its also very useful to have another person to help with this process, particularly on the passenger side axle that is quite long
and heavy.
First, remove all of the front end components including the hubs, brakes, hub/wheel bearing assembly, and finally the front
axle. This process is covered in my ball joint replacement article.
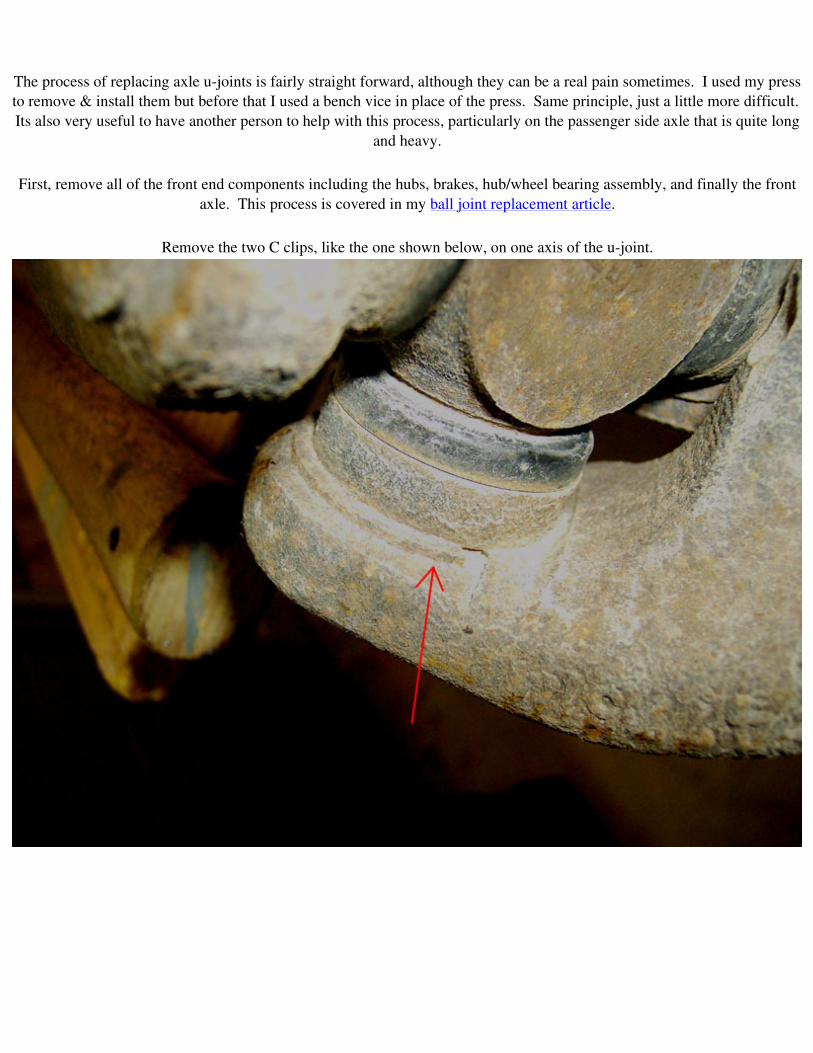
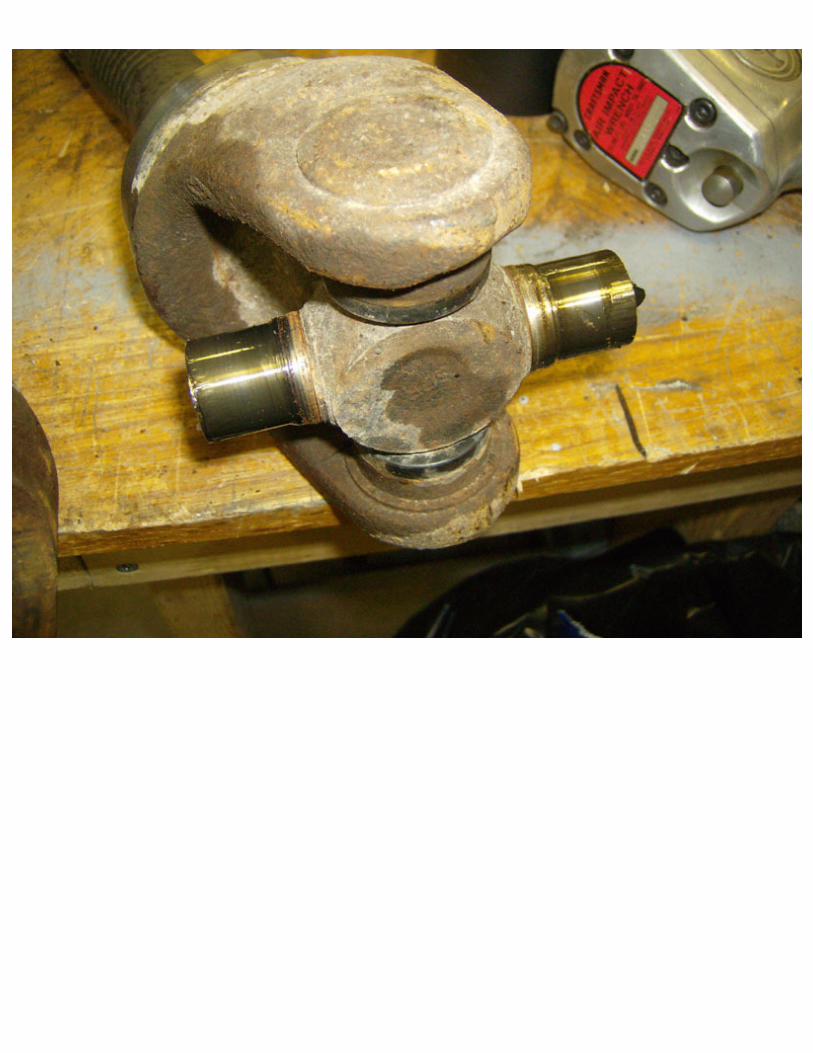
Remove the two C clips, like the one shown below, on one axis of the u-joint.
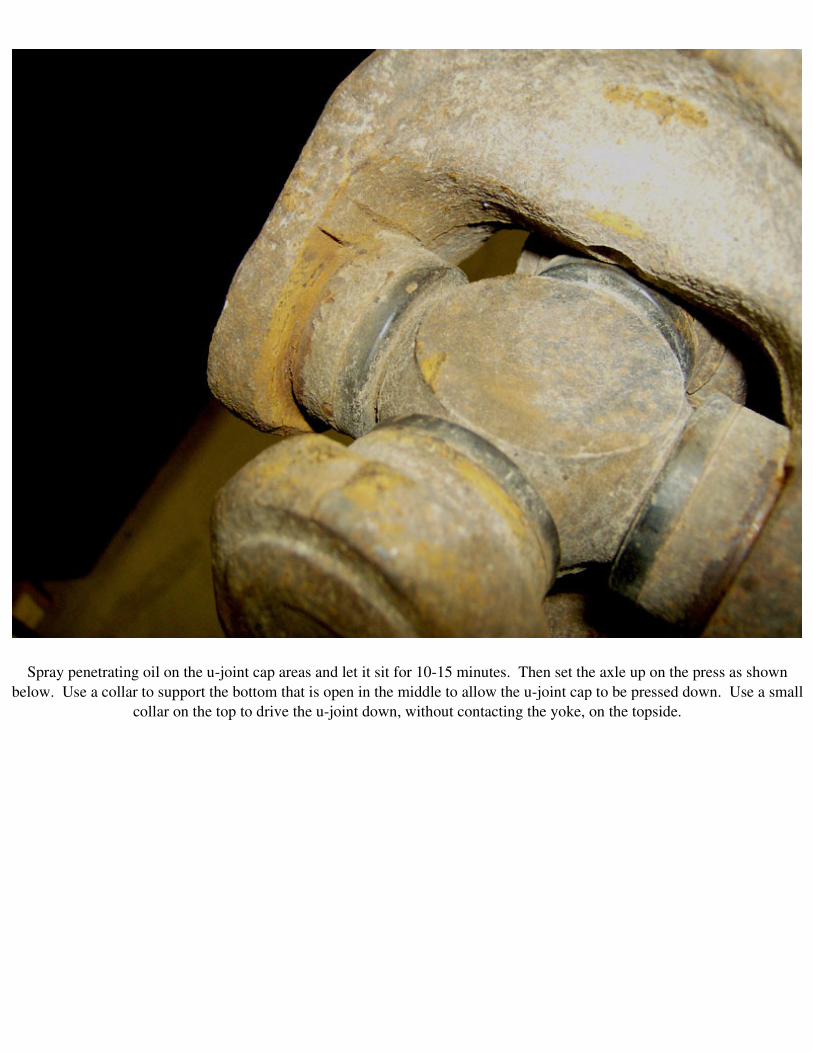
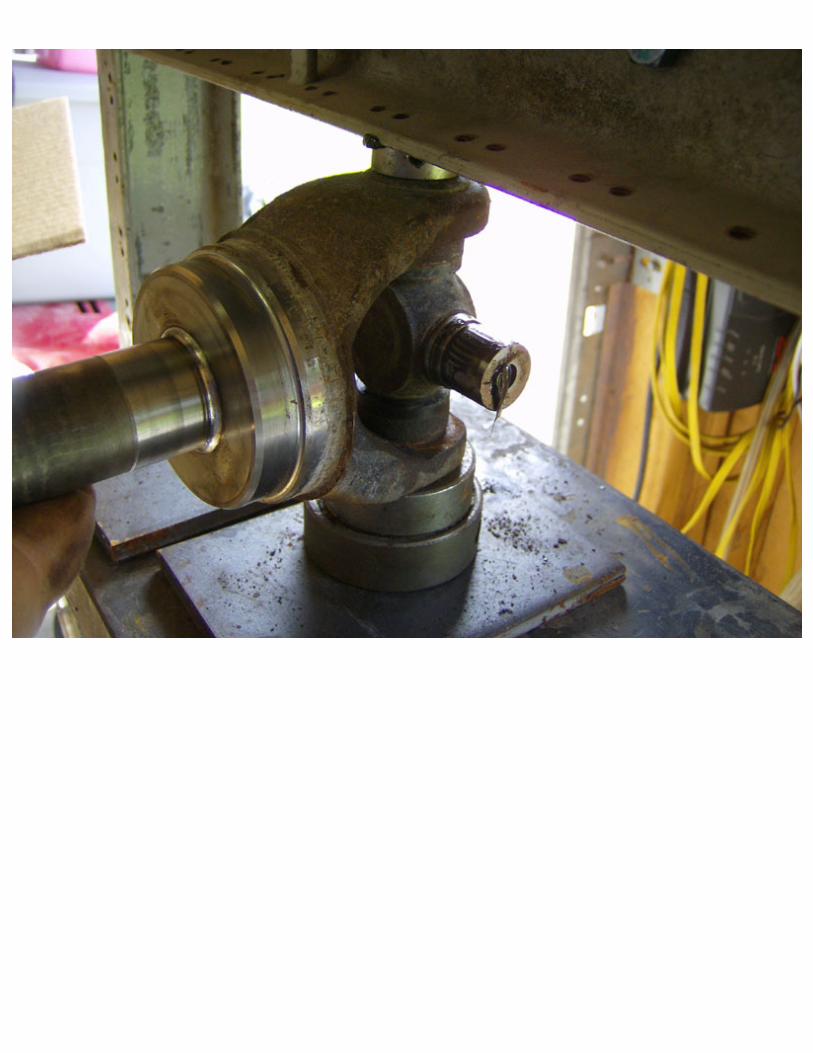
Spray penetrating oil on the u-joint cap areas and let it sit for 10-15 minutes. Then set the axle up on the press as shown
below. Use a collar to support the bottom that is open in the middle to allow the u-joint cap to be pressed down. Use a small
collar on the top to drive the u-joint down, without contacting the yoke, on the topside.
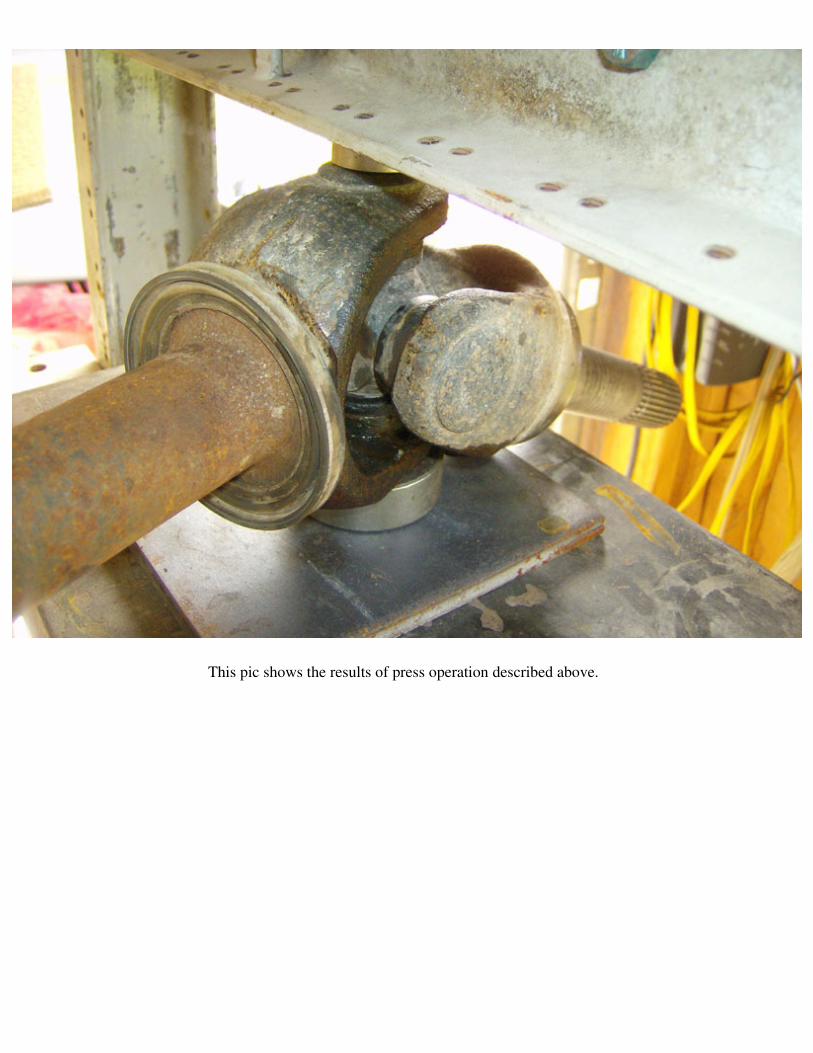
This pic shows the results of press operation described above.
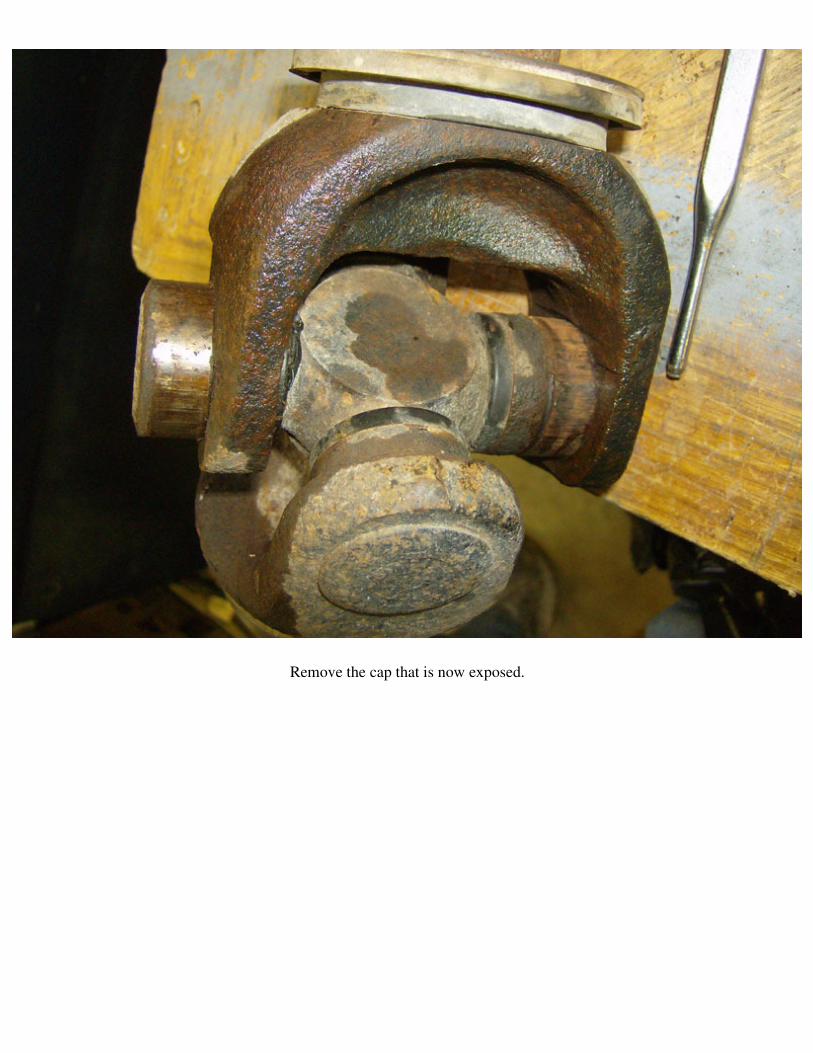
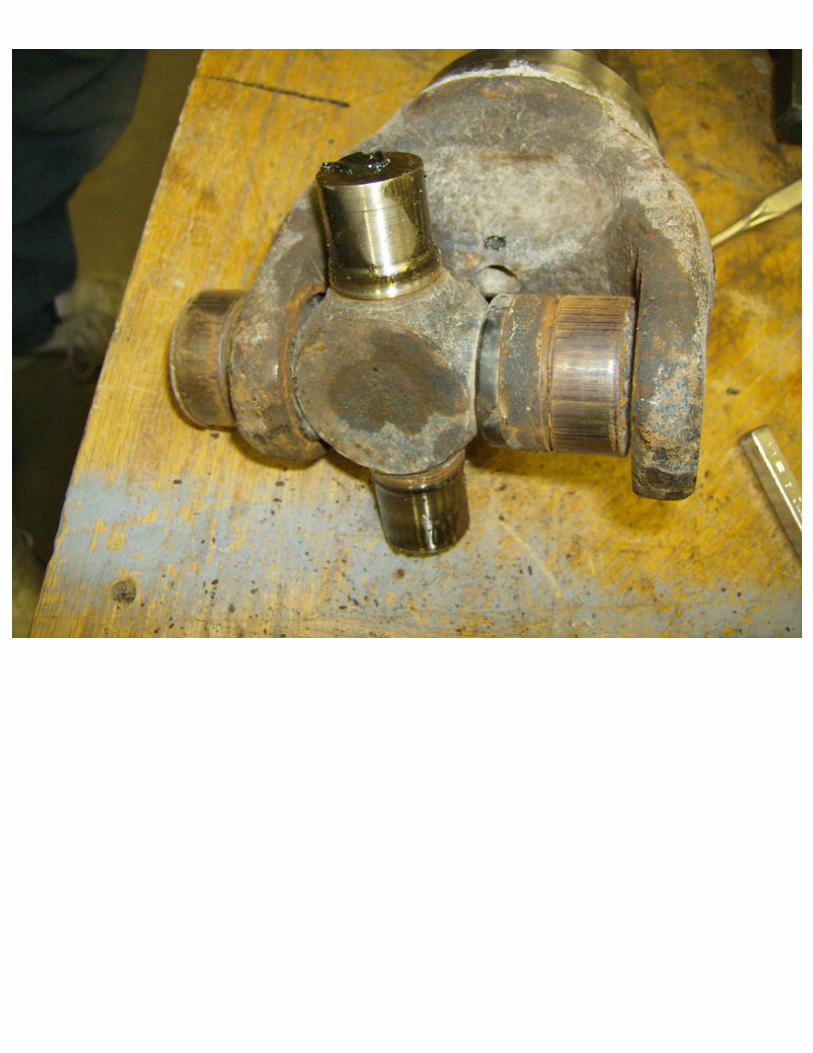
Remove the cap that is now exposed.
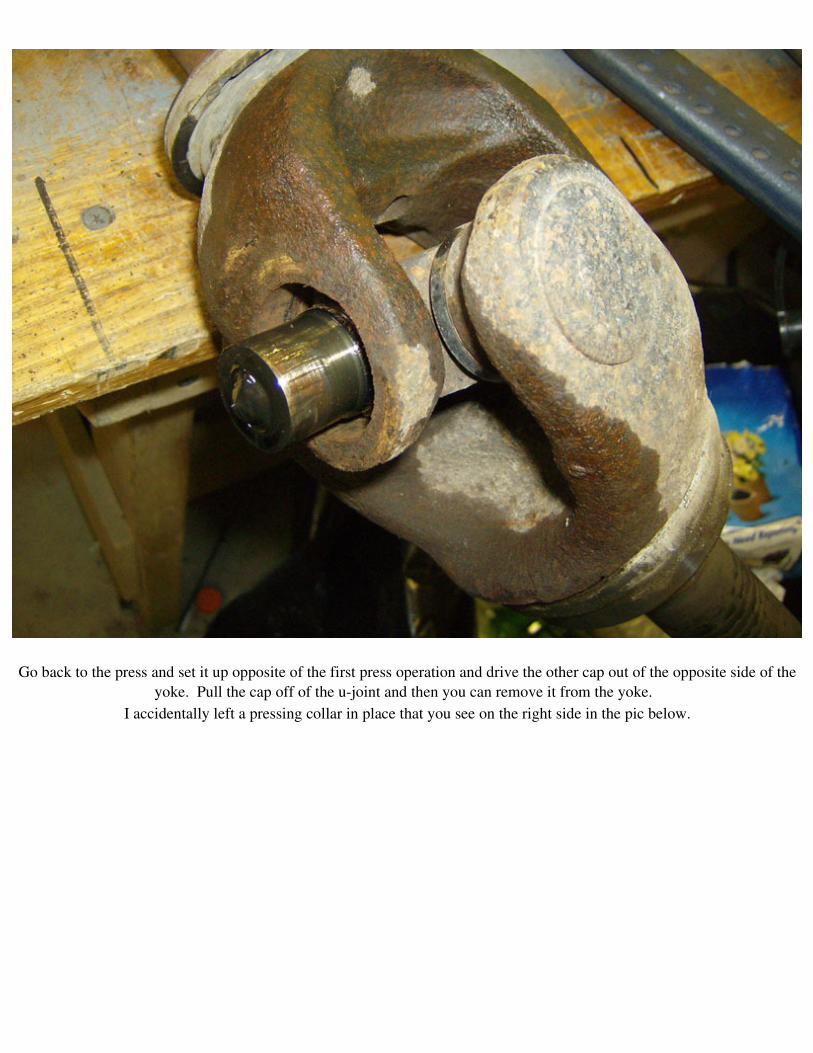
Go back to the press and set it up opposite of the first press operation and drive the other cap out of the opposite side of the
yoke. Pull the cap off of the u-joint and then you can remove it from the yoke.
I accidentally left a pressing collar in place that you see on the right side in the pic below.
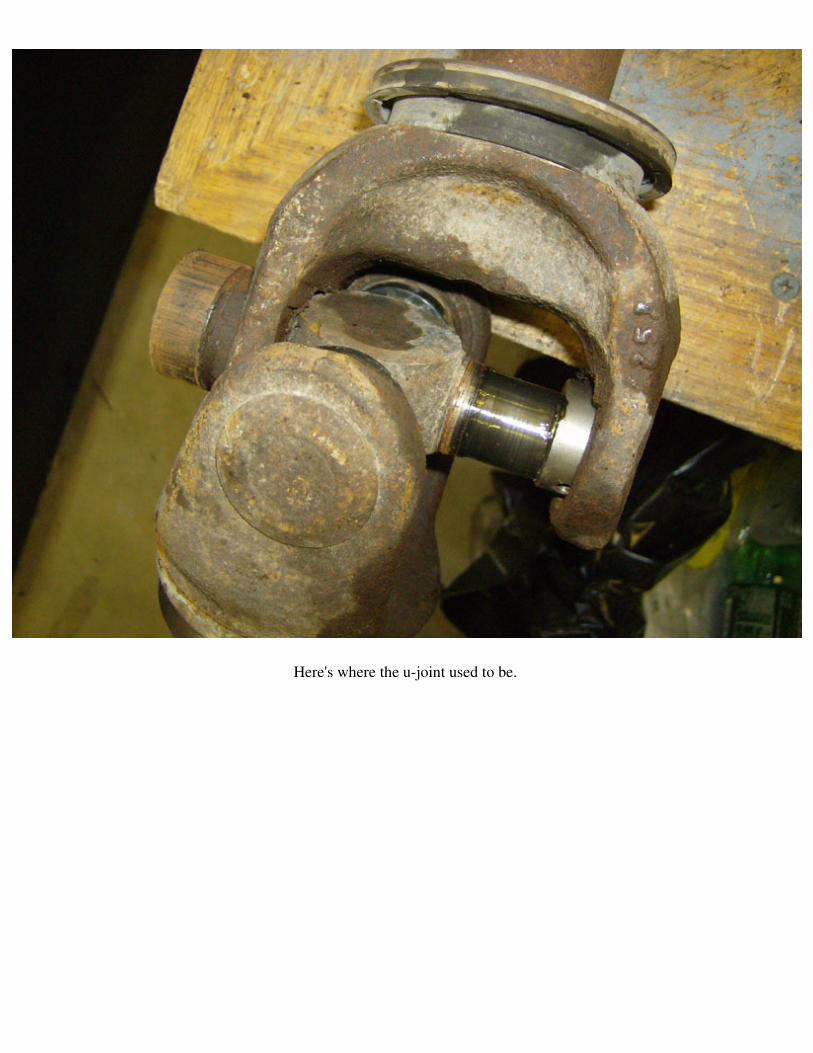
Here's where the u-joint used to be.
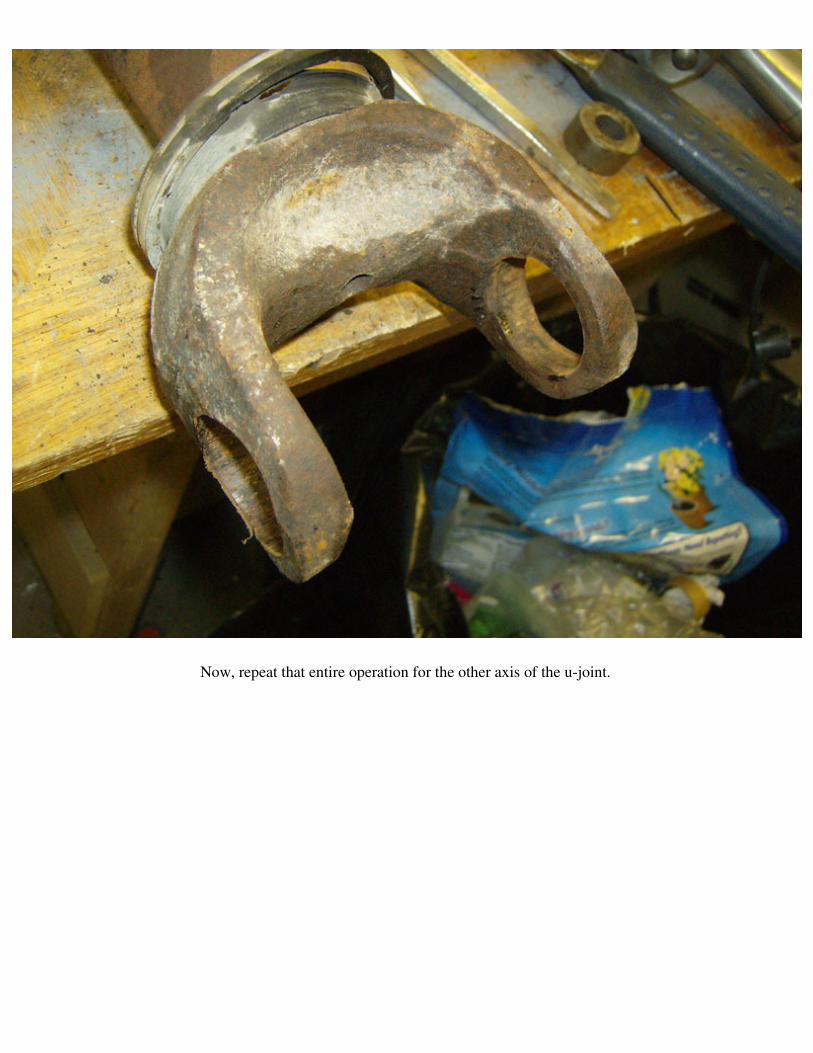
Now, repeat that entire operation for the other axis of the u-joint.
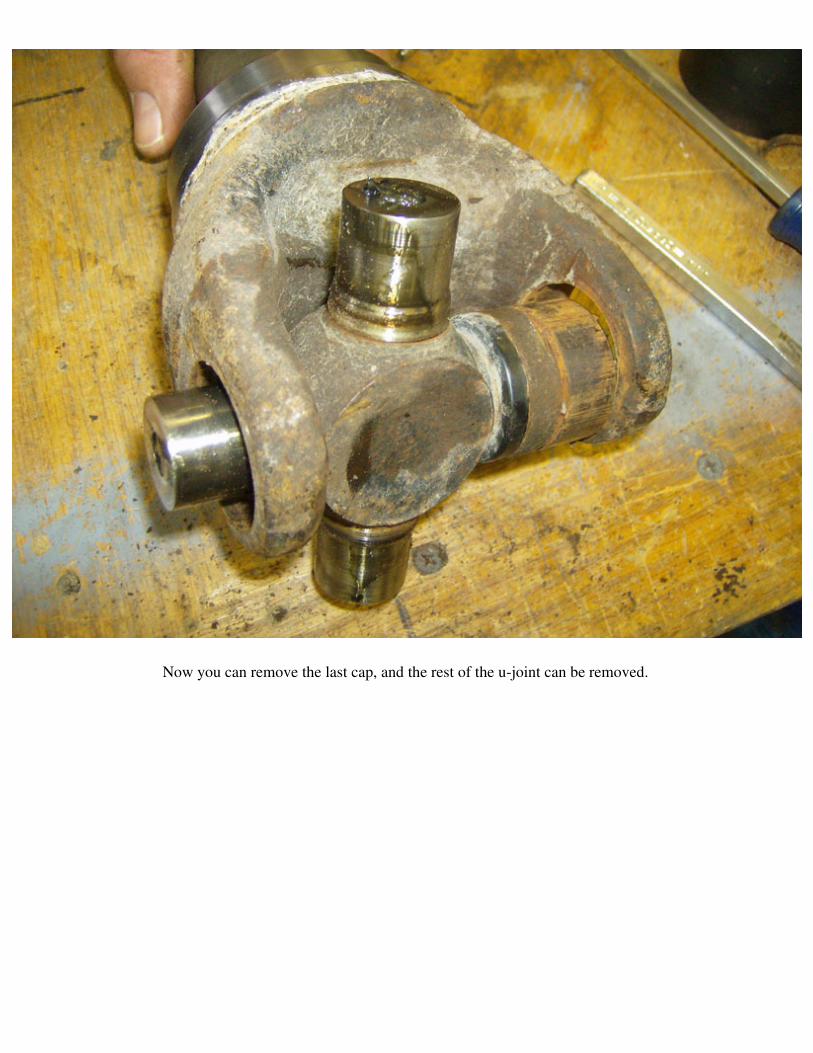
Now you can remove the last cap, and the rest of the u-joint can be removed.

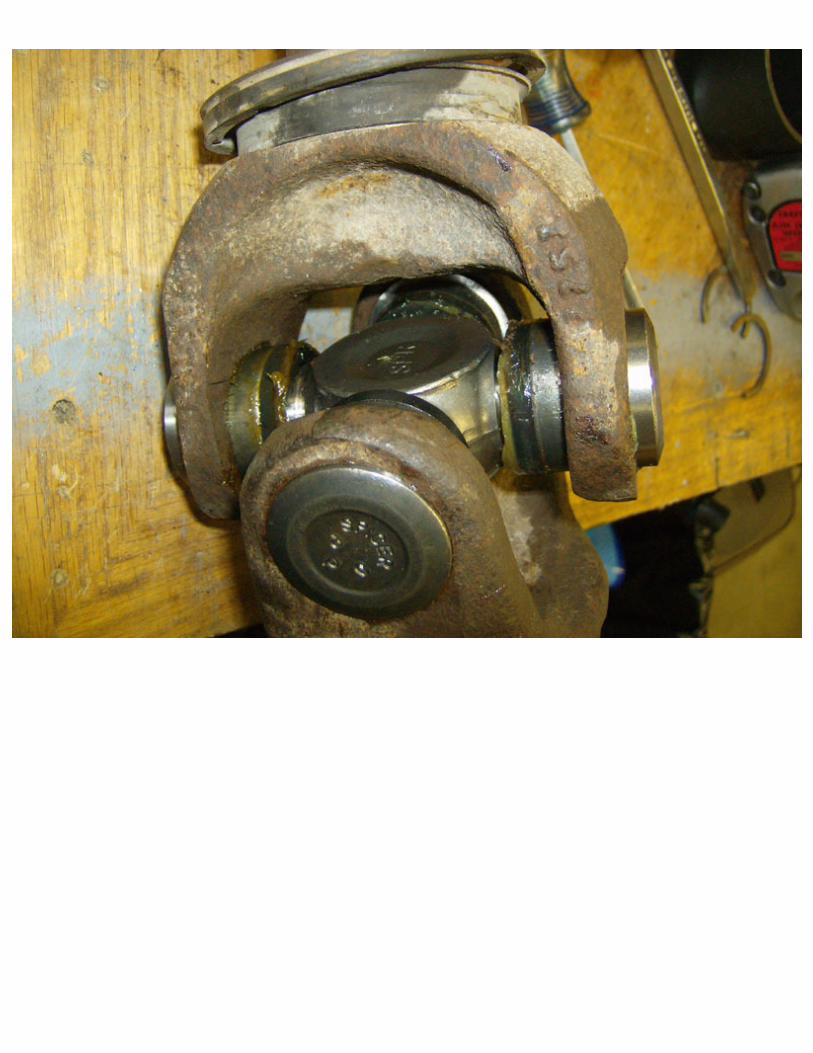
Now its time for the new u-joint. After cleaning up the cap surfaces and the C-clip areas, remove the caps from one axis of
the u-joint, place it in the yoke, and start the caps into their holes.
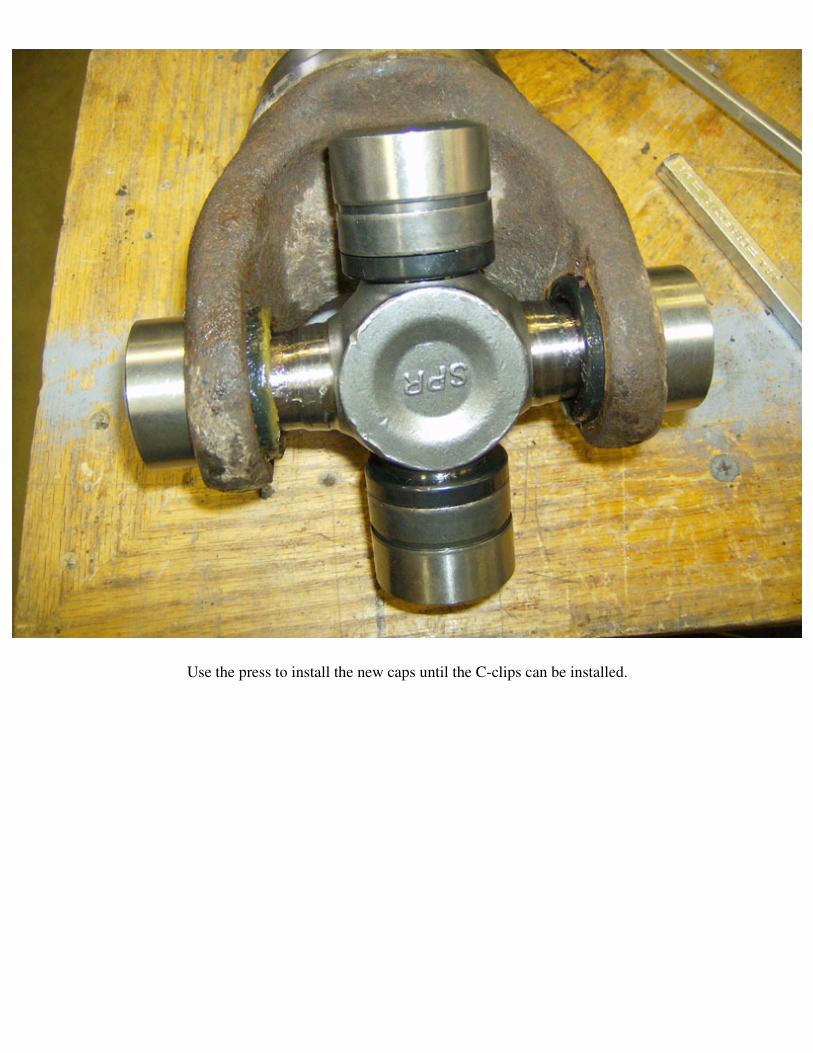
Use the press to install the new caps until the C-clips can be installed.

Repeat this process for the other axis of the u-joint
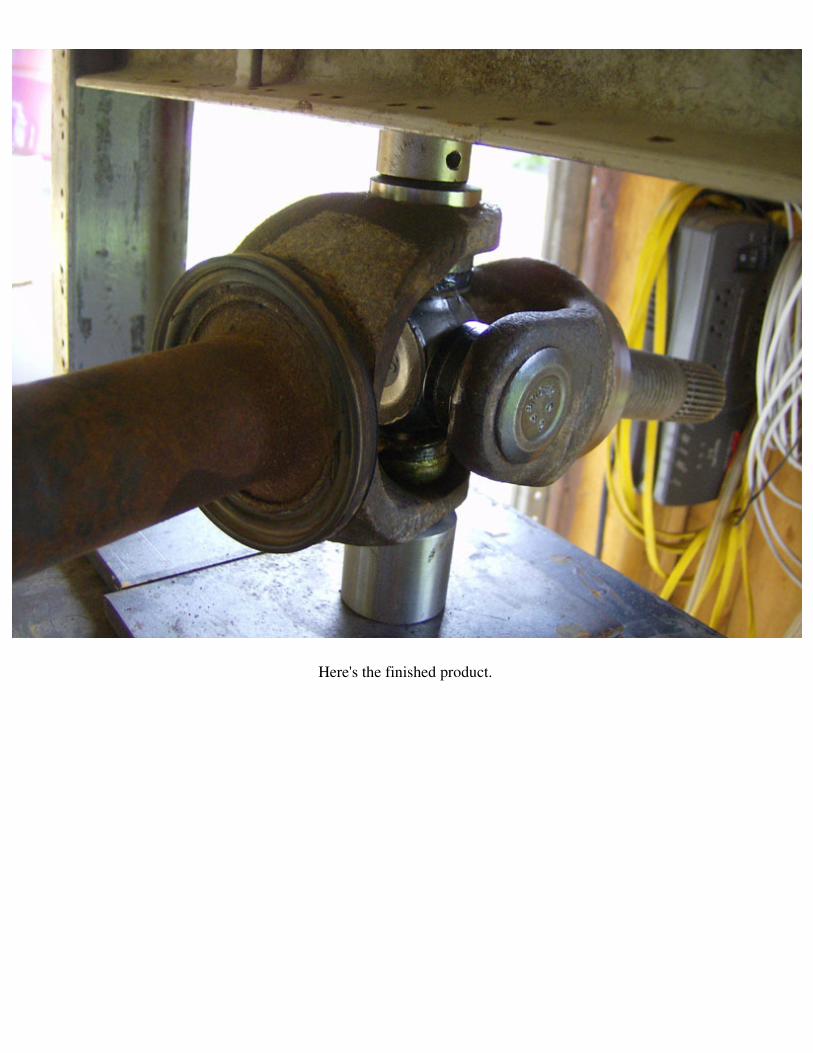
Here's the finished product.
Questions or Comments? Email [email protected]