getting better graphics from sketchup -...
TRANSCRIPT
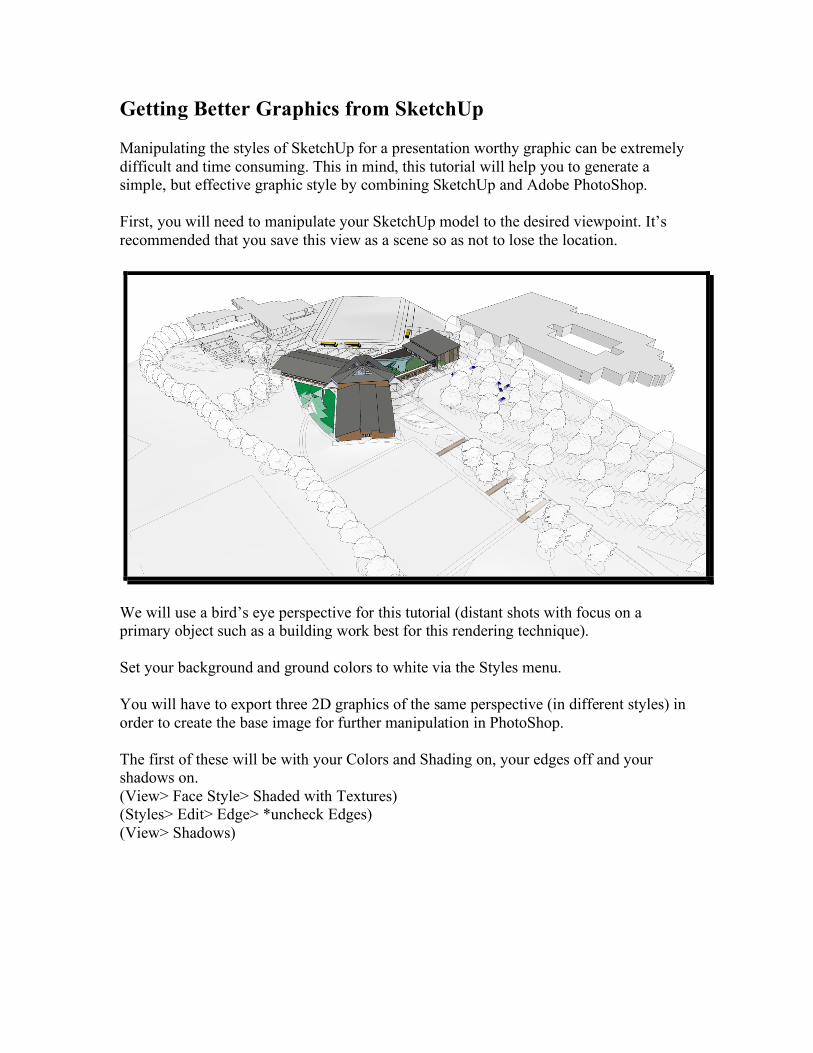
Getting Better Graphics from SketchUp Manipulating the styles of SketchUp for a presentation worthy graphic can be extremely difficult and time consuming. This in mind, this tutorial will help you to generate a simple, but effective graphic style by combining SketchUp and Adobe PhotoShop. First, you will need to manipulate your SketchUp model to the desired viewpoint. It’s recommended that you save this view as a scene so as not to lose the location.
We will use a bird’s eye perspective for this tutorial (distant shots with focus on a primary object such as a building work best for this rendering technique). Set your background and ground colors to white via the Styles menu. You will have to export three 2D graphics of the same perspective (in different styles) in order to create the base image for further manipulation in PhotoShop. The first of these will be with your Colors and Shading on, your edges off and your shadows on. (View> Face Style> Shaded with Textures) (Styles> Edit> Edge> *uncheck Edges) (View> Shadows)

Now export the file as a 2D graphic. A jpeg at 3000-4000 pixels wide with a resolution between 150 and 300 dpi typically yields good results. (File> Export> As 2D Graphic) The next style will be edges only. Turn off shadows (View> Shadows). Now change your face style to show only edges (View> Face Style> Hidden Line). Manipulating edge styles will yield varying results. You can change them to suit your needs, but for the tutorial we will use the default edge settings. Export this image in the same way (File> Export > 2D Graphic). Again, change your dimensions and resolution in jpeg Options.

Lastly, the third style will be Edges and Shadows. Simply turn on shadows (View> Shadows) and export the image. Remember to adjust your dimensions and resolution.
PhotoShop Manipulation Open your first exported image in PhotoShop (Color with textures and Shadows). Duplicate the layer (Ctrl+J) and delete the background layer. Apply a 50%, medium Ripple filter to this layer. (Filter> Distort> Ripple). Image size plays a role here so if you’re manipulating small images it may take some guess and check to make the ripple effect appear the way you want. Now open your second exported image. Edges only. Copy the layer (Ctrl+A> Ctrl+C) and paste it in your Color with Textures file (Ctrl+V). This will place your edges only file on top of your colors. Now where your blending option is currently set to ‘Normal,’ change your edges only layer to ‘Multiply’ on the pull-down menu. Next, open your last exported file (Edges and Shadows). Again, copy and paste this layer (Ctrl+A> Ctrl+C) (Ctrl+V) in your open editing file containing the other two layers. Finally, select the Eraser tool. Experimentation is the only way to generate truly authentic graphics here. Begin erasing the Edges and Shadows layer. Adjust the Opacity of your

eraser. As a general rule, stay below 50%. Try selecting regions to minimize your overlap, but as you guess and check; this may become a desirable effect.