handy lesson plans, supporting stuff and growing guides · welcome 3 - 4 growing guides cress 5 - 6...
TRANSCRIPT
teacher’s resource packhandy lesson plans, supporting stuff
and growing guides

give it a grow
hello ................................................................................................................................... 1 - 2
growing guides
cress ................................................................................................................................ 3 - 4 peas ................................................................................................................................ 5 - 6 baby carrots .................................................................................................................. 7 - 8
lesson plan 1
using our senses (the veg detective game) ...............................................................9 - 10 activity sheet 1 - using my senses .................................................................................... 11 activity - veg detective .......................................................................................................... 12
lesson plan 2
growing power ......................................................................................................... 13 - 14 activity sheet 2 - where seeds grow ............................................................................... 15
lesson plan 3
keeping a record ...................................................................................................... 16 - 17 activity sheet 3 - my growing chart ................................................................................. 18
lesson plan 4
arty fruit and veg ...................................................................................................... 19 - 20 activity sheet 4 - strawberry seeds .................................................................................. 21
lesson plan 5
the history of fruit and veg ....................................................................................... 22 - 23 activity sheet 5 - the history of fruit and veg .................................................................. 24
lesson plan 6
sustainability ..................................................................................................................... 25 pollinators ......................................................................................................................... 26 bug hotel ........................................................................................................................... 27 harvest basket and water butt ......................................................................................... 28
reci-peas
pea pesto ................................................................................29 pea and cress soup ................................................................30 carrot cake breakfast balls ...................................................31
notes ...................................................................................32 - 33
contents
hello
The big grow is back, and it’s all about getting people growing their own veg at school and home.
We’re working with GIY (the experts in growing stuff yourself) to give 210,000 kids across the UK and Ireland everything they need to grow their veg. That’s a lot of green fingers.
packed with helpful stuff
Inside this booklet you’ll find lots of lesson plans and activities for primary school kids. We’ve worked closely with teachers and other education specialists like you to make sure it’s got everything you need to get growing. You’ll also find extra ideas and suggestions, plus some activity sheet templates. We’ve included activities for all ages so everyone can join in. They cover interesting stuff like recording how fast veg grows, understanding the history of fruit & veg, using the senses, and creating art. Potato stamp, anyone?
You can download all the templates for free at innocentbiggrow.com, so you can print them off, copy them or give them to kids to take home. And please keep an eye on your inbox for extra tips, tricks and activities throughout the competition.
win with the big grow
This year, you could win a garden makeover for your school, just for giving growing a go.
If you’re picked, GIY and innocent will come to your school and transform your garden in just one day. It makes it easier for us to pick a winner if you share your growing journey with us. Send us your pictures, videos, short films, raps, songs, postcards and whatever else you can think of to get our attention. And don’t worry if you already have a school garden, you could still win an upgrade.
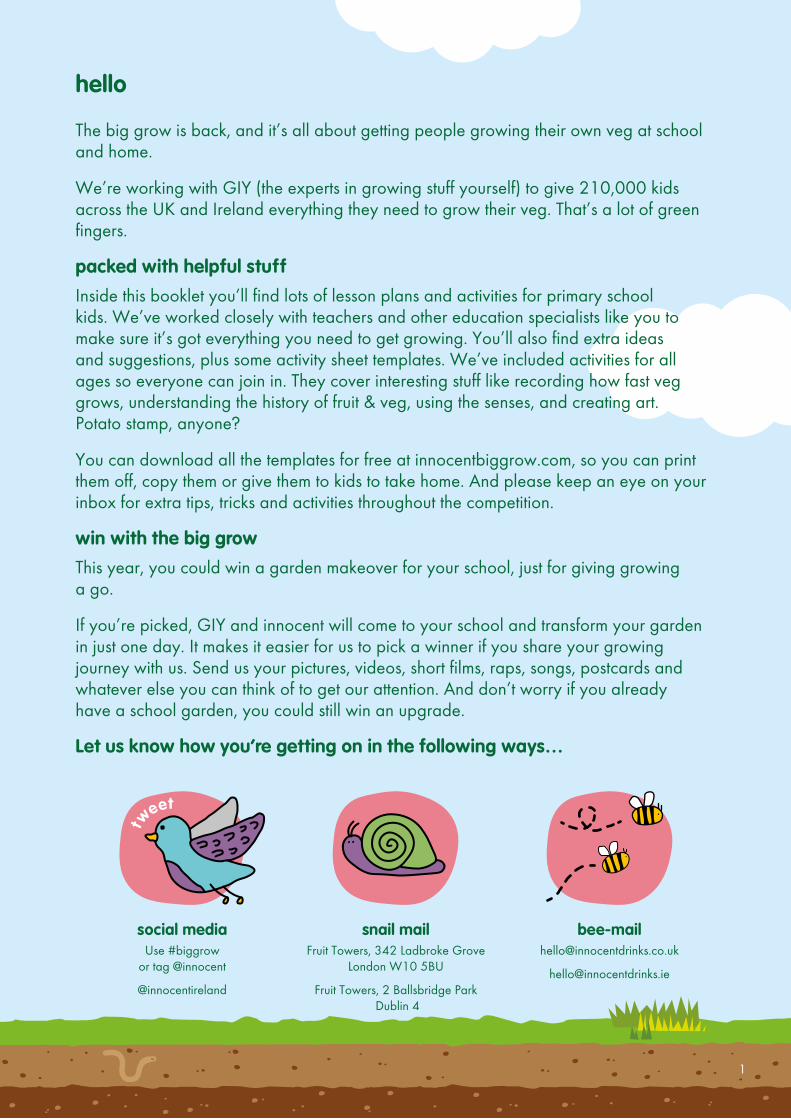
Let us know how you’re getting on in the following ways…
social mediaUse #biggrow
or tag @innocent
@innocentireland
snail mailFruit Towers, 342 Ladbroke Grove
London W10 5BU
Fruit Towers, 2 Ballsbridge Park Dublin 4
tw
eet
1
look out for me
what’s new
being sustainable
At innocent, we want to leave things better than we find them. That might sound a bit airy-fairy, but we strive to do business with this mission in mind. This means taking responsibility for any impact we have on society and the environment, and trying to move it from negative to neutral or (better still) positive. The big grow is part of this too.
Growing stuff is great for the environment. More greenery means more plants converting carbon dioxide into oxygen. It also teaches kids about where their food comes from. You can’t get much more local than your own garden or windowsill. This year we’re keen to teach kids more about sustainability and biodiversity, so we’ve added a few new exercises to get your class clued up on greener gardening. We’ve also made sure every piece of our growing kit is reusable, recyclable and biodegradable, from the box to the badge to the compost discs.
2

A little guide to growingcress
sowing
1. Start by getting your hands dirty, popping one compost disc into each of your cups.
2. Add 100-150ml of warm water and give it a stir. As if by magic, your compost will bulk out.
3. Bang it on the table a few times to help the compost lie nice and flat.
4. Sprinkle the cress seeds onto the compost.
5. Water and leave it on a sunny windowsill indoors.
6. Check your cup every day to make sure the compost is moist. If it’s not, water it again (but be careful not to overwater it as the seeds might rot).
Cress is really simple and quick to grow, and you can grow loads of it even if you don’t have much space.
You’ll be sowing your cress seeds in your big grow cups, but you could also try putting some seeds on damp tissue paper or kitchen roll, as they will grow quite happily there too.
Cress grows indoors at any time of year, and you can usually start picking your cress to eat about a week after sowing.
As a green leafy vegetable, cress has more iron than spinach, more calcium than milk and three times as much vitamin E as lettuce. It’s also an excellent way of getting some vitamin K and A.
3
harvesting
To harvest cress, simply cut through the stems with scissors when they’re about 5cm tall. Cress is very tasty in an egg sandwich or in a salad.
growing
The little seedlings will germinate (appear) really quickly – usually within a day or two. If the room isn’t warm enough, the cress might go a bit mouldy (don’t eat it if this happens).
top tips
• Watercress is a type of cress that loves to grow in damp soil, and you’ll often see it growing by streams and rivers. This can be grown the same way as cress, but it needs to be watered a bit more.
• Cress is used as a garnish in restaurants to make dishes look prettier. But it can also be eaten.
• To make your own cress head, put a little ball of damp cotton wool into an eggshell and sprinkle cress seeds on top. Keep the cotton wool moist by watering it every day. Paint a face on the eggshell and, when the cress grows, it will look like a person with green hair. Egg-cellent.
show us how your garden grows
This year, your school could win a garden makeover. Help us pick the best big growers by sharing photos and videos of your class journey on Twitter, Facebook or Instagram*. Use #biggrow and @innocent (UK) or @innocentireland (ROI) to lettuce know how you’re getting on.
*Please make sure you have the parent or guardian’s permission before posting images or videos of children on social media.
4

A little guide to growing
peas
sowing
1. Start by getting your hands dirty, popping one compost disc into each of your cups.
2. Add 100-150ml of warm water and give it a stir. As if by magic, your compost will bulk out.
3. Bang it on the table a few times to help the compost lie nice and flat in the cup.
4. Put about 2-3 pea seeds on the surface of the compost and push them down until they are about 3-4cm under.
5. Cover over the little holes with a little more compost.
6. Give it a good water.
growing
Keep the cup somewhere warm and sunny. Check it every day to make sure the compost is moist, and if it’s not, water it again. The surface should feel damp, but not too soggy. Your peas should germinate (appear) within seven to ten days.
Don’t forget that peas need support as they get taller. Use sticks of hazel, or other sticks that aren’t too smooth, and the little pea tendrils will grasp onto them. Bamboo sticks are too smooth and the peas won’t be able to grab on.
If you plant a pea seed in the ground, it’ll quickly sprout and become a 4ft tall pea plant with lots of other peas. Since a 4ft pea plant won’t grow very well in a little pot, you’ll be growing pea shoots in your cups instead.
Pea shoots are really good for you because they’re packed with vitamins A & C and folic acid. They’re tastiest when freshly picked, so it’s a very good idea to grow your own.
5
transplanting
You can transplant your pea plants outside after four to six weeks with these steps:
1. Prepare a planting bed in a sunny spot, removing any weeds and plants.
2. Set up a support system for your peas. Lengths of chicken wire between posts with rows of peas on either side works well.
3. Remove your pea plants from your big grow cups, and dig the holes based on the length of the plants’ roots. Put your big grow cups into your school compost bin.
4. Place your plants in the holes and fill around them with soil, lightly pressing the soil down. Space your peas 2-3 inches apart along the support system.
5. Water thoroughly at the base of the plants after planting. Try not to get the leaves wet.
top tips
• Pea shoots have a delicate flavour and are very tasty in a salad. You could also try adding your pea shoots to a stir fry, wilted into risotto or pasta, or finely chopped into a salad dressing.
• Peas can be grown easily in lengths of old rain guttering. Fill the gutter with potting compost and sow the seeds about 5cm apart. When the seedlings are 8cm tall, dig a trench in the ground about the same depth as the compost in the gutter and simply slide the contents of the gutter into the trench.
harvesting
• When the shoots are about 15cm tall, snip them with scissors an inch from the surface of the soil. The shoots might re-sprout after you’ve cut them and give you a second crop of pea shoots (but there probably won’t be as many the second time around).
• The actual pea pods are usually ready to harvest (pick) about three to four months after sowing. Pinch off the end of the pea shoot when the first pods are ready to encourage your pea plants to make more pods.
show us how your garden grows
This year, your school could win a garden makeover. Help us pick the best big growers by sharing photos and videos of your class journey on Twitter, Facebook or Instagram*. Use #biggrow and @innocent (UK) or @innocentireland (ROI) to lettuce know how you’re getting on.
*Please make sure you have the parent or guardian’s permission before posting images or videos of children on social media.
6
sowing
1. Start by getting your hands dirty, popping one compost disc into each of your cups.
2. Add 100-150ml of warm water and give it a stir. As if by magic, your compost will bulk out.
3. Bang it on the table a few times to help the compost lie nice and flat in the cup.
4. Spread approximately 15 carrot seeds out evenly on top of the compost, about 2cm apart. Be careful not to drop them.
5. Sprinkle 1cm max of comppost on top.
6. Water the compost gently (don’t flood it) and leave it on a sunny windowsill indoors. Every few days, gently stick your little finger in to the soil about 1cm deep to make sure the compost is moist. If not, give it another bit of water. Never let it dry out, but don’t make a swamp either.
growing
The little seedlings should germinate (appear) in about 1-2 weeks, but it depends how warm and bright the classroom is. When the seedlings are big enough to handle, remove half of them, leaving 7 or 8 seedlings to grow. This is called thinning out, and it makes sure the remaining carrots have space to grow.
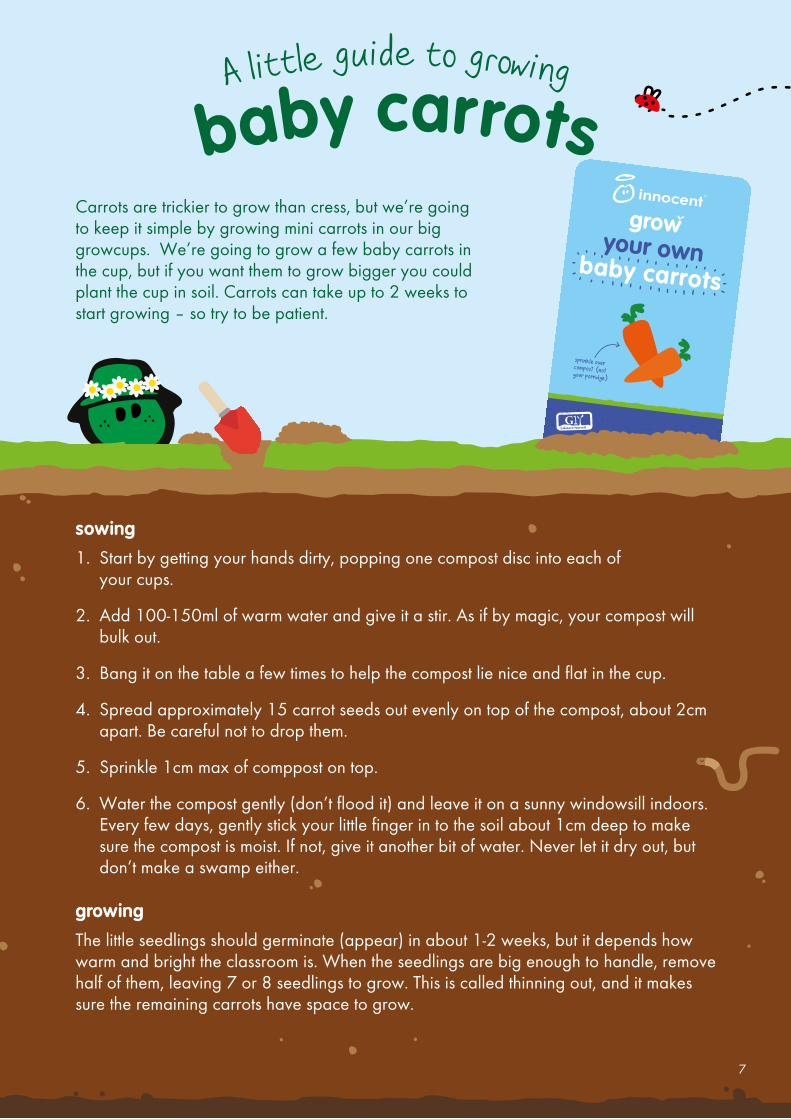
Carrots are trickier to grow than cress, but we’re going to keep it simple by growing mini carrots in our big growcups. We’re going to grow a few baby carrots in the cup, but if you want them to grow bigger you could plant the cup in soil. Carrots can take up to 2 weeks to start growing – so try to be patient.
7
top tips
• Carrots are usually orange, but purple, yellow and red carrots were common in the 15th and 16th centuries.
• Carrots are from the Umbelliferae family, so-called because the leaves of this vegetable family look a lot like an umbrella.
• Growing carrots is a great way to upcycle toilet roll inserts. Fill the insert with compost then sow the seeds indoors, and once the seedlings have developed, plant the whole thing into the soil in your veg patch.
harvesting
Your baby carrots should be ready about 7-8 weeks after sowing. Pull the carrot out gently before washing and eating, and don’t forget you can eat the leaves in salads or soups. If you like you can leave the carrots to grow for another couple of weeks, but bear in mind that the compost only has enough food in it for the carrots to live on for about 2 months.
If you have a veg patch at school or home, you can cut the bottom off the cup and plant it. That way the carrots can grow out the bottom into the soil. The Sow & Grow cups are compostable so eventually they will rot down and disappear. Magic.
show us how your garden grows
This year, your school could win a garden makeover. Help us pick the best big growers by sharing photos and videos of your class journey on Twitter, Facebook or Instagram*. Use #biggrow and @innocent (UK) or @innocentireland (ROI) to lettuce know how you’re getting on.
*Please make sure you have the parent or guardian’s permission before posting images or videos of children on social media.
8
lesson plan 1 - using our senses
it will take: 45 minutes
curriculum links: Science, Geography, Computing, Art and Design, Drama, English, Music
This activity will encourage children to record their experiences of tasting, touching and smelling a variety of different fruit and vegetables. This could be fruit and veg they’ve grown themselves, a selection of tropical fruit or slightly unusual vegetables.
In this activity, they will be concentrating on smell, sight, taste and touch.
Taste and smell are very closely linked. The taste buds on the tongue sense sweet, sour, bitter and salty tastes. If our nose is blocked (like when we have a cold) then our taste buds are also affected and things might taste a bit funny.
main activity:
Choose five common vegetables and put each one into a large, opaque bag. Ask the children to put their hands into the bag and take a guess at what they can feel (try using a potato, carrot, runner bean, brussels sprout, courgette and onion).
Now take three or four common fruits. Blindfold the children and ask them to feel the fruit and guess what it is. After that, cut up the fruit and ask the children to do a taste test (try using an apple, pear, orange, lemon, grapefruit and apricot). If you can get your hands on some more exotic fruit, ask the children to draw them and then taste them.
using the fruit and veg, ask the children to write down the answers to the following questions on activity sheet 3:
• What does it look like on the outside?
• What does it smell like on the outside?
• What does it feel like on the outside?
now cut the fruit/veg open and ask them:
• What does it look like on the inside?
• What does it taste like?
• What does the flesh inside feel like?
• What does it smell like?
9
lower range activities or junior infants to 2nd class (ireland):
Ask the children to draw some common fruit and vegetables and ask how different fruit and veg can be used in cooking (e.g. potatoes could be mashed, baked, roasted or fried). Make up some simple recipes with the children, such as mashed potato or vegetable soup.
Can the children make a list of smooth and rough fruits and vegetables? Or sweet and sour fruits? Ask the children to list some fruits that are easy to eat as snacks (e.g. carrot, banana, celery, apple).
Talk about why fruit and vegetables are good for us.
The children could carry out taste tests on different fruit and vegetable juices (e.g. orange, apple, grapefruit, cranberry, carrot and tomato). They could then make a class chart to show which were the most popular and why. Which combination of fruit and vegetables go well together to make tasty smoothies?
upper range activities or 3rd class to 6th class (ireland):
Choose some exotic fruits and make a tropical fruit salad. Ask the class to try it and see if they can identify the different fruits by their taste and appearance (you could try bananas, mangoes, papaya, kiwi fruit etc).
Encourage the children to find out how bees pollinate different fruits and how they use the colour of the fruit as part of the process. Plants attract bees in lots of different ways, with colour and scent both playing an important part.
Talk through which vegetables grow beneath the ground and which ones grow above ground, and why. Do all fruit and vegetables grow from seeds? Discuss how germination works.
extra ideas:
Using different materials and textiles, ask the children to make a collage of colourful fruit and veg. See if the children can find some simple recipes that incorporate exotic fruit or unusual vegetables and try some out in class.
Arrange a visit to a local fruit and vegetable market. Speak to some of the stall holders and find out where they get their produce from.
Using a large map of the world, get the children to mark out where fruit and veg comes from (e.g. kiwi fruit, mango, cape gooseberry, durian, star fruit, yam, plantain).
Have a harvest day – make salads from the cress and baby carrots, or get children to bring in their favourite veg from home for a picnic.
10

Using my senses
Activity sheet 1
In this activity, you’re going to be using some of your senses:
Name: Class:
senses smell touch sight
First pick your vegetable. Now, using your senses, answer these questions:
What is your vegetable called?
What does your vegetable look like?
What does your vegetable feel like?
What does your vegetable smell like?
Ask your teacher to cut your vegetable open and then answer these questions:
What does your vegetable look like on the inside?
What does your vegetable look like?
What does your vegetable feel like?
What does your vegetable taste like?
Choose a fruit and answer these question:
What is your fruit called?
What does your fruit look like?
What does your fruit feel like?
What does your fruit smell like?
Now ask your teacher to cut your fruit open and answer these question:
How is your fruit different on the inside?
What colour is your fruit on the inside?
What does your fruit smell like?
What does your fruit taste like?
11

Ask a family member to think of their favourite fruit:
Draw a picture of the right answers here:
What does your vegetable feel like on the outside?
What does your vegetable smell like?
What does your vegetable feel like?
My guess?
12

lesson plan 2 - growing power
it will take: 30-40 minutes
curriculum links: Science, English, Geography, Art and Design, Computing
This activity focuses on the growing process and teaches children how different things grow in different places.
For plants to grow and survive, just like us, they need lots of good stuff to grow well and happy:
• water (needed to produce food)
• oxygen and carbon dioxide – oxygen is used for photosynthesis and carbon dioxide for respiration
• somewhere safe to grow
• minerals – iron and magnesium salts are used to help produce chlorophyll, while other minerals are needed for protein and producing DNA
• sunlight – this is needed for photosynthesis
• space – as seeds compete against each other, plants need enough space to grow
• warmth – plants grow better in warmer temperatures, and usually stop growing under 6°C (some plants, like spinach, won’t grow if it’s too hot)
• a system of pollination – this is needed for plants to develop their seeds and reproduce.
main activity
Give everyone four identical plant pots. Fill one with gravel, another with sand, another with special potting compost, and the last one with rich soil. Ask the children to sow some cress and pea seeds in each pot and put the pots somewhere light (see the growing guides for a bit more help).
Make sure the soil is kept damp, and ask your class to keep an eye on the seeds to see what happens. After a few days, see if any of the seeds have started to germinate. Ask the children to watch them grow over the next few weeks and, at the end of it, ask them which they think the strongest plants are and why. They can record their findings using activity sheet 2.
13
lower activities (uk) or junior infants to 2nd class (ireland)
Find a medium size potato with black ‘eyes’, cut it in half and pierce it with a few cocktail sticks. Suspend the potato in a jar of water, making sure that some of the black ‘eyes’ of the potato are covered with water. Put the glass somewhere sunny (topping up the water to make sure the ‘eyes’ are covered). After a few days, ask the children to watch what happens to the potato. What changes happen over the week?
upper range activities (uk) or 3rd class to 6th class (ireland)
• For this activity you’ll need a small shoe box and a sprouting potato. Make a round hole in one end of the box, then put the potato at the other end, away from the hole. Put a lid on top of the box, and leave it so that light can get into the open end. After a few days, take the lid off and see what’s happened to the potato. The shoots of the potato should have found their way to the other side of the box and grown through the hole. Ask the class why they think this has happened.
• Plant a bean and cover it with a small coin. Keep the soil damp, and when the plant starts to grow, it should push the coin upwards, proving how strong seeds can be. Powerful stuff.
extra ideas
• A potato is a tuber, which is an underground stem. Ask the children to find out more about this and put together other groups that different fruit & veg might fit into.
• Get the children to investigate some of the different ways plants reproduce, e.g. legumes, alliums, root crops and leafy green plants.
• See if the class can find out how people have changed their growing conditions so that they can grow vegetables in difficult places, e.g. in deserts, on top of mountains and in very cold conditions.
14
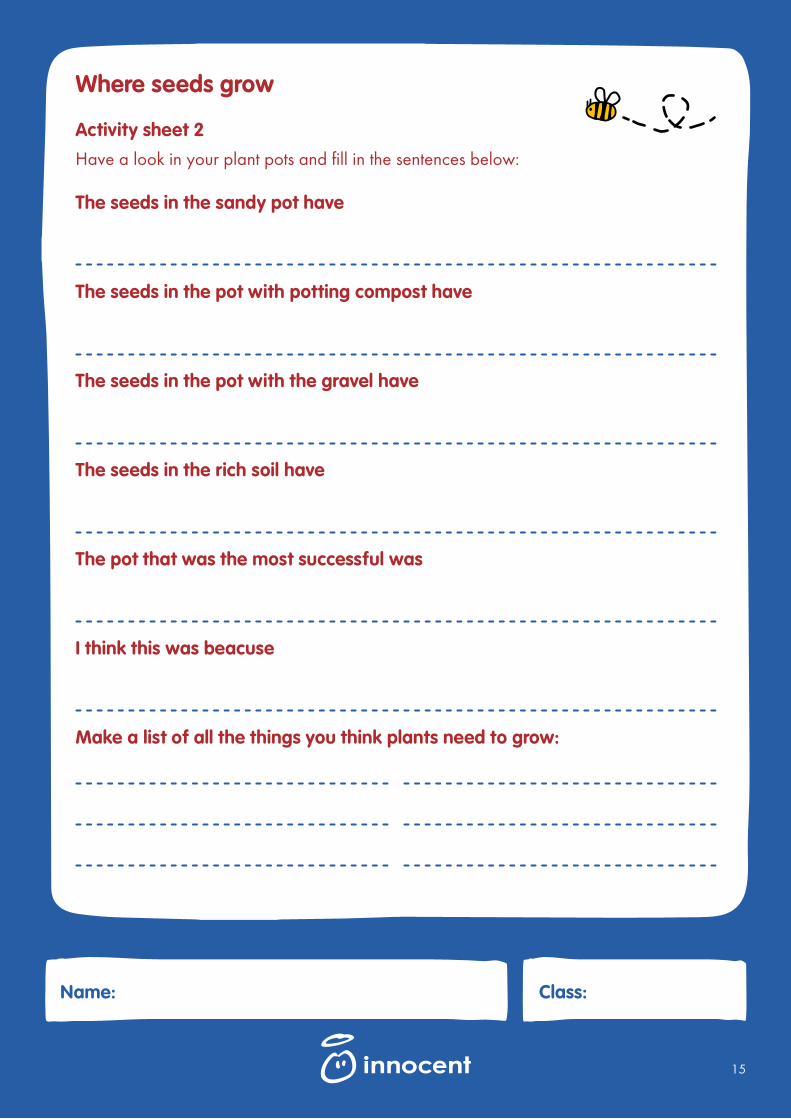
Where seeds grow
Activity sheet 2
Have a look in your plant pots and fill in the sentences below:
The seeds in the sandy pot have
The seeds in the pot with potting compost have
The seeds in the pot with the gravel have
The seeds in the rich soil have
The pot that was the most successful was
I think this was beacuse
Make a list of all the things you think plants need to grow:
Name: Class:
15
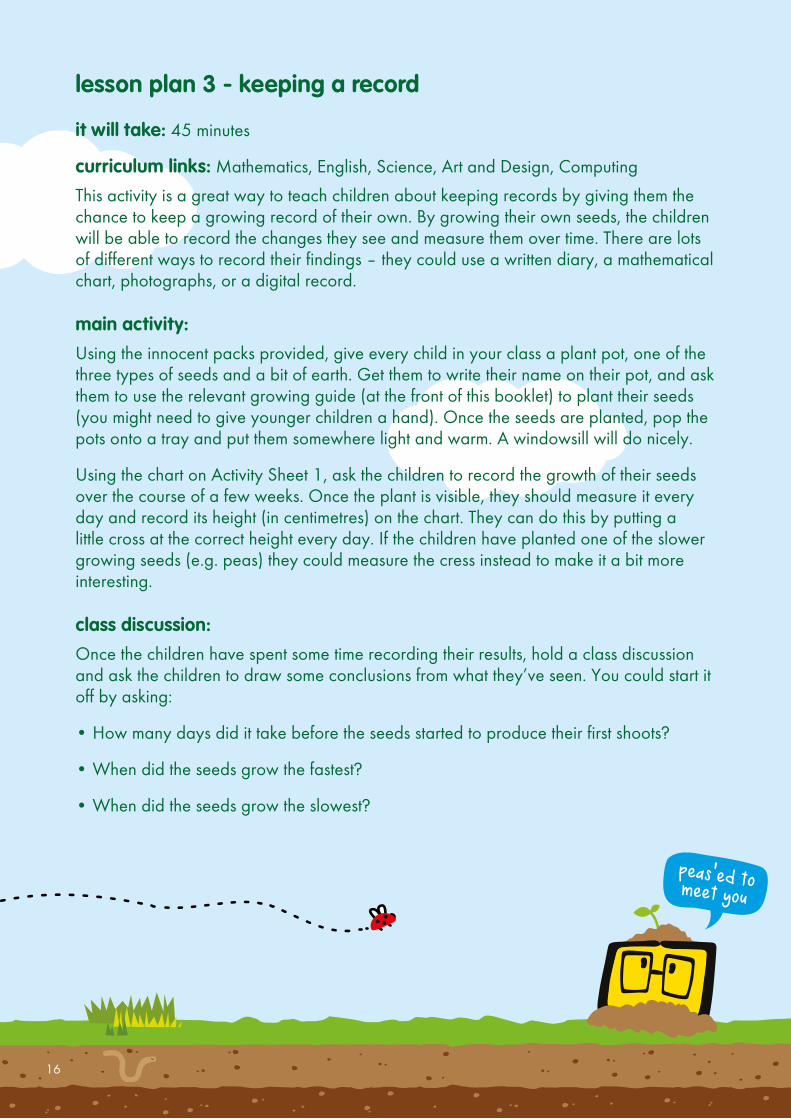
lesson plan 3 - keeping a record
it will take: 45 minutes
curriculum links: Mathematics, English, Science, Art and Design, Computing
This activity is a great way to teach children about keeping records by giving them the chance to keep a growing record of their own. By growing their own seeds, the children will be able to record the changes they see and measure them over time. There are lots of different ways to record their findings – they could use a written diary, a mathematical chart, photographs, or a digital record.
main activity:
Using the innocent packs provided, give every child in your class a plant pot, one of the three types of seeds and a bit of earth. Get them to write their name on their pot, and ask them to use the relevant growing guide (at the front of this booklet) to plant their seeds (you might need to give younger children a hand). Once the seeds are planted, pop the pots onto a tray and put them somewhere light and warm. A windowsill will do nicely.
Using the chart on Activity Sheet 1, ask the children to record the growth of their seeds over the course of a few weeks. Once the plant is visible, they should measure it every day and record its height (in centimetres) on the chart. They can do this by putting a little cross at the correct height every day. If the children have planted one of the slower growing seeds (e.g. peas) they could measure the cress instead to make it a bit more interesting.
class discussion:
Once the children have spent some time recording their results, hold a class discussion and ask the children to draw some conclusions from what they’ve seen. You could start it off by asking:
• How many days did it take before the seeds started to produce their first shoots?
• When did the seeds grow the fastest?
• When did the seeds grow the slowest?
16
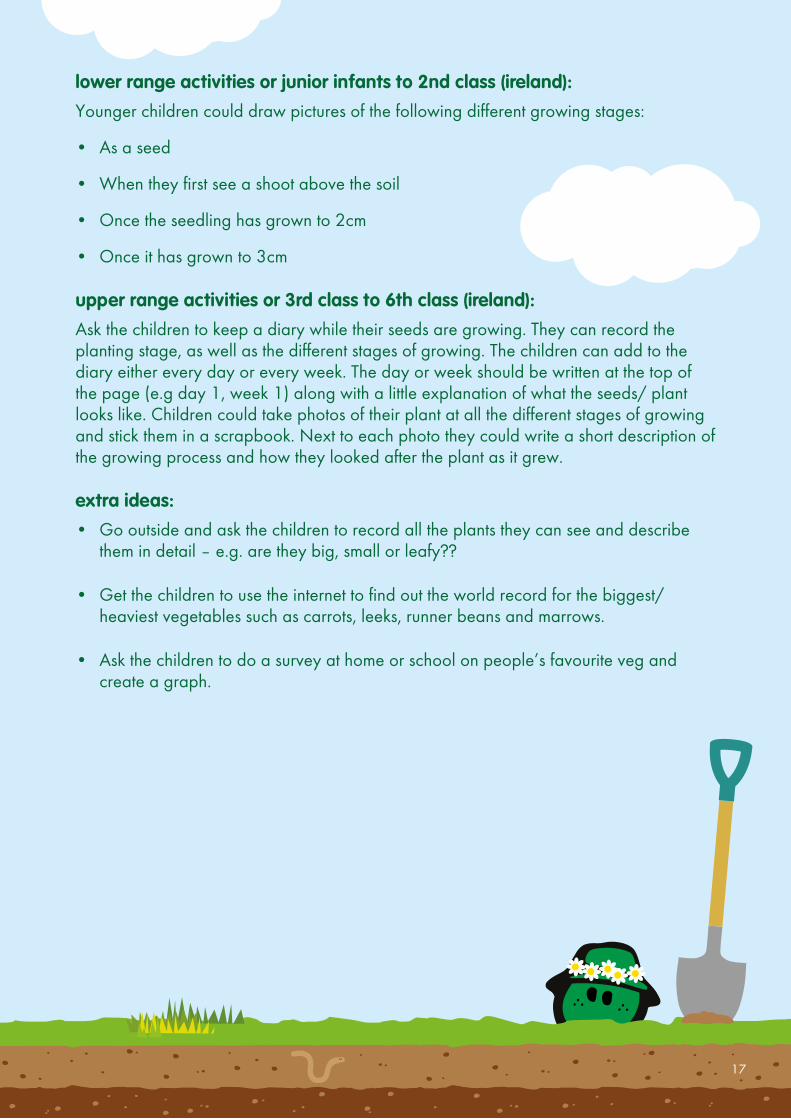
lower range activities or junior infants to 2nd class (ireland):
Younger children could draw pictures of the following different growing stages:
• As a seed
• When they first see a shoot above the soil
• Once the seedling has grown to 2cm
• Once it has grown to 3cm
upper range activities or 3rd class to 6th class (ireland):
Ask the children to keep a diary while their seeds are growing. They can record the planting stage, as well as the different stages of growing. The children can add to the diary either every day or every week. The day or week should be written at the top of the page (e.g day 1, week 1) along with a little explanation of what the seeds/ plant looks like. Children could take photos of their plant at all the different stages of growing and stick them in a scrapbook. Next to each photo they could write a short description of the growing process and how they looked after the plant as it grew.
extra ideas:
• Go outside and ask the children to record all the plants they can see and describe them in detail – e.g. are they big, small or leafy??
• Get the children to use the internet to find out the world record for the biggest/ heaviest vegetables such as carrots, leeks, runner beans and marrows.
• Ask the children to do a survey at home or school on people’s favourite veg and create a graph.
17
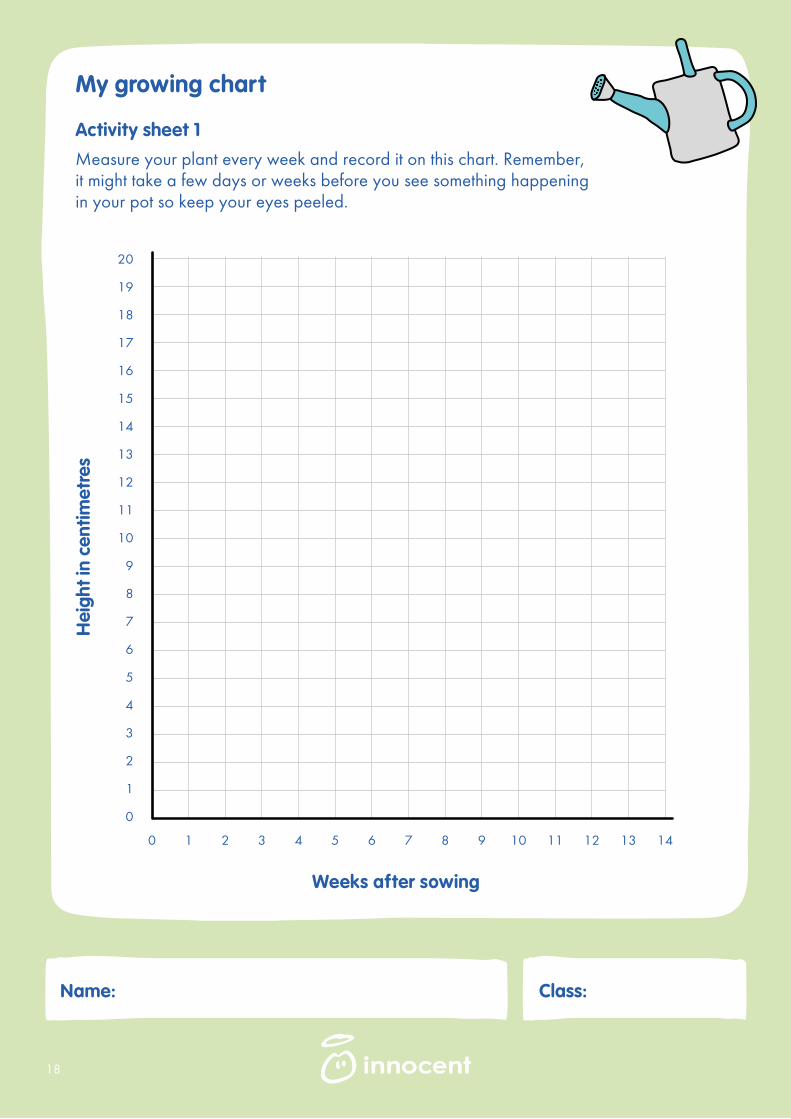
My growing chart
Activity sheet 1
Measure your plant every week and record it on this chart. Remember, it might take a few days or weeks before you see something happening in your pot so keep your eyes peeled.
Weeks after sowing
Hei
gh
t in
cen
timet
res
Name: Class:
18
lesson plan 4 - arty fruit and veg
it will take: 40-60 minutes
curriculum links: Art and Design, Design and Technology, English, Computing, History
There are loads of art and design ideas around fruit & veg. You could make pictures out of seeds, paint different types of clay pots for plants, and make (and decorate) containers to grow things in. Younger children can use fruit & veg for printing. Older children can use pens, pencils, crayons and paints to create a still-life picture.
Many years ago people used fruit & veg to create their own paints and dyes. Archaeologists have found evidence of textile dyeing from as far back as the Neolithic period. Dyes were used for colouring textiles, hair, and the face and body. In Ancient Greece, the outer shells of fresh walnuts and pomegranate flowers were used, while in India, fruit & veg dyes have been around for thousands of years. Dyeing their own textiles means children can learn more about his process, and the history behind it.
main activity
you will need:
• A selection of dried seeds eg sunflower seeds or pomegranate seeds and beans (borlotti, kidney and cannellini beans work well).
• Cardboard
• Activity Sheet 4
Using activity sheet 4, ask the children to make a pattern or mosaic with the dried seeds and beans. These can be collected and dried beforehand or bought dry from a supermarket or garden centre.
Safety first. Seeds and beans can be a choking hazard, so please make sure young children don’t play with them. You could use petals and leaves instead.
19
give it a grow
lower range activities (uk) or junior infants to 2nd class (ireland)
• Collect some smooth rocks from outside. Paint the name of the plant or a picture of the plant on them to make your own plant marker. These will brighten up any school garden.
• Try making a dye by mashing up some fruit & veg (beetroot, raspberries, blueberries and spinach work well) and add a little bit of water if it needs it. Pop some strips of white material into each bowl and ask the children which fruit & veg made the best dyes, and why. Did leaving the material in the dye longer affect the colour?
upper range activities (uk) or 3rd class to 6th class (ireland)
• Find a piece of fruit that the children can bite into. Wash the fruit and get them to draw it whole. Then ask them to take a bite out of it and draw it again. They can take several bites out of the fruit and keep drawing it until they are down to the core or until it’s all gone.
• Older children could use the internet to learn more about the work of artists like Amber Locke or Giuseppe Archimboldo who have created works of art using images of fruit & veg.
extra ideas
• Make some bookmarks in the shape of vegetables (such as carrots or leeks).
• Find a big plate and ask the children to make a face using different fruit & veg.
• Have a competition to see who can make a face using the largest number of different fruits or vegetables.
• Find some vegetables that the children can create their own prints with – such as okra or sweetcorn.
• See how many shapes the class can make using lots of different fruit & veg.
20
give it a grow
21
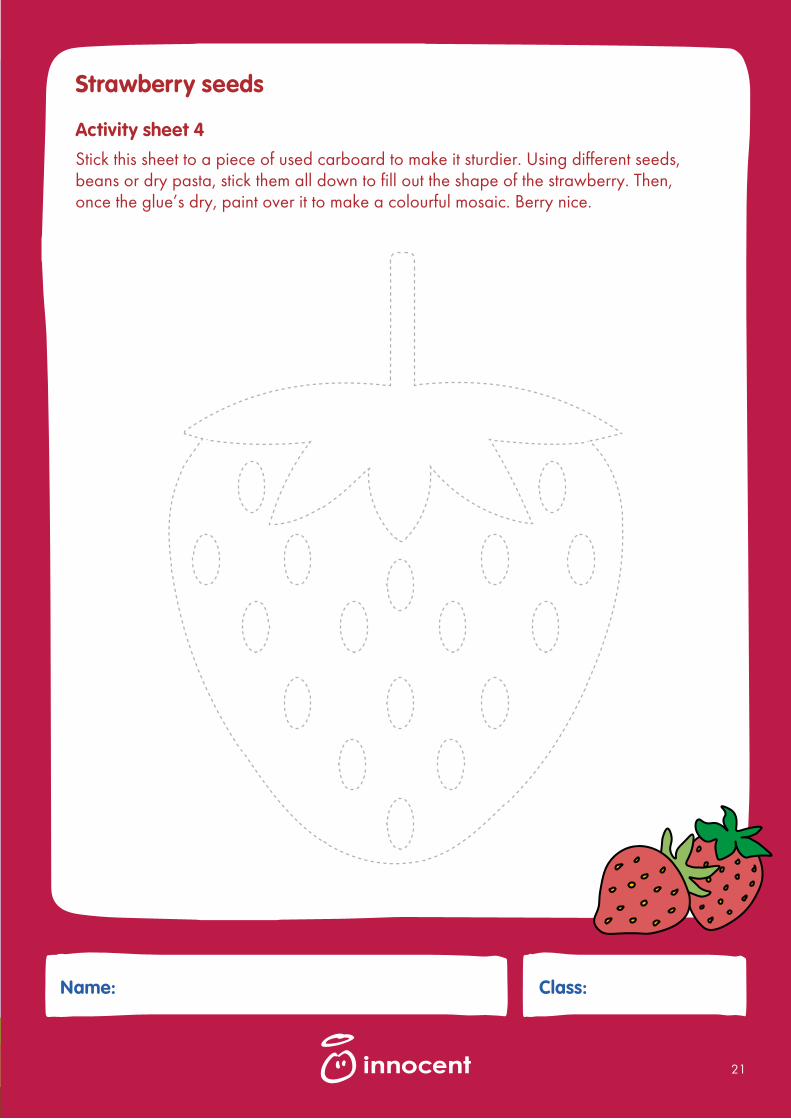
Strawberry seeds
Activity sheet 4
Stick this sheet to a piece of used carboard to make it sturdier. Using different seeds, beans or dry pasta, stick them all down to fill out the shape of the strawberry. Then, once the glue’s dry, paint over it to make a colourful mosaic. Berry nice.
Name: Class:
lesson plan 5 - the history of fruit and veg
it will take: 30-40 minutes
curriculum links: History, English, Art and Design, Geography, Computing
This activity will get children looking at the history of fruit & veg in the UK and Ireland, and how and why people from all ages grew different things. The activity sheet also includes a simple timeline which children can add to as they learn more.
Potatoes were said to have been introduced into England in 1586 by Sir Francis Drake, or one of Sir Walter Raleigh’s men, Thomas Harriot. In the 1840s, there was a terrible potato blight across Europe which killed most of the crops. Ireland suffered catastrophically as a consequence and 40% of the population, who relied on the crop, starved to death.
Until the 8th century, Irish and British people did not grow fruit & veg. To supplement their diet of meat and fish, they foraged wild leaves, roots, berries and fungi. When veg was introduced to Ireland, the main things they grew were carrots, parsnips, celery, turnips, cabbages and onions. More exotic vegetables and fruit such as pears, plums and peaches were introduced to Ireland much later by English colonists from the 17th century.
Famous gardeners from the past include Percy Thrower, who died in 1988, and Gertrude Jekyll, a garden designer, artist and writer who was born in 1843. Gertrude created over 400 gardens in the United Kingdom, Europe and the United States. Other famous names that the children could investigate include Capability Brown or, more recently, Charlie Dimmock and Alan Titchmarsh, or Arthur Shackleton and Diarmuid Gavin in Ireland.
main activity
Ask the children to go online and research the following fruit & veg. Then, using the timeline on activity sheet 5, ask them to mark when they were introduced into the UK and Ireland:
pea bean
carrot onion
apple pear
tomato peach
See if the children can find out what people ate in Ireland and Britain in the 1500s and the importance of fruit & veg in their diets.
22
Ask the children to investigate how people used to keep their food cool before fridges were invented.
lower range activities (uk) or junior infants to 2nd class (ireland)
• Print out pictures of a cucumber, an onion, a leek, a cabbage, an apple and a plum. Ask the children to make a collage using the pictures and write the dates of when they were introduced into Ireland and Britain next to them.
• With the children, research and discuss in which seasons different fruit & veg is harvested – e.g. brussels sprouts in winter, blackberries in autumn, cucumbers in summer and asparagus in spring.
• upper range activities (UK) or 3rd class to 6th class (Ireland)
• Encourage the children to investigate the introduction of the potato into the UK and the Great Famine in Ireland in the 1840s.
• Ask the children to design leaflets on three or four different types of fruit or veg which have been around for thousands of years. When were they introduced into Ireland and Britain? How were they used in the beginning and how are they used now?
extra ideas
• Get the children to investigate some modern gardeners such as Monty Don, Diarmuid Gavin, Chris Beardshaw and Pippa Greenwood. The children could also look up famous fruit & veg gardens in both the UK and Ireland.
• See if the children can find out more about when exotic fruits were introduced into the UK and Ireland, like bananas (in 1633).
23
24
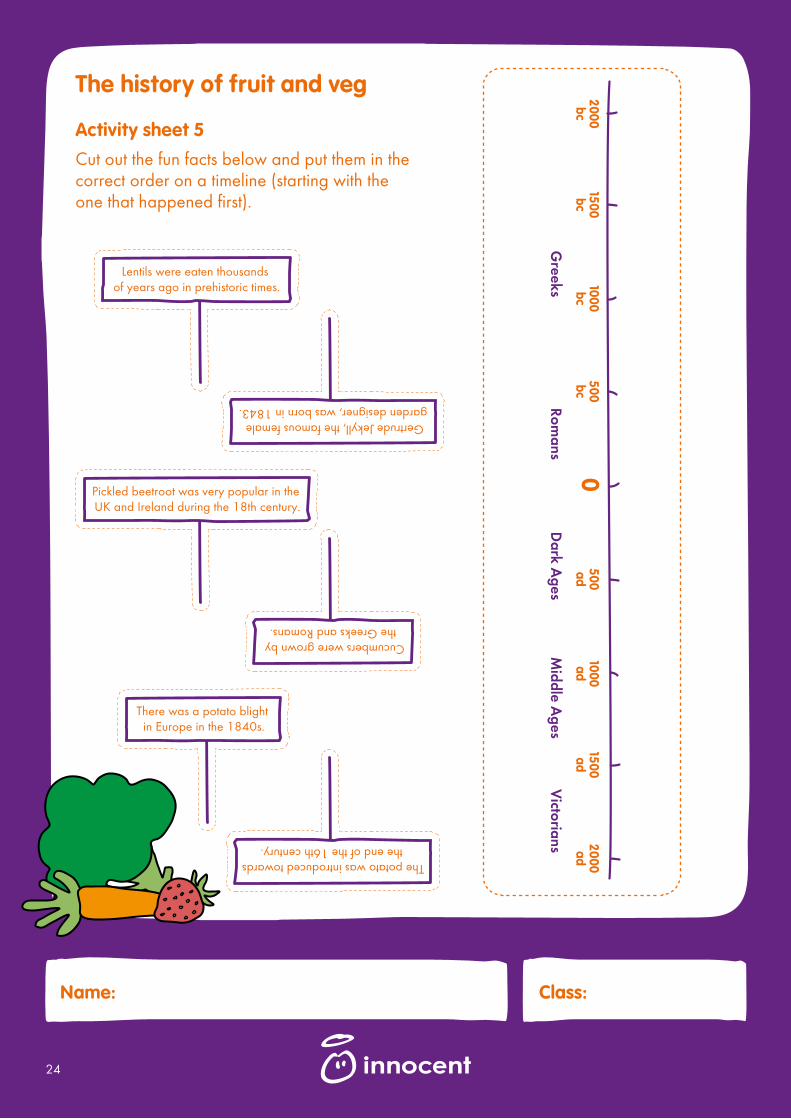
The history of fruit and veg
Activity sheet 5
Cut out the fun facts below and put them in the correct order on a timeline (starting with the one that happened first).
Name: Class:
lesson plan 6 - sustainability and biodiversity
They might buzz, sting and like invading your picnics, but insects like bees are important to our planet. Bees help us grow the food we need to be healthy and happy. In fact, they pollinate 71 out of 100 of the crops that provide our food around the world, so it’s pretty important to have them around. Because we’re building more and more cities, and because of the way we produce food, insects are having a tough time surviving on our planet. Every year there are less of them, and some are at risk of becoming extinct.
We don’t want the dragonfly to go the way of the dinosaur, so we’ve come up with some ideas for you to reuse parts of your growing kit and other everyday items. We’ll show you how to turn them into useful things like bug hotels, harvest baskets and water butts. More on that later.
25
sustainability and biodiversity: pollinators
what are pollinators and what do they do?
Pollination happens when pollen (a powder inside a flower) gets moved to another plant so it can make seeds to grow new plants. Without pollination, new plants can’t grow, so it’s pretty important. Sometimes pollen is blown by the wind from one plant to another, but insects do most of the work.
insects
Did you know most pollination happens by accident? Insects drop in on flowers for food, picking up nectar and pollen to feed themselves and their families. What they don’t realise is that each time they visit, they move pollen from one plant to another. Next time you spot a bee buzzing around a flower, you’ll know they’re busy delivering pollen too – even if they don’t.
A lot of the fruit and veg we eat (like apples, strawberries, tomatoes, cucumbers, peas, blackberries, pumpkins and beans) need insects to pollinate them. Apart from the plants we eat, there are over 2,000 trees and flowers that need pollinating too. A lot of our birds and animals eat the seeds and fruits of these trees. If you think about it, insects are VIPeas when it comes to growing food.
Hardworking minibeasts deserve a little mini break. We’ll show you how to build a place for them to hang out in your garden.
26
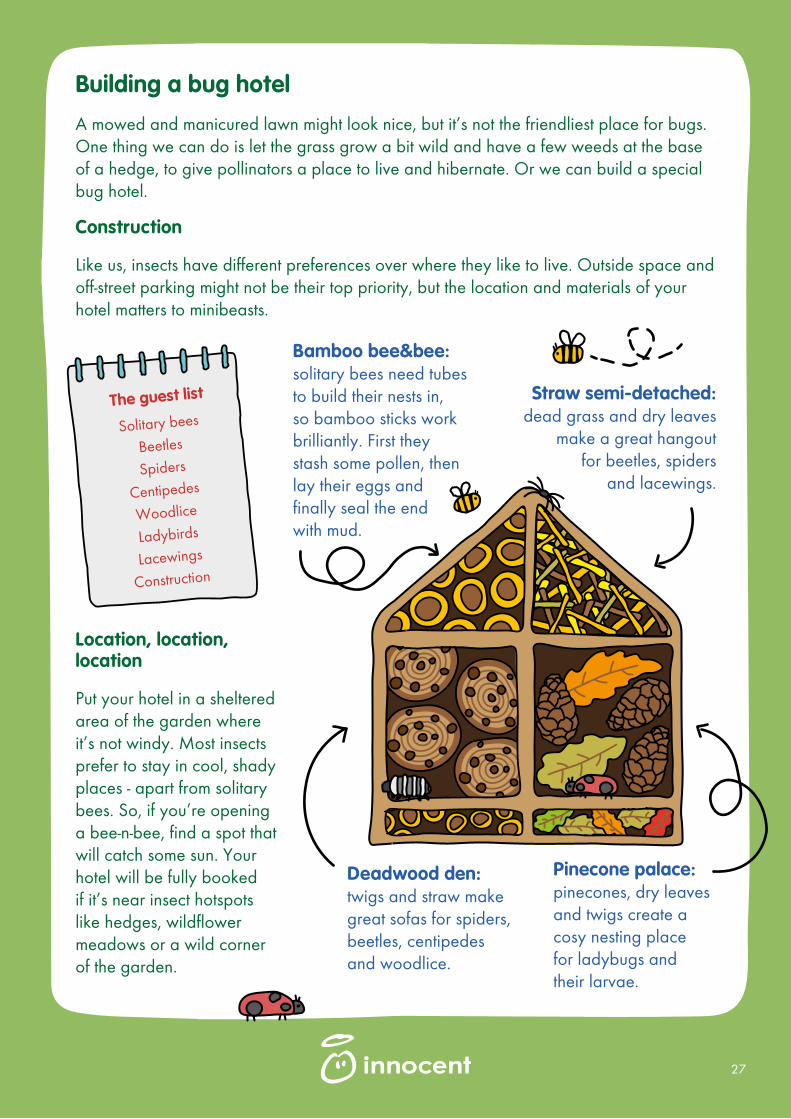
Building a bug hotel
A mowed and manicured lawn might look nice, but it’s not the friendliest place for bugs. One thing we can do is let the grass grow a bit wild and have a few weeds at the base of a hedge, to give pollinators a place to live and hibernate. Or we can build a special bug hotel.
Construction
Like us, insects have different preferences over where they like to live. Outside space and off-street parking might not be their top priority, but the location and materials of your hotel matters to minibeasts.
The guest list
Solitary bees
Beetles
Spiders
Centipedes
Woodlice
Ladybirds
Lacewings
Construction
Straw semi-detached: dead grass and dry leaves
make a great hangout for beetles, spiders
and lacewings.
Bamboo bee&bee: solitary bees need tubes to build their nests in, so bamboo sticks work brilliantly. First they stash some pollen, then lay their eggs and finally seal the end with mud.
Deadwood den: twigs and straw make great sofas for spiders, beetles, centipedes and woodlice.
Pinecone palace: pinecones, dry leaves and twigs create a cosy nesting place for ladybugs and their larvae.
Location, location, location
Put your hotel in a sheltered area of the garden where it’s not windy. Most insects prefer to stay in cool, shady places - apart from solitary bees. So, if you’re opening a bee-n-bee, find a spot that will catch some sun. Your hotel will be fully booked if it’s near insect hotspots like hedges, wildflower meadows or a wild corner of the garden.
27

sustainability and biodiversity: reusing everyday items
1. Take your cardboard box and ask a grown-up to punch or drill a hole in either side.
2. If you like, you can brighten up your box with a lick of paint. Mixing it with PVA glue will help it stick to the box. Let it fully dry before going on to step 3.
3. Thread an old shoelace through each hole and tie a knot. This will make a strap you can put over your shoulder and free up your hands while picking veg.
4. You can also use your basket for picking berries outdoors. Wear long sleeves, wellies and a feather boa
(optional) but look out for brambles and stinging nettles. And don’t forget to avoid the thorns when you’re picking berries.
make your own mini water butt
Making a mini water butt is a clever way to collect and reuse rainwater for your plants.
1. Clean a plastic bottle and screw the lid on tightly.
2. Ask a grown-up to help you cut off the bottom of the bottle. Turn it upside down.
3. Ask a grown-up to punch a hole in either side of your bottomless bottle and loop some garden twine through the holes. Now you can hang your new mini water butt in a spot where it’ll collect rainwater.
4. When your mini water butt is full, you can unscrew the cap so water flows into your watering can. Then get to work watering your plants.
Why not record how long it takes to fill? With our weather, you probably won’t be waiting long…
make your own veg picking basket
Soon you’ll have lots of tasty cress, peas and baby carrots to pick in your classroom. You’ll need something to harvest your crops in, so here’s an easy way to make a basket out of the box your growing kit came in (or any other cardboard box you might have lying around).
28

ReciPeas: pea pesto
Difficulty level:
Tuck into your homegrown peas with this easy, cheesy recipe. Serve with some fresh sourdough bread or stir into a bowl of pasta with rocket leaves for a quick and tasty snack.
What you’ll need
250g peas (from your little garden or frozen)
a handful of shredded mint and basil
5 tbsp of grated parmesan
2 garlic cloves, peeled
4 tbsp olive oil
a squeeze of lemon
a pinch of salt and pepper
How to make it
Put everything in a food processor or blender and blitz until mixed together.
Add a little water to make the mixture runnier – it’s up to you how much.
Serve straight away (you know you want to) or store it in a lidded jar or container in the fridge for up to three days.
29
What you’ll need
1tsp olive oil
4 spring onions (sliced)
1 garlic clove (crushed)
200g fresh cress (from your veg garden)
200g fresh peas (frozen or from your veg garden)
a sprig of mint
500ml vegetable stock
1 tbsp milk or dairy free alternative (try innocent dairy free oat)
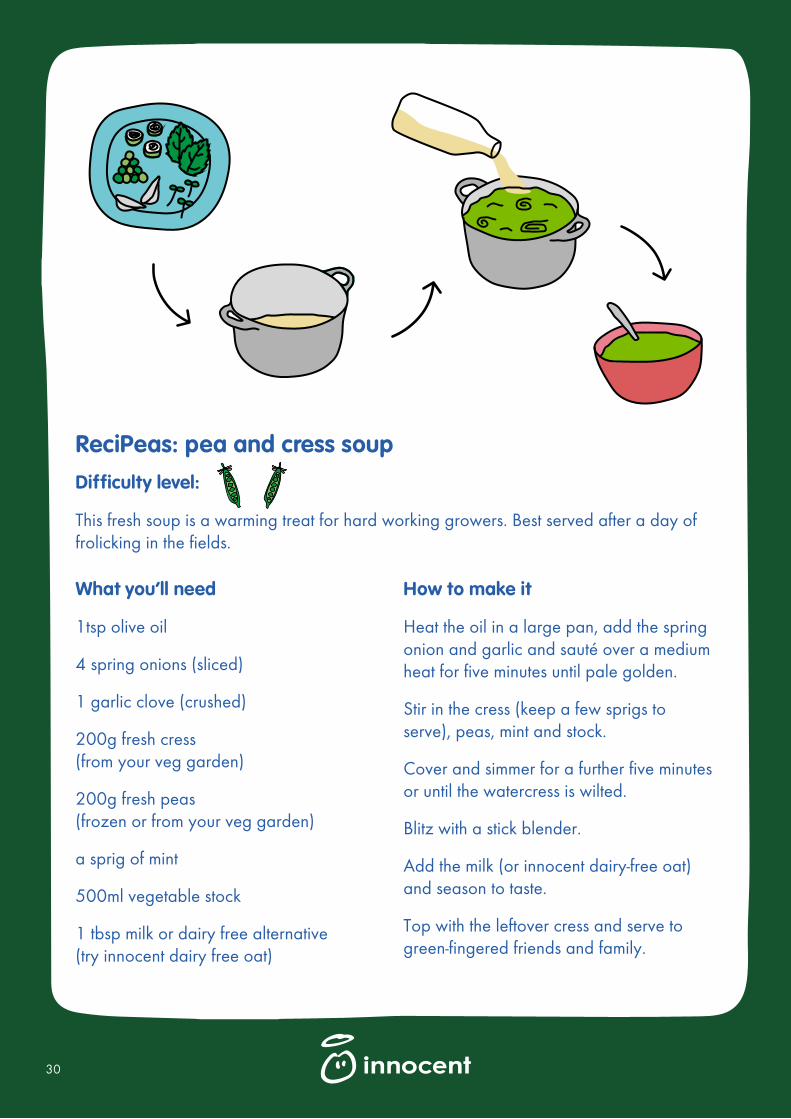
ReciPeas: pea and cress soup
Difficulty level:
This fresh soup is a warming treat for hard working growers. Best served after a day of frolicking in the fields.
How to make it
Heat the oil in a large pan, add the spring onion and garlic and sauté over a medium heat for five minutes until pale golden.
Stir in the cress (keep a few sprigs to serve), peas, mint and stock.
Cover and simmer for a further five minutes or until the watercress is wilted.
Blitz with a stick blender.
Add the milk (or innocent dairy-free oat) and season to taste.
Top with the leftover cress and serve to green-fingered friends and family.
30
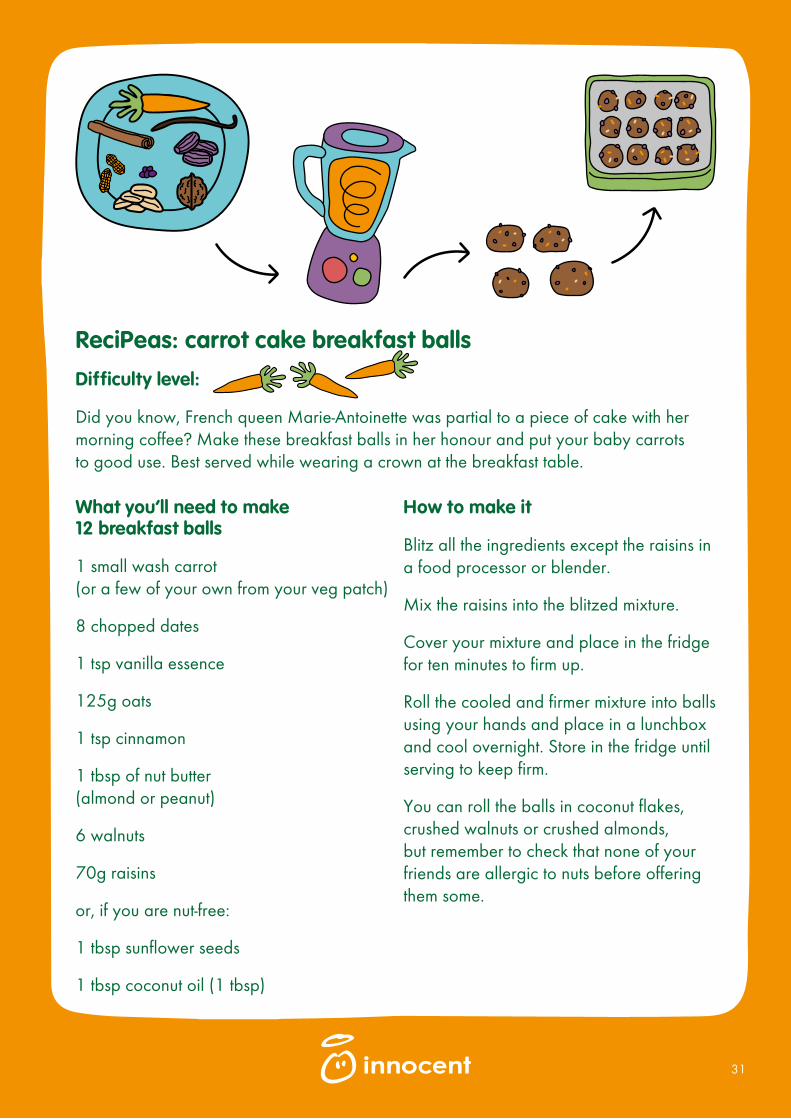
ReciPeas: carrot cake breakfast balls
Difficulty level:
Did you know, French queen Marie-Antoinette was partial to a piece of cake with her morning coffee? Make these breakfast balls in her honour and put your baby carrots to good use. Best served while wearing a crown at the breakfast table.
What you’ll need to make 12 breakfast balls
1 small wash carrot (or a few of your own from your veg patch)
8 chopped dates
1 tsp vanilla essence
125g oats
1 tsp cinnamon
1 tbsp of nut butter (almond or peanut)
6 walnuts
70g raisins
or, if you are nut-free:
1 tbsp sunflower seeds
1 tbsp coconut oil (1 tbsp)
How to make it
Blitz all the ingredients except the raisins in a food processor or blender.
Mix the raisins into the blitzed mixture.
Cover your mixture and place in the fridge for ten minutes to firm up.
Roll the cooled and firmer mixture into balls using your hands and place in a lunchbox and cool overnight. Store in the fridge until serving to keep firm.
You can roll the balls in coconut flakes, crushed walnuts or crushed almonds, but remember to check that none of your friends are allergic to nuts before offering them some.
31
notes
32
notes
show us how your garden grows
This year, your school could win a garden makeover. Help us pick the best big growers by sharing photos and videos of your class journey on Twitter, Facebook or Instagram*.
Use #biggrow and @innocent (UK) or @innocentireland (ROI) to lettuce know how you’re getting on.
*Please make sure you have the parent or guardian’s permission before posting images or videos of children on social media.
33
time to ketchupon my homework