house safety a lesson on how to make your house a little safer, and you more aware
TRANSCRIPT
House Safety
A lesson on how to make your house a little safer, and you more aware.
Fire Prevention
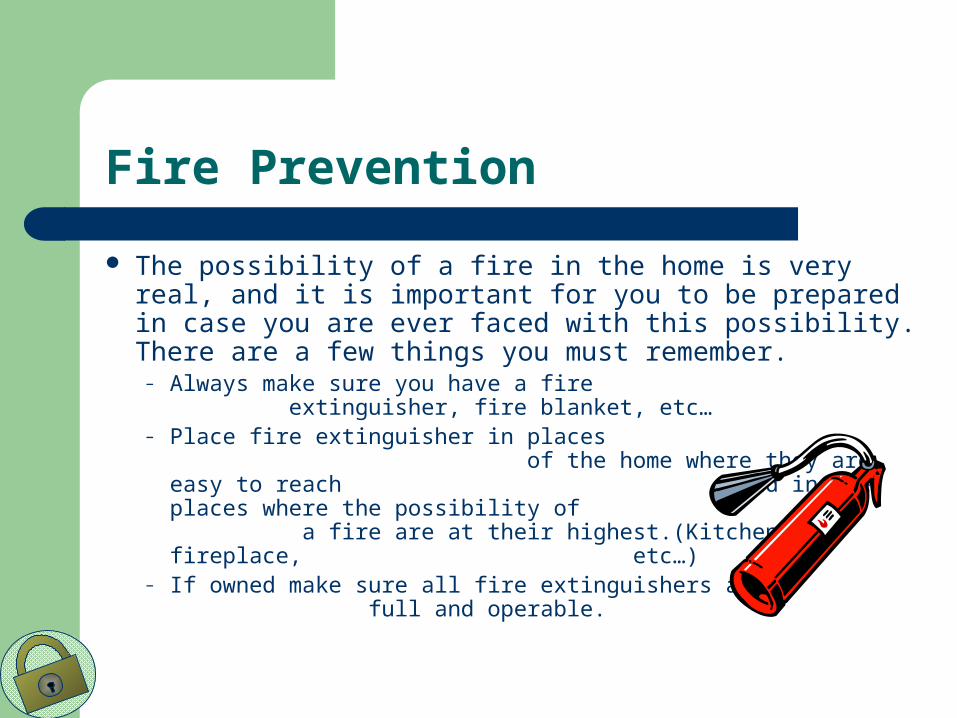
The possibility of a fire in the home is very real, and it is important for you to be prepared in case you are ever faced with this possibility. There are a few things you must remember.
– Always make sure you have a fire extinguisher, fire blanket, etc…
– Place fire extinguisher in places of the home where they are easy to reach and in the places where the possibility of a fire are at their highest.(Kitchen, fireplace, etc…)
– If owned make sure all fire extinguishers are full and operable.
How to Prevent a House Fire
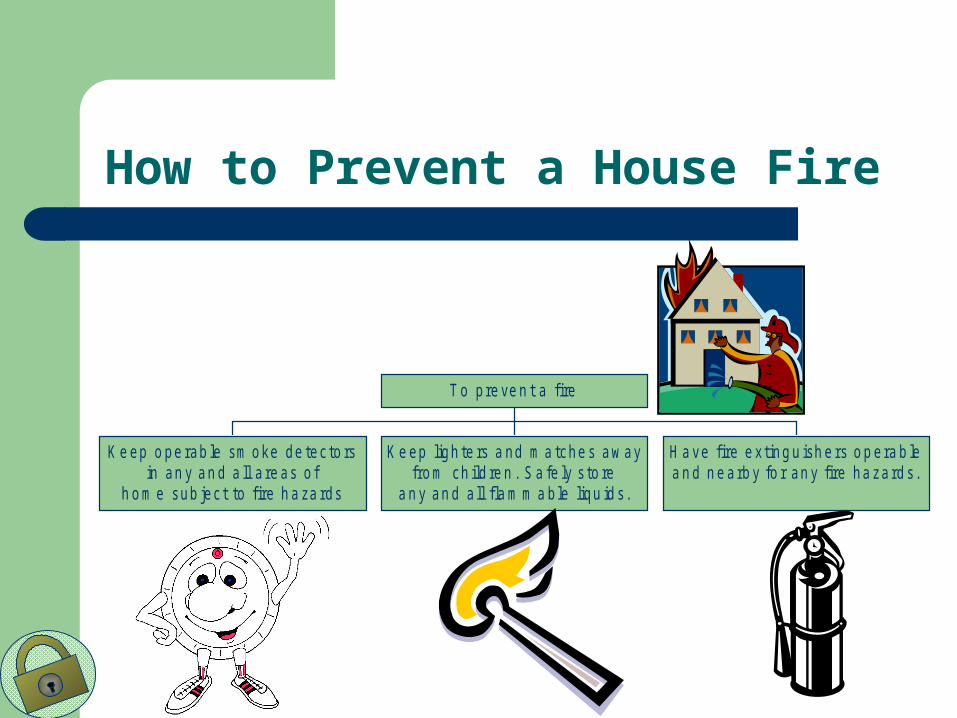
K e ep o pe rab le sm oke de tec to rsin an y an d a ll a re as o f
h o m e sub jec t to f ire h a za rds
K e ep ligh te rs a nd m a tche s aw ayfro m ch ild re n . S a fe ly s to re
a n y an d a ll f la m m a ble liqu id s.
H a ve f ire e x ting u ish e rs o p era b lea n d n e arb y fo r an y fire ha zard s.
T o p re ve n t a f ire
Have a Plan
Families should have a plan to exit the home if caught on fire, they should practice this exit strategy at least once a month and memorize any and all exits.
CPR
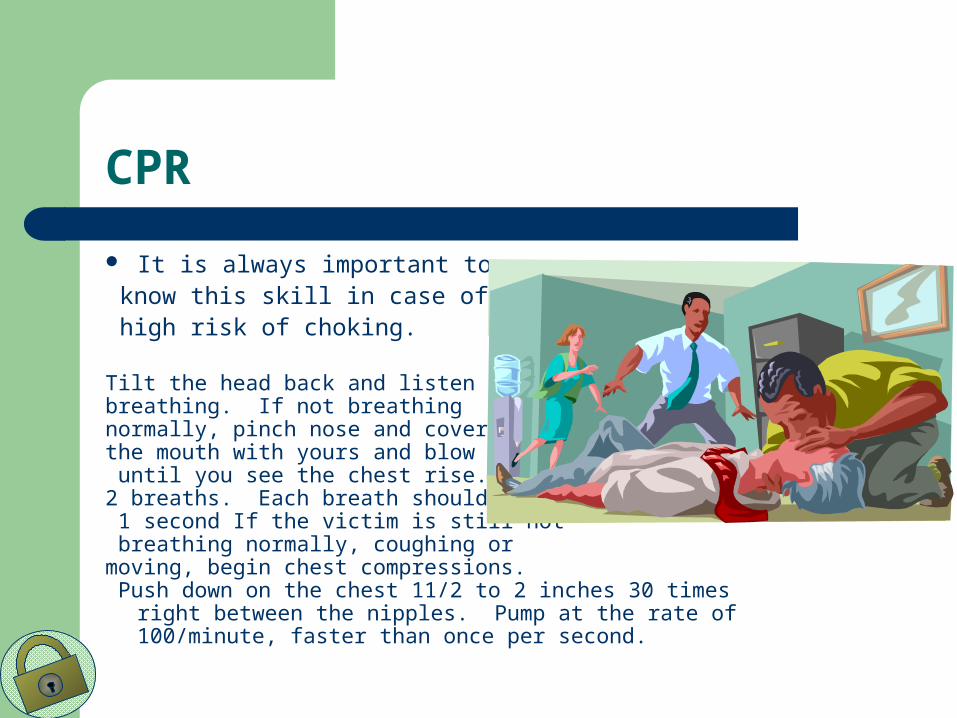
It is always important to know this skill in case of the high risk of choking.
Tilt the head back and listen for breathing. If not breathing normally, pinch nose and cover the mouth with yours and blow until you see the chest rise. Give 2 breaths. Each breath should take 1 second If the victim is still not breathing normally, coughing or moving, begin chest compressions. Push down on the chest 11/2 to 2 inches 30 times right between the
nipples. Pump at the rate of 100/minute, faster than once per second.
Baby Proofing
It is obvious that infants are curious and will sometimes get into things that can be dangerous and potentially life threatening. A few ways to make your baby’s safer and your life a little easier.
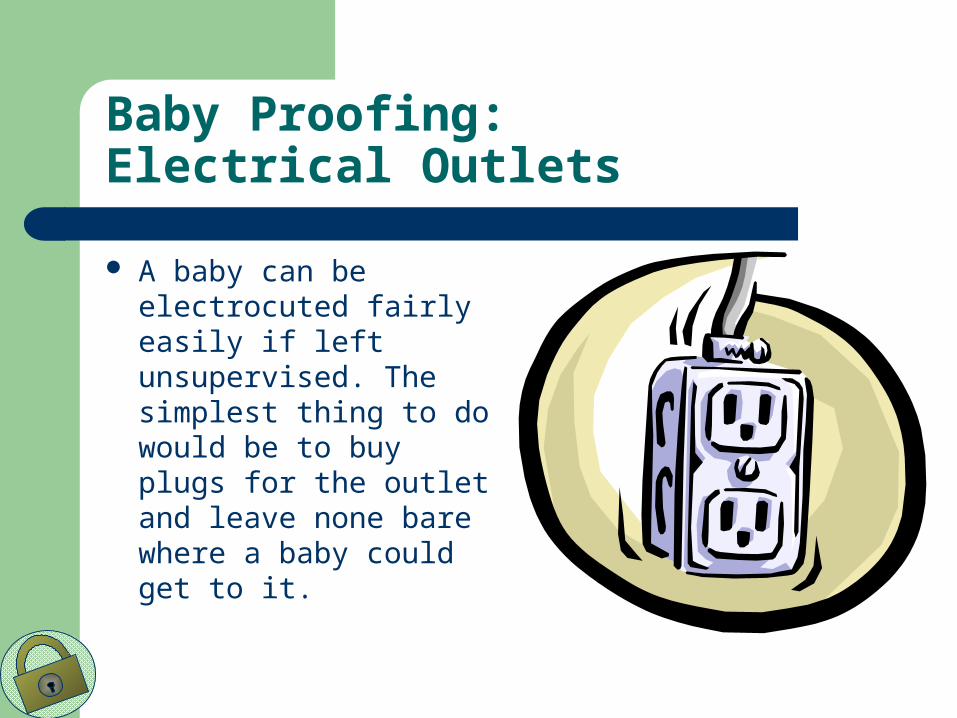
Baby Proofing:Electrical Outlets
A baby can be electrocuted fairly easily if left unsupervised. The simplest thing to do would be to buy plugs for the outlet and leave none bare where a baby could get to it.

Baby Proofing: Kitchen Safety
There are many hazardous items in a kitchen that can harm a baby. A few ways to make the kitchen a safe place would be to
– Keep all sharp objects in drawers out of the baby’s reach.
– Make sure all drawers on the baby’s level have safety locks
Baby Proofing:Bedroom Safety
The bedroom is one of the most important rooms to be baby proofed. The baby spends about 2/3 of its time sleeping, but there are a few things you must know
– The bedroom is a place for sleep, not play.– All references from earlier must be followed in the same manner in the bedroom.– Keep the bars on the crib 2 inches apart at most to avoid the baby from slipping through them and suffocating.– Leave the baby with no toys that it may suffocate on during sleep.
First Aid
First aid is an important skill to learn so that you may be prepared for any
common or serious injuries that you
may be presented with in the future.
In the next few slides there will be
examples of some common injuries that you may be faced with in the future. These slides are to inform you in making the right decision if or when they come.
Animal Bites
Domestic pets cause most animal bites. Dogs are more likely to bite than cats. Cat bites, however, are more likely to cause infection. Bites from nonimmunized domestic animals and wild animals carry the risk of rabies. Rabies is more common in raccoons, skunks, bats and foxes than in cats
and dogs.Rabbits, squirrels
and other rodents rarely carry
rabies. If an animal bites you,
follow these guidelines:
Animal bites
– For minor wounds. If the bite barely breaks the skin and there is no danger of rabies, treat it as a minor wound. Wash the wound thoroughly with soap and water. Apply an antibiotic cream to prevent infection and cover the bite with a clean bandage.
– For deep wounds. If the animal bite creates a deep puncture of the skin or the skin is badly torn and bleeding, apply pressure with a clean, dry cloth to stop the bleeding and see your doctor.
– For infection. If you notice signs of infection such as swelling, redness, increased pain or oozing, see your doctor immediately.
Black eyes
The so-called black eye is caused by bleeding beneath the skin around the eye. Sometimes a black eye indicates a more extensive injury, even a skull fracture, particularly if the area around both eyes is bruised or if there has been a head injury. Although most black-eye injuries aren't serious, bleeding within the eye, called a hyphema, is serious and can reduce vision and damage the cornea. In some cases, abnormally high pressure inside the eyeball (glaucoma) also can result.

True or False
When treating a black eye you should:
Press hard on the bruise with a warm cloth, the pressure is good for it.
Use gentle pressure and apply a cold pack.
Correct
The cold will reduce swelling and the little pressure will not harm the eye.
Sorry
Applying pressure may harm your eye and worsen the bruise. Its best to use little pressure with a cold pack.
Treating a black eye
Using gentle pressure, apply a cold pack or a cloth filled with ice to the area around the eye. Take care not to press on the eye itself. Apply cold as soon as possible after the injury to reduce swelling, and continue using ice or cold packs for 24 to 48 hours.
Be sure there's no blood in the white and colored parts of the eye.

Blisters
Common causes of blisters include friction and burns. If the blister isn't too painful, do everything possible to keep it intact. Unbroken skin over a blister provides a natural barrier to bacteria and decreases the risk of infection. Cover a small blister with an adhesive bandage, and cover a large one with a porous, plastic-coated gauze pad that absorbs moisture and allows the wound to breathe.Don't puncture a blister unless it's painful or prevents you from walking or using one of your hands.
Treating a blister
– Wash your hands and the blister with soap and warm water.– Swab the blister with iodine or rubbing alcohol.– Sterilize a clean, sharp needle by wiping it with rubbing
alcohol.– Use the needle to puncture the blister. Aim for several spots
near the blister's edge. Let the fluid drain, but leave the overlying skin in place.
– Apply an antibiotic ointment to the blister and cover with a bandage or gauze pad.
– After several days, use tweezers and scissors sterilized with rubbing alcohol to cut away all the dead skin. Apply more ointment and a bandage.
Bruises
A bruise forms when a blow breaks small blood vessels near your skin's surface, allowing a small amount of blood to leak out into the tissues under your skin. The trapped blood appears as a black-and-blue mark. Sometimes, there also are tiny red dots or red splotches.
If your skin isn't broken, you don't need a bandage. You can, however, enhance healing with these simple techniques:
Treating bruises
Treating bruises are simple, in most cases they are not serious and cause little pain. To treat bruises simply:
Elevate the injured area. Apply ice or a cold pack for 30 to 60 minutes at
a time for a day or two after the injury. Consider acetaminophen (Tylenol, others) for
pain relief.
Burns
To distinguish a minor burn from a serious burn, the first step is to determine the degree and the extent of damage to body tissues. The three classifications of first-degree burn, second-degree burn and third-degree burn will help you determine emergency care.
Burns
First-degree burn – The least serious burns are those in which only the
outer layer of skin (epidermis) is burned. The skin is usually red, with swelling and pain sometimes present. The outer layer of skin hasn't been burned through. Treat a first-degree burn as a minor burn unless it involves substantial portions of the hands, feet, face, groin or buttocks, or a major joint.
Burns
Second-degree burn
– When the first layer of skin has been burned through and the second layer of skin (dermis) also is burned, the injury is termed a second-degree burn. Blisters develop and the skin takes on an intensely reddened, splotchy appearance. Second-degree burns produce severe pain and swelling.
Burns
Third-degree burn– The most serious burns are painless and involve all
layers of the skin. Fat, muscle and even bone may be affected. Areas may be charred black or appear dry and white. Difficulty inhaling and exhaling, carbon monoxide poisoning or other toxic effects may occur if smoke inhalation accompanies the burn.
Cuts and Scrapes
Minor cuts and scrapes usually don't require a trip to the emergency room. Yet proper care is essential to avoid infection or other complications. These guidelines can help you care for simple wounds.
1. Stop the Bleeding
Minor cuts and scrapes usually stop bleeding on their own. If they don't, apply gentle pressure with a clean cloth or bandage. Hold the pressure continuously for 20 to 30 minutes. Don't keep checking to see if the bleeding has stopped because this may damage or dislodge the fresh clot that's forming and cause bleeding to resume. If the blood spurts or continues to flow after continuous pressure, seek medical assistance.
2. Clean the wound
Rinse out the wound with clear water. Soap can irritate the wound, so try to keep it out of the actual wound. If dirt or debris remains in the wound after washing, use tweezers cleaned with alcohol to remove the particles. If debris remains embedded in the wound after cleaning, see your doctor. Thorough wound cleaning reduces the risk of tetanus. To clean the area around the wound, use soap and a washcloth. There's no need to use hydrogen peroxide, iodine or an iodine-containing cleanser. These substances irritate living cells. If you choose to use them, don't apply them directly on the wound.
3. Apply an antibiotic
After you clean the wound, apply a thin layer of an antibiotic cream or ointment such as Neosporin or Polysporin to help keep the surface moist. The products don't make the wound heal faster, but they can discourage infection and allow your body's healing process to close the wound more efficiently. Certain ingredients in some ointments can cause a mild rash in some people. If a rash appears, stop using the ointment.
4. Cover the wound
Bandages can help keep the wound clean and keep harmful bacteria out. After the wound has healed enough to make infection unlikely, exposure to the air will speed wound healing.
5. Change the dressing
Change the dressing at least daily or whenever it becomes wet or dirty. If you're allergic to the adhesive used in most bandages, switch to adhesive-free dressings or sterile gauze held in place with paper tape, gauze roll or a loosely applied elastic bandage. These supplies generally are available at pharmacies.
6. Get stitches for deep wounds
A wound that cuts deeply through the skin or is gaping or jagged-edged and has fat or muscle protruding usually requires stitches. A strip or two of surgical tape may hold a minor cut together, but if you can't easily close the mouth of the wound, see your doctor as soon as possible. Proper closure within a few hours minimizes the risk of infection.
7. Watch for signs of infection
See your doctor if the wound isn't healing or you notice any redness, drainage, warmth or swelling
8. Get a tetanus shot
Doctors recommend you get a tetanus shot every 10 years. If your wound is deep or dirty and your last shot was more than five years ago, your doctor may recommend a tetanus shot booster. Get the booster within 48 hours of the injury.
I hope this presentation has informed you of the dangers of ones household, and precautions one should follow to eradicate the possibility of an undesirable outcome. To learn more on the subject of house safety please visit the websites below which have tips and instructions for dealing with dangerous
– For more helpful tips on house safety please visit:– http://www.mayoclinic.com/health/FirstAidIndex/FirstAidIndex– http://www.indobase.com/home/safety-security/home-safety-
assessment.html– http://www.babycenter.com/baby/babysafety/index