how to burn a dvd with encore dvd - libraries · how to burn a dvd with encore dvd . encore dvd is...
TRANSCRIPT
How to Burn a DVD with Encore DVD Encore DVD is a program that creates and burns DVDs that can be played in DVD players. It allows you to create interactive menus and buttons, and even pretty elaborate DVDs. This guide will cover the basic steps needed to create a DVD. It also assumes you already have a video file you created using Premiere or Windows Movie Maker (please see those guides for more information on how to create a video file).
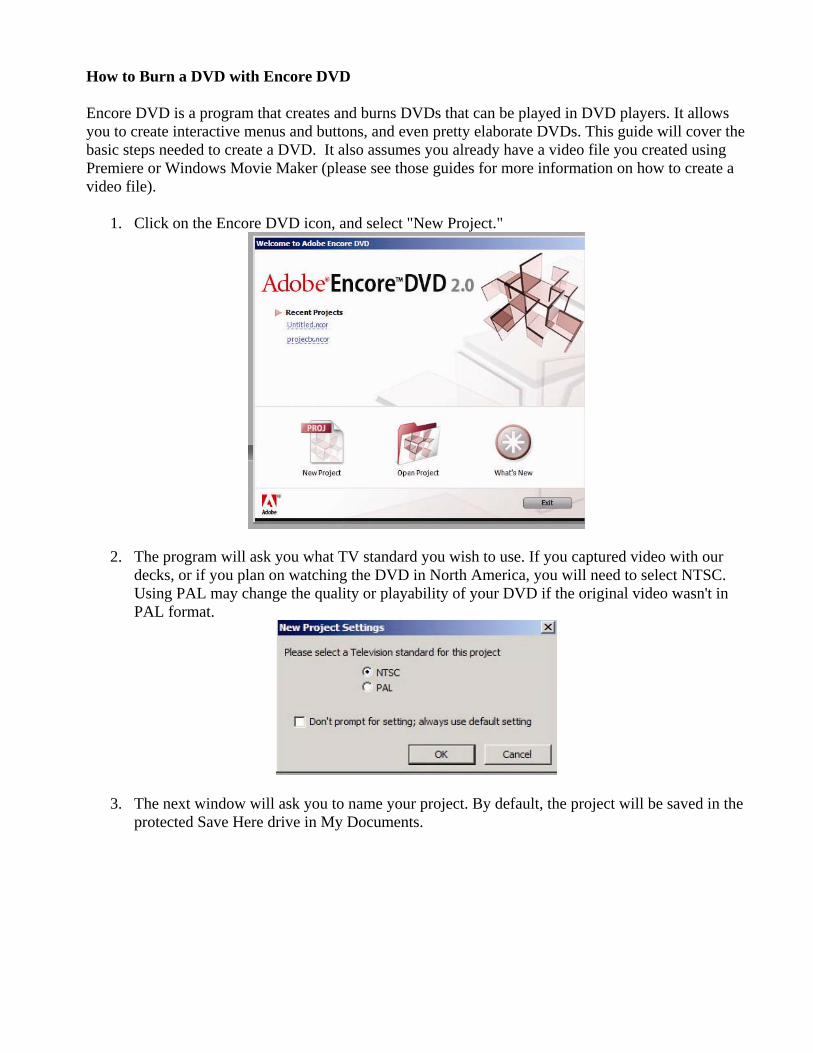
1. Click on the Encore DVD icon, and select "New Project."
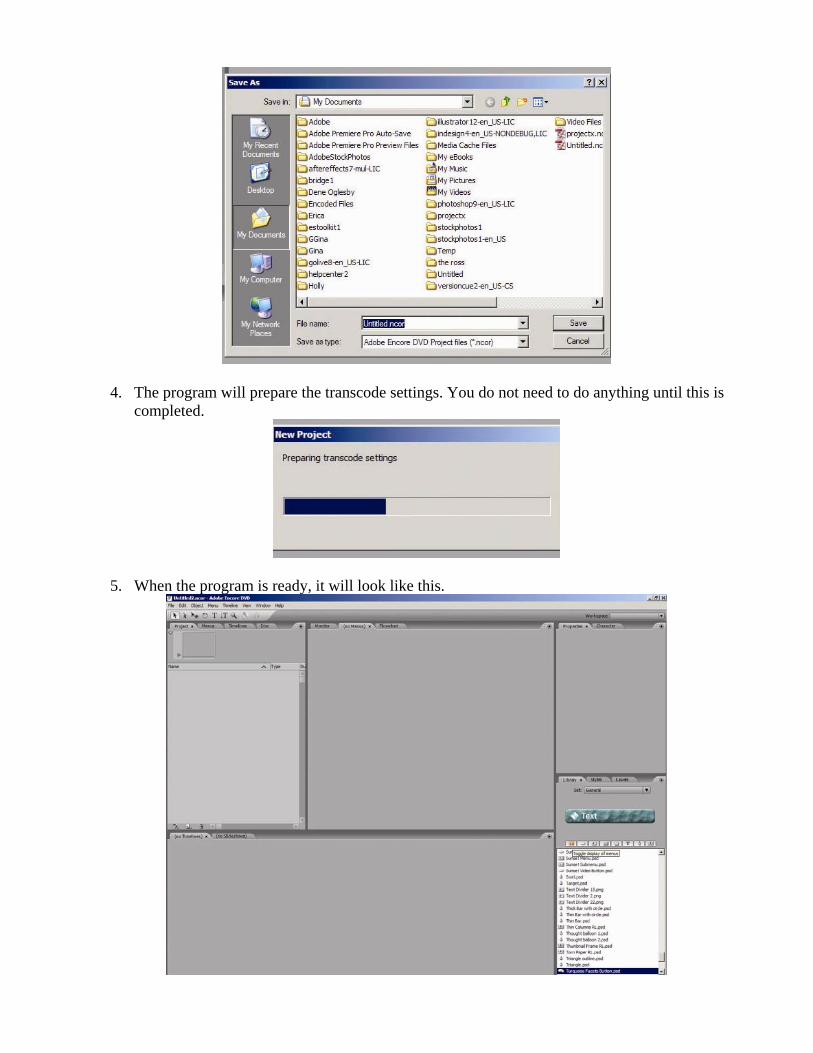
2. The program will ask you what TV standard you wish to use. If you captured video with our decks, or if you plan on watching the DVD in North America, you will need to select NTSC. Using PAL may change the quality or playability of your DVD if the original video wasn't in PAL format.
3. The next window will ask you to name your project. By default, the project will be saved in the protected Save Here drive in My Documents.
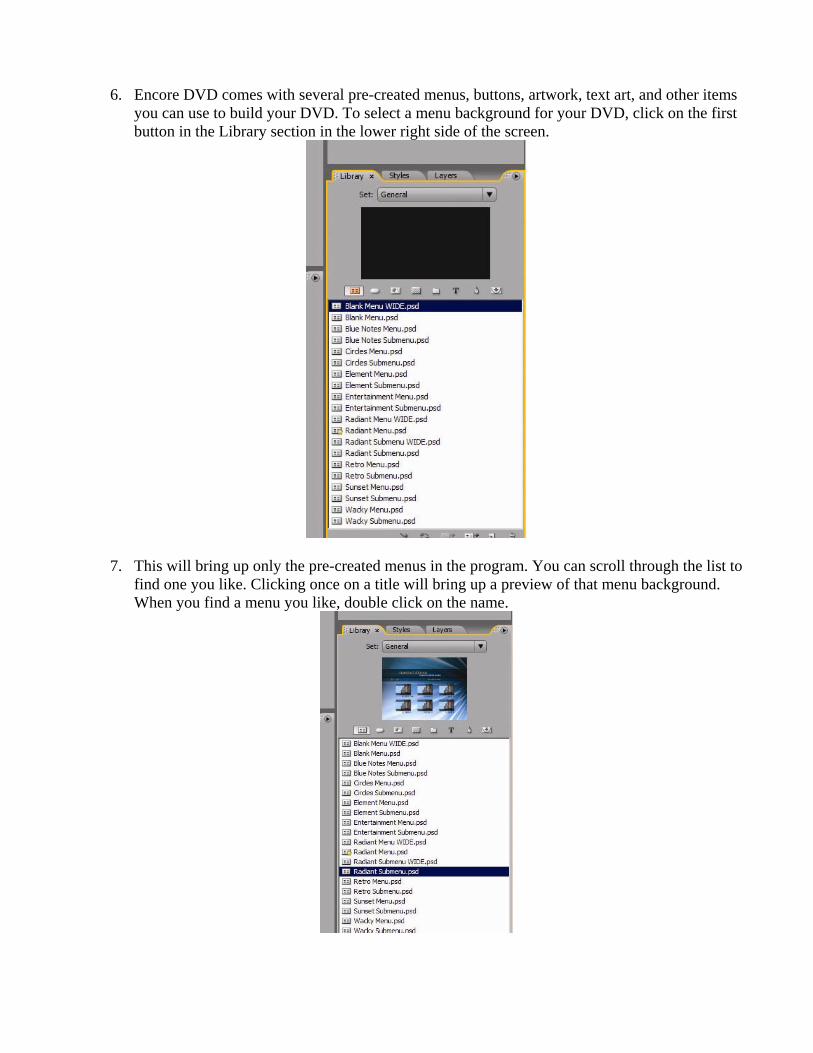
4. The program will prepare the transcode settings. You do not need to do anything until this is completed.
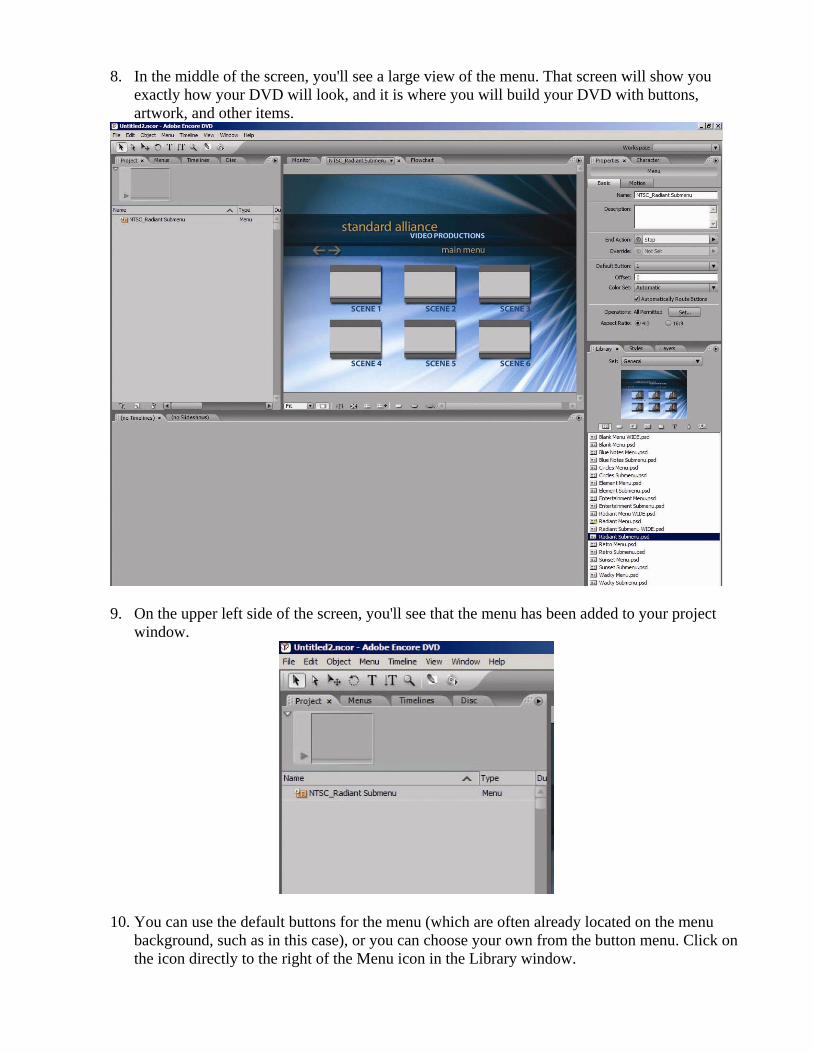
5. When the program is ready, it will look like this.
6. Encore DVD comes with several pre-created menus, buttons, artwork, text art, and other items
you can use to build your DVD. To select a menu background for your DVD, click on the first button in the Library section in the lower right side of the screen.
7. This will bring up only the pre-created menus in the program. You can scroll through the list to find one you like. Clicking once on a title will bring up a preview of that menu background. When you find a menu you like, double click on the name.
8. In the middle of the screen, you'll see a large view of the menu. That screen will show you exactly how your DVD will look, and it is where you will build your DVD with buttons, artwork, and other items.
9. On the upper left side of the screen, you'll see that the menu has been added to your project window.
10. You can use the default buttons for the menu (which are often already located on the menu background, such as in this case), or you can choose your own from the button menu. Click on the icon directly to the right of the Menu icon in the Library window.
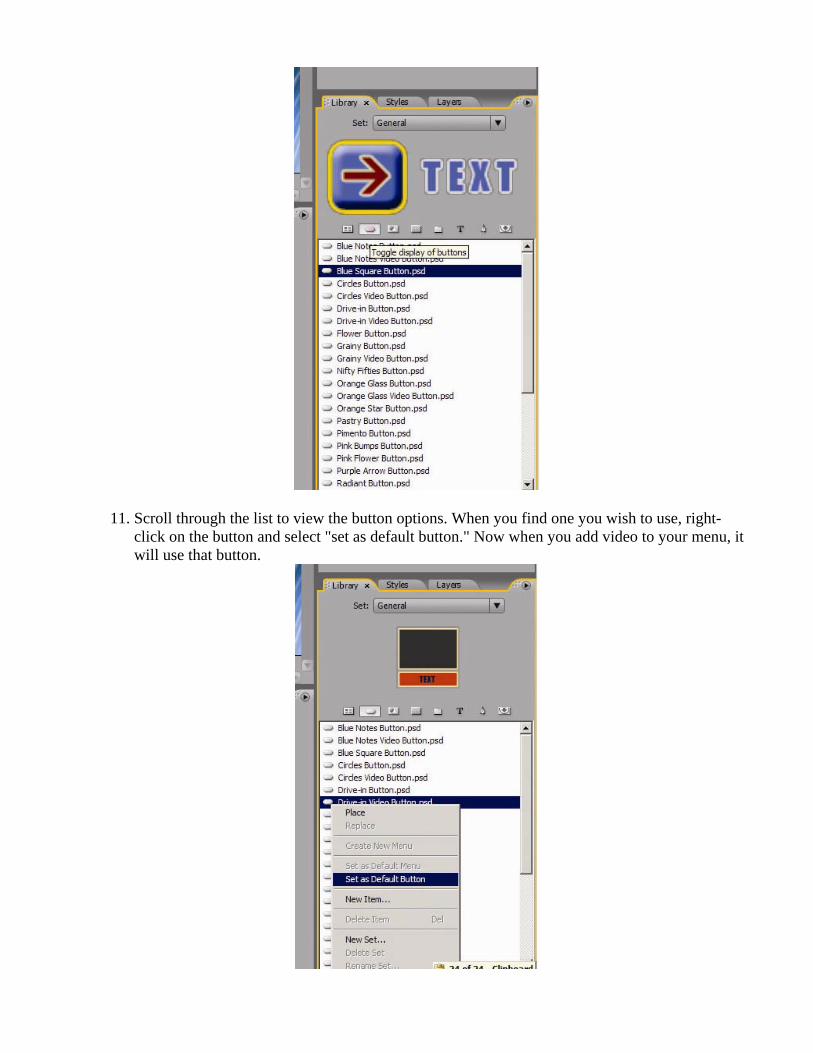
11. Scroll through the list to view the button options. When you find one you wish to use, right-click on the button and select "set as default button." Now when you add video to your menu, it will use that button.
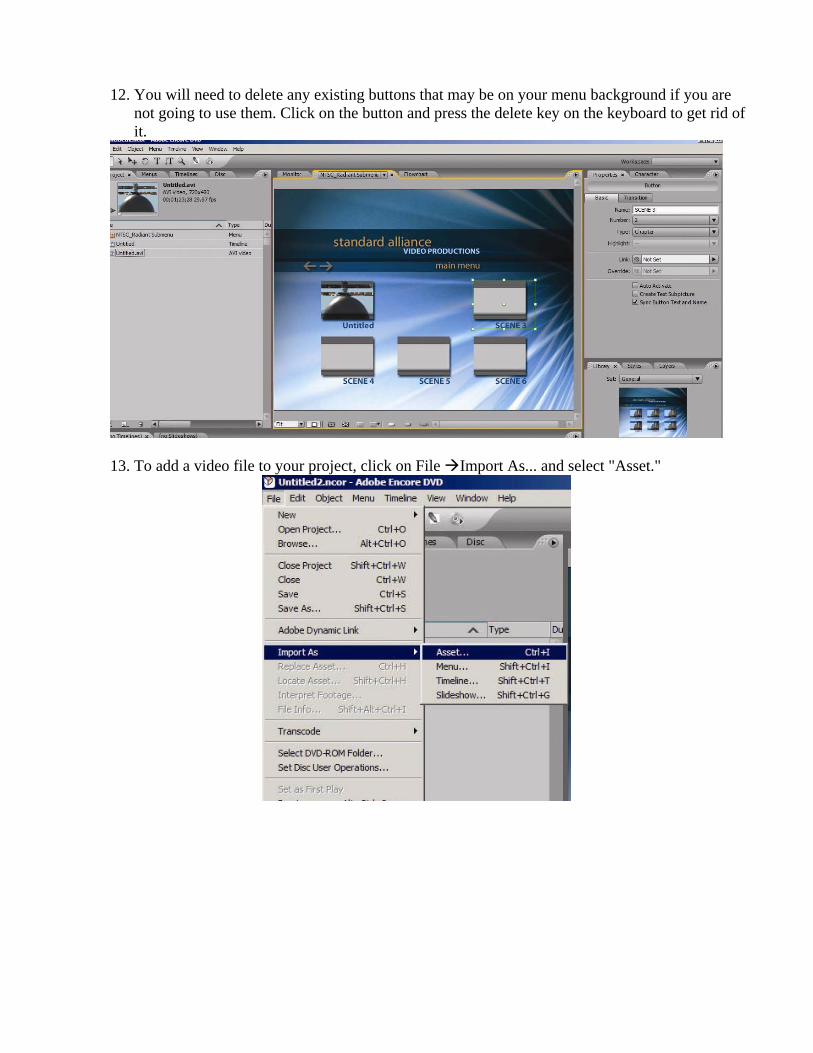
12. You will need to delete any existing buttons that may be on your menu background if you are
not going to use them. Click on the button and press the delete key on the keyboard to get rid of it.
13. To add a video file to your project, click on File Import As... and select "Asset."
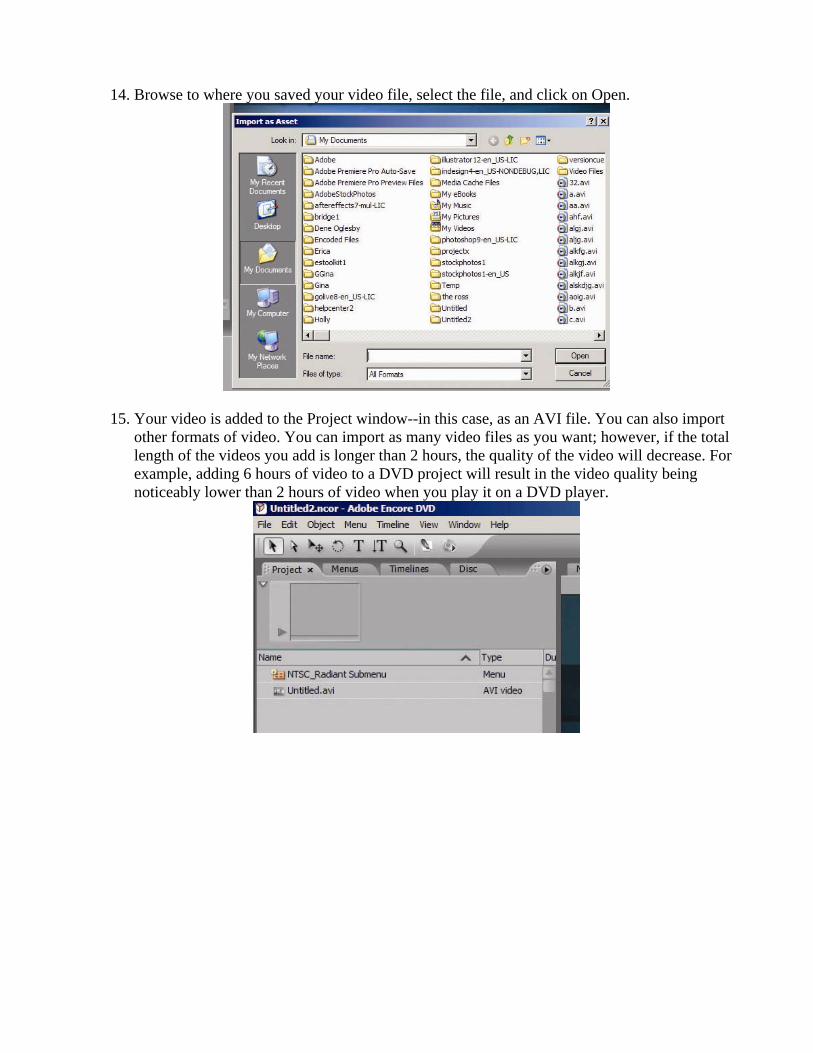
14. Browse to where you saved your video file, select the file, and click on Open.
15. Your video is added to the Project window--in this case, as an AVI file. You can also import other formats of video. You can import as many video files as you want; however, if the total length of the videos you add is longer than 2 hours, the quality of the video will decrease. For example, adding 6 hours of video to a DVD project will result in the video quality being noticeably lower than 2 hours of video when you play it on a DVD player.
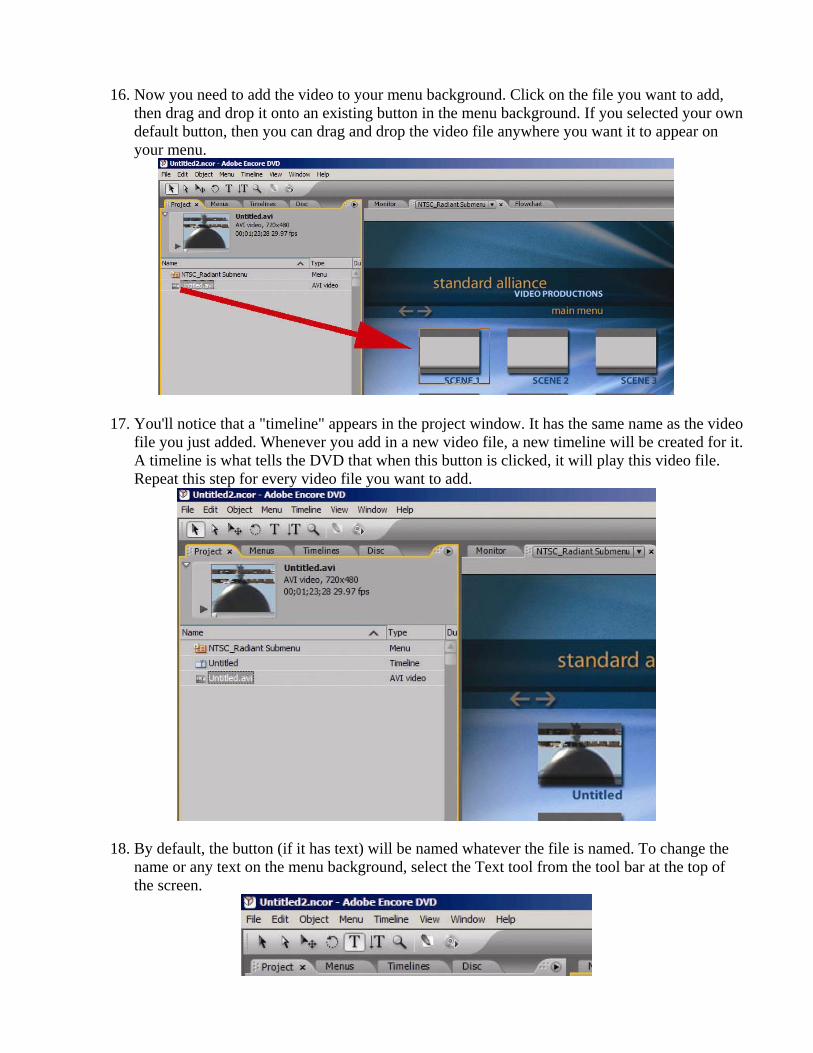
16. Now you need to add the video to your menu background. Click on the file you want to add,
then drag and drop it onto an existing button in the menu background. If you selected your own default button, then you can drag and drop the video file anywhere you want it to appear on your menu.
17. You'll notice that a "timeline" appears in the project window. It has the same name as the video file you just added. Whenever you add in a new video file, a new timeline will be created for it. A timeline is what tells the DVD that when this button is clicked, it will play this video file. Repeat this step for every video file you want to add.
18. By default, the button (if it has text) will be named whatever the file is named. To change the name or any text on the menu background, select the Text tool from the tool bar at the top of the screen.
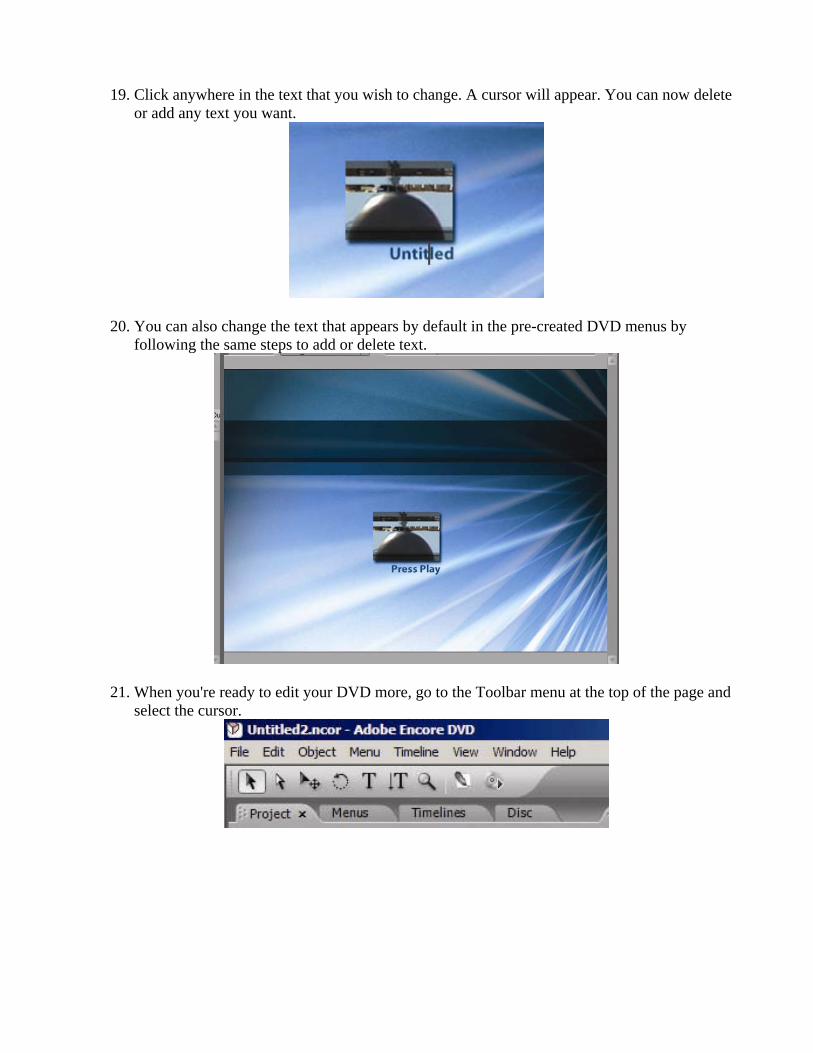
19. Click anywhere in the text that you wish to change. A cursor will appear. You can now delete
or add any text you want.
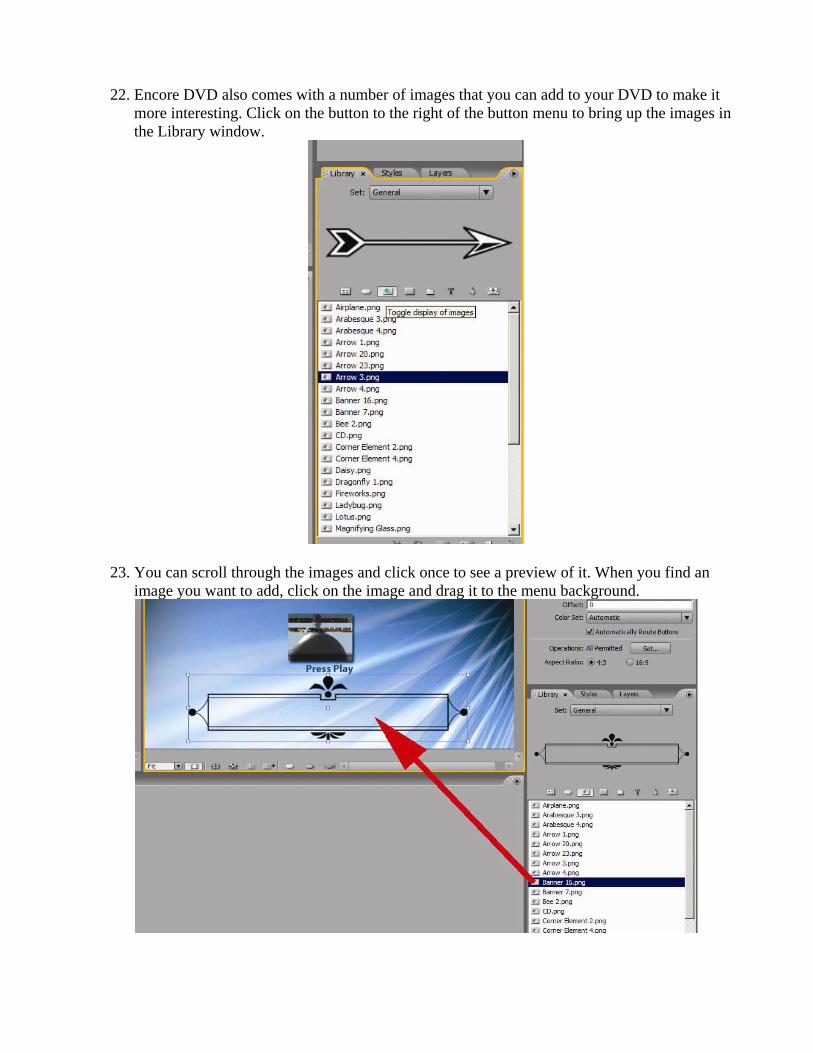
20. You can also change the text that appears by default in the pre-created DVD menus by following the same steps to add or delete text.
21. When you're ready to edit your DVD more, go to the Toolbar menu at the top of the page and select the cursor.
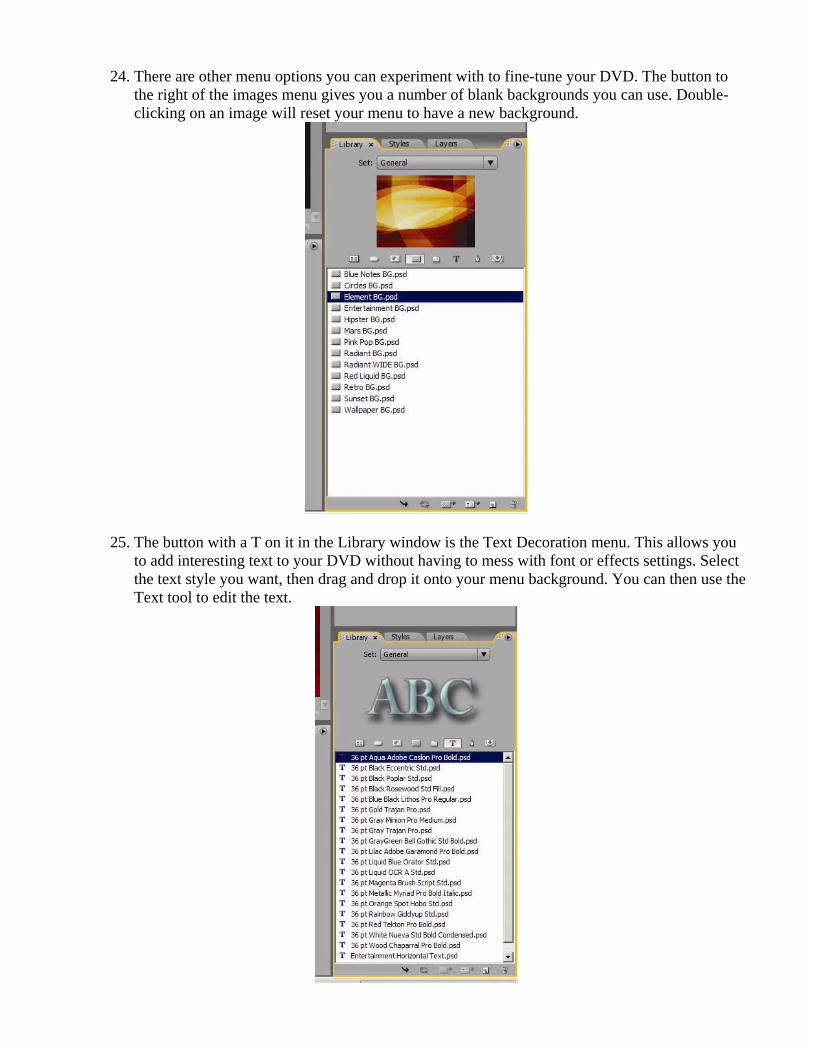
22. Encore DVD also comes with a number of images that you can add to your DVD to make it
more interesting. Click on the button to the right of the button menu to bring up the images in the Library window.
23. You can scroll through the images and click once to see a preview of it. When you find an image you want to add, click on the image and drag it to the menu background.
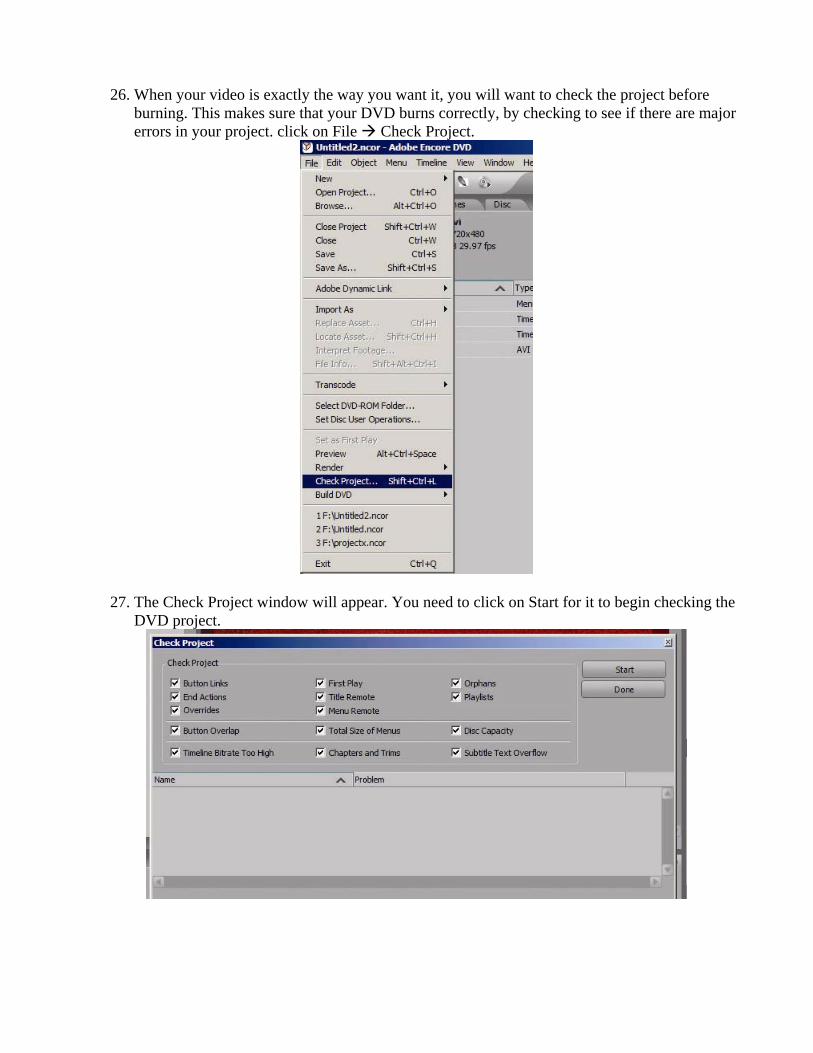
24. There are other menu options you can experiment with to fine-tune your DVD. The button to the right of the images menu gives you a number of blank backgrounds you can use. Double-clicking on an image will reset your menu to have a new background.
25. The button with a T on it in the Library window is the Text Decoration menu. This allows you to add interesting text to your DVD without having to mess with font or effects settings. Select the text style you want, then drag and drop it onto your menu background. You can then use the Text tool to edit the text.
26. When your video is exactly the way you want it, you will want to check the project before
burning. This makes sure that your DVD burns correctly, by checking to see if there are major errors in your project. click on File Check Project.
27. The Check Project window will appear. You need to click on Start for it to begin checking the DVD project.
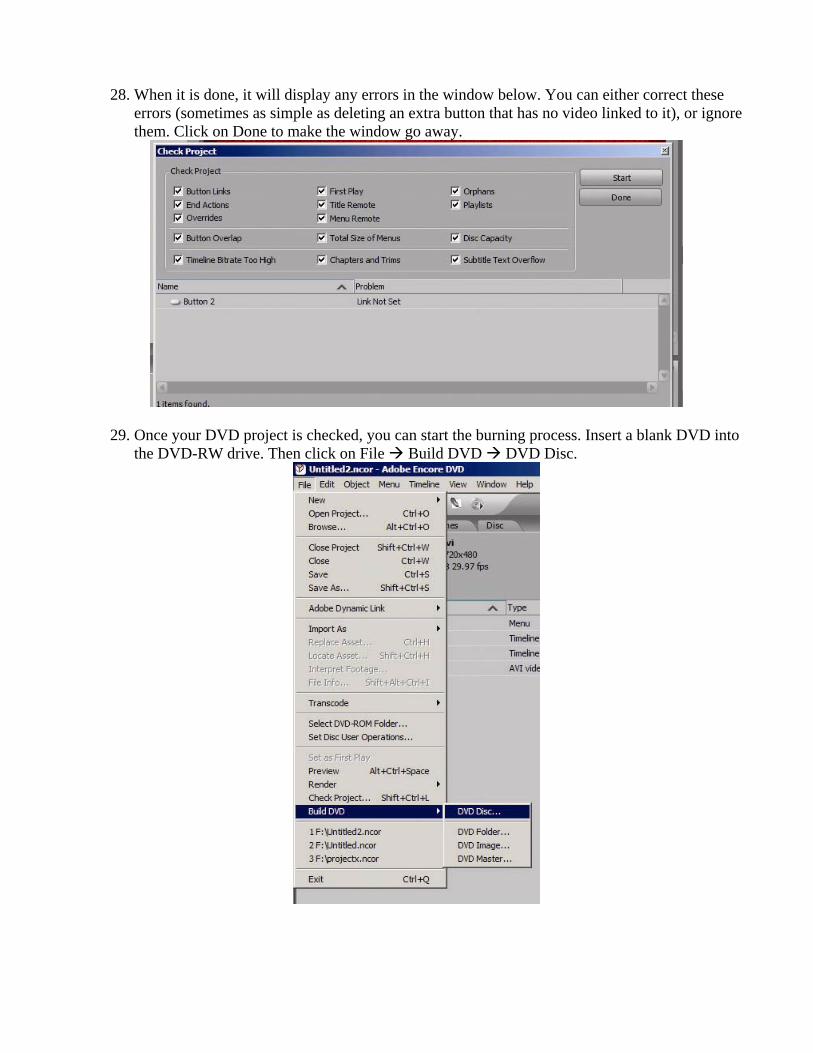
28. When it is done, it will display any errors in the window below. You can either correct these
errors (sometimes as simple as deleting an extra button that has no video linked to it), or ignore them. Click on Done to make the window go away.
29. Once your DVD project is checked, you can start the burning process. Insert a blank DVD into the DVD-RW drive. Then click on File Build DVD DVD Disc.
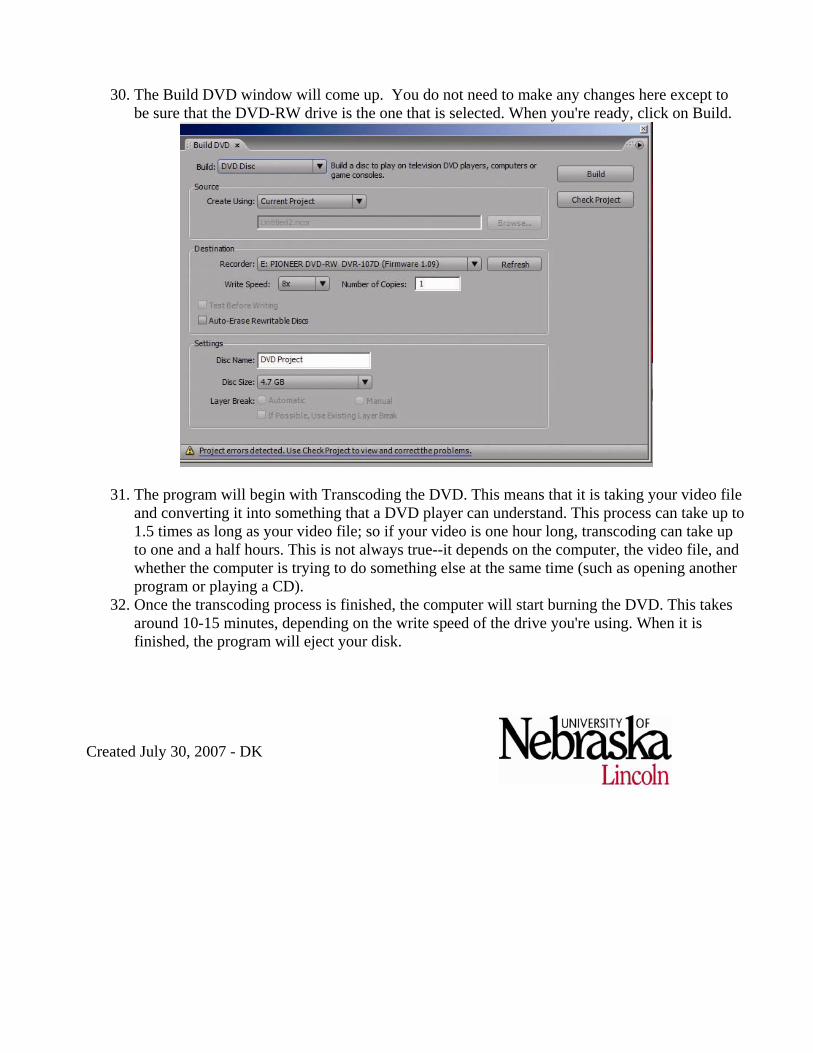
30. The Build DVD window will come up. You do not need to make any changes here except to
be sure that the DVD-RW drive is the one that is selected. When you're ready, click on Build.
31. The program will begin with Transcoding the DVD. This means that it is taking your video file and converting it into something that a DVD player can understand. This process can take up to 1.5 times as long as your video file; so if your video is one hour long, transcoding can take up to one and a half hours. This is not always true--it depends on the computer, the video file, and whether the computer is trying to do something else at the same time (such as opening another program or playing a CD).
32. Once the transcoding process is finished, the computer will start burning the DVD. This takes around 10-15 minutes, depending on the write speed of the drive you're using. When it is finished, the program will eject your disk.
Created July 30, 2007 - DK