how to carve a balsa prop - zin in...
TRANSCRIPT
© 2008 Small Flying Arts All rights reserved Page 1 of 10
HOW TO CARVE A BALSA PROP
by Wout Moerman may 2008
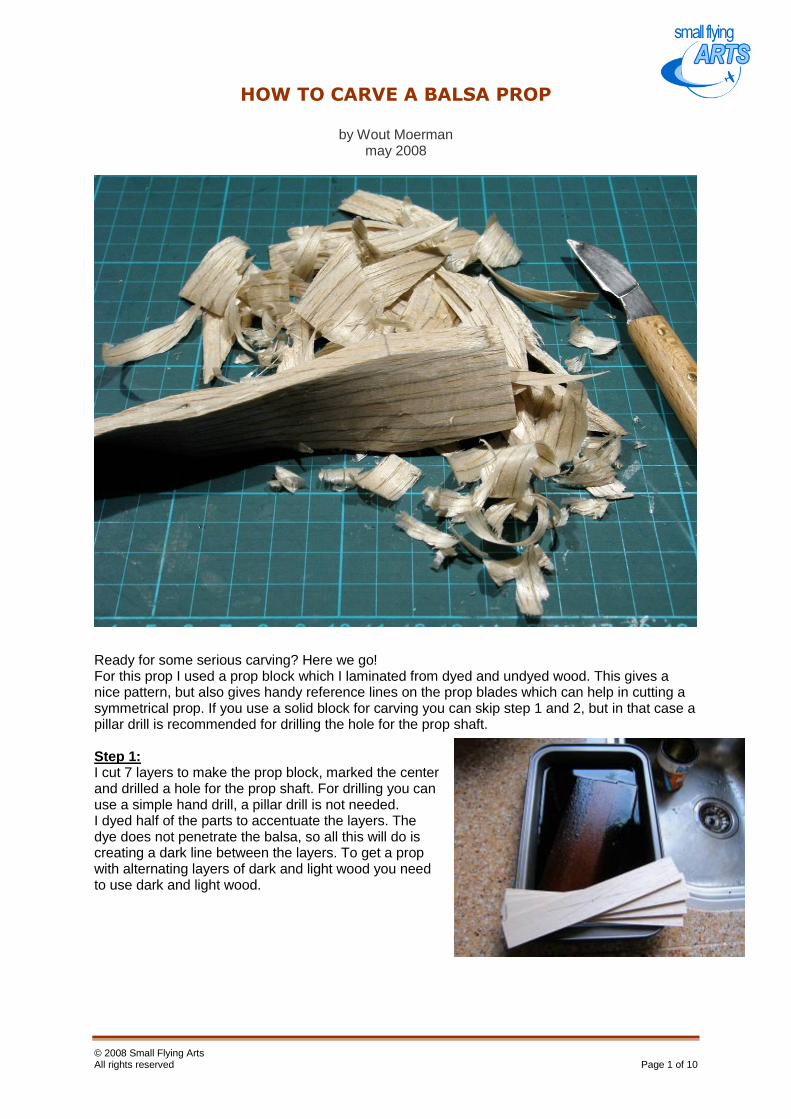
Ready for some serious carving? Here we go! For this prop I used a prop block which I laminated from dyed and undyed wood. This gives a nice pattern, but also gives handy reference lines on the prop blades which can help in cutting a symmetrical prop. If you use a solid block for carving you can skip step 1 and 2, but in that case a pillar drill is recommended for drilling the hole for the prop shaft. Step 1: I cut 7 layers to make the prop block, marked the center and drilled a hole for the prop shaft. For drilling you can use a simple hand drill, a pillar drill is not needed. I dyed half of the parts to accentuate the layers. The dye does not penetrate the balsa, so all this will do is creating a dark line between the layers. To get a prop with alternating layers of dark and light wood you need to use dark and light wood.
© 2008 Small Flying Arts All rights reserved Page 2 of 10
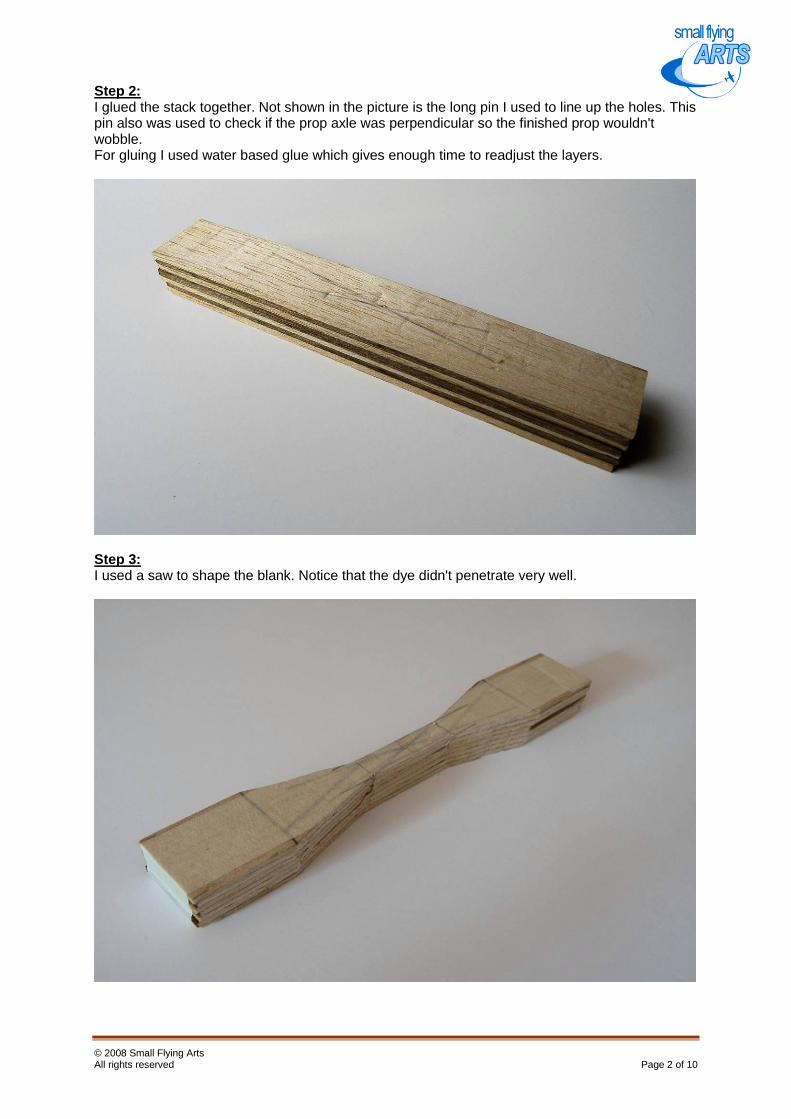
Step 2: I glued the stack together. Not shown in the picture is the long pin I used to line up the holes. This pin also was used to check if the prop axle was perpendicular so the finished prop wouldn't wobble. For gluing I used water based glue which gives enough time to readjust the layers.
Step 3: I used a saw to shape the blank. Notice that the dye didn't penetrate very well.

© 2008 Small Flying Arts All rights reserved Page 3 of 10
Step 4: Using a knife I tapered the tips to the required thickness. To get the correct pitch distribution the block is thick and narrow near the hub and thin and wide near the tip. The shape of the block provides a guide to get this pitch distribution. Connect the opposing edges of the block by carving away on the bottom. Continue carving until there is a flat line between those edges.
Step 5: The back of the prop is carved. Your experience in carving and the sharpness of the tools determine how far you can go in carving. At a certain point it is better to continue with sandpaper to get a smooth shape.

© 2008 Small Flying Arts All rights reserved Page 4 of 10
Watch out for the grain direction while carving. The upper part of the prop must be carved from the hub towards the tip, the lower part must be carved the other way.
Step 6: The front is still left as it was. Here is a picture of the tip of the prop. Note that the back of the blade is slightly under-cambered.
© 2008 Small Flying Arts All rights reserved Page 5 of 10
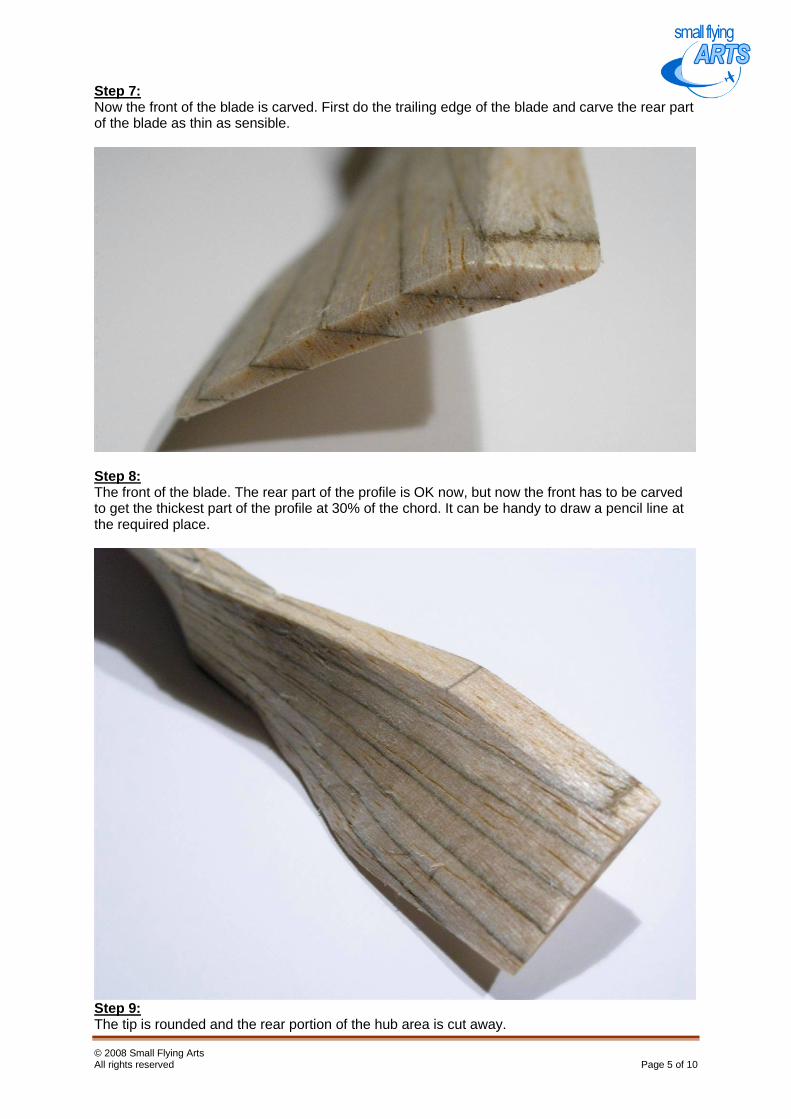
Step 7: Now the front of the blade is carved. First do the trailing edge of the blade and carve the rear part of the blade as thin as sensible.
Step 8: The front of the blade. The rear part of the profile is OK now, but now the front has to be carved to get the thickest part of the profile at 30% of the chord. It can be handy to draw a pencil line at the required place.
Step 9: The tip is rounded and the rear portion of the hub area is cut away.

© 2008 Small Flying Arts All rights reserved Page 6 of 10
Step 10: The front is smoothened to get a nice profile. The carving is finished. Time to sit back and admire the beautifull curves. Apply a few coats of dope to protect and strengthen the prop.

© 2008 Small Flying Arts All rights reserved Page 7 of 10
How to choose a prop block In choosing the right prop for your model, two factors are of importance: diameter and pitch. For most planes a diameter of about 1/3 of the span is a good choice, but for models which are difficult to trim a diameter of about 1/4 of the span is a better choice. The pitch determines the climb of the model: a low pitch gives a rapid climb, a high pitch gives a slow climb. The pitch also influences the duration of the motor run; a high pitch gives a longer motor run. For flying in a limited space, such as in flying indoors, a high pitch is the best choice. But beware, a higher pitch makes a model more difficult to trim. What is a high pitch? It is best to look at the ratio between diameter and pitch: P/D. A P/D of 1 to 1.2 is low, 1.2 to 1.4 is medium and 1.5 and upwards is high pitch. All plastic props have a low pitch and are more suitable for outdoor flying. To choose the right prop block it is best to look at the P/D first. Scaling a prop does not influence the P/D ratio, so you can multiply all dimensions with a certain factor to get a suitable sized prop. But you can also just increase (or decrease) the diameter which results in a prop with identical P/D but relatively a smaller (or larger) blade width. low pitch: P/D: 1 – 1.2 medium pitch: P/D: 1.2 – 1.4 high pitch: P/D: 1.4 – 2 Pitch calculation Do you want to calculate the pitch or P/D of an unknown prop block? You can use these formulas: Relative pitch at the the tip of the prop: P/D = (3,14 x tip-thickness)/(tip-width) Pitch, this formula can be used for each part of the prop block, not just the tip: Pitch = (3,14 x diameter x thickness)/(width) Example: Let’s calculate the pitch distribution of the prop for Earl Stahl’s Hurricane. At half the diameter (6”) you find a thickness of 1” and a width of 1½”. Enter these values in the formula: Pitch = (3,14 x 6” x 1”)/(1½”) = 12.56” The P/D is 12.56”/12” = 1.05 For the P/D at the tip you can use the same method or you can use the simpler formula: P/D = (3,14 x tip-thickness)/(tip-width) = (3,14 x ½”)/(1½”) = 1.05 You can easily change this P/D by changing the width of the prop block. Let’s say we like the looks of this prop but we want a P/D of 1.2. The pitch must be higher, so the width must be reduced by a factor 1.05/1.2. The new width must be 1½” x (1.05/1.2) = 1.3” Blade width The width of the prop blade is also of influence. Generally a long and thin prop blade has a higher efficiency than a short and wide prop blade. Therefore competition models (not scale) often have long and narrow prop blades of about 8% to 9% of the diameter. This is often not practical for scale models, especially if they are meant to take off and land on their wheels. It is possible to reduce the diameter of the prop and compensate by increasing the width of the blade. For scale models a blade width of 15% to 20% of the diameter is commonly used.

© 2008 Small Flying Arts All rights reserved Page 8 of 10
Prop blocks from famous designers: Very low pitch Design: Earl Stahl D = 6 inch P/D = 0.95 Blade width = 1.4" (24%) Dimensions in inches
Low pitch Design: Bill Henn D = 25 cm (10 inch) P/D = 1.18 Blade width = 1.45" (14%) Dimensions in inches

© 2008 Small Flying Arts All rights reserved Page 9 of 10
Medium pitch Design: Louis Garami D = 25 cm (10 inch) P/D = 1.3 Blade width = 1.6” (16%) Dimensions in inches High pitch Design: Wout Moerman D = 15 cm (6 inch) P/D = 1.57 Blade width = 1.1" (19%) Dimensions in millimeters
More prop block designs can be found at: http://www.zininmijnleven.nl/hobby/modelflying/propblocks/index.html

© 2008 Small Flying Arts All rights reserved Page 10 of 10
How to design your own prop block Now you know something about cutting a prop and the choice of a prop block. But off course the real experts design their own prop blocks! The simplest prop block is the X-block. We use this to design our own prop block. First we chose a diameter and a P/D ratio. Let’s say we want a 12 cm prop with a P/D of 1.3. What are the dimensions of the prop block? The length is easy: 12 cm. The P/D is determined by the ratio between the thickness and width at the tip. In the table we can find a ratio of 1:2.42. In our stack of balsa we find a nice piece of 11 mm balsa. We now can make a block with a width of 11 x 2.42 = 26.62 mm, which equals about 27 mm. Now cut a prop block like Thierry Bachellier did for his Bleriot IX peanut and start carving.
P/D Thickness : width ratio
1.0 3.14
1.1 2.86
1.2 2.62
1.3 2.42
1.4 2.24
1.5 2.09
1.6 1.96
1.7 1.85
1.8 1.74
1.9 1.65
2.0 1.57
After the prop is carved you can alter the shape of the blade. You can give the blade a rounded tip, or cut parallel sides to give the prop a more modern look. Using this method you can cut every type of prop you want!