how to install dry-laid flagstone - stone · pdf filehow to build a dry laid flagstone patio...
TRANSCRIPT

How To InstallDry-Laid Flagstone
Patio or Walkway
Copyright © 2012 Stone Plus, Inc.
Complete step by step “How-to” guide forbuilding a dry-laid patio or walkway.
HowToBuildADryLaidFlagstonePatioorWalkway
As there is no single “right way” to install dry laidflagstone, we have found the following to be a solid tech-nique.
ChoosingYourStoneStone for walkways and patios come in many colors,
shapes, textures and sizes. When selecting the stone for yourpavement, keep in mind the concept, or idea, that form fitsfunction.
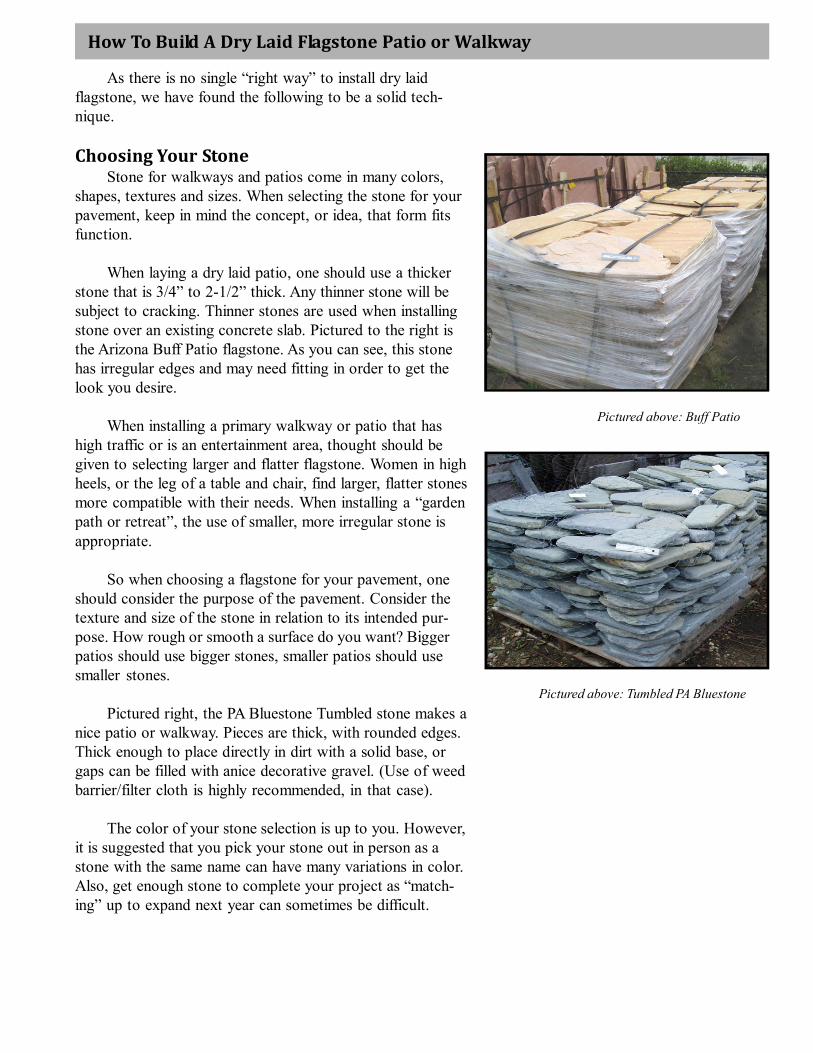
When laying a dry laid patio, one should use a thickerstone that is 3/4” to 2-1/2” thick. Any thinner stone will besubject to cracking. Thinner stones are used when installingstone over an existing concrete slab. Pictured to the right isthe Arizona Buff Patio flagstone. As you can see, this stonehas irregular edges and may need fitting in order to get thelook you desire.
When installing a primary walkway or patio that hashigh traffic or is an entertainment area, thought should begiven to selecting larger and flatter flagstone. Women in highheels, or the leg of a table and chair, find larger, flatter stonesmore compatible with their needs. When installing a “gardenpath or retreat”, the use of smaller, more irregular stone isappropriate.
So when choosing a flagstone for your pavement, oneshould consider the purpose of the pavement. Consider thetexture and size of the stone in relation to its intended pur-pose. How rough or smooth a surface do you want? Biggerpatios should use bigger stones, smaller patios should usesmaller stones.
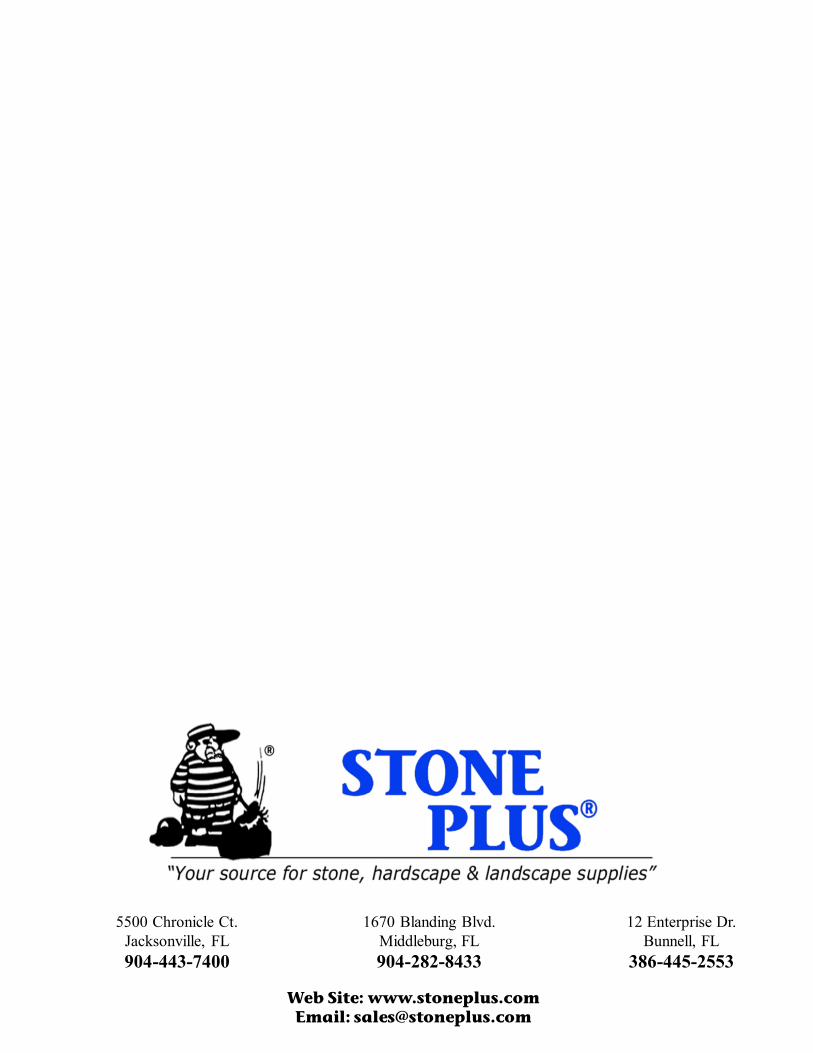
Pictured right, the PA Bluestone Tumbled stone makes anice patio or walkway. Pieces are thick, with rounded edges.Thick enough to place directly in dirt with a solid base, orgaps can be filled with anice decorative gravel. (Use of weedbarrier/filter cloth is highly recommended, in that case).
The color of your stone selection is up to you. However,it is suggested that you pick your stone out in person as astone with the same name can have many variations in color.Also, get enough stone to complete your project as “match-ing” up to expand next year can sometimes be difficult.
Pictured above: Buff Patio
Pictured above: Tumbled PA Bluestone

HowToBuildADryLaidFlagstonePatioorWalkway(cont’d)
Spread the gravel base over the patio area. Use a long straight 2x4 to “pull” the base material. You canmeticulously use the board and a 4’ level to smooth the gravel out at the proper level, or you can pull stringsacross the area that are tied to wooden stakes at the appropri-ate elevation, and pull the board just under the string.
Once you are happy with how your gravel base is in-stalled, thoroughly wet/soak the gravel with water and thencompact the gravel with either a hand tamper or a plate com-pactor. As the base material is compacted, this grading proce-dure should be repeated before the next step.
InstallingTheFlagstoneLaying the flagstone can be tedious as the stones are different shapes and thickness. Leveling them to
one another and to your grade, as well as “fitting” them to one another, requires patience. Do not hurrythrough this.
Two options:Lay the entire area out on the ground, performing the cutting or shaping to fit the stones together first;
and then level the stones.
Or, as you lay the stones, cut, fit and level as you go.
DecideWhatTypeOfJointsYouWantBetweenTheFlagstoneRandom Joints: For a more rugged look, use the natural edges of the
stone which will create joints varying in size from 1/2” to 3”.
Consistent Joints: For a more elegant look, joints being 1/2” to 3/4”,you can shape the flagstone edges to your desired look. For fitting pur-poses, a hand-held angle grinder makes it easier to shape the flagstone; oryou can use a brick hammer and chisel, along with patience and practice,to get the flagstone to fit your desired look.

HowToBuildADryLaidFlagstonePatioorWalkway(cont’d)
LevelingTheFlagstonesLeveling the stones to one another can best be accomplished using a length of a 2x4 that reaches across
several flagstones at once, maybe 4, and a rubber mallet. As you set each stone, level it with some loosegravel insuring that the stone is totally supported on its bottom side. Use the hammer head or handle to packgravel all around each stone. Use the 2x4 across the flagstone making sure that the bottom of the 2x4contacts all stone. meanwhile, be sure the top of your flagstone is following your established grades. Itreally is easier than it sounds!
A trick to help maintain your established grade is to stake a 2x4 along the side of the patio at the slopedgrade and to level over to your flagstones each time you set a new piece. 2”x4”’s and a 4’ level are impor-tant tools here.
Try to use bigger flagstones on the perimeters as they will be more stable. Sometimes you want to usemortar to set the perimeter stones to help prevent them from rocking. Remember, the gravel base wasextended out 4” to 6” beyond the patio edge - that too was to help prevent the flagstones from rocking.
FillingTheJointsThis is easy, step by step:
• Backfill all around the perimeter of your flagstone patio• Pack the soil up gainst the stones• Clean out any soil that might have migrated into the joints• Choose your fill material:• Gator Dust: A polymer laced gravel that hardens up. It provides a clean look and keeps out
weeds and ants.• Compactable Gravel: Like the screenings used for the base or a fine crushed granite. This
option requires more maintenance over time.• Pea Gravel: Provides a nice look but requires more maintenance over time.
If you choose the Gator Dust, read and follow the directions carefully.
If you choose a compactible gravel or dust, simply sweep it into the joints dry, and then soak the jointsto settle the material into the joint. Repeat until the joints are completely settled.
Cover photo courtesy: 5 Star Landscape
Important:From pallet to pallet of natural flagstone, color can vary. It is always in the best interest to randomly
select from different pallets during installation to ensure all colors of the flagstone are distributed evenly.
Stone Plus, and their employees, do not claim to be professional masonry instructors or installers. Theseinstallation techniques are suggestions that tend to work with great success.
Stone Plus accepts no responsibility for poor installation or unusual conditions where flagstone is in-stalled. By using this information you agree to hold Stone Plus harmless for any damage or losses resultingfrom the use of this information.
5500 Chronicle Ct.Jacksonville, FL904-443-7400
1670 Blanding Blvd.Middleburg, FL904-282-8433
12 Enterprise Dr.Bunnell, FL
386-445-2553
Web Site: www.stoneplus.comEmail: [email protected]