how to make a big anzac day poppy for your …...how to make a big anzac day poppy for your...
TRANSCRIPT
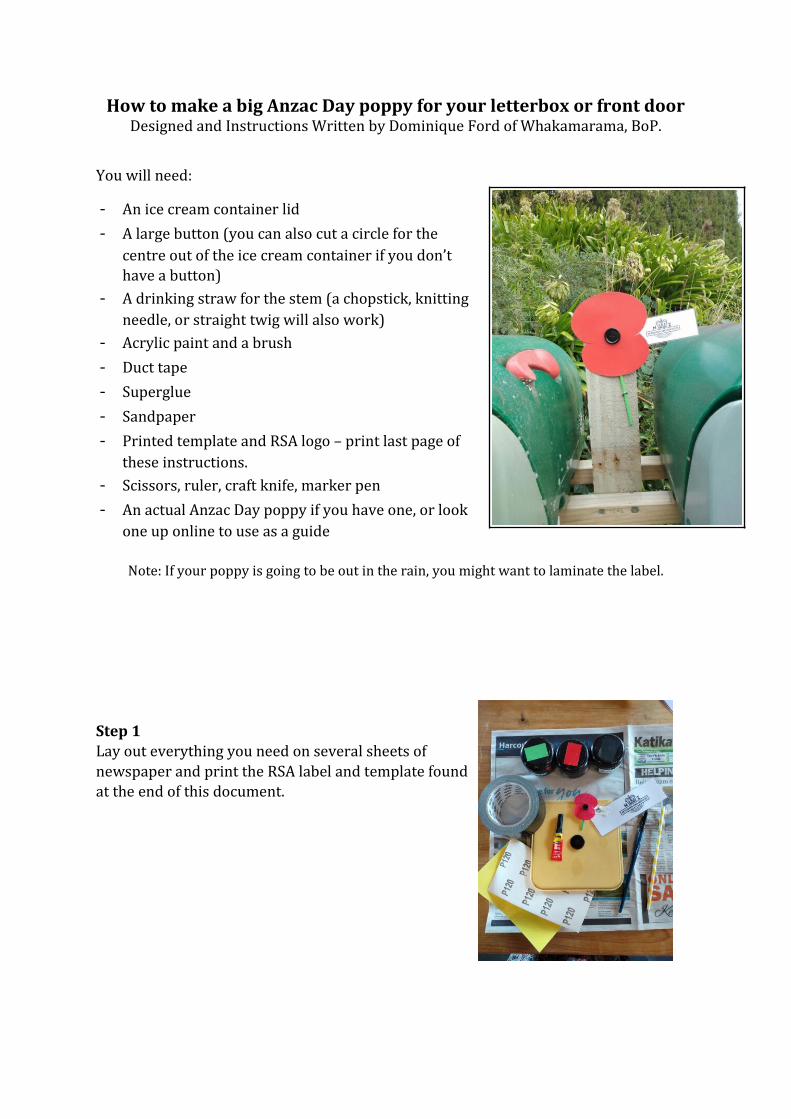
How to make a big Anzac Day poppy for your letterbox or front doorDesigned and Instructions Written by Dominique Ford of Whakamarama, BoP.
You will need:
- An ice cream container lid
- A large button (you can also cut a circle for the centre out of the ice cream container if you don’t have a button)
- A drinking straw for the stem (a chopstick, knittingneedle, or straight twig will also work)
- Acrylic paint and a brush
- Duct tape
- Superglue
- Sandpaper
- Printed template and RSA logo – print last page ofthese instructions.
- Scissors, ruler, craft knife, marker pen
- An actual Anzac Day poppy if you have one, or lookone up online to use as a guide
Note: If your poppy is going to be out in the rain, you might want to laminate the label.
Step 1Lay out everything you need on several sheets ofnewspaper and print the RSA label and template foundat the end of this document.

Cut out the paper poppy and draw around it on the icecream container lid with a marker pen.
Now cut out the poppy from the lid.
Step 2Using a circular motion, rough up the surface of theplastic with your sandpaper. This will help the paintstick to the surface of the plastic lid.

Smooth the edges of the poppy shape as well.
Step 3Give your poppy 2 or 3 coats of red paint,ensuring each coat is dry before you do the nextone.
After your last coat, while the paint is still wet, use a‘dabbing’ motion with a folded paper towel to givethe surface a nice texture.

While you are waiting for the paint to dry, paint yourstraw or stick with green paint.
Step 4Using scissors or a craft knife and ruler (and asuitable surface to cut on – NOT the dining table!),cut out the paper label. If you have access to a laminator, this will make yourlabel waterproof, but this is optional. You can alwaysprint out 2 or 3 labels and replace them if they getrained on!Hold the label in the right place and draw around iton the back, then attach with superglue.
Stick the stem on with duct tape.
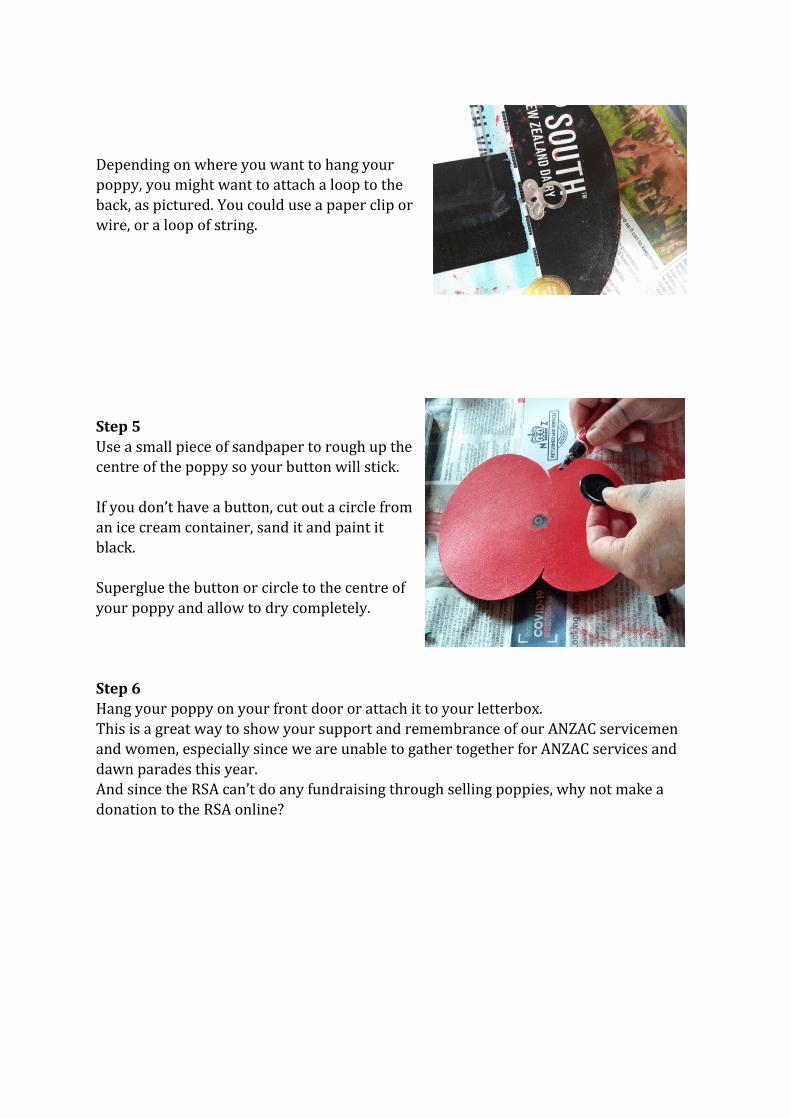
Depending on where you want to hang yourpoppy, you might want to attach a loop to theback, as pictured. You could use a paper clip orwire, or a loop of string.
Step 5Use a small piece of sandpaper to rough up thecentre of the poppy so your button will stick.
If you don’t have a button, cut out a circle froman ice cream container, sand it and paint itblack.
Superglue the button or circle to the centre ofyour poppy and allow to dry completely.
Step 6Hang your poppy on your front door or attach it to your letterbox.This is a great way to show your support and remembrance of our ANZAC servicemen and women, especially since we are unable to gather together for ANZAC services and dawn parades this year.And since the RSA can’t do any fundraising through selling poppies, why not make a donation to the RSA online?
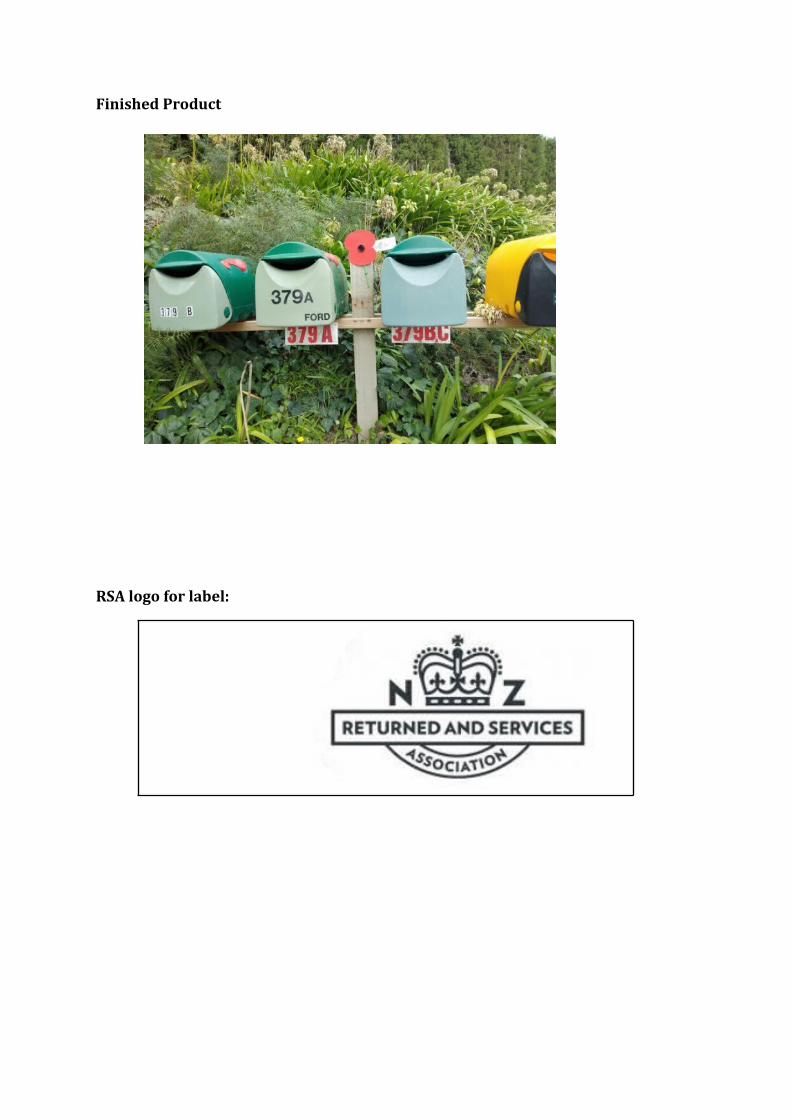
Finished Product
RSA logo for label:

Poppy template – actual size on A4 paper