ilrn student user guide - cengageassets.cengage.com/pdf/gui_ilrn-student-user-guide-cb.pdf · ilrn...
TRANSCRIPT
iLrn Student User Guide
Welcome to iLrn’s Student User Guide! This guide will help you get started with iLrn by providing in depth,
step-by-step instructions, created specifically for the student user.
Contents
Benefits of Using iLrn ............................................................................................................................................. 2
Where to Buy .......................................................................................................................................................... 2
Returning User ........................................................................................................................................................ 4
Walkthrough ........................................................................................................................................................... 4
Product Support ................................................................................................................................................... 14

Benefits of Using iLrn
With iLrn: Heinle Learning Center, everything students need to master the skills and concepts of the course is built
right in to this dynamic audio- and video-enhanced learning environment, including:
An audio- and video-enhanced eBook
Assignable, integrated textbook activities
Companion videos with pre- and post-viewing activities
Assignable, partnered voice-recorded activities
An online workbook and lab manual with audio
Interactive enrichment activities, and
A diagnostic study tool to better prepare students for exams.
Where to Buy
CengageBrain.com : Choose the format and price options that work best for you. CengageBrain.com offers Textbook
and Bundle Rentals, eTextbooks, individual eChapters and even free study tools.
Go to www.CengageBrain.com and search ISBN number provided by your professor.
First Time Login
To get started, navigate to: http://ilrn.heinle.com. Click on the Login button in the upper right corner of the page.

Create Account
If this is your first time using iLrn, you will need to create an account. Click on Create Account. Fill in the required
information and click Submit.
You will now need to enter the book key. The book key is a 19 digital code that was bundled with your book.
(Please note: You will not enter the course code here. You will do that in a later step).
Certify that your username is correct.
Now, enter your course code. Your course code is a 9 digit code you get from your instructor to register in his/her
class or section.
Returning User
To get started, navigate to: http://ilrn.heinle.com. If you are a returning user, please log in with your username and
password used to create this account.
Walkthrough
Updating Your Profile
When you create your iLrn: Heinle Learning Center account, the information you enter, such as your name and
email address, is saved in your profile.
o Login to the Student Workstation.
o Click Profile in the upper right corner of your screen.
o Update the information and press Save changes.
Student Workstation
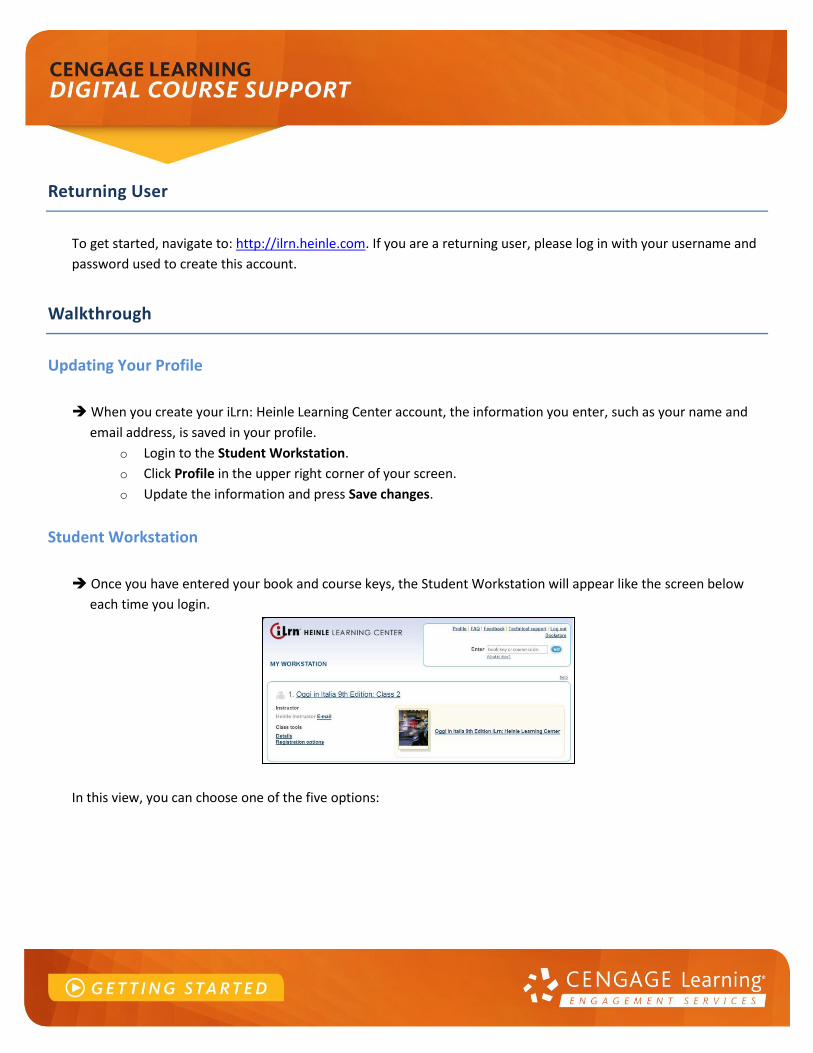
Once you have entered your book and course keys, the Student Workstation will appear like the screen below
each time you login.
In this view, you can choose one of the five options:
1. Click on book cover to access resources
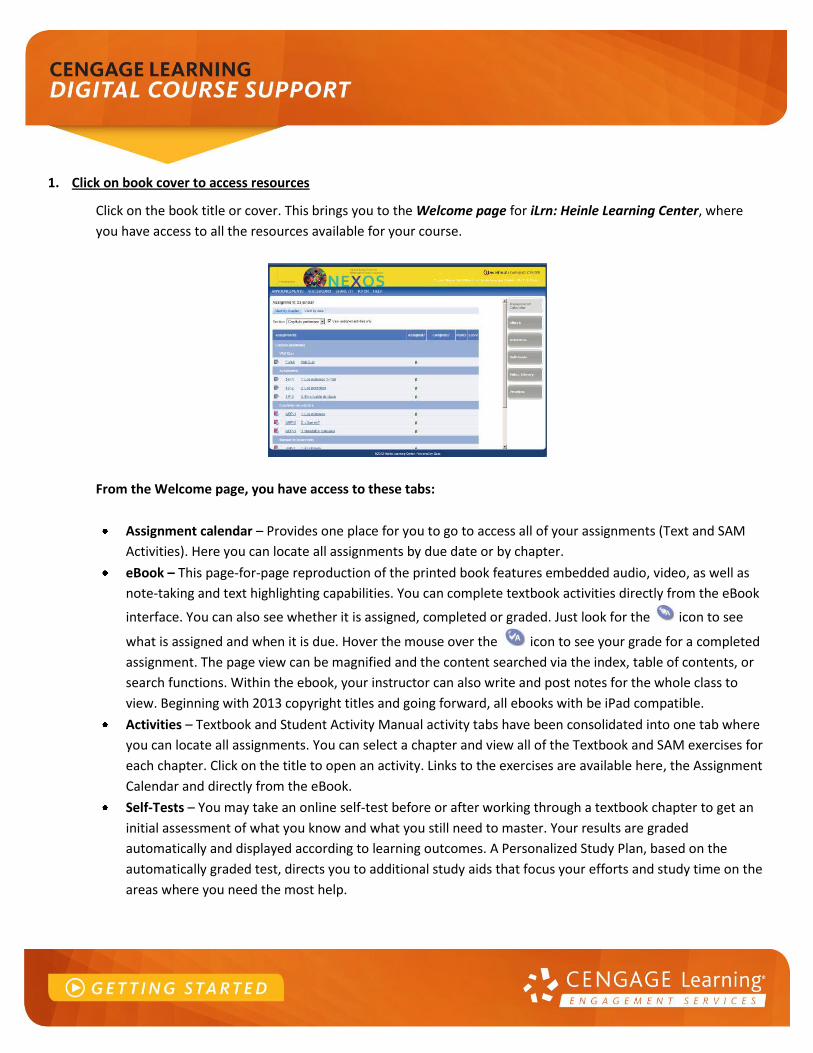
Click on the book title or cover. This brings you to the Welcome page for iLrn: Heinle Learning Center, where
you have access to all the resources available for your course.
From the Welcome page, you have access to these tabs:
Assignment calendar – Provides one place for you to go to access all of your assignments (Text and SAM
Activities). Here you can locate all assignments by due date or by chapter.
eBook – This page-for-page reproduction of the printed book features embedded audio, video, as well as
note-taking and text highlighting capabilities. You can complete textbook activities directly from the eBook
interface. You can also see whether it is assigned, completed or graded. Just look for the icon to see
what is assigned and when it is due. Hover the mouse over the icon to see your grade for a completed
assignment. The page view can be magnified and the content searched via the index, table of contents, or
search functions. Within the ebook, your instructor can also write and post notes for the whole class to
view. Beginning with 2013 copyright titles and going forward, all ebooks with be iPad compatible.
Activities – Textbook and Student Activity Manual activity tabs have been consolidated into one tab where
you can locate all assignments. You can select a chapter and view all of the Textbook and SAM exercises for
each chapter. Click on the title to open an activity. Links to the exercises are available here, the Assignment
Calendar and directly from the eBook.
Self-Tests – You may take an online self-test before or after working through a textbook chapter to get an
initial assessment of what you know and what you still need to master. Your results are graded
automatically and displayed according to learning outcomes. A Personalized Study Plan, based on the
automatically graded test, directs you to additional study aids that focus your efforts and study time on the
areas where you need the most help.
Video Library – For every chapter, you can access accompanying video segments. You can also turn closed
captioning on and off as an aid to understanding. Video segments may be accompanied by pre and post-
viewing exercises.
Practice – Depending on the title, practice activities might include any or all of the following additional
activities: vocabulary flashcards; grammar and pronunciation tutorials; additional self-graded quizzing;
access to Heinle iRadio’s MP3-ready cultural exploration activities; and access to Student Multimedia CD-
ROM activities.
Online Exams – Your instructor may choose to make exams available online. If you are in a distance course,
this may be the sole method of taking exams in your course. To access your exam, click the book cover
from your Student Workstation. On the left-hand navigation bar, click on the + to expand a chapter. Click
on the Exam for that chapter. Your instructor can assign times when the exams are available. If the exam is
not yet available, you will not be able to access it. If it is available, just click Start to begin.
2. Class Details
In your Student Workstation you will find the details related to your course including:
Course Information: Name (the title and section), Instructor (with a button to click for easy contact, Code
(course number), School, Duration (dates of course)
Book Information: Book title, Publisher, Book duration
3. My Results
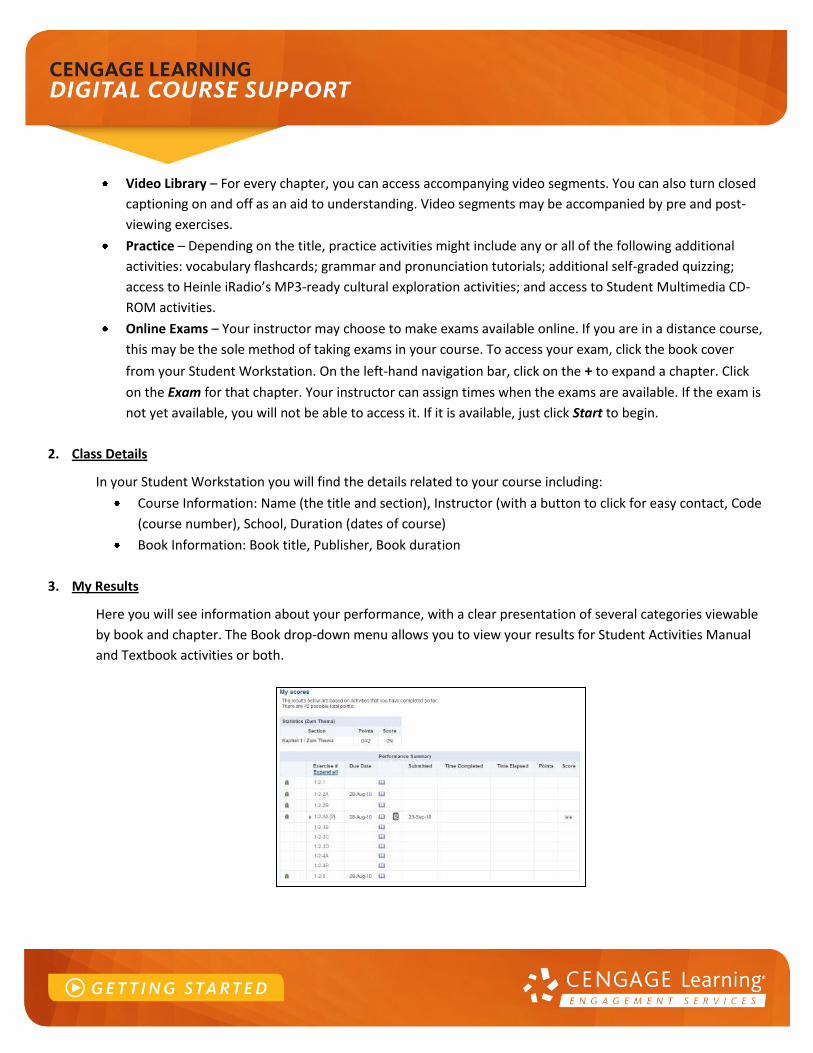
Here you will see information about your performance, with a clear presentation of several categories viewable
by book and chapter. The Book drop-down menu allows you to view your results for Student Activities Manual
and Textbook activities or both.
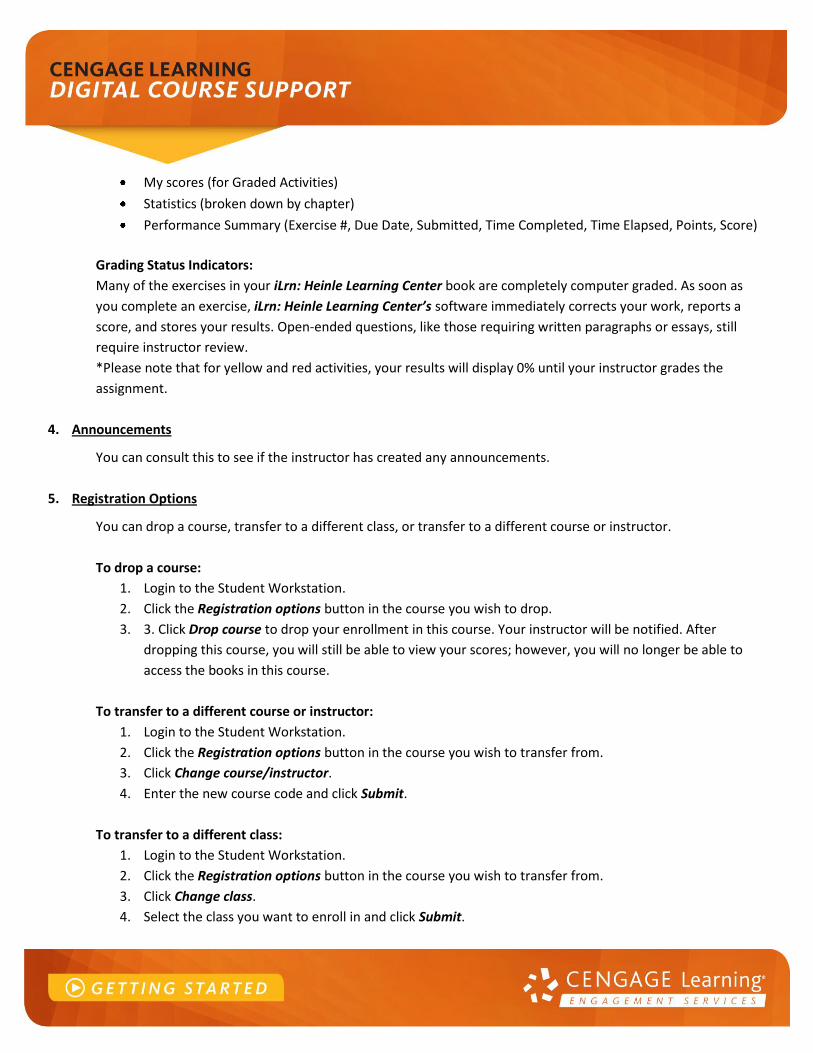
My scores (for Graded Activities)
Statistics (broken down by chapter)
Performance Summary (Exercise #, Due Date, Submitted, Time Completed, Time Elapsed, Points, Score)
Grading Status Indicators:
Many of the exercises in your iLrn: Heinle Learning Center book are completely computer graded. As soon as
you complete an exercise, iLrn: Heinle Learning Center’s software immediately corrects your work, reports a
score, and stores your results. Open-ended questions, like those requiring written paragraphs or essays, still
require instructor review.
*Please note that for yellow and red activities, your results will display 0% until your instructor grades the
assignment.
4. Announcements
You can consult this to see if the instructor has created any announcements.
5. Registration Options
You can drop a course, transfer to a different class, or transfer to a different course or instructor.
To drop a course:
1. Login to the Student Workstation.
2. Click the Registration options button in the course you wish to drop.
3. 3. Click Drop course to drop your enrollment in this course. Your instructor will be notified. After
dropping this course, you will still be able to view your scores; however, you will no longer be able to
access the books in this course.
To transfer to a different course or instructor:
1. Login to the Student Workstation.
2. Click the Registration options button in the course you wish to transfer from.
3. Click Change course/instructor.
4. Enter the new course code and click Submit.
To transfer to a different class:
1. Login to the Student Workstation.
2. Click the Registration options button in the course you wish to transfer from.
3. Click Change class.
4. Select the class you want to enroll in and click Submit.

Assignment Calendar
To access all of your assignments by date:
1. Login to the Student Workstation. Click on the book title or cover.
2. Click on the Assignment Calendar tab on the right-hand side. Then click on “View by Date” in the blue
toolbar.
3. You will see all Textbook and Student Activities Manual assignments that are due. This icon indicates a
Textbook Activity and this icon indicates a SAM Activity. Click an activity to complete it.
4. You can also check your grades on completed assignments. If you see the icon, your assignment needs to
be graded by your instructor.
5. To see assignments for previous or future weeks, select a date from the calendar during the week you wish
view.
To access all of your assignments by chapter:
Alternatively, you can view the assignments for each chapter.
1. From the Welcome page, click Assignment Calendar tab on the right-hand side. Then click on “View by
Chapter” in the blue toolbar.
2. Select a chapter from list to see all assignments for that chapter. A due date will appear under the Due Date
column for all assigned activities. If an assignment has been completed, the date will be indicated.
3. Select an activity from the list to open and complete.
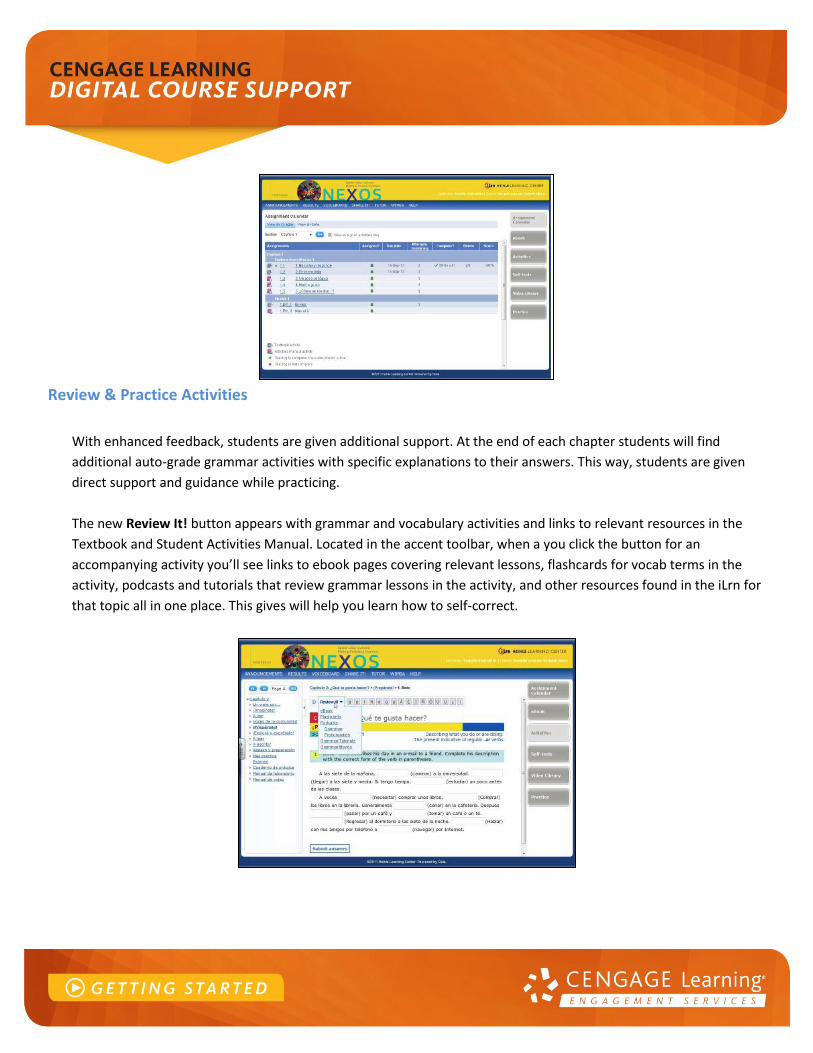
Review & Practice Activities
With enhanced feedback, students are given additional support. At the end of each chapter students will find
additional auto-grade grammar activities with specific explanations to their answers. This way, students are given
direct support and guidance while practicing.
The new Review It! button appears with grammar and vocabulary activities and links to relevant resources in the
Textbook and Student Activities Manual. Located in the accent toolbar, when a you click the button for an
accompanying activity you’ll see links to ebook pages covering relevant lessons, flashcards for vocab terms in the
activity, podcasts and tutorials that review grammar lessons in the activity, and other resources found in the iLrn for
that topic all in one place. This gives will help you learn how to self-correct.

Voice-enabled Activities
Voice-enabled activities can be completed alone, with a partner, or with a group. You can talk to your partner or
team and write instant messages to work together on the activity, then record a conversation that your instructor
will grade.
Tips for setting up your computer
It is important that your computer is configured correctly to capture the voice-enabled activities. Here are some tips
for ensuring you have the proper setup:
Microphone – The latest browser versions and Adobe Flash works best with USB (Universal Serial Bus)
connected microphones. Internal microphones, WebCam microphones and the older stereo-jack (male
connection) microphones can be problematic.
Adobe Flash – You should have the latest version of Adobe Flash installed. Also make sure your Flash
settings are configured on your web browser for the program to recognize the microphone being used for
Voiceboard. To do this follow these steps:
1. Open a voiceboard exercise and right-click on the Record button. Select Settings.
2. At the bottom of the menu, click the second tab from the left (it looks like a monitor with an eye on
it).Make sure the Allow option and the Remember check box are selected.
3. Click the fourth tab (the one with a microphone on it). Make sure the record volume is up all the
way and the correct microphone is selected from the drop-down list.
“Lab” environment – In a “Lab” environment, your IT department needs to make sure that the network port
“1935” is enabled for voice. If this port is disabled from the school’s network voice will not transmit.
Find a partner/team
1. Click on Voiceboard at the top of your student Welcome page screen.
2. From the Voice activities, select the activity you want to complete.
3. If you need a partner, click the Find a partner link at the top of the Partner Record and Chat box. This will
take you to the partner switchboard where you can invite someone online to partner with you.
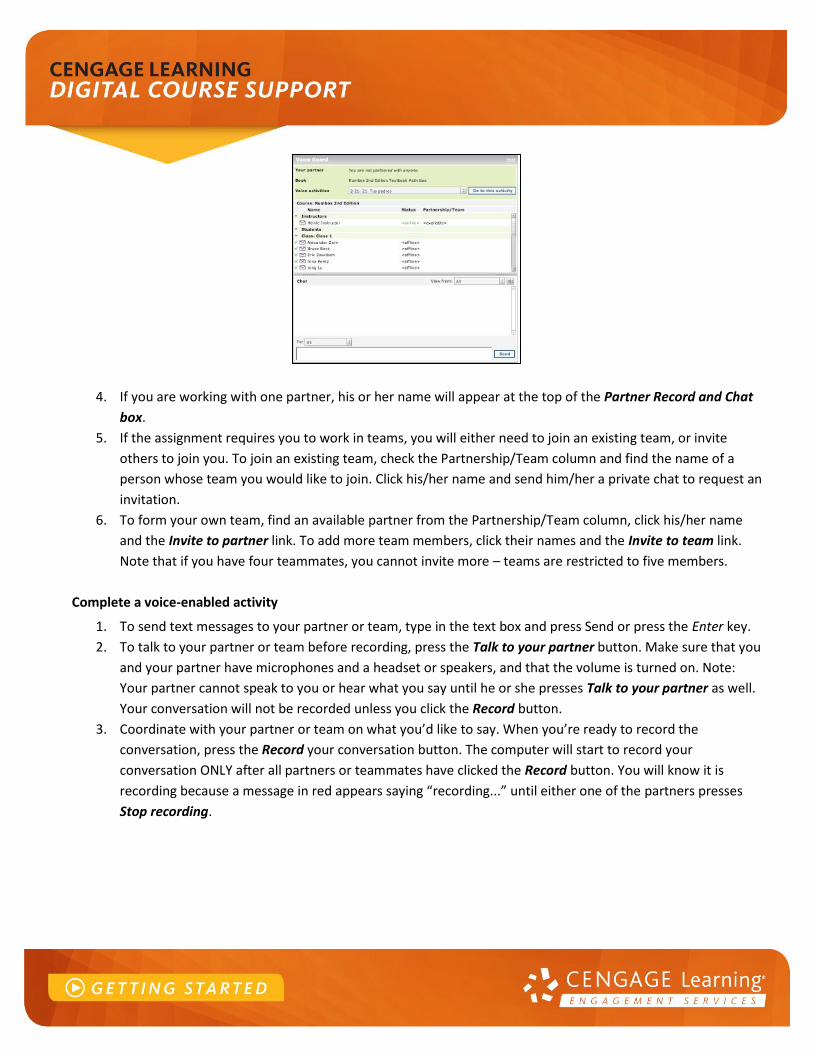
4. If you are working with one partner, his or her name will appear at the top of the Partner Record and Chat
box.
5. If the assignment requires you to work in teams, you will either need to join an existing team, or invite
others to join you. To join an existing team, check the Partnership/Team column and find the name of a
person whose team you would like to join. Click his/her name and send him/her a private chat to request an
invitation.
6. To form your own team, find an available partner from the Partnership/Team column, click his/her name
and the Invite to partner link. To add more team members, click their names and the Invite to team link.
Note that if you have four teammates, you cannot invite more – teams are restricted to five members.
Complete a voice-enabled activity
1. To send text messages to your partner or team, type in the text box and press Send or press the Enter key.
2. To talk to your partner or team before recording, press the Talk to your partner button. Make sure that you
and your partner have microphones and a headset or speakers, and that the volume is turned on. Note:
Your partner cannot speak to you or hear what you say until he or she presses Talk to your partner as well.
Your conversation will not be recorded unless you click the Record button.
3. Coordinate with your partner or team on what you’d like to say. When you’re ready to record the
conversation, press the Record your conversation button. The computer will start to record your
conversation ONLY after all partners or teammates have clicked the Record button. You will know it is
recording because a message in red appears saying “recording...” until either one of the partners presses
Stop recording.
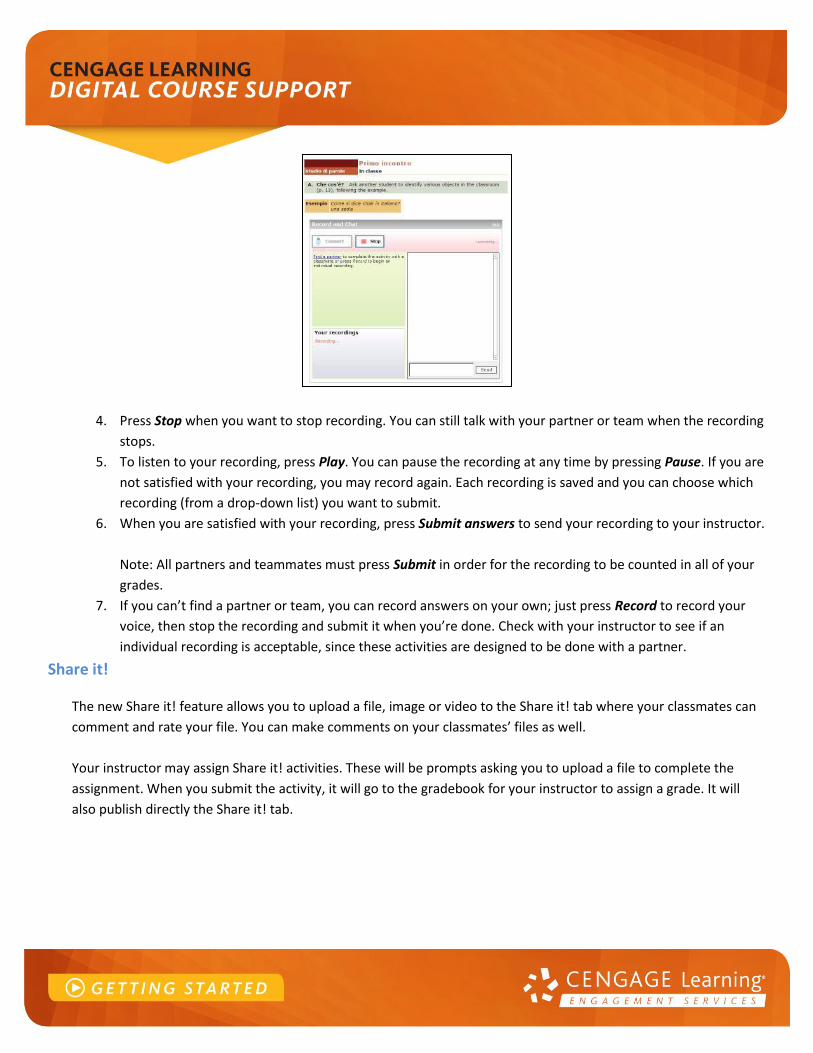
4. Press Stop when you want to stop recording. You can still talk with your partner or team when the recording
stops.
5. To listen to your recording, press Play. You can pause the recording at any time by pressing Pause. If you are
not satisfied with your recording, you may record again. Each recording is saved and you can choose which
recording (from a drop-down list) you want to submit.
6. When you are satisfied with your recording, press Submit answers to send your recording to your instructor.
Note: All partners and teammates must press Submit in order for the recording to be counted in all of your
grades.
7. If you can’t find a partner or team, you can record answers on your own; just press Record to record your
voice, then stop the recording and submit it when you’re done. Check with your instructor to see if an
individual recording is acceptable, since these activities are designed to be done with a partner.
Share it!
The new Share it! feature allows you to upload a file, image or video to the Share it! tab where your classmates can
comment and rate your file. You can make comments on your classmates’ files as well.
Your instructor may assign Share it! activities. These will be prompts asking you to upload a file to complete the
assignment. When you submit the activity, it will go to the gradebook for your instructor to assign a grade. It will
also publish directly the Share it! tab.
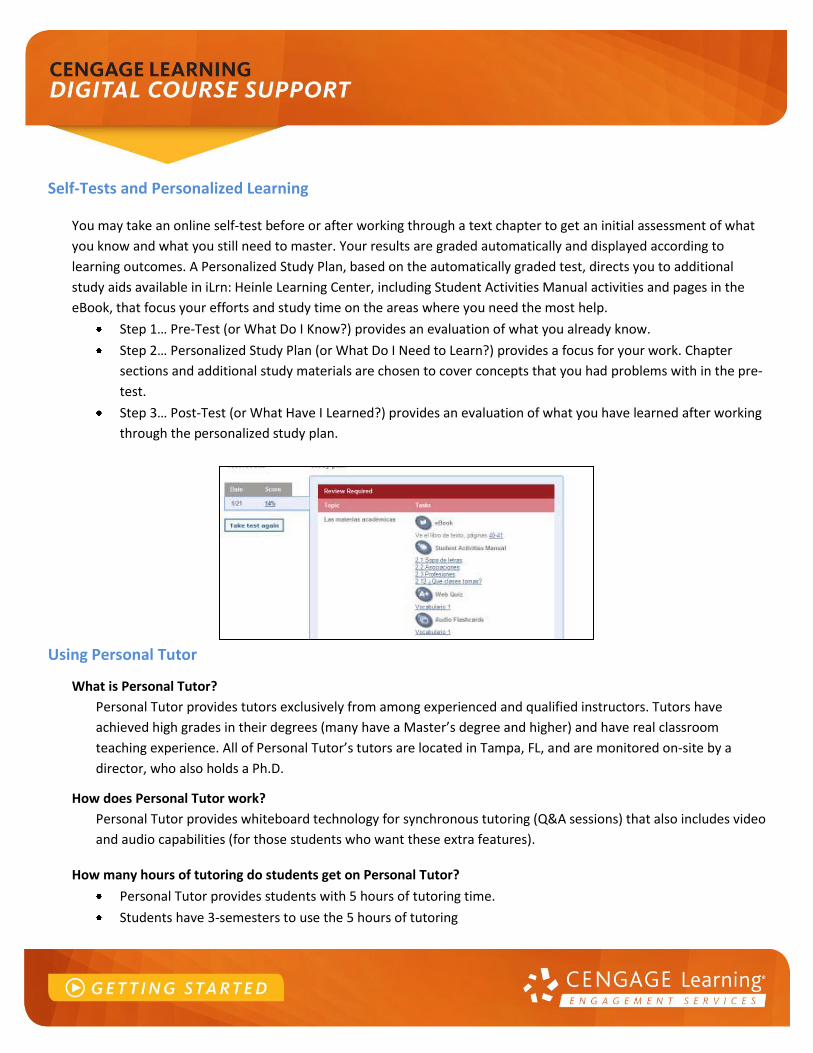
Self-Tests and Personalized Learning
You may take an online self-test before or after working through a text chapter to get an initial assessment of what
you know and what you still need to master. Your results are graded automatically and displayed according to
learning outcomes. A Personalized Study Plan, based on the automatically graded test, directs you to additional
study aids available in iLrn: Heinle Learning Center, including Student Activities Manual activities and pages in the
eBook, that focus your efforts and study time on the areas where you need the most help.
Step 1… Pre-Test (or What Do I Know?) provides an evaluation of what you already know.
Step 2… Personalized Study Plan (or What Do I Need to Learn?) provides a focus for your work. Chapter
sections and additional study materials are chosen to cover concepts that you had problems with in the pre-
test.
Step 3… Post-Test (or What Have I Learned?) provides an evaluation of what you have learned after working
through the personalized study plan.
Using Personal Tutor
What is Personal Tutor?
Personal Tutor provides tutors exclusively from among experienced and qualified instructors. Tutors have
achieved high grades in their degrees (many have a Master’s degree and higher) and have real classroom
teaching experience. All of Personal Tutor’s tutors are located in Tampa, FL, and are monitored on-site by a
director, who also holds a Ph.D.
How does Personal Tutor work?
Personal Tutor provides whiteboard technology for synchronous tutoring (Q&A sessions) that also includes video
and audio capabilities (for those students who want these extra features).
How many hours of tutoring do students get on Personal Tutor?
Personal Tutor provides students with 5 hours of tutoring time.
Students have 3-semesters to use the 5 hours of tutoring
Students have the option of purchasing additional tutoring directly from Personal Tutor if their hours/paper
submissions are used up before the end of a semester. The cost is significantly less at $29.99 for an entire
month of tutoring versus paying $35 per hour from other services.
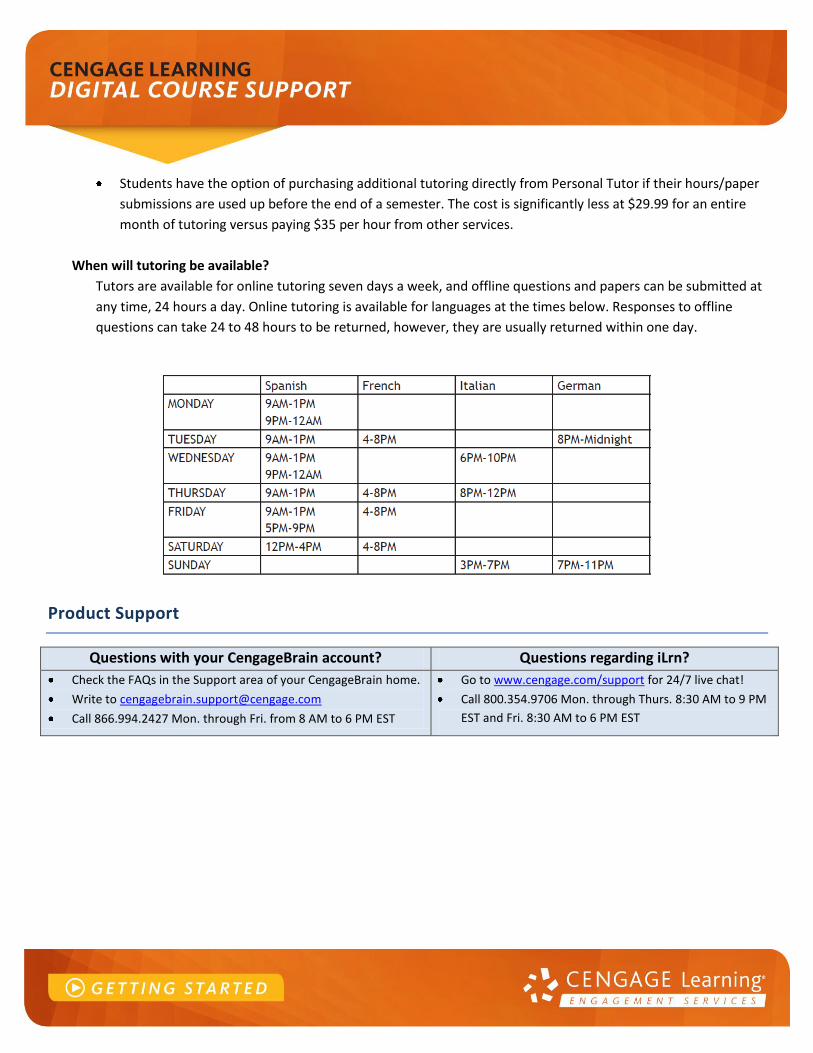
When will tutoring be available?
Tutors are available for online tutoring seven days a week, and offline questions and papers can be submitted at
any time, 24 hours a day. Online tutoring is available for languages at the times below. Responses to offline
questions can take 24 to 48 hours to be returned, however, they are usually returned within one day.
Product Support
Questions with your CengageBrain account? Questions regarding iLrn?
Check the FAQs in the Support area of your CengageBrain home.
Write to [email protected]
Call 866.994.2427 Mon. through Fri. from 8 AM to 6 PM EST
Go to www.cengage.com/support for 24/7 live chat!
Call 800.354.9706 Mon. through Thurs. 8:30 AM to 9 PM
EST and Fri. 8:30 AM to 6 PM EST