improvement of a non-fta® identifiler® plus direct-amplification methodology with prep-n-go™...
TRANSCRIPT

Improvement of a non-FTA® Identifiler® Plus direct-
amplification methodology with Prep-n-Go™ buffer
Bill Gartside Wyoming State Crime Laboratory
Cheyenne, WY


Improvement of a non-FTA® Identifiler® Plus direct-
amplification methodology with Prep-n-Go™ buffer
Bill Gartside Wyoming State Crime Laboratory
Cheyenne, WY

Wyoming State Crime Laboratory
- 2005
-Laboratory Status
- CODIS status
-Methodology
-Backlogs
-CODIS samples outsourced


Wyoming State Crime Laboratory
- 2012
-Laboratory Status
-CODIS status
-Methodology
-Backlogs
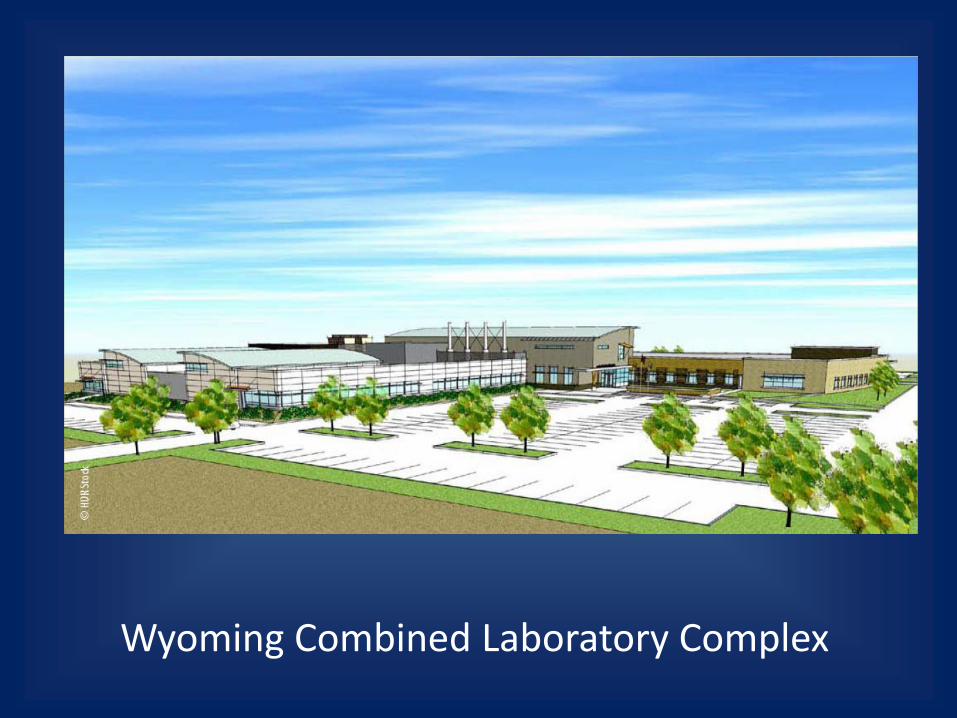
Wyoming Combined Laboratory Complex

The Plan
-To develop an automated process for the DNA analysis of Wyoming Offender samples.
-Eliminate the need for offender sample outsourcing.
-Minimal effect on the casework laboratory.

Collection Issues
-Statewide collection process / training.
-Many different agencies / varied collection #.
-Unmotivated collection staff.
-We receive blue, crunchy, red, wrinkled, white, etc…
-We cannot control the quality of the DNA collection.

Process Expectations
-???
-Minimum 85% ‘success rate’
-air swabs, contamination, etc…
-No more than two (2) half-time analysts to run the system.

Process Development
-NIJ grant funded.
-Automated – or not labor intensive.
-’Relatively’ high throughput.
-anticipation of arrestee samples.
-First pass success rate of ___ ?
-Compatible chemistry with casework.
-No ‘old school’.

Wyoming State Crime Laboratory
- CODIS laboratory
-BODE buccal collectors
-BODE PunchPrep™ buffer
-BSD punching
-ID Plus amplification direct from BSD punch
-CE with AB 3500
Auto input files to the BSD and AB 3500 from an excel program with direct data query from our LIMS.

Process Issues
-1.2 mm punch.
-BSD punching, static and contamination.
-ID Plus - direct amplification – extended final soak time by 15minutes.
-27 cycles / 28 cycles.
-CE with AB 3500 – reagent usage.

Initial Process Results
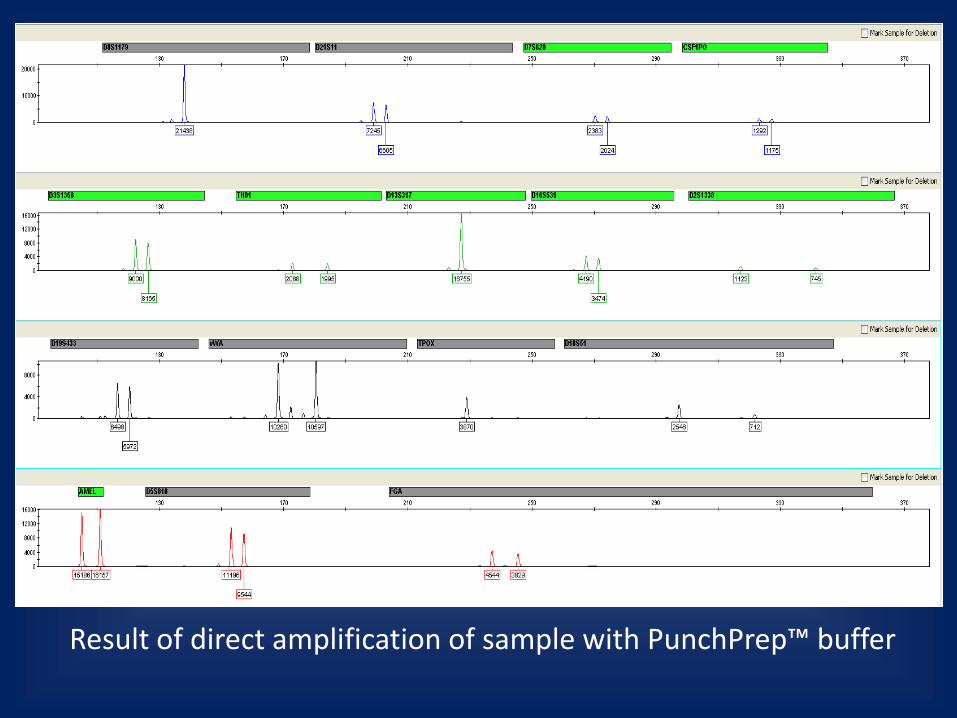
-We achieved ~88% first pass success rate with BODE PunchPrep™ buffer.
-Static Issues with BSD puncher.
-We had low PHR at large loci, esp. D18.
-Dropout.

Result of direct amplification of sample with PunchPrep™ buffer

Process Change
-Substitute Prep-n-Go™ buffer for BODE PunchPrep™.
-No other changes.

Results
-Eliminated dropout at D18.
Result of direct amplification of sample with PunchPrep™ buffer
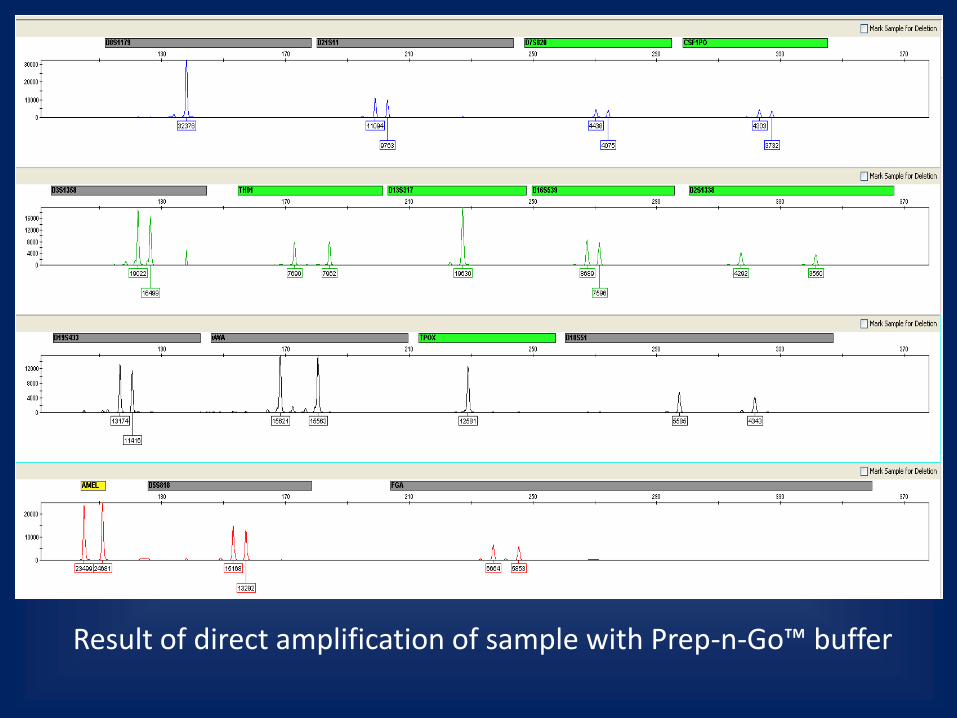
Result of direct amplification of sample with Prep-n-Go™ buffer

Results
-Eliminated dropout at D18
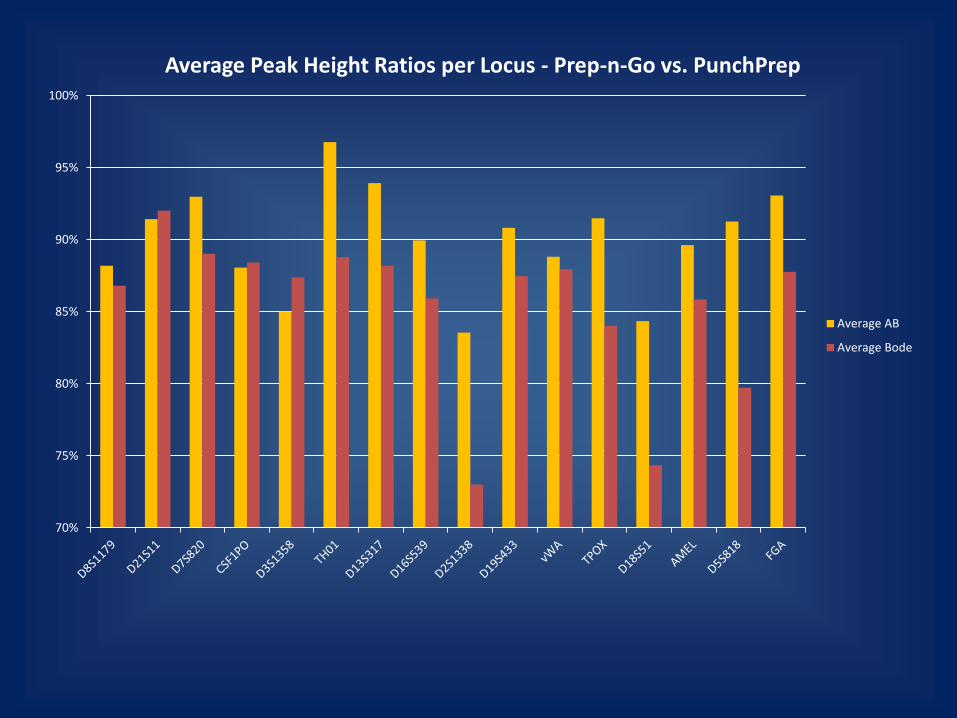
-Increase PHR at most Loci
70%
75%
80%
85%
90%
95%
100%
Average Peak Height Ratios per Locus - Prep-n-Go vs. PunchPrep
Average AB
Average Bode
Results
-Eliminated dropout at D18
-Increase PHR at most Loci
-Increase peak height and improved locus to locus balance

0.00%
100.00%
200.00%
300.00%
400.00%
500.00%
600.00%
D8S1179 D21S11 D7S820 CSF1PO D3S1358 TH01 D13S317D16S539D2S1338D19S433 vWA TPOX D18S51 AMEL D5S818 FGA
Average Peak Height Change with Prep-n-Go Buffer vs. PunchPrep

0%
5%
10%
15%
20%
25%
30%
35%
40%
45%
50%
Blue Green Yellow Red Total
Small vs. Large Locus Peak Height Balances by Dye Channel - Buffer Comparison
Average Bode
Average AB
Results
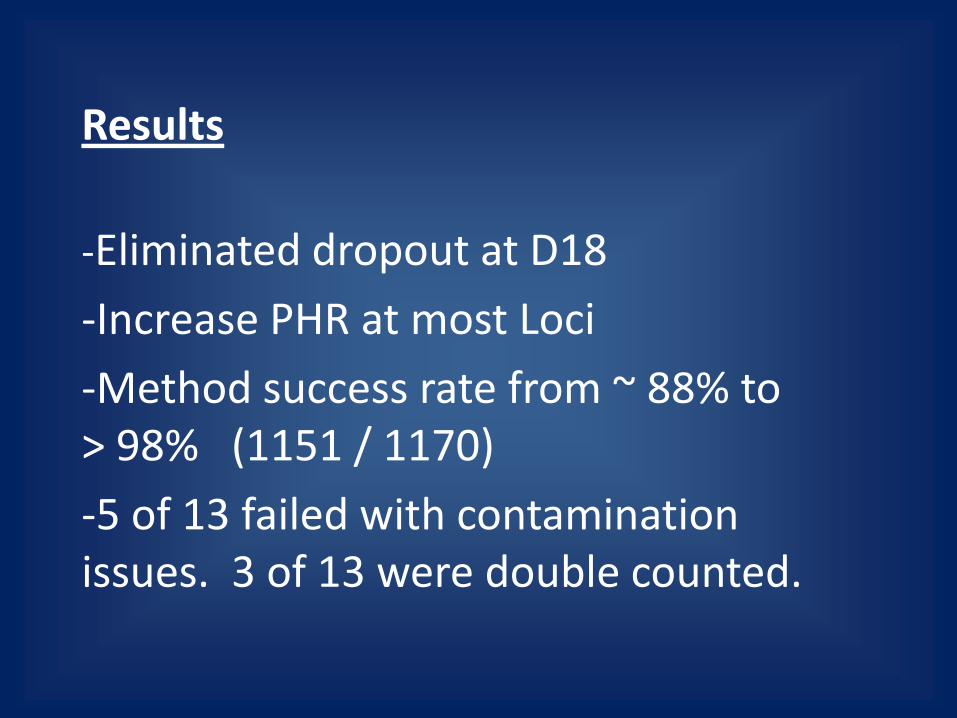
-Eliminated dropout at D18
-Increase PHR at most Loci
-Method success rate from ~ 88% to > 98% (1151 / 1170)
-5 of 13 failed with contamination issues. 3 of 13 were double counted.

Time analysis Actual analyst involved time
~ 4 minutes per sample for check in and processing.
< 6 minutes per sample for analysis and tech review.
We process ~ 125 samples per month.
Less than 21 hours per month, using ~1/6 of one analyst’s hours.

Miscellaneous
-Contamination likely through BSD puncher. An additional humidifier has helped the process (0 in last 720 samples)
-Tweaking the process vs. cost analysis
-ID + in both labs –
reagent control/ QC / training

Results
-Eliminated dropout at D18
-Increase PHR at most Loci
-Increase peak height and improved locus to locus balance
-Method success rate from ~ 88% to > 98% (1151 / 1170)

Questions