installationmanual ) for ) tamjets)habu32struts...
TRANSCRIPT
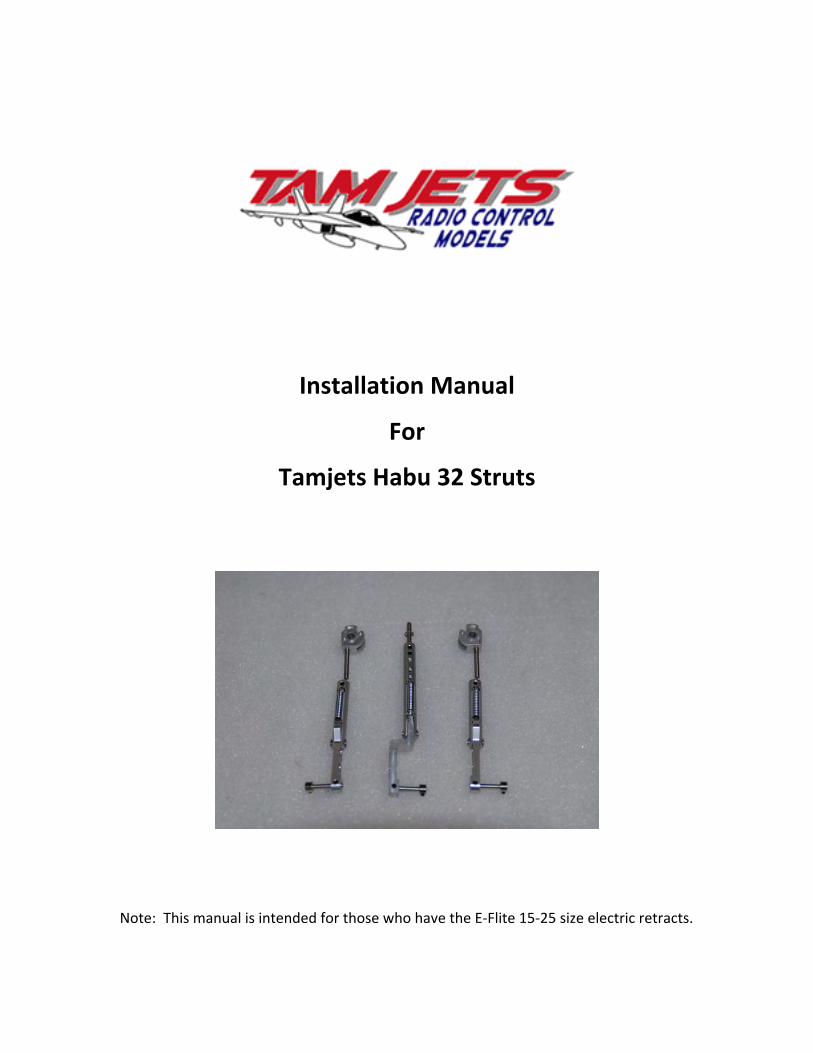
Installation Manual
For
Tamjets Habu 32 Struts
Note: This manual is intended for those who have the E-‐Flite 15-‐25 size electric retracts.

2
Index
Nose Strut
Step 1. Remove Stock Nose Strut
Step 2. Enlarge Strut Pin Hole
Step 3. Attach E-‐Clip onto new Strut Pin
Step 4. Make Flat Spot in Strut Pin for Steering Linkage
Step 5. Enlarge Steering Linkage Hole
Step 6. Attach Steering Linkage
Step 7. Attach Tamjets Nose Strut
Step 8. Make Block to increase height of retract
Step 9. Nose Strut complete
Main Gear Struts
Step 1. Remove stock Trunion
Step 2. Dremel notch into Trunion Pin
Step 3. Test the notch by assembling the new Tamjets Trunion, the Trunion pin and the new Tamjets Strut pin
Step 4. Dremel the retract for the new Tamjets strut
Step 5. Insert Tamjets Trunion into retract
Step 6. Insert Trunion Pin and then the new Tamjets Strut pin
Step 7. Secure the Strut pin
Step 8. Attach the Tamjets strut to the retract.
Step 9. Modify Habu 32 to accommodate Strut Spring
Step 10. Mount Retract to Habu 32

3
Nose Gear -‐ Step 1.
First remove the stock strut by loosening the collet.
Nose Gear -‐ Step 2.
Enlarge strut pinhole using 5/32 drill bit and move in and out to make it slightly larger. It should be firm but easy to turn the new Strut pin.
Alternatively, you can purchase a 0.160-‐inch drill bit and use it after the 5/32.
When drilling, start very slowly and let the drill do the work. Do not force it.
Nose Gear -‐ Step 3.
Attach E-‐Clip to Strut pin. Insert the new Strut pin into the retract. You should see the pre-‐cut slot when the original collet was located. Attach the E-‐Clip.

4
Nose Gear -‐ Step 4.
Make flat spot for Steering Linkage. With the Strut-‐pin secure using the E-‐Clip, slip on the steering linkage to the desired position and mark using a sharpie. Now create a flat spot on the new Strut pin.

5
Nose Gear – Step 5.
Enlarge the Steering Linkage hole. Secure the Steering Linkage in a vice or similar device and using a 5/32 drill bit, enlarge the Steering Linkage hole.
Nose Gear Step 6.
Attach the Steering Linkage to the new Strut-‐pin using the set screw provided with the retract.
6
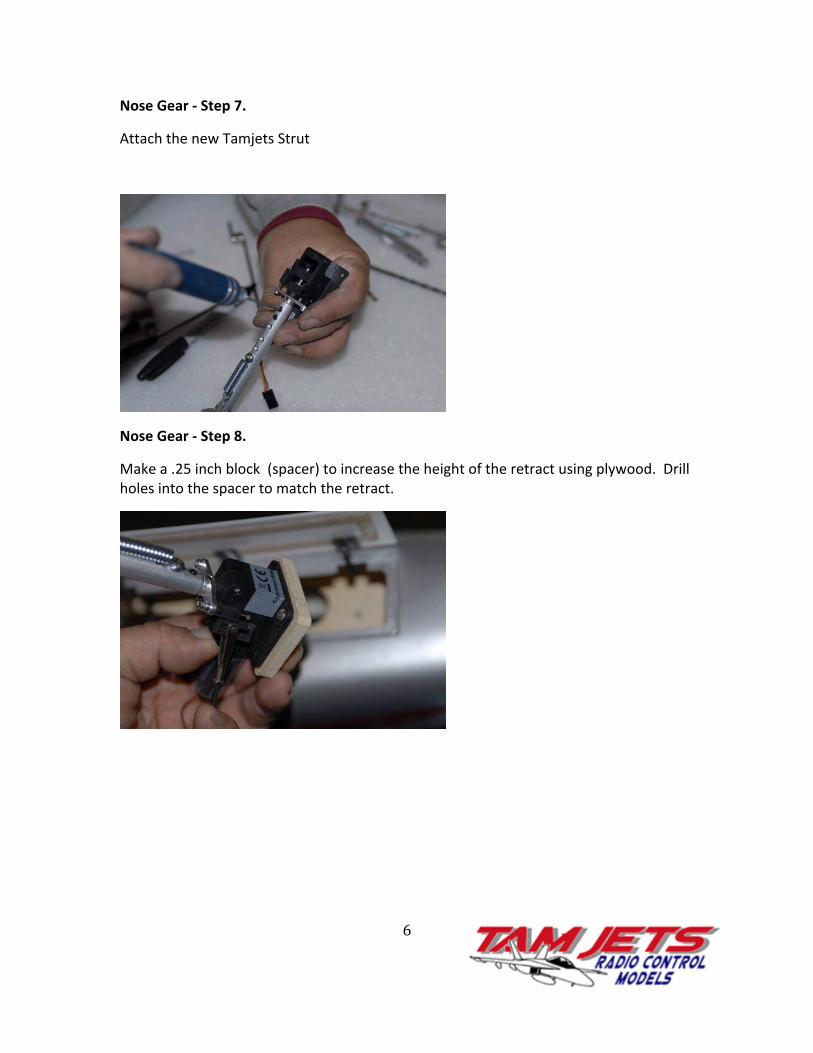
Nose Gear -‐ Step 7.
Attach the new Tamjets Strut
Nose Gear -‐ Step 8.
Make a .25 inch block (spacer) to increase the height of the retract using plywood. Drill holes into the spacer to match the retract.
7
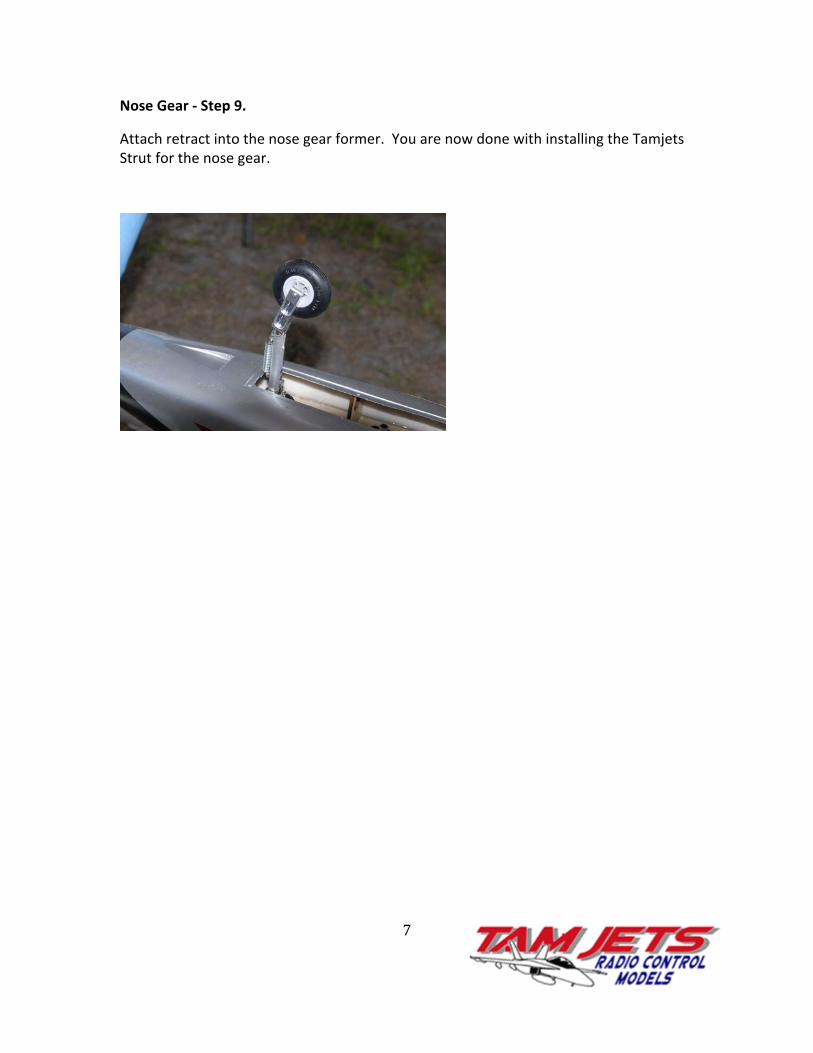
Nose Gear -‐ Step 9.
Attach retract into the nose gear former. You are now done with installing the Tamjets Strut for the nose gear.

8
Main Gear – Step 1.
Remove Trunion. First, take out the stock strut by removing the trunion pin. There are 2 different types of Trunion pins. A brass Trunion Pin, has only one set screw or if it is the steel Trunion pin then there are 2 set screw either side. After you remove the set screw(s) push the Trunion pin through from one side.
9
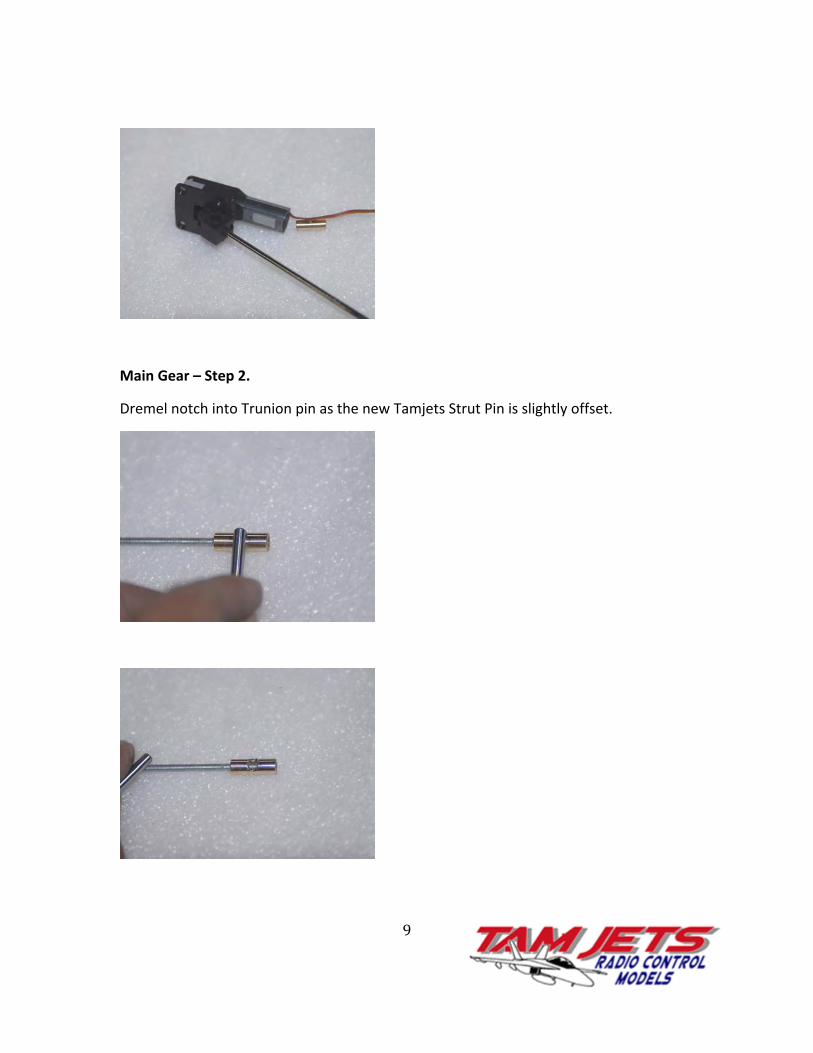
Main Gear – Step 2.
Dremel notch into Trunion pin as the new Tamjets Strut Pin is slightly offset.

10
Main Gear – Step 3.
Test the notch by assembling the Trunion Pin, the new Tamjets Trunion and the new Tamjets Strut Pin. The Strut Pin has a flat spot and needs to line up for the set screw.

11
Main Gear – Step 4.
Dremel the retract. You need to dremel the retract so that the new Tamjets Strut can retract easily. Clean the area with a sharp knife so there are no rough areas for the smooth operation. Use a air blower to blow out any fragments that may get into the electrical board area of the retract.
Main Gear – Step 5.
Insert new Tamjets Trunion into retract. No set screw is required.

12
Main Gear – Step 6.
Insert Trunion Pin into retract and insert the new Tamjets Strut pin. If it’s difficult to insert the strut pin, you may need to remove the Trunion Pin and enlarge the notch in the Trunion pin. Also make sure, when inserting the Trunion pin that the notch is lined up for the strut pin.
Main Gear – Step 7.
Secure the new Tamjets Strut Pin using the provided set screw and now you are ready for the strut.

13
Main Gear – Step 8.
Attach the new Tamjets Strut using multiple set screws.

14
Main Gear – Step 9.
Modify Habu 32 to accommodate the spring of the strut. Place the retract and strut above the wheel well and mark either side of the spring. Using a dremel, carve out a small area so that the spring will pass smoothly.
It should look like this.

15
Main Gear – Step 10.
Attach the retract as per the Habu 32 documentation. It should fit even though the wheel well is quite small.
Tam with Ali Machinchy, the first Habu 32 (P-‐20) to have the Tamjets Struts installed.