introduction to the thorax - vh dissector to the thorax add, remove and highlight groups of...
TRANSCRIPT
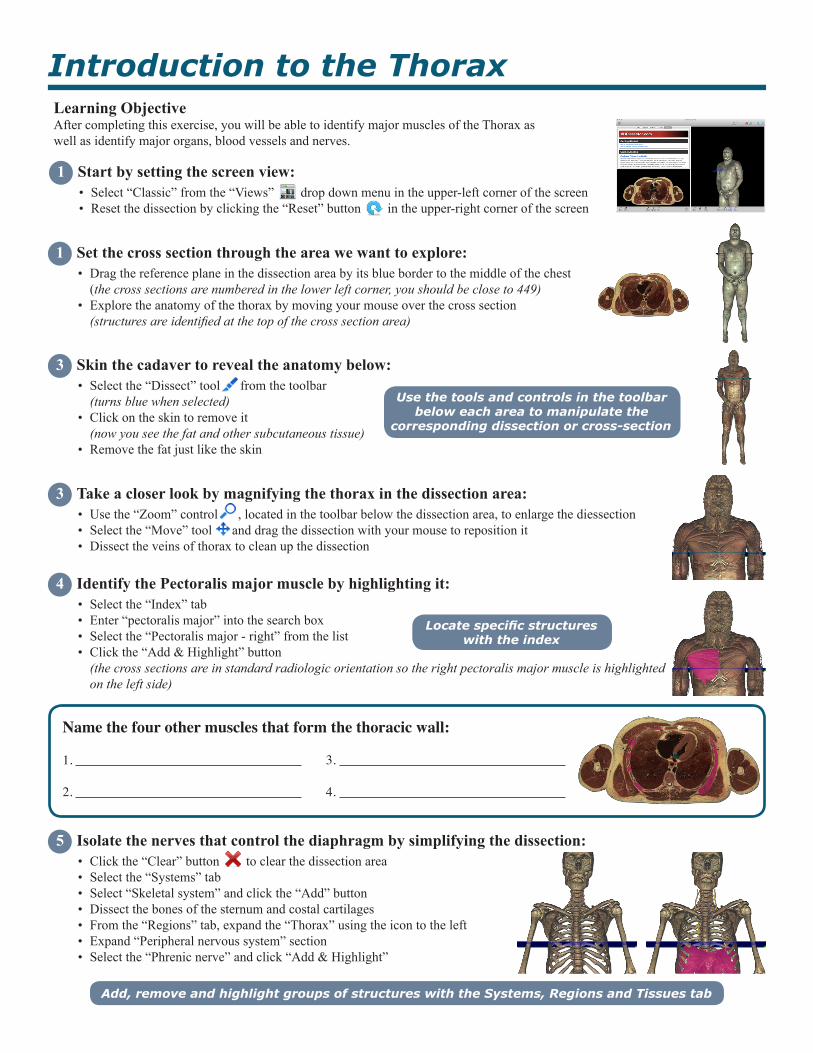
Introduction to the Thorax
Add, remove and highlight groups of structures with the Systems, Regions and Tissues tab
• Dragthereferenceplaneinthedissectionareabyitsbluebordertothemiddleofthechest(the cross sections are numbered in the lower left corner, you should be close to 449)
• Exploretheanatomyofthethoraxbymovingyourmouseoverthecrosssection(structures are identified at the top of the cross section area)
1 Set the cross section through the area we want to explore:
Name the four other muscles that form the thoracic wall:
1. 3.
2. 4.
• Selectthe“Dissect”toolfromthetoolbar(turns blue when selected)
• Clickontheskintoremoveit(now you see the fat and other subcutaneous tissue)
• Removethefatjustliketheskin
3 Skin the cadaver to reveal the anatomy below:
Use the tools and controls in the toolbar below each area to manipulate the
corresponding dissection or cross-section
Learning ObjectiveAftercompletingthisexercise,youwillbeabletoidentifymajormusclesoftheThoraxaswellasidentifymajororgans,bloodvesselsandnerves.
• Usethe“Zoom”control,locatedinthetoolbarbelowthedissectionarea,toenlargethediessection• Selectthe“Move”toolanddragthedissectionwithyourmousetorepositionit• Dissecttheveinsofthoraxtocleanupthedissection
3 Take a closer look by magnifying the thorax in the dissection area:
• Selectthe“Index”tab• Enter“pectoralismajor”intothesearchbox• Selectthe“Pectoralismajor-right”fromthelist• Clickthe“Add&Highlight”button
(the cross sections are in standard radiologic orientation so the right pectoralis major muscle is highlighted on the left side)
4 Identify the Pectoralis major muscle by highlighting it:
Locate specific structures with the index
• Clickthe“Clear”buttontoclearthedissectionarea• Selectthe“Systems”tab• Select“Skeletalsystem”andclickthe“Add”button• Dissectthebonesofthesternumandcostalcartilages• Fromthe“Regions”tab,expandthe“Thorax”usingtheicontotheleft• Expand“Peripheralnervoussystem”section• Selectthe“Phrenicnerve”andclick“Add&Highlight”
5 Isolate the nerves that control the diaphragm by simplifying the dissection:
• Select“Classic”fromthe“Views”dropdownmenuintheupper-leftcornerofthescreen• Resetthedissectionbyclickingthe“Reset”buttonintheupper-rightcornerofthescreen
1 Start by setting the screen view:
What branch of the Vagus nerve loops inferior to the aortic arch?
1.
Rotate the dissection using the left or right arrow keys while holding the command (Mac) or ctrl (PC) key
Alternately, use the rotation tool below the dissection area
www.toltech.net
Fill in the blanks: (Hint: The hilum of the lung consists of the Pulmonary artery and vein and the main bronchus)
1. The Phrenic nerve passes (direction) to the hilum of the lung.
2. The Vagus nerve passes (direction) to the hilum of the lung.
Move the cross section 1mm at a time by holding the command (Mac) or ctrl (PC) key while pressing the up or down arrow keys
Highlight structures or de-highlight a single structure with the highlight tool
Name the three branches of the aortic arch? (Hint: follow the aorta superiorly until it branches)
1. 2.
3.
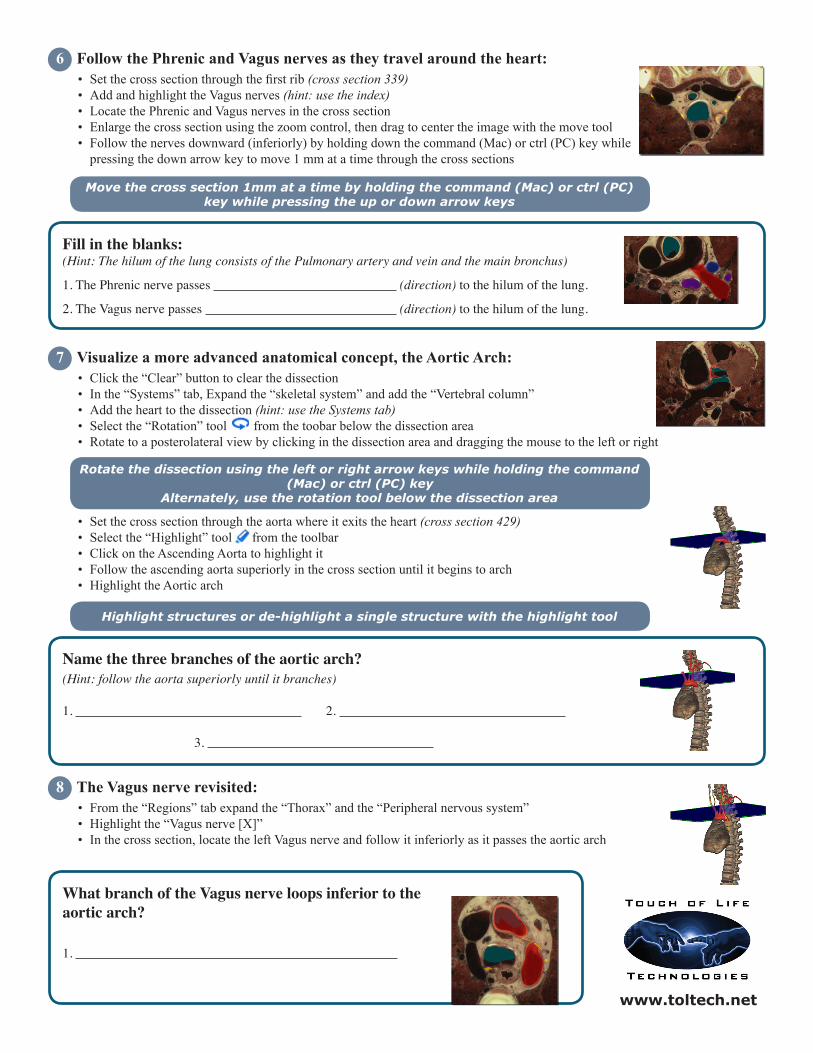
8 The Vagus nerve revisited:• Fromthe“Regions”tabexpandthe“Thorax”andthe“Peripheralnervoussystem”• Highlightthe“Vagusnerve[X]”• Inthecrosssection,locatetheleftVagusnerveandfollowitinferiorlyasitpassestheaorticarch
• Setthecrosssectionthroughthefirstrib(cross section 339)• AddandhighlighttheVagusnerves(hint: use the index)• LocatethePhrenicandVagusnervesinthecrosssection• Enlargethecrosssectionusingthezoomcontrol,thendragtocentertheimagewiththemovetool• Followthenervesdownward(inferiorly)byholdingdownthecommand(Mac)orctrl(PC)keywhilepressingthedownarrowkeytomove1mmatatimethroughthecrosssections
6 Follow the Phrenic and Vagus nerves as they travel around the heart:
• Clickthe“Clear”buttontoclearthedissection• Inthe“Systems”tab,Expandthe“skeletalsystem”andaddthe“Vertebralcolumn”• Addthehearttothedissection(hint: use the Systems tab)• Selectthe“Rotation”toolfromthetoobarbelowthedissectionarea• Rotatetoaposterolateralviewbyclickinginthedissectionareaanddraggingthemousetotheleftorright
7 Visualize a more advanced anatomical concept, the Aortic Arch:
• Setthecrosssectionthroughtheaortawhereitexitstheheart(cross section 429)• Selectthe“Highlight”toolfromthetoolbar• ClickontheAscendingAortatohighlightit• Followtheascendingaortasuperiorlyinthecrosssectionuntilitbeginstoarch• HighlighttheAorticarch