javaprogramming$$ unit5$ - myflex.orgmyflex.org/yf/java/slides/unit5.pdf · 2014-03-14 ·...
TRANSCRIPT
Java Programming Unit 5
Intro to GUI with Swing. Event-‐Driven Programming.
(c) Yakov Fain 2014
Watch Java video lessons on Youtube at hIp://bit.ly/1gGUo42
AWT => Swing => JavaFX
• First, there was Abstract Windowing Toolkit (AWT)
• Swing library of GUI components replaced AWT.
• JavaFX framework will replace Swing for developing GUI in Java. JavaFX is also being used with embedded Java, e.g. with Raspberry Pi processors.
(c) Yakov Fain 2014

HelloWorld with Swing
(c) Yakov Fain 2014
import javax.swing.JFrame;! !public class HelloWorld extends JFrame {! ! public HelloWorld(){! !setSize(200,300);! !setTitle("Hello World");!! !setVisible(true);! }!
!public static void main(String[] args) {!! HelloWorld myHello = new HelloWorld();!!}!
}!
AWer creaXng JFrame (one of the containers) add UI controls to it, for example: JButton myButton = new JButton ("Click me");! add(myButton);!

Layout Managers: Arranging UI Components Inside a Container
1. Create an instance of JPanel 2. Assign a layout manager to it 3. InstanXate some Swing controls and add them to the panel. 4. Add the panel to the top-‐level container -‐ JFrame -‐ by calling setContentPane() method. 5. Set the frame’s size and make it visible.
(c) Yakov Fain 2014
Learning by example. To add controls to a panel and then a panel to a frame do the following:

Three Main Tasks of GUI Programming
1. Create a nice looking layout of your GUI components. 2. Write the code to react on user-‐generated and system events. 3. Populate GUI components with the data.
(c) Yakov Fain 2014

Calculator With FlowLayout!
(c) Yakov Fain 2014
import javax.swing.*;!import java.awt.FlowLayout;! !public class SimpleCalculator {! public static void main(String[] args) {! // 1. Create a panel!
!JPanel windowContent= new JPanel();!! !!
// 2. Set a layout manager for this panel!!FlowLayout fl = new FlowLayout(); !!windowContent.setLayout(fl);
! // 3. Create controls in memory !
!JLabel label1 = new JLabel("Number 1:");!!JTextField field1 = new JTextField(10);!!JLabel label2 = new JLabel("Number 2:");!!JTextField field2 = new JTextField(10);!!JLabel label3 = new JLabel("Sum:");!!JTextField result = new JTextField(10);!!JButton go = new JButton("Add");!! !!
// 4. Add controls to the panel!!windowContent.add(label1); !!windowContent.add(field1);!!windowContent.add(label2);!!windowContent.add(field2);!!windowContent.add(label3);!!windowContent.add(result);!!windowContent.add(go);!
//5. Create the frame and add the panel to it ! JFrame frame = new JFrame( "My First Calculator");! !// 6. Add the panel to top-level container! frame.setContentPane(windowContent);!
! !!// 7. set the size and make the window visible! frame.setSize(400,100);! frame.setVisible(true);! }! } !!} !!
!

Swing Layout Managers
(c) Yakov Fain 2014
• FlowLayout • GridLayout • BoxLayout • BorderLayout • CardLayout • GridBagLayout First instanXate the layout manager, and then assign its instance to a container by calling setLayout().
GridLayout!
(c) Yakov Fain 2014
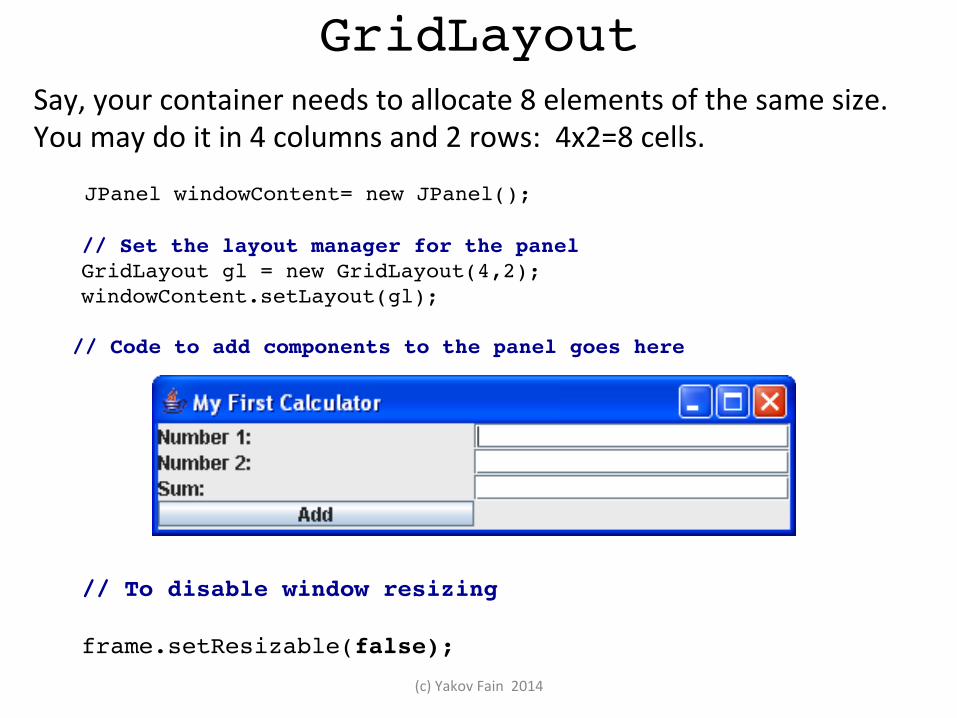
Say, your container needs to allocate 8 elements of the same size. You may do it in 4 columns and 2 rows: 4x2=8 cells. ! JPanel windowContent= new JPanel();! !
!// Set the layout manager for the panel!!GridLayout gl = new GridLayout(4,2); !!windowContent.setLayout(gl);!
! // Code to add components to the panel goes here!
!
// To disable window resizing frame.setResizable(false);!

Walkthrough 1
(c) Yakov Fain 2014
1. Download and import into Eclipse the source code of the Lesson8 2. Run SimpleCalculator. Stretch the window and observe the changes in the window layout. 3. Run SimpleCalculatorGrid. Stretch the window and observe the changes in the window layout.

BorderLayout!
(c) Yakov Fain 2014
BorderLayout divides a UI container into 5 imaginary areas: South, West, North, East, and Center. Add components to all or some of these areas in your container.
!
The calculator below uses only the North and Center. The Center area uses GridLayout for allocaXng buIons.

CardLayout!
• In a deck of cards only the top card is visible.
• Use CardLayout if you need to display several panels one at a Xme.
• See a CardLayout demo at hIp://bit.ly/NbmfRs
(c) Yakov Fain 2014

Absolute Layout
It’s like not having any automaXc layout. windowContent.setLayout(null); !JButton myButton = new Button("New Game");!!//Specify X and Y coordinates of each component!myButton.setBounds(100,200,40,20);!
(c) Yakov Fain 2014

GridBagLayout!Allows laying out components of different sizes by assigning constraints to each grid element. For example this cell will be 6 Xmes wider than other cells in the grid:
(c) Yakov Fain 2014 !
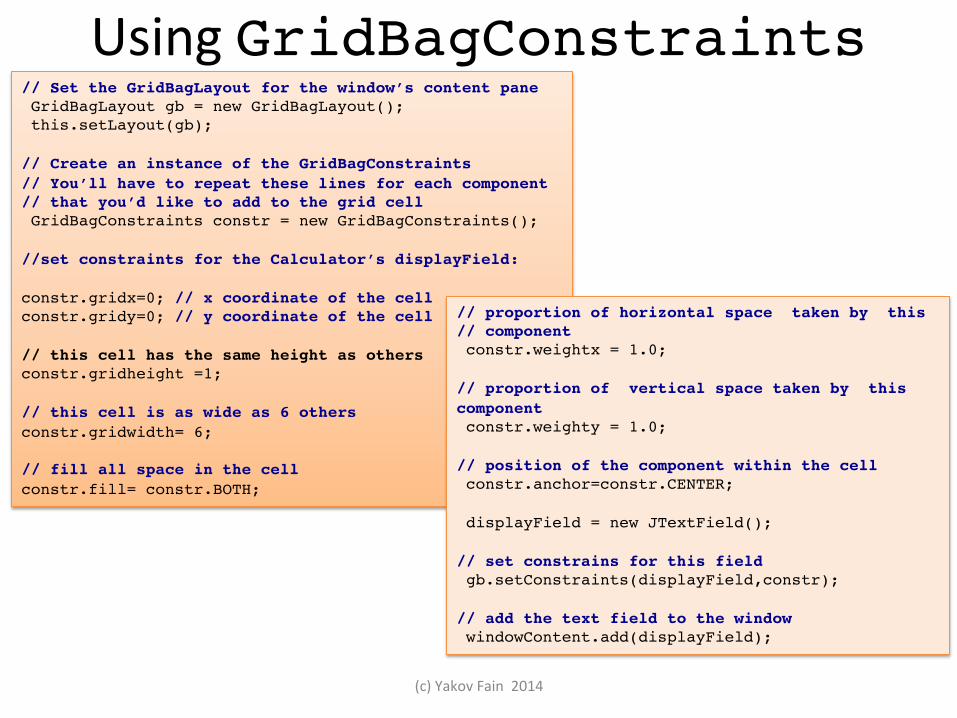
Using GridBagConstraints
(c) Yakov Fain 2014
// Set the GridBagLayout for the window’s content pane! GridBagLayout gb = new GridBagLayout();! this.setLayout(gb);! !// Create an instance of the GridBagConstraints!// You’ll have to repeat these lines for each component!// that you’d like to add to the grid cell! GridBagConstraints constr = new GridBagConstraints();! !//set constraints for the Calculator’s displayField:! !constr.gridx=0; // x coordinate of the cell constr.gridy=0; // y coordinate of the cell !// this cell has the same height as others!constr.gridheight =1;! !// this cell is as wide as 6 others!constr.gridwidth= 6; ! !// fill all space in the cell!constr.fill= constr.BOTH; !
// proportion of horizontal space taken by this!// component! constr.weightx = 1.0; ! !// proportion of vertical space taken by this component ! constr.weighty = 1.0; !// position of the component within the cell! constr.anchor=constr.CENTER; ! ! displayField = new JTextField();!!// set constrains for this field! gb.setConstraints(displayField,constr); ! !// add the text field to the window! windowContent.add(displayField);!

Events and Listeners • There are two types of events: user-‐generated (clicks, mouse
moves etc) and system generated (paint, resize etc).
• A click on the buIon fires an event, and if you want to process it, create an ActionListener for this buIon.
• To process mouse moves, create one of the listeners, e.g. MouseMotionListener, etc.
(c) Yakov Fain 2014

The GUI Event Loop
(c) Yakov Fain 2014
Event Loop
GUI Data processor
Calling UI components
Calling Listeners
UI content modificaXons
Events from UI
Every request from/to UI is placed to an event queue. When the event loop becomes available, it’ll process the event.
The ActionListener Interface
(c) Yakov Fain 2014
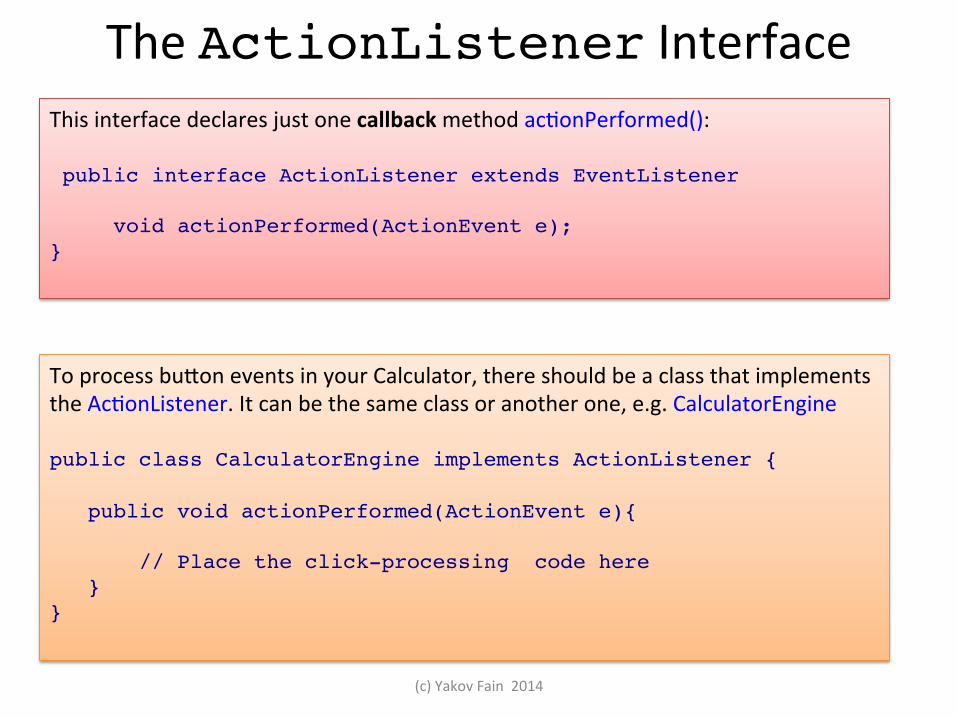
This interface declares just one callback method acXonPerformed(): public interface ActionListener extends EventListener ! void actionPerformed(ActionEvent e);!}!
To process buIon events in your Calculator, there should be a class that implements the AcXonListener. It can be the same class or another one, e.g. CalculatorEngine public class CalculatorEngine implements ActionListener {! ! public void actionPerformed(ActionEvent e){ ! // Place the click-processing code here ! }!}!

(c) Yakov Fain 2014
Calculator: View CalculatorEngine: Controller
events
results
MVC: Model-‐View-‐Controller
The Data for UI: Model

Register components with listeners
(c) Yakov Fain 2014
CalculatorEngine calcEngine = new CalculatorEngine(this);!! ! !
button0.addActionListener(calcEngine);!button1.addActionListener(calcEngine);!button2.addActionListener(calcEngine);!
The code above can be located inside the class Calculator. We pass the reference to the Calculator object using this.
Calculator: View CalculatorEngine: Controller
events
results
You can register more than one listener with a component.
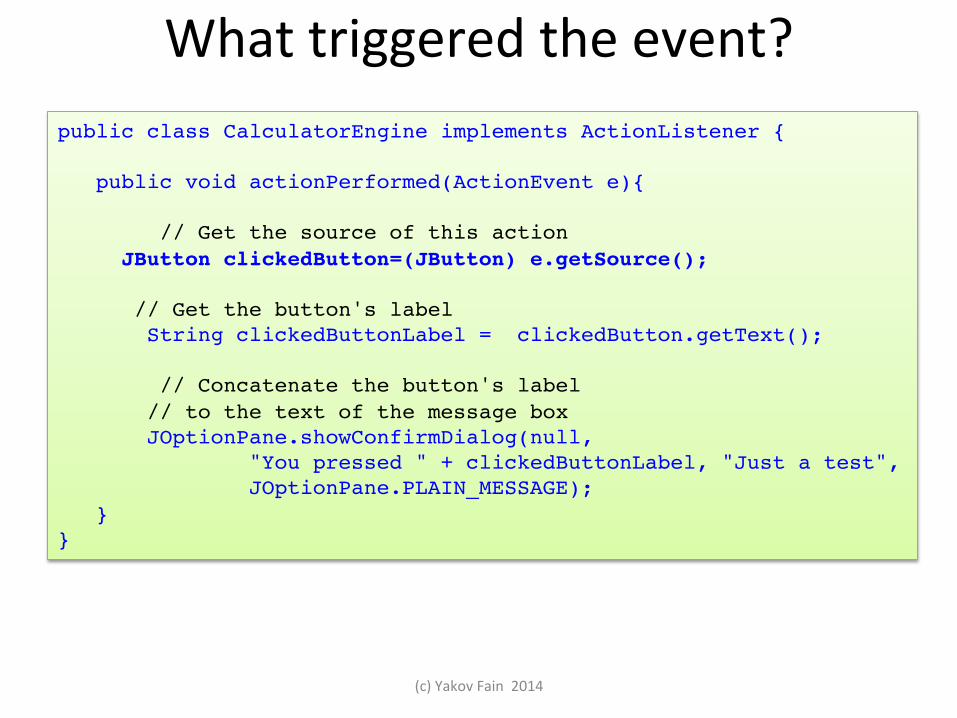
What triggered the event?
(c) Yakov Fain 2014
public class CalculatorEngine implements ActionListener {! ! public void actionPerformed(ActionEvent e){ ! // Get the source of this action! JButton clickedButton=(JButton) e.getSource();! // Get the button's label ! String clickedButtonLabel = clickedButton.getText();! ! // Concatenate the button's label! // to the text of the message box ! JOptionPane.showConfirmDialog(null,! "You pressed " + clickedButtonLabel, "Just a test",! JOptionPane.PLAIN_MESSAGE);! }!}!

Passing Data Between Objects
(c) Yakov Fain 2014
Say, you need to reach a field in the Calculator from the CalculatorEngine. The Calculator instance can pass the reference to itself to the CalculatorEngine: CalculatorEngine calcEngine = new CalculatorEngine (this); ! The engine’s constructor stores reference to Caclulator in its own variable, say parent, and uses it in the method acXonPerformed() to access the calculator’s display field. Bad prac7ce: parent.displayField.getText();! Never try to access children of another object directly. Add to Calculator public geIer and seIer methods, for example: getDisplayValue();!setDisplayValue(String value);

Adding Public API to Calculator
(c) Yakov Fain 2014
public class Calculator{! private JTextField displayField;! ! public void setDisplayValue(String val){! displayField.setText(val);! }! ! public String getDisplayValue() {! return displayText.getText();! } ! ! // The rest of the code goes here!} !
Do not allow direct access to UI components from other classes.
Walkthrough 2
1. Download and import the code from Lesson 9 and review it with the instructor. 2. Run the Calculator program and see if the buIons react to clicks.
(c) Yakov Fain 2014

BoxLayout!
(c) Yakov Fain 2014
Arrange GUI components either verXcally or horizontally. JFrame frame = new JFrame("BoxLayoutDemo");! frame.setDefaultCloseOperation(JFrame.EXIT_ON_CLOSE);! ! //Set up the content pane.! addComponentsToPane(frame.getContentPane());!! public static void addComponentsToPane(Container pane) {! pane.setLayout(new BoxLayout(pane, BoxLayout.Y_AXIS));! ! addAButton("Button 1", pane);! addAButton("Button 2", pane);! addAButton("Button 3", pane);! addAButton("Long-Named Button 4", pane);! addAButton("5", pane);! }!
Read about BoxLayout and test the above example at hIp://bit.ly/NbncJz

Homework 1. Get familiar with the layout manager GridBagLayout. 2. Do the assignment from the Try It secXon from Lesson 8 and 9 from the textbook. 3. Go over the Java Swing tutorial at hIp://bit.ly/1hHLUKZ . 4. Modify Calculator.java to use BoxLayout.
AddiXonal Reading Observer Design PaIern Tutorial: hIp://bit.ly/1dZbNq6
(c) Yakov Fain 2014