leap frog elf frog elf... · web viewthese pigments are in the form of very fine powder, and are...
TRANSCRIPT
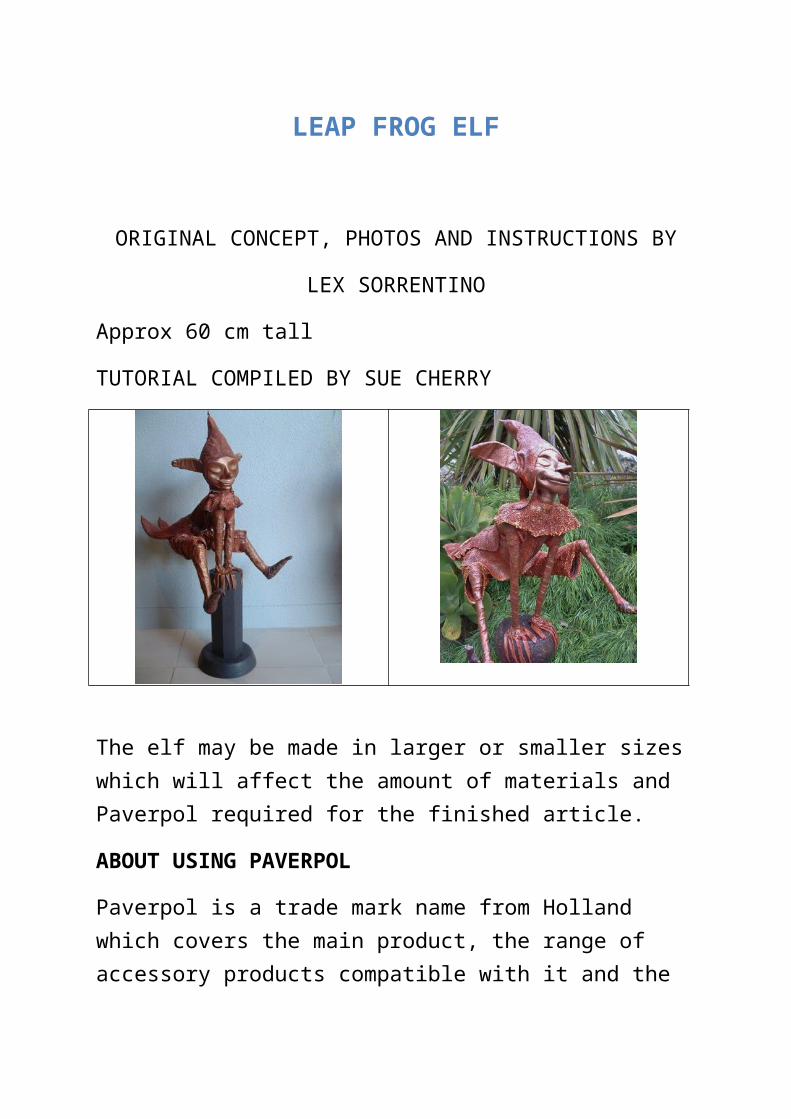
LEAP FROG ELF
ORIGINAL CONCEPT, PHOTOS AND INSTRUCTIONS BY
LEX SORRENTINO
Approx 60 cm tall
TUTORIAL COMPILED BY SUE CHERRY
The elf may be made in larger or smaller sizes which will affect the amount of materials and Paverpol required for the finished article.
ABOUT USING PAVERPOL
Paverpol is a trade mark name from Holland which covers the main product, the range of accessory products compatible with it and the craft of using it to make sculpture for either indoor or outdoor use.
Paverpol was developed in the early 1990’s as an environmentally safer alternative to resin.
Paverpol has the ACMI AP safety label, which means it has been proven safe to use with children and adults alike and it is safe for the environment.
Paverpol can be used with any natural material such as fabric, wood, stone, metal, glass, ceramic, paper and cardboard, also with polystyrene and some other synthetic materials. Paverpol will not adhere to plastics or feathers.
Paverpol transparent liquid can be used as an alternative to varnish or resin with all clays.
Paverpol liquid is user friendly – use with a paintbrush or dip your fabric into it, squeeze off the excess and drape over your structure.
Paverpol liquid is water based so you can wash your hands and utensils in soapy water. Be careful not to pour any left overs down the drain though, as it may harden.
Paverpol liquid is fast drying; it dries to the touch within an hour, hardens overnight and cures within a few weeks. If you wish to add onto your Paverpol artwork after it has dried, simply use Paverpol liquid as an adhesive.
Paverpol liquid is available in various sizes. Each Tutorial will specify average quantity required.
Paverpol liquid is sold mainly as transparent. There is black, bronze and lead grey available already coloured.
Complementary pigments called Pavercolor are available to mix with the transparent Paverpol prior to dipping your fabric. These pigments are in the form of very fine powder, and are available in 30/40g containers. These pigments may pack down during travel. When mixed with the transparent Paverpol (which is white in the
container but sets clear) the colour will be paler than expected. The true colour will come out as the article dries.
Most statues are made using just one colour. The different fabrics may pick up the colour in various shades which will not be apparent until the whole piece is dry.
Leave your sculpture inside for 3 weeks to be sure it is dry throughout before placing it outdoors. Paverpol is weatherproof and washable when completely dry.
Add further protection to outdoor artwork with a layer of Josefine Varnish which has UV protective properties.
COPYRIGHT
This pattern is copy written enabling the purchaser private use only. The purchaser may not resell this pattern or allow it to be knowingly used for mass production. Sale of completed items or kits using this pattern is unrestricted; however it is appropriate to acknowledge Lex as the owner of the pattern.
MATERIALS NEEDED
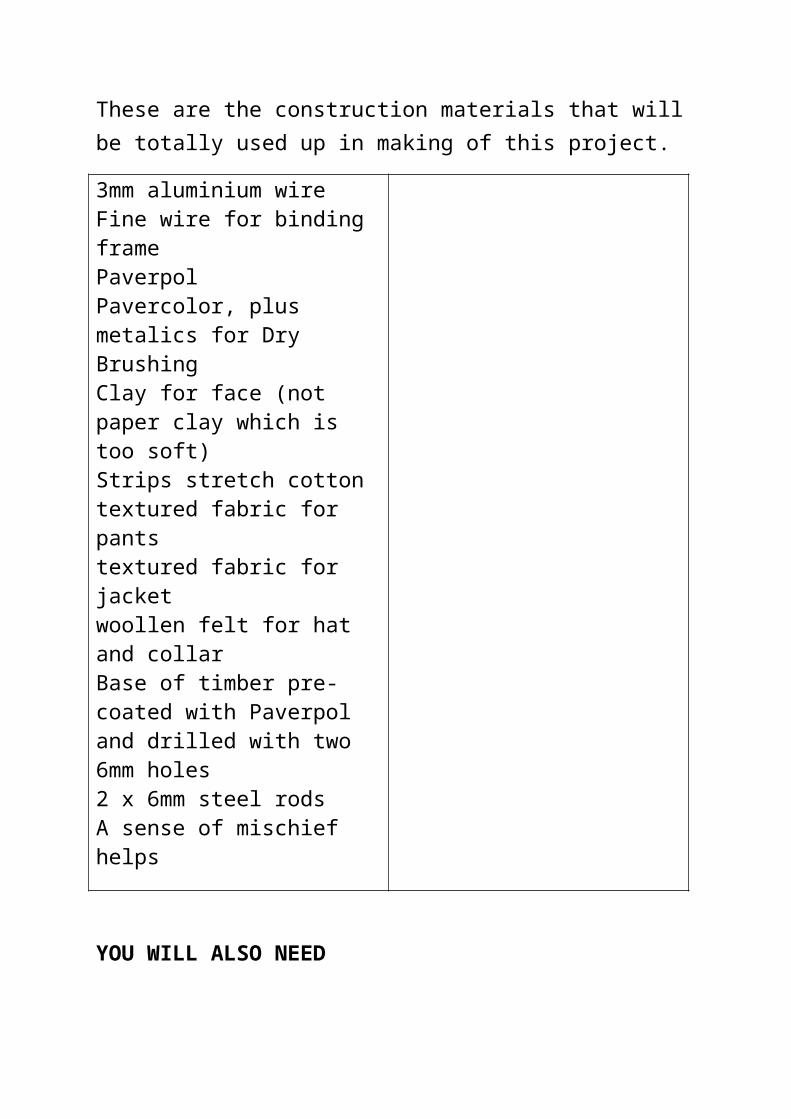
These are the construction materials that will be totally used up in making of this project.
3mm aluminium wireFine wire for binding framePaverpolPavercolor, plus metalics for Dry BrushingClay for face (not paper clay which is too soft)Strips stretch cottontextured fabric for pantstextured fabric for jacketwoollen felt for hat and collarBase of timber pre-coated with Paverpol and drilled with two 6mm holes2 x 6mm steel rodsA sense of mischief helps
YOU WILL ALSO NEED
These are the tools and equipment needed to assist in the construction of this project.
Plastic covered work areaWarm soapy water for clean upMasking tapeScissorsAluminium foil
Hogs bristle paint brushesPliersHammerWooden stirring stickDamp microfiber cloth
METHOD
It is recommended that you read all of the instructions prior to beginning this project. It is also recommended that all materials needed be ready to hand, cut to required lengths where possible, before you begin. Protect your work surfaces with a layer of plastic, remove all jewellery, forget the phone and get ready to have some fun.
PREPARING THE PAVERPOL
The following instructions and photographs show a 250ml bottle of transparent Paverpol and green Pavercolor. The method is the same for any size and/or colour. If your project requires more than one colour then individual sealable containers will need to be prepared for each colour (for example a black base).
A 30/40g container of Pavercolor holds 4 teaspoons of pigment powder. This is enough to colour 1000g of transparent Paverpol. When colouring a lesser or greater amount of Paverpol the quantity of Pavercolor will need to be adjusted.
It is recommended that you prepare the Paverpol before anything else which will allow it to stand for a while. When you are ready to use the Paverpol liquid you will need to re-stir the colour through.
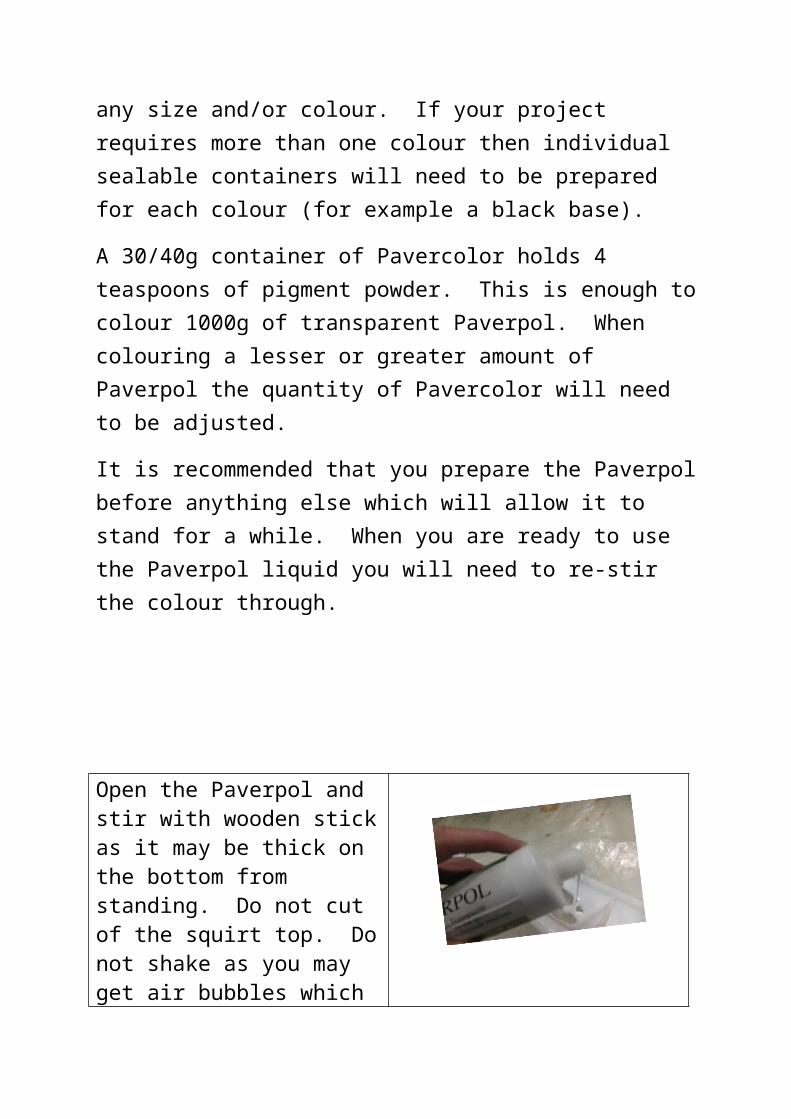
Open the Paverpol and stir with

wooden stick as it may be thick on the bottom from standing. Do not cut of the squirt top. Do not shake as you may get air bubbles which will show on the finished article.Decant about 2 tablespoons of Paverpol into the sealable container. Reseal Paverpol bottle.
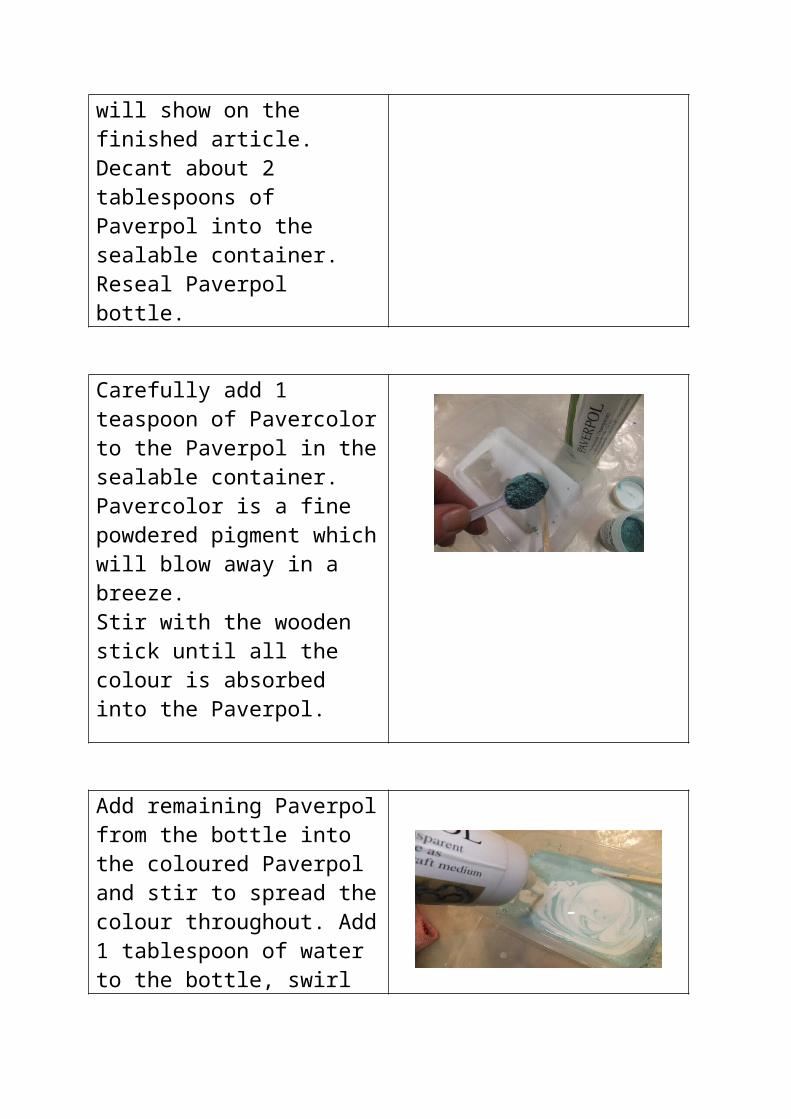
Carefully add 1 teaspoon of Pavercolor to the Paverpol in the sealable container. Pavercolor is a fine powdered pigment which will blow away in a breeze.Stir with the wooden stick until all the colour is absorbed into the Paverpol.
Add remaining Paverpol from the bottle into the coloured Paverpol and stir to spread the colour throughout. Add 1 tablespoon of water to the bottle, swirl it around to pick up any Paverpol which may be stuck to the sides then pour into the sealable containerand mix through. Seal the container of Paverpol.
Coat base with two layers of Paverpol, allow drying between layers.
Drill two 6mm holes 3 cm deep into base on slight angle for arm placement.Dip 6mm steel rods into Paverpol and insert firmly into holes. If using threaded rod drill holes slightly smaller and screw rods into holes.
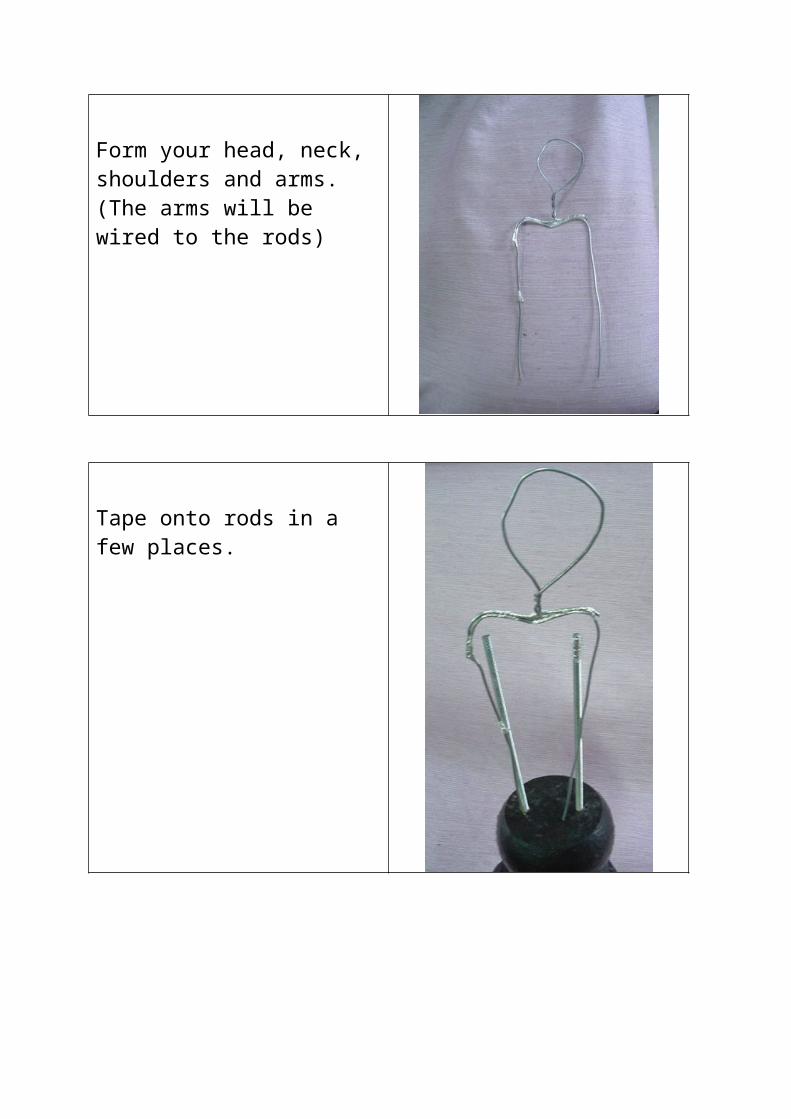
Form your head, neck, shoulders and arms.(The arms will be wired to the rods)
Tape onto rods in a few places.
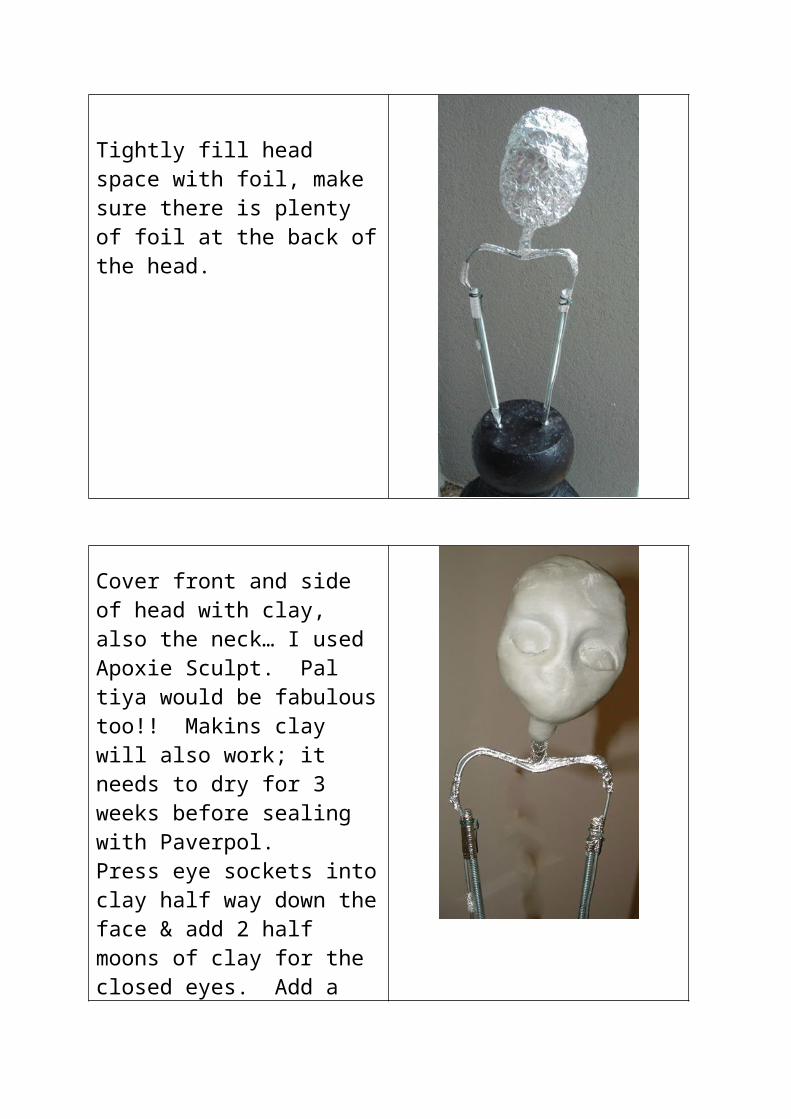
Tightly fill head space with foil, make sure there is plenty of foil at the back of the head.

Cover front and side of head with clay, also the neck… I used Apoxie Sculpt. Pal tiya would be fabulous too!! Makins clay will also work; it needs to dry for 3 weeks before sealing with Paverpol.Press eye sockets into clay half way down the face & add 2 half moons of clay for the closed eyes. Add a nose and two lips plus a chin, and then blend.
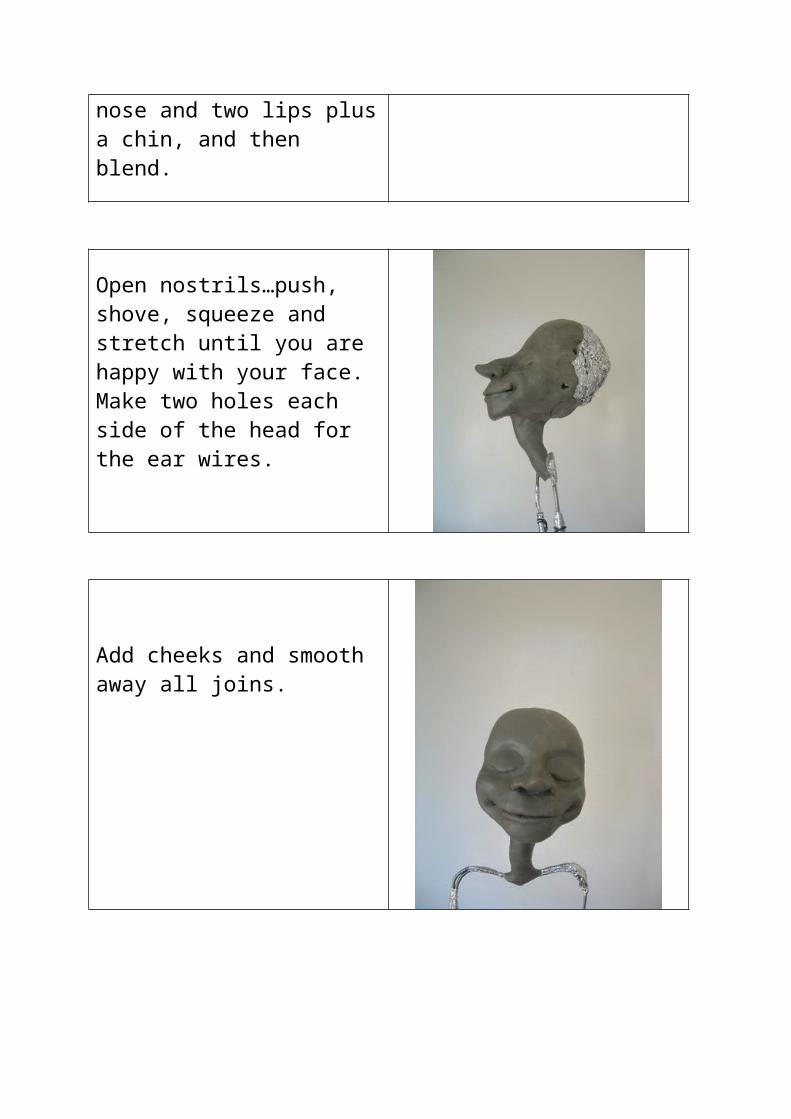
Open nostrils…push, shove, squeeze and stretch until you are happy with your face. Make two holes each side of the head for the ear wires.

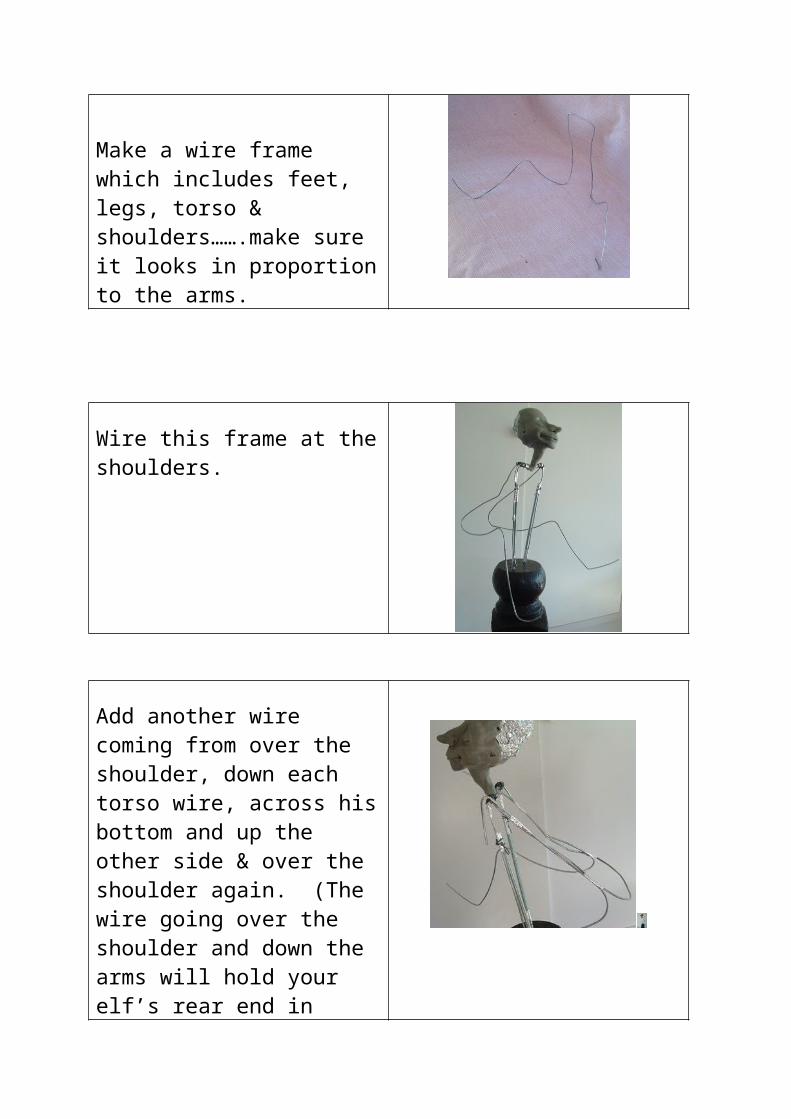
Add cheeks and smooth away all joins.
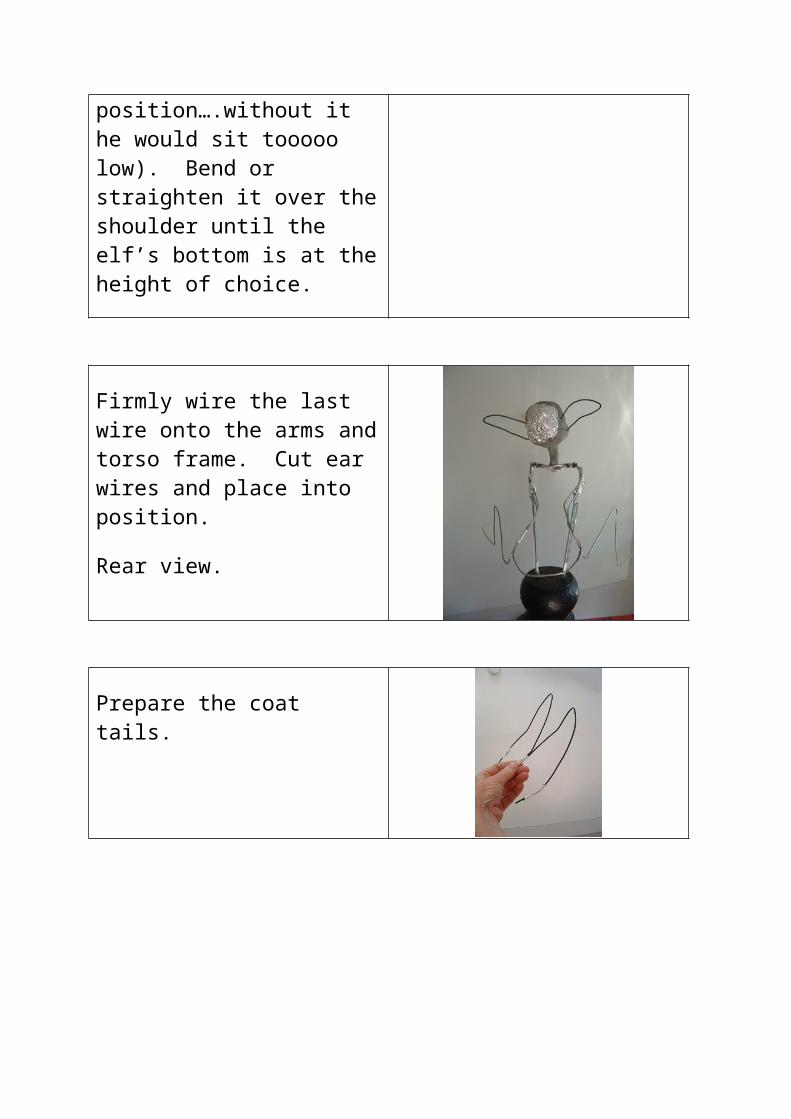
Make a wire frame which includes feet, legs, torso & shoulders…….make sure it looks in proportion to the arms.
Wire this frame at the shoulders.
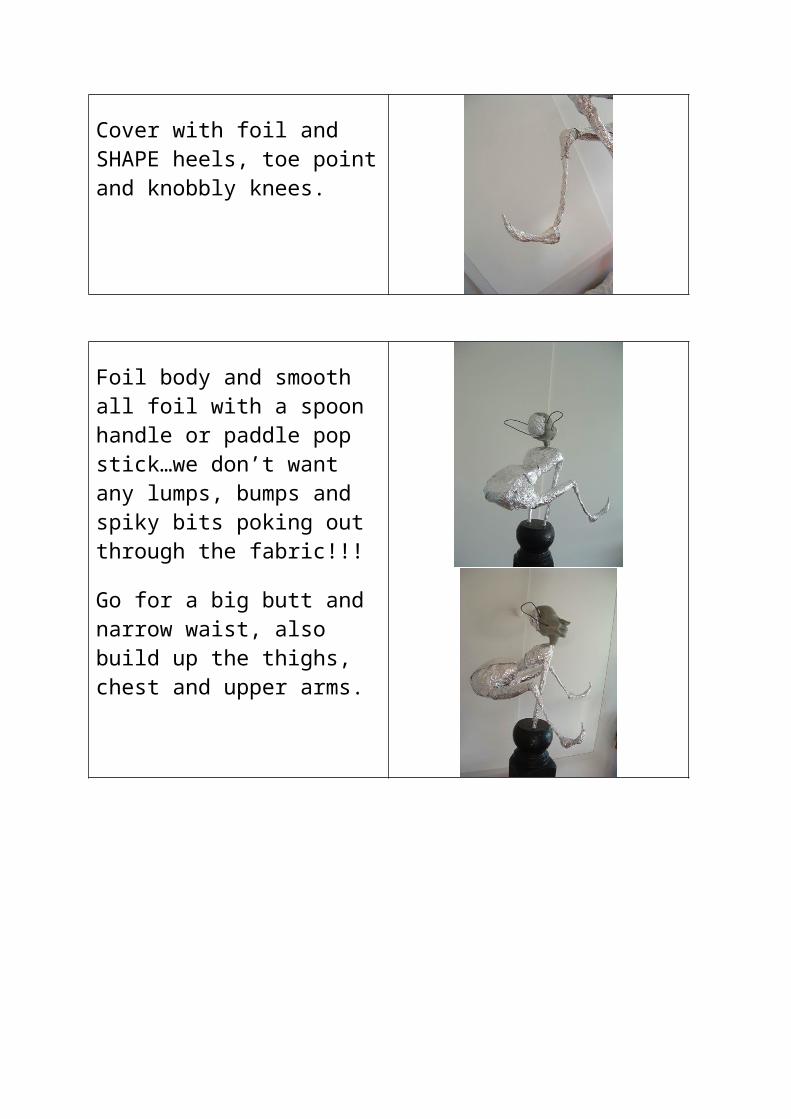
Add another wire coming from over the shoulder, down each torso wire, across his bottom and up the other side & over the shoulder again. (The wire going over the shoulder and down the arms will hold your elf’s rear end in position….without it he would sit tooooo low). Bend or straighten it over the shoulder until the elf’s bottom is at the height of choice.
Firmly wire the last wire onto the arms and torso frame. Cut ear wires and place into position.
Rear view.
Prepare the coat tails.
Cover with foil and SHAPE heels, toe point and knobbly knees.
Foil body and smooth all foil with a spoon handle or paddle pop stick…we don’t want any lumps, bumps and spiky bits poking out through the fabric!!!
Go for a big butt and narrow waist, also build up the thighs, chest and upper arms.
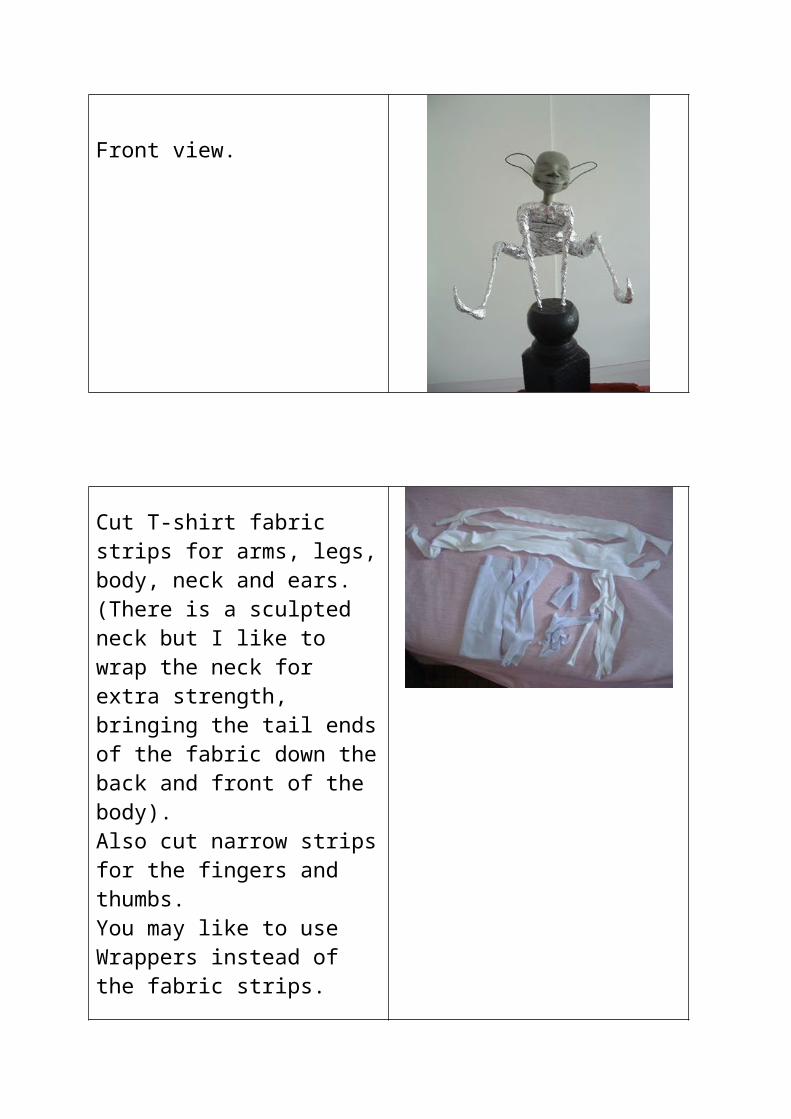
Front view.
Cut T-shirt fabric strips for arms, legs, body, neck and ears. (There is a sculpted neck but I like to wrap the neck for extra strength, bringing the tail ends of the fabric down the back and front of the body).Also cut narrow strips for the fingers and thumbs.You may like to use Wrappers instead of the fabric strips.
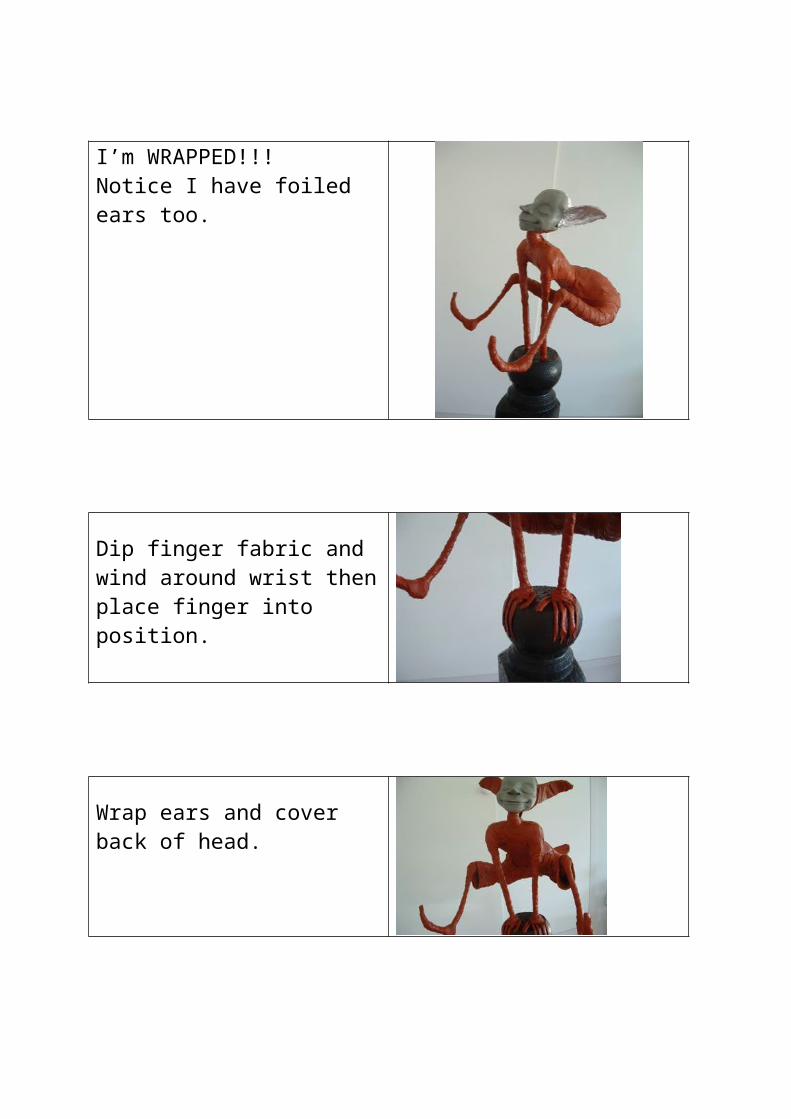
I’m WRAPPED!!!Notice I have foiled ears too.
Dip finger fabric and wind around wrist then place finger into position.
Wrap ears and cover back of head.
Place coat tails into position.
Close up of wrapped coat tails.
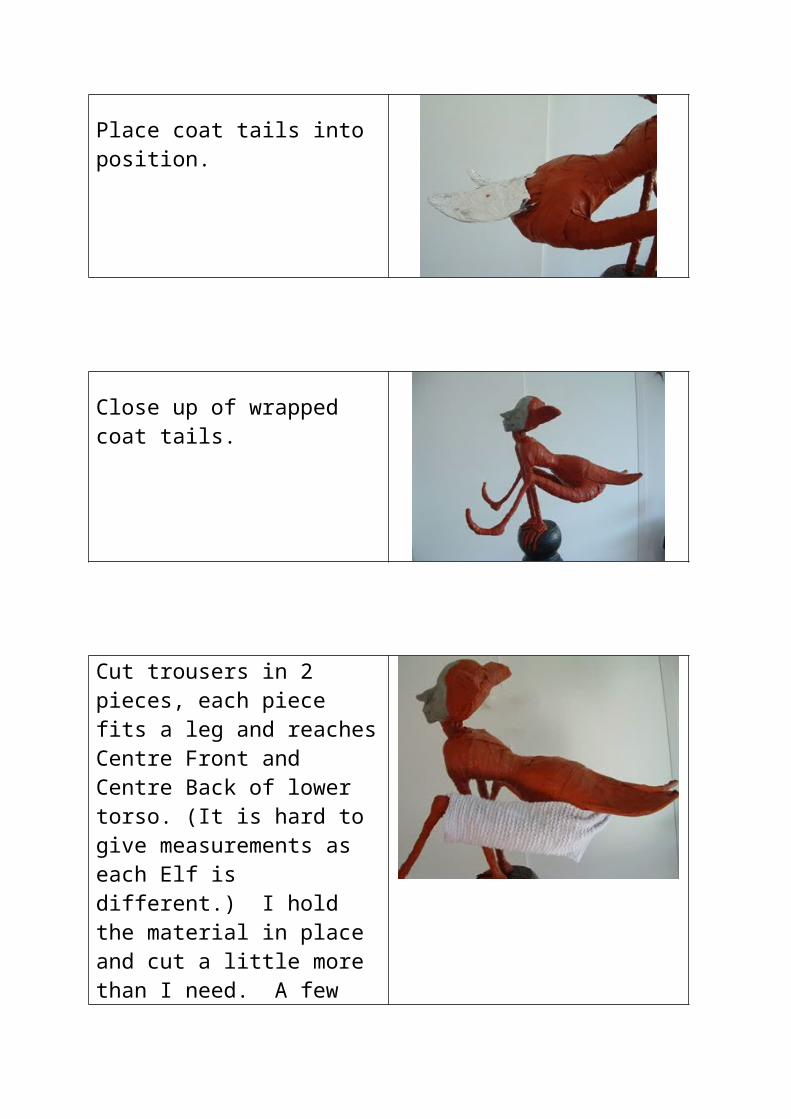
Cut trousers in 2 pieces, each piece fits a leg and reaches Centre Front and Centre Back of lower torso. (It is hard to give measurements as each Elf is different.) I hold the material in place and cut a little more than I need. A few gathers and tucks look fabulous!!...be brave…just do it.
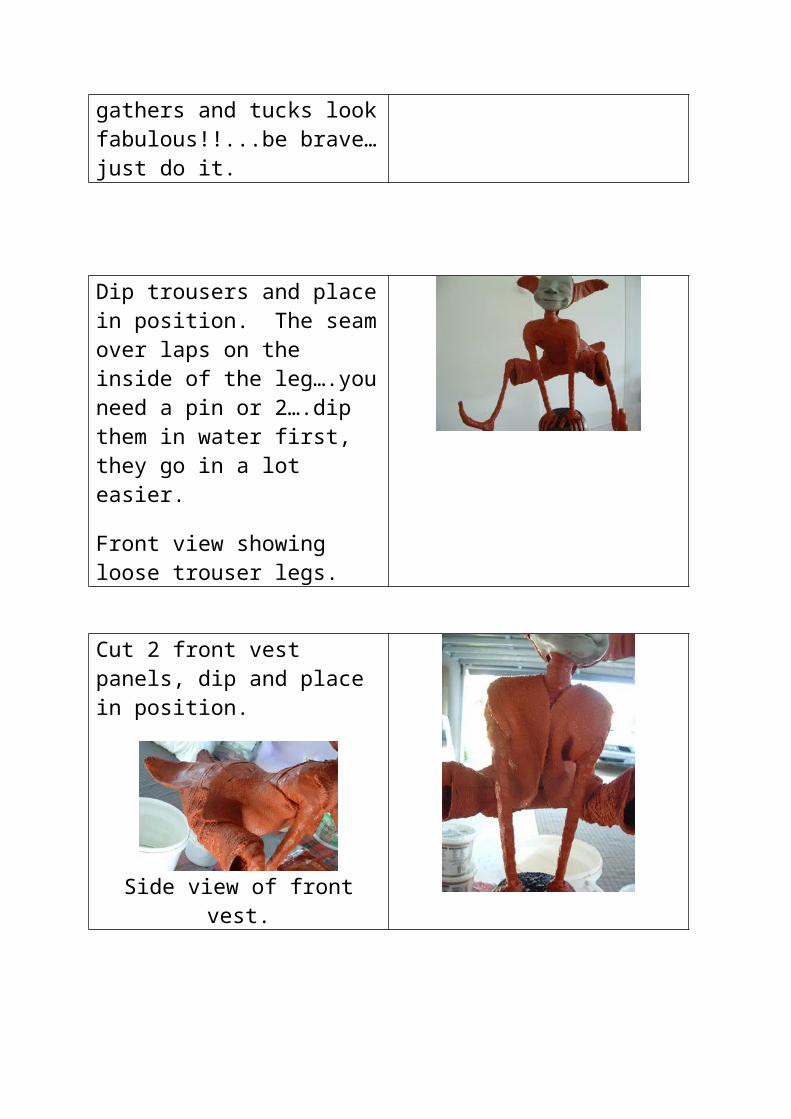
Dip trousers and place in position. The seam over laps on the inside of the leg….you need a pin or 2….dip them in water first, they go in a lot easier.
Front view showing loose trouser legs.
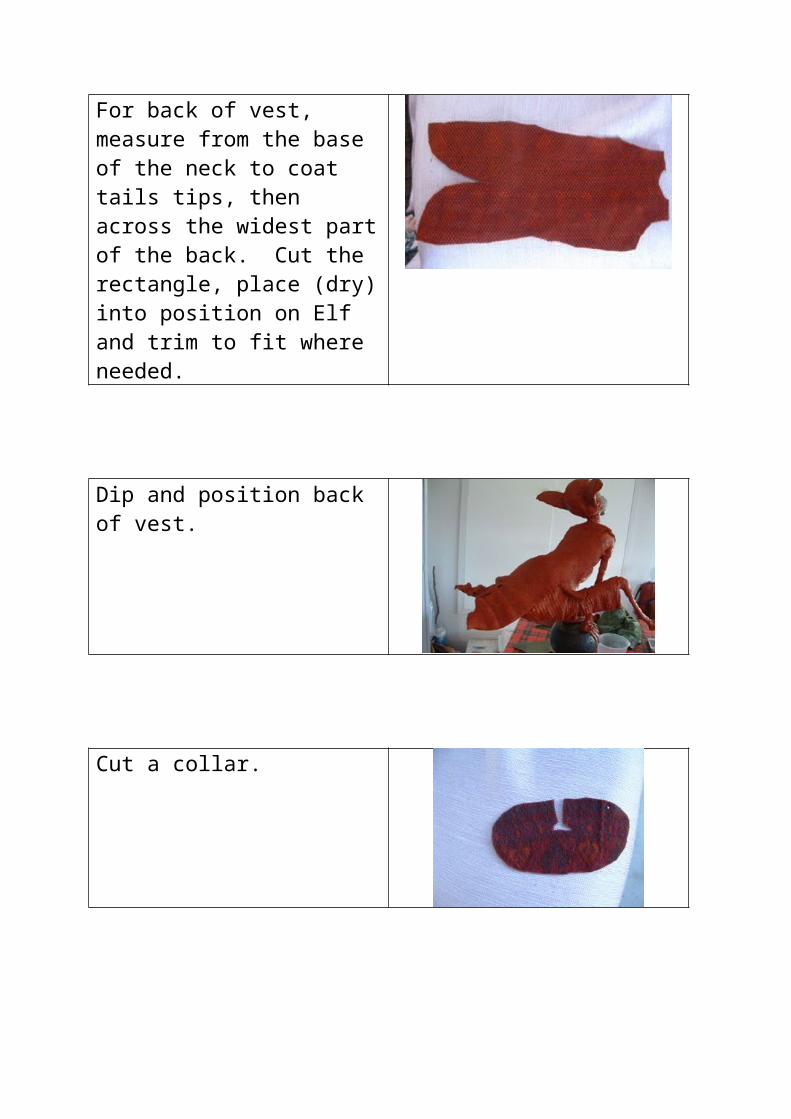
Cut 2 front vest panels, dip and place in position.
Side view of front vest.
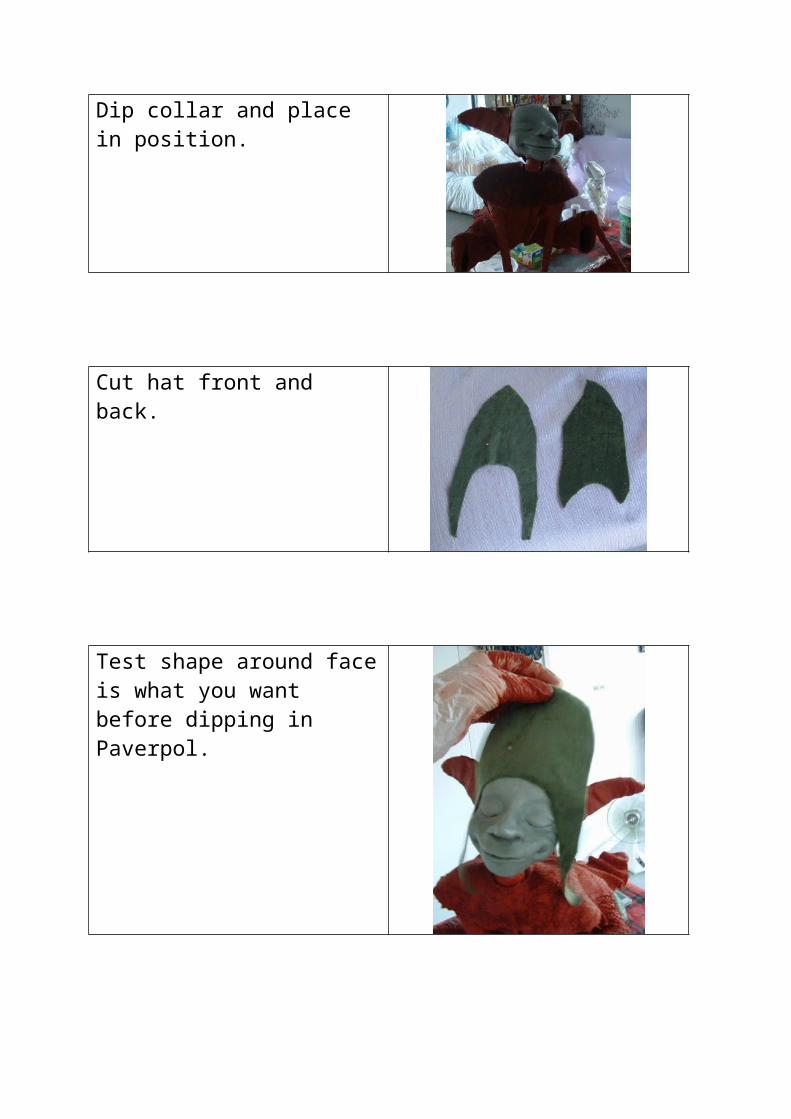
For back of vest, measure from the base of the neck to coat tails tips, then across the widest part of the back. Cut the rectangle, place (dry) into position on Elf and trim to fit where needed.
Dip and position back of vest.
Cut a collar.
Dip collar and place in position.
Cut hat front and back.
Test shape around face is what you want before dipping in Paverpol.
Tape a cone shape of foil to the head. Cover with Paverpol dipped fabric strips, then front and back pieces of hat, overlapping the front panel over the back panel.
I painted the arms, legs, ears, neck and face with Paverpol Bronze and highlighted everything else with metallic Bronze Paverolor and also Gold.The shoes I painted with a DRY BRUSH of Paverpol Bronze.
Your elf is now complete. Allow 2 weeks for it to dry before placing outdoors.
Extra protection from the elements may be obtained by coating with Josefine varnish. Allow another week for the varnish to [email protected] 0412455074 ©