lecture 10 constructing the solution sfdv2002 - principles of information systems
TRANSCRIPT

Lecture 10Constructing the
Solution
SFDV2002 - Principles of Information Systems

2
SDLC Review: Implementation
Objectives Build solution system Test solution Install solution
Main activities1. Construct software components2. Verify and test3. Convert data4. Train users and document the system5. Install the system
Also, acquire hardware and software

3

4
Activities of the Implementation Phase
Hardware Acquisition Software Acquisition
Make or Buy?User preparation
Effect of untrained users Good documentation Categories of users
End users, System operator Ongoing training and user support
[Sta
ir & R
eyn
old
s, 2
00
3]
End user activities System operator activities
Creating records or transactions
Starting or stopping the system
Modifying database contents
Querying system status
Generating reports Backing up data to archive
Querying database Recovering data from archive
Importing or exporting data
Installing or upgrading software
Need to determine the appropriate H/W required to run the system. Lease or purchase

5
Activities of the Implementation Phase
Deployment Site preparation - Preparing the location, simple
rearranging of furniture, Large systems: may require special wiring, air-conditioning, additional power circuits, Renovation or building of new rooms – new security
Data preparation - converting manual files (data) to computer files - hire staff.
Installation and start-up - placing the computer equipment on the site and making it operational. Types of Installation in next slide
User Acceptance• A formal agreement (signed) that the user is happy with the complete system.
[Sta
ir & R
eyn
old
s, 2
00
3]

6
1. Direct Installation[S
ourc
e:
Sati
zinger
et
al.,
20
04
]
Old system in operation
New system in operation
Time
Old system terminatedNew system installed
and configured
Advantages•simplicity since the old and new systems aren't operated in parallel - fewer logistical issues to mange and fewer resources required•less all go well costDisadvantages •Risk because the older system is not operating in parallel - no backup if the new system fails•Magnitude of the risk depends on the nature of the system
7
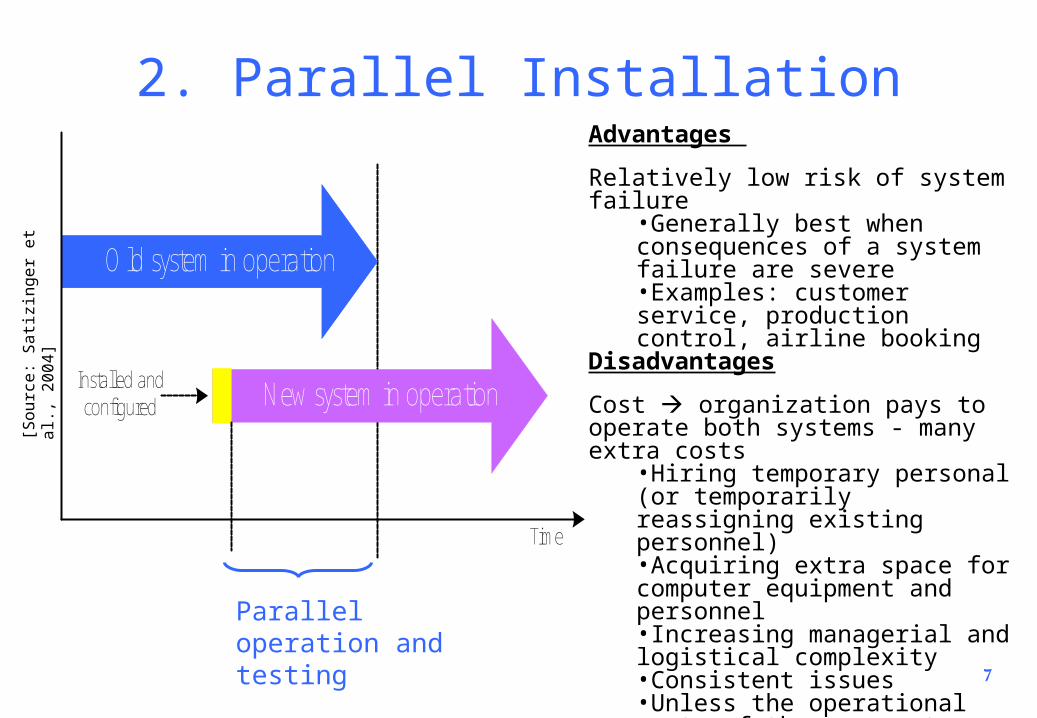
2. Parallel Installation
Parallel operation and testing
Old system in operation
New system in operation
Time
Installed and configured
[Sourc
e:
Sati
zinger
et
al.,
20
04
]
Advantages
Relatively low risk of system failure•Generally best when consequences of a system failure are severe•Examples: customer service, production control, airline booking
Disadvantages
Cost organization pays to operate both systems - many extra costs
•Hiring temporary personal (or temporarily reassigning existing personnel)•Acquiring extra space for computer equipment and personnel•Increasing managerial and logistical complexity •Consistent issues•Unless the operational costs of the new system are substantially less than the old system - combined operating cost

8
Old system A in operation
New system Phase 1 in operation
Old system B in operation
New system Phase 2 in operation
New system Phase 3
Phase 1 Installed
Phase 2 Installed
Phase 3 Installed
Phase 1 Begins
Operation
3. Phased Installation
Phase 3 Parallel Operation and Testing
Phase 2 Parallel Operation and Testing
Phase 1 Direct replacement of part operation
[Sourc
e:
Sati
zinger
et
al.,
20
04
]
Advantage: Reduced risk because failure of a single phases is less problematic than failure of an entire systemDisadvantage: Increased complexity
9
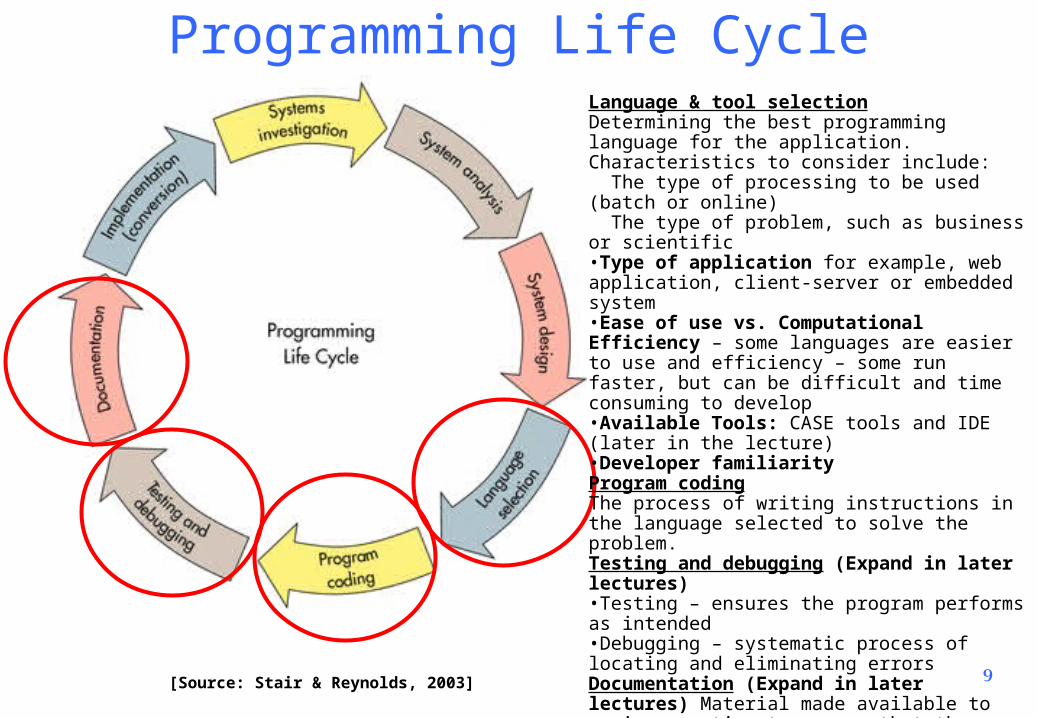
Programming Life Cycle
[Source: Stair & Reynolds, 2003]
Language & tool selectionDetermining the best programming language for the application. Characteristics to consider include: The type of processing to be used (batch or online) The type of problem, such as business or scientific•Type of application for example, web application, client-server or embedded system•Ease of use vs. Computational Efficiency – some languages are easier to use and efficiency – some run faster, but can be difficult and time consuming to develop•Available Tools: CASE tools and IDE (later in the lecture)•Developer familiarityProgram codingThe process of writing instructions in the language selected to solve the problem. Testing and debugging (Expand in later lectures)•Testing – ensures the program performs as intended•Debugging – systematic process of locating and eliminating errorsDocumentation (Expand in later lectures) Material made available to various parties to ensure that the system is properly understood. Two primary types of documentation.•Technical documentation Documents the implementation details of the system. •User documentation Written description developed for individuals who use a program.

10
MS-Access objects Queries To retrieve information form the tables. We can filter data using criteria and display in
sorted order . We can retrieve data from one or more tables.
REPORTS An Access report differs from a simple printout of a table's contents. When you create a
report, you also can add headers, footers, subtotals, and other special features that enhance the appearance of your data on the printed page. Using a report, you have complete control over how your information appears.
Many database programs include special report writers that are designed to make the process of creating reports faster and easier. Access is no exception. Access includes a built-in report writer that you can use to design your reports and customize them .
Forms In Access the Datasheet window is used to display the contents of a table.(Datasheets
can also be used to present the results of a query. Using the Datasheet, you can enter and modify information easily. Unfortunately, Datasheets are not particularly user friendly. For example, you developed a table to track your business customers. That table contains information about when your customers opened their accounts, what their credit limits are, and when they placed their last orders. It is not pertinent that everyone have access to this information.
That is where forms come in. You can create forms that display part (or all) of your table. In addition, a form can contain information designed to aid input, such as on-screen help, buttons, or custom tools
11
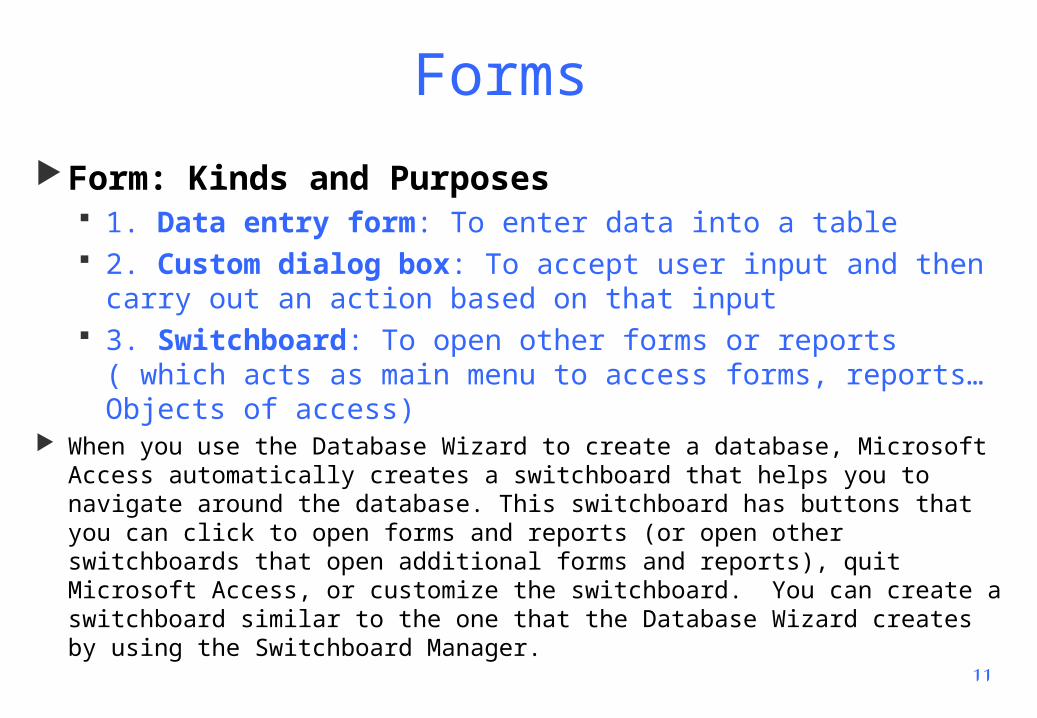
Forms
Form: Kinds and Purposes 1. Data entry form: To enter data into a table 2. Custom dialog box: To accept user input and then
carry out an action based on that input 3. Switchboard: To open other forms or reports ( which
acts as main menu to access forms, reports… Objects of access)
When you use the Database Wizard to create a database, Microsoft Access automatically creates a switchboard that helps you to navigate around the database. This switchboard has buttons that you can click to open forms and reports (or open other switchboards that open additional forms and reports), quit Microsoft Access, or customize the switchboard. You can create a switchboard similar to the one that the Database Wizard creates by using the Switchboard Manager.

12
Example of switchboard
C:\Program Files\Microsoft Office\OFFICE11\SAMPLES\NORTHWIND.MDBThis is the sample db from MS office
Switchboard or Main Menu
When DB has many objects where access to all forms or reports not required by user . You can restrict the access and hide information by using switchboard
13
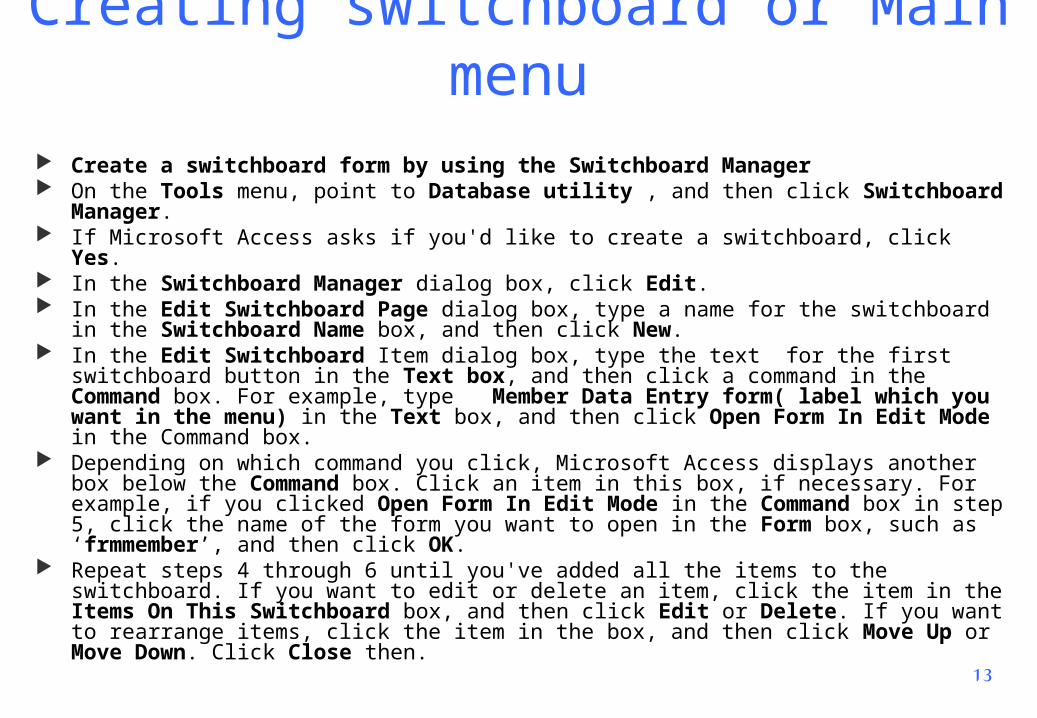
Creating switchboard or Main menu
Create a switchboard form by using the Switchboard Manager On the Tools menu, point to Database utility , and then click Switchboard
Manager. If Microsoft Access asks if you'd like to create a switchboard, click Yes. In the Switchboard Manager dialog box, click Edit. In the Edit Switchboard Page dialog box, type a name for the switchboard in
the Switchboard Name box, and then click New. In the Edit Switchboard Item dialog box, type the text for the first
switchboard button in the Text box, and then click a command in the Command box. For example, type Member Data Entry form( label which you want in the menu) in the Text box, and then click Open Form In Edit Mode in the Command box.
Depending on which command you click, Microsoft Access displays another box below the Command box. Click an item in this box, if necessary. For example, if you clicked Open Form In Edit Mode in the Command box in step 5, click the name of the form you want to open in the Form box, such as ‘frmmember’, and then click OK.
Repeat steps 4 through 6 until you've added all the items to the switchboard. If you want to edit or delete an item, click the item in the Items On This Switchboard box, and then click Edit or Delete. If you want to rearrange items, click the item in the box, and then click Move Up or Move Down. Click Close then.

14
Creating switchboard in MS-Access
1.Select ‘Tools’ from Access menu then go to ‘Database utility ‘ option. In this click on ‘Switchboard Manager’ . You will message ‘do you want to create new one’ click ‘yes’
Switchboard Manager window
2.Select ‘edit ‘ option

15
Creating switchboard in MS-Access-2
3.In edit switchboard window select ‘New’ button . It will open ‘Edit Switchboard item ‘ Window with 3 options as shown in fig
4.‘Text’ option for the Label you want in menu ‘Command’ the work you want when you click button . We can open form in Edit mode to change or add mode to add records or open report….‘Form’ option select the name of the pre existing form or report .

16
Creating switchboard in MS-Access-3
The command options in ‘Edit switchboard page’
Note :After completing all new additions before closing ‘switchboard Manager’ click on ‘Make Default’ Button’.This will make the Switchboard as startup Menu.

17
Creating switchboard in MS-Access-4
Switchboard
Only main menu no database windowNote : Hiding Database window
On ‘tools’ Menu click on ‘startup ‘ . In Startup window deselect ‘Display database Menu’ check box

18
User Designed Form with buttons which acts like switchboard
We can create our own form with the buttons to open form and reports. This will act as switchboard. You can set this as main menu .select ‘tools’ in Menu and take ‘startup’ option as shown in next slide.
User designed form as main menu
When you select /click a button a form or report is shown

19
Startup Window for setting user form as main menu
User design Form which has buttons to access forms and report
Write your own designed form name which you want as Main Menu instead of switchboard
For getting this window Select ‘Tools’ from Menu and take ‘startup’ option
20
References
1- Microsoft Office Access 2003, Step by step, Access Quick Reference.