lejos kyle adams rob boorman. overview of lejos lejos stands for lego java operating system. lejos...
TRANSCRIPT
leJos
Kyle Adams
Rob Boorman
Overview of leJos
•leJos stands for LEGO Java Operating System.•leJos was originally developed by Jose Solorzano, and is now maintained by Paul Andrews and Jurgen Stüber.•leJos allows you to run Java code inside the RCX, letting you program in a familiar language. It is an extension of TinyVM, the first Java implementation for the RCX.•leJos is new firmware for the RCX. The Java Virtual Machine (JVM), a small interpreter that reads byte-code and executes instructions on the CPU, takes the place of the standard LEGO firmware.•leJos fits in between systems that push the limits of the standard LEGO firmware (NQC) and systems that push the limits of the LEGO hardware (legOS).•leJos includes a subset of the standard Java API, as well as a comprehensive package for accessing RCX features (motors, sensors, buttons, etc.).

Overview of leJos
•leJos includes a subset of the standard Java API, as well as a comprehensive package for accessing RCX features (motors, sensors, buttons, etc.).
•The leJos environment includes threads, arrays, floating-point numbers, recursion, and total control of the RCX brick, including reprogramming the buttons.•leJos provides no garbage collection. You don’t deallocate objects. Instead, you must write programs so the number of object are bounded.•leJos provides no switch statement, and there is a maximum array length (511).•The Class.forname method will always throw a ClassNotFoundException, since dynamic class loading is not supported.•The lejos API contains the josx.platform.rcx package, which deals specifically with accessing the RCX. Every program that runs on the RCX must import something from this package.
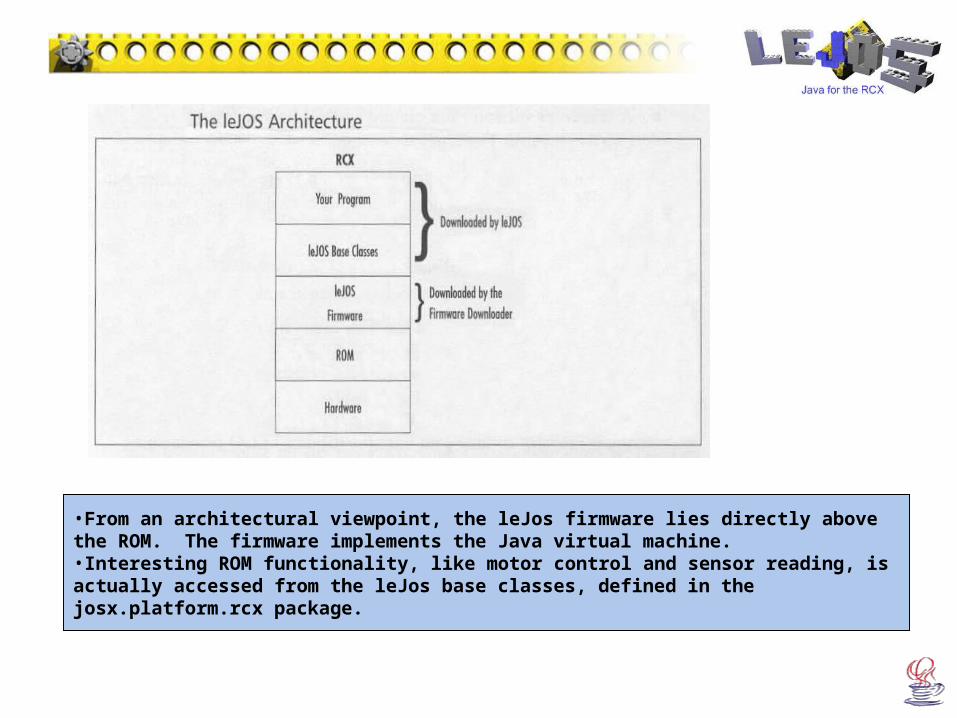
•From an architectural viewpoint, the leJos firmware lies directly above the ROM. The firmware implements the Java virtual machine.•Interesting ROM functionality, like motor control and sensor reading, is actually accessed from the leJos base classes, defined in the josx.platform.rcx package.
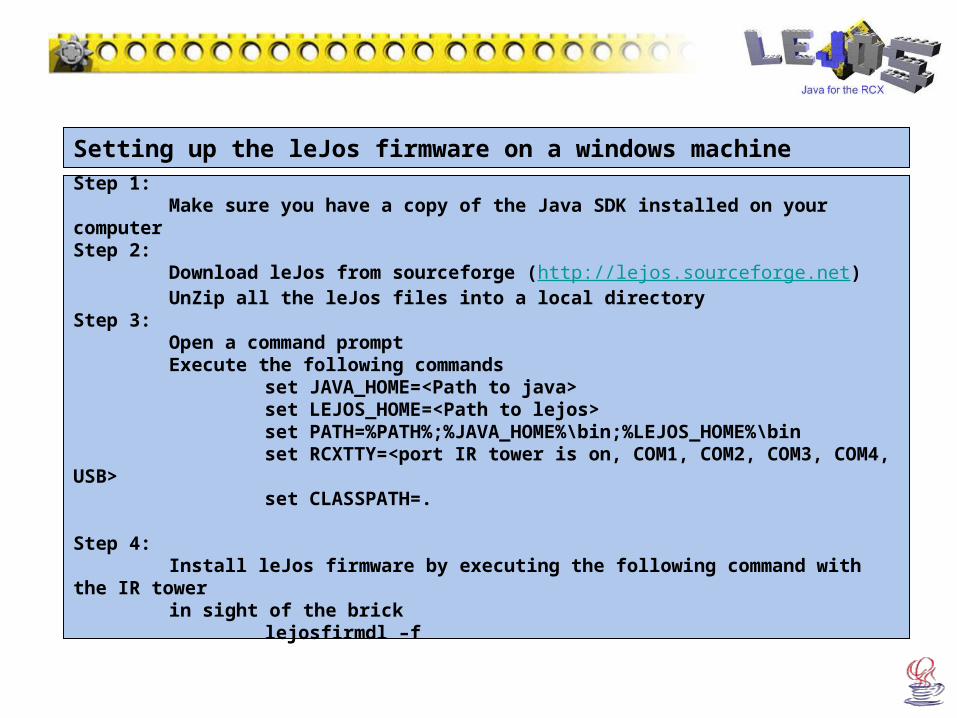
Setting up the leJos firmware on a windows machine
Step 1: Make sure you have a copy of the Java SDK installed on your computer
Step 2:Download leJos from sourceforge (http://lejos.sourceforge.net)UnZip all the leJos files into a local directory
Step 3:Open a command prompt Execute the following commands
set JAVA_HOME=<Path to java>set LEJOS_HOME=<Path to lejos>set PATH=%PATH%;%JAVA_HOME%\bin;%LEJOS_HOME%\binset RCXTTY=<port IR tower is on, COM1, COM2, COM3, COM4, USB>set CLASSPATH=.
Step 4:Install leJos firmware by executing the following command with the IR tower in sight of the brick
lejosfirmdl –f
Compiling and transmitting programs to the RCX
To compile your program, execute lejosc <yourporgramname>.java
This produces a file named <yourprogramname>.class. The lejosc command is just a wrapper setting the –bootclasspath command line option of the javac command to point to the location of the leJos base classes.
The leJos linker (lejos) links classes into a single binary file.lejos [options] class1[,class2,...] [arg1 arg2 ...]
•Only the base classes used by a particular program are transmitted to the RCX. The lejos command makes a transitive closure of all the classes used by your main program, and will only pack classes directly or indirectly referenced from your program into the binary.
•Standard Java has a feature called dynamic class loading, which enables a programmer to dynamically load a class at runtime. This feature makes it impossible to perform a transitive closure, so it is not implemented in leJos.
•The linker will automatically transmit the binary package to the RCX, unless the –o <file> option is specified, in which case it will be dumped to <file>. The lejosrun command can then be used to download the binary to the RCX. •It is not possible to load several program on the RCX incrementally; changing one program means that you must reload all of them.
LeJos API: Battery Class
Battery bat = new Battery();float volts = bat.getVoltage(); // Voltage of the battery in voltsint milli_v = bat.getVoltageMilliVolt(); // Voltage of the battery in millivoltsint internal_v = bat.getVoltageInternal(); // Voltage of the battery as
// represented internally
The Battery class provides access to the brick’s battery voltage level.
LeJos API: Sound Class
The Sound class provides an interface to the brick’s internal speaker. All methods are static, and there isn’t a constructor.
Sound.beep(); // Plays a single beepSound.buzz(); // Plays a buzzing soundSound.beepSequence(); // Plays a downward tone sequenceSound.systemSound(false, 4); // Plays a long low beep in the background while continuing execution // Argument 1 sets whether or not to queue the sound playing, and argument 2 // sets the type of sound to play. A chart is provided in the leJos API.Sound.twoBeeps(); // Plays two beepsSound.playTone(600, 200); // Plays a tone at 600Hz for 2 seconds
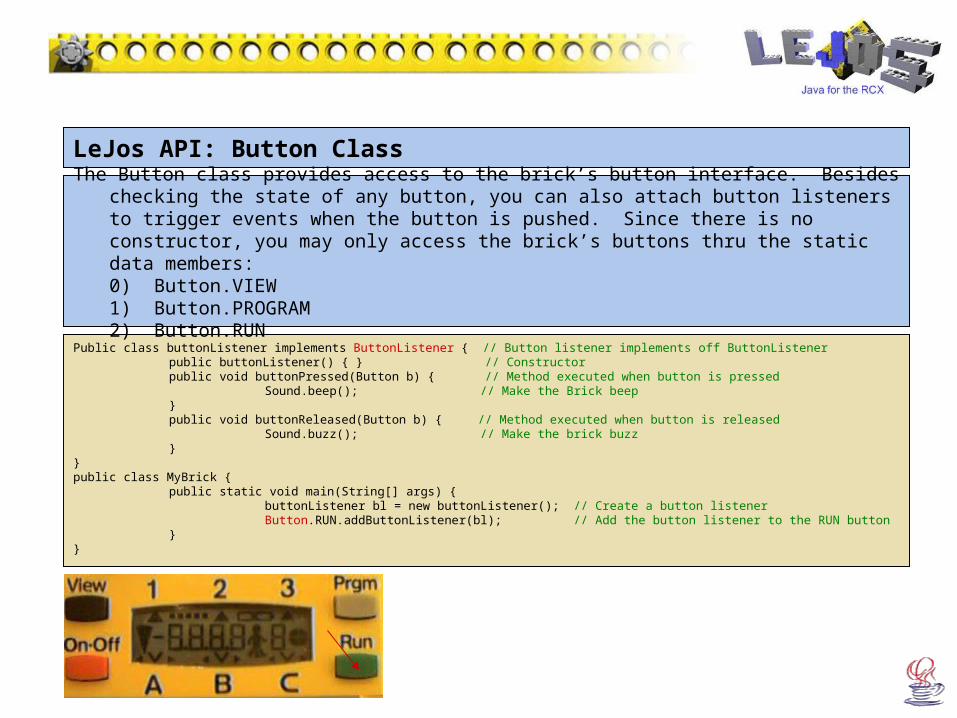
LeJos API: Button Class
Public class buttonListener implements ButtonListener { // Button listener implements off ButtonListenerpublic buttonListener() { } // Constructorpublic void buttonPressed(Button b) { // Method executed when button is pressed
Sound.beep(); // Make the Brick beep}public void buttonReleased(Button b) { // Method executed when button is released
Sound.buzz(); // Make the brick buzz}
}public class MyBrick {
public static void main(String[] args) {buttonListener bl = new buttonListener(); // Create a button listenerButton.RUN.addButtonListener(bl); // Add the button listener to the RUN button
}}
The Button class provides access to the brick’s button interface. Besides checking the state of any button, you can also attach button listeners to trigger events when the button is pushed. Since there is no constructor, you may only access the brick’s buttons thru the static data members:0) Button.VIEW1) Button.PROGRAM2) Button.RUN
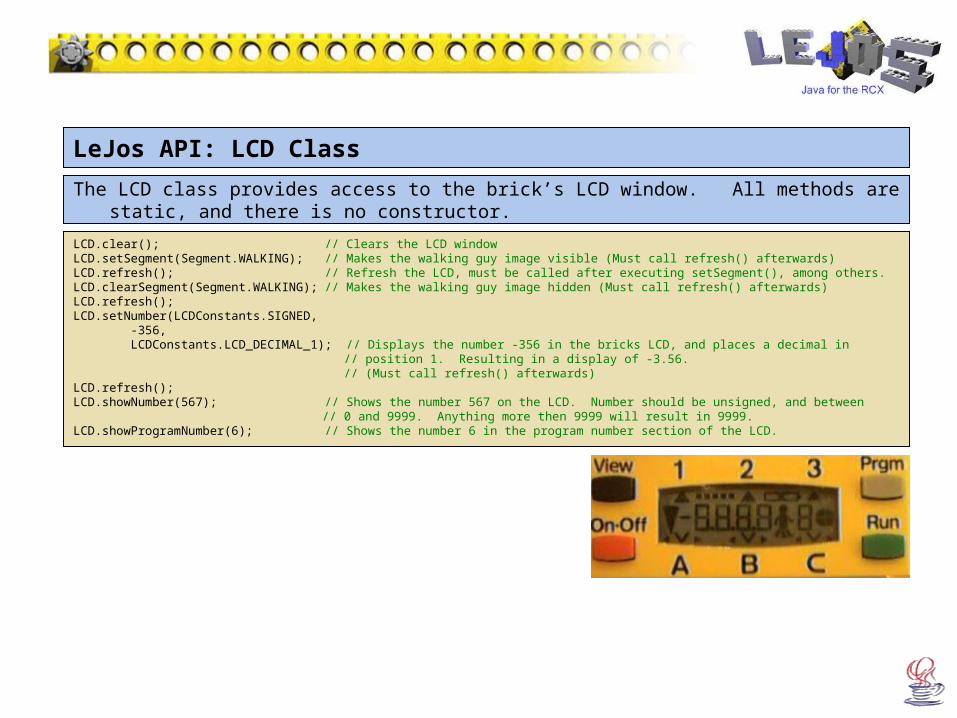
LeJos API: LCD Class
LCD.clear(); // Clears the LCD windowLCD.setSegment(Segment.WALKING); // Makes the walking guy image visible (Must call refresh() afterwards)LCD.refresh(); // Refresh the LCD, must be called after executing setSegment(), among others.LCD.clearSegment(Segment.WALKING); // Makes the walking guy image hidden (Must call refresh() afterwards)LCD.refresh();LCD.setNumber(LCDConstants.SIGNED, -356, LCDConstants.LCD_DECIMAL_1); // Displays the number -356 in the bricks LCD, and places a decimal in
// position 1. Resulting in a display of -3.56. // (Must call refresh() afterwards)
LCD.refresh();LCD.showNumber(567); // Shows the number 567 on the LCD. Number should be unsigned, and between
// 0 and 9999. Anything more then 9999 will result in 9999.LCD.showProgramNumber(6); // Shows the number 6 in the program number section of the LCD.
The LCD class provides access to the brick’s LCD window. All methods are static, and there is no constructor.
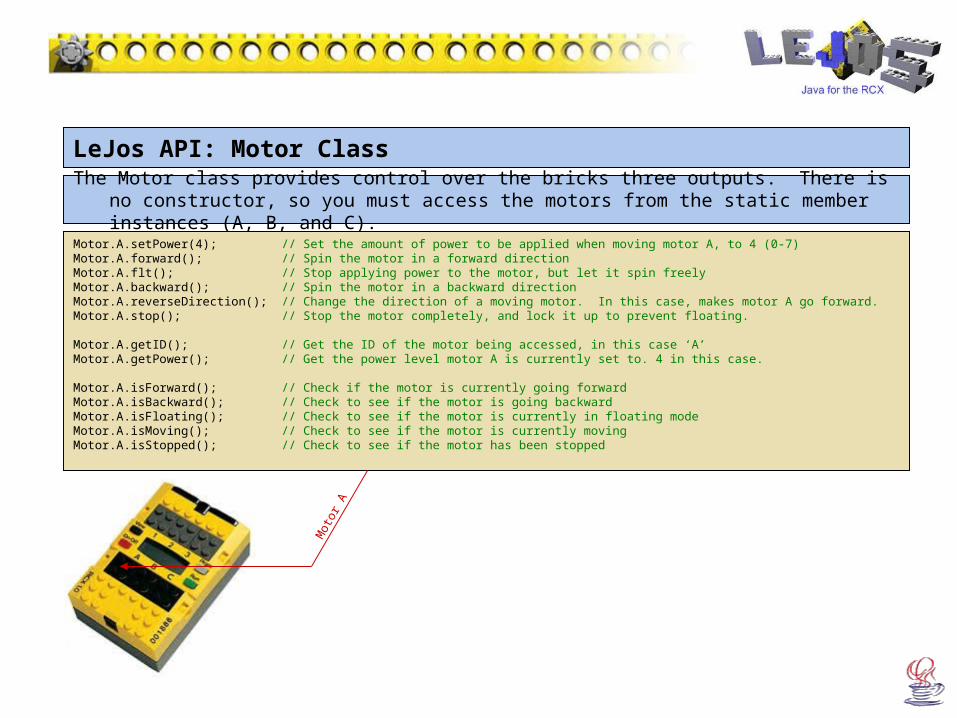
LeJos API: Motor Class
Motor.A.setPower(4); // Set the amount of power to be applied when moving motor A, to 4 (0-7)Motor.A.forward(); // Spin the motor in a forward directionMotor.A.flt(); // Stop applying power to the motor, but let it spin freelyMotor.A.backward(); // Spin the motor in a backward direction Motor.A.reverseDirection(); // Change the direction of a moving motor. In this case, makes motor A go forward.Motor.A.stop(); // Stop the motor completely, and lock it up to prevent floating.
Motor.A.getID(); // Get the ID of the motor being accessed, in this case ‘A’Motor.A.getPower(); // Get the power level motor A is currently set to. 4 in this case.
Motor.A.isForward(); // Check if the motor is currently going forwardMotor.A.isBackward(); // Check to see if the motor is going backwardMotor.A.isFloating(); // Check to see if the motor is currently in floating modeMotor.A.isMoving(); // Check to see if the motor is currently movingMotor.A.isStopped(); // Check to see if the motor has been stopped
The Motor class provides control over the bricks three outputs. There is no constructor, so you must access the motors from the static member instances (A, B, and C).
Mot
or A
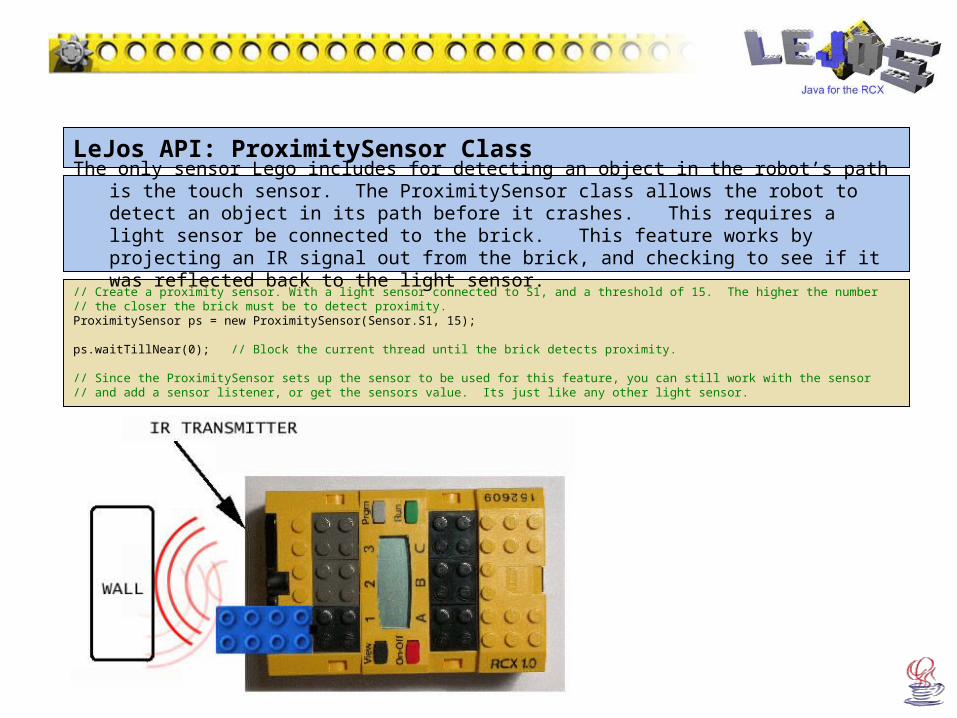
LeJos API: ProximitySensor Class
// Create a proximity sensor. With a light sensor connected to S1, and a threshold of 15. The higher the number// the closer the brick must be to detect proximity. ProximitySensor ps = new ProximitySensor(Sensor.S1, 15);
ps.waitTillNear(0); // Block the current thread until the brick detects proximity.
// Since the ProximitySensor sets up the sensor to be used for this feature, you can still work with the sensor// and add a sensor listener, or get the sensors value. Its just like any other light sensor.
The only sensor Lego includes for detecting an object in the robot’s path is the touch sensor. The ProximitySensor class allows the robot to detect an object in its path before it crashes. This requires a light sensor be connected to the brick. This feature works by projecting an IR signal out from the brick, and checking to see if it was reflected back to the light sensor.
LeJos API: Sensor Class
Sensor.S1.setTypeAndMode( SENSOR_TYPE_LIGHT, SENSOR_MODE_PCT );
Sensor.S1.activate(); // All powered sensors (light and rotation) need to be activated.
Sensor.S1.readValue();
Sensor.S1.getId(); // Returns sensor ID [0…2], in this case 0.
The Sensor contains three static variables, S1, S2, and S3, corresponding to the three sensor input ports on the RCX. Sensors are configured using type and mode constants, found in the SensorConstants interface. There are five different sensor types (SENSOR_TYPE_TOUCH, SENSOR_TYPE_LIGHT, SENSOR_TYPE_ROT, SENSOR_TYPE_TEMP, SENSOR_TYPE_RAW). There are also several modes, such as Fahrenheit and Celsius readings for temperature.
LeJos API: PersistentMemoryArea
// Allocate a block of two bytes in persistent memory, using the magic number “1”. You may only allocate one// Persistent memory area, and each time its requested, the size and magic number must be the same. If you reload// a new program onto the brick, the persistent memory area is trashed.PersistentMemoryArea pma = PersistentMemoryArea.get(1, 2);
// Reset the two bytes in the persistent memory area to zero’s pma.writeByte(0, 0);pma.writeByte(1, 0);
// Save the state of motor A and C into persistent memory, which can then be accessed on the next run// of the program, or anytime for the rest of the execution of this program.If (Motor.A.isMoving()) {
pma.writeByte(0, 1);}If (Motor.C.isMoving()) {
pma.writeByte(1, 1);}
// Reload the motor states from persistent memoryIf ((int)pma.readByte(0) == 1) {
Motor.A.forward();}If ((int)pma.readByte(1) == 1) {
Motor.C.forward();}
The PersistantMemoryArea class allows the java program to maintain information from one run to the next. This allows your robot to maintain states even if the brick is turned off.
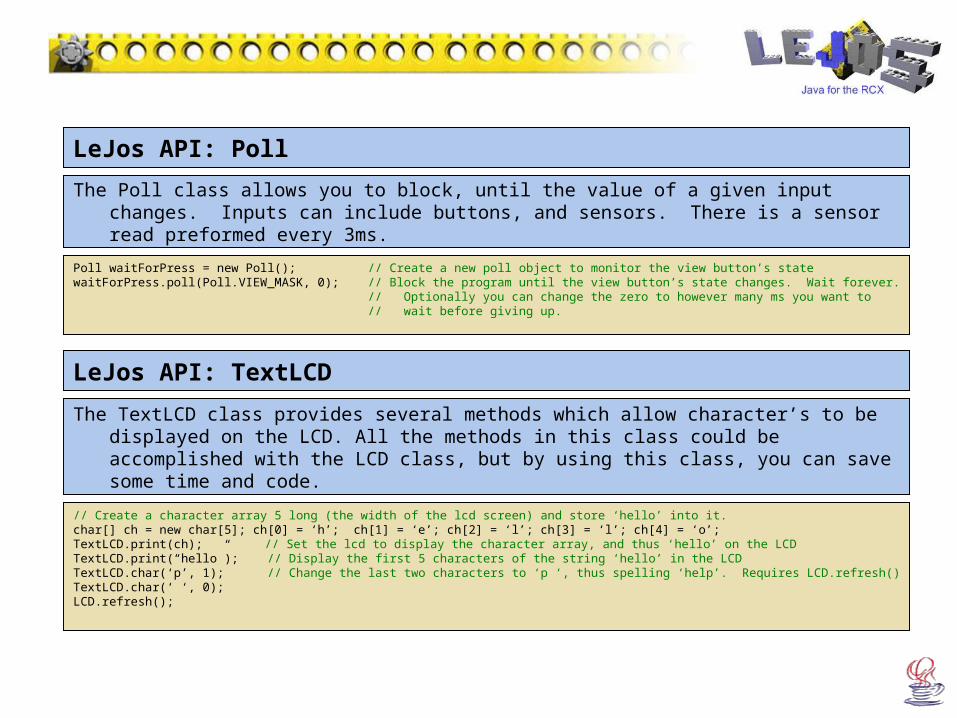
LeJos API: Poll
Poll waitForPress = new Poll(); // Create a new poll object to monitor the view button’s statewaitForPress.poll(Poll.VIEW_MASK, 0); // Block the program until the view button’s state changes. Wait forever.
// Optionally you can change the zero to however many ms you want to // wait before giving up.
The Poll class allows you to block, until the value of a given input changes. Inputs can include buttons, and sensors. There is a sensor read preformed every 3ms.
LeJos API: TextLCD
// Create a character array 5 long (the width of the lcd screen) and store ‘hello’ into it.char[] ch = new char[5]; ch[0] = ‘h’; ch[1] = ‘e’; ch[2] = ‘l’; ch[3] = ‘l’; ch[4] = ‘o’;TextLCD.print(ch); // Set the lcd to display the character array, and thus ‘hello’ on the LCDTextLCD.print(“hello”); // Display the first 5 characters of the string ‘hello’ in the LCDTextLCD.char(‘p’, 1); // Change the last two characters to ‘p ‘, thus spelling ‘help’. Requires LCD.refresh()TextLCD.char(‘ ‘, 0);LCD.refresh();
The TextLCD class provides several methods which allow character’s to be displayed on the LCD. All the methods in this class could be accomplished with the LCD class, but by using this class, you can save some time and code.
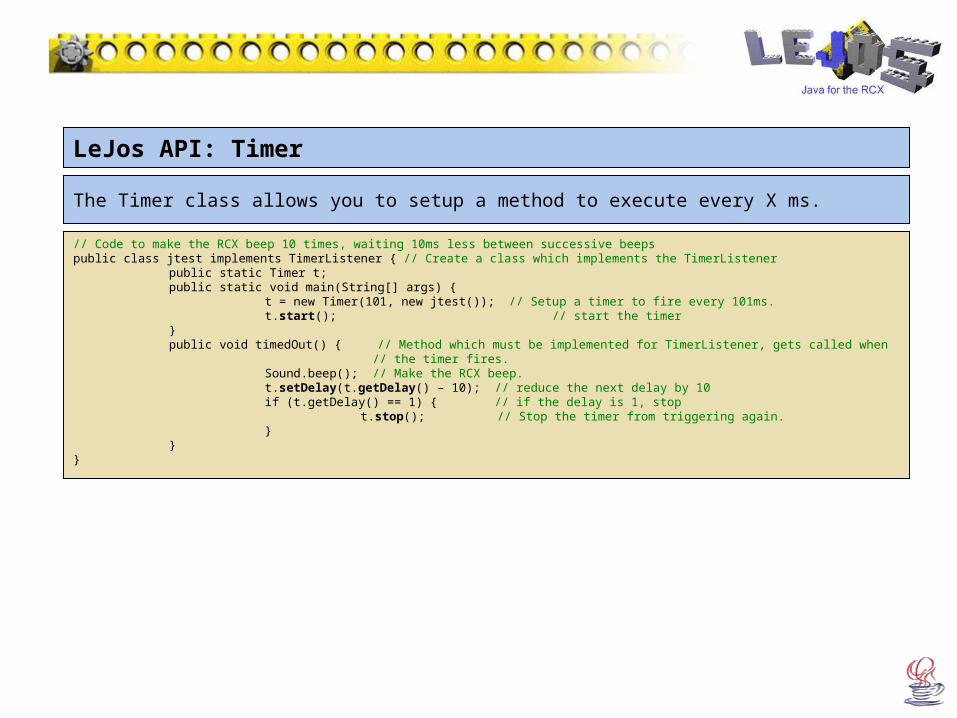
LeJos API: Timer
// Code to make the RCX beep 10 times, waiting 10ms less between successive beepspublic class jtest implements TimerListener { // Create a class which implements the TimerListener
public static Timer t;public static void main(String[] args) {
t = new Timer(101, new jtest()); // Setup a timer to fire every 101ms.t.start(); // start the timer
}public void timedOut() { // Method which must be implemented for TimerListener, gets called when
// the timer fires.Sound.beep(); // Make the RCX beep.t.setDelay(t.getDelay() – 10); // reduce the next delay by 10if (t.getDelay() == 1) { // if the delay is 1, stop
t.stop(); // Stop the timer from triggering again.}
}}
The Timer class allows you to setup a method to execute every X ms.
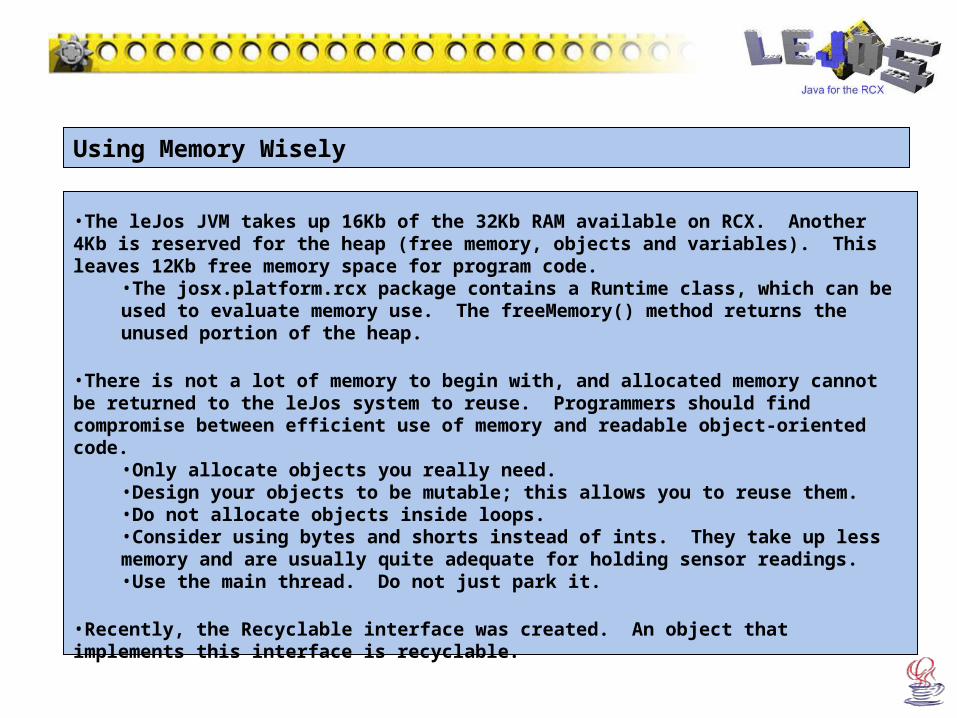
Using Memory Wisely
•The leJos JVM takes up 16Kb of the 32Kb RAM available on RCX. Another 4Kb is reserved for the heap (free memory, objects and variables). This leaves 12Kb free memory space for program code.
•The josx.platform.rcx package contains a Runtime class, which can be used to evaluate memory use. The freeMemory() method returns the unused portion of the heap.
•There is not a lot of memory to begin with, and allocated memory cannot be returned to the leJos system to reuse. Programmers should find compromise between efficient use of memory and readable object-oriented code.
•Only allocate objects you really need.•Design your objects to be mutable; this allows you to reuse them.•Do not allocate objects inside loops.•Consider using bytes and shorts instead of ints. They take up less memory and are usually quite adequate for holding sensor readings.•Use the main thread. Do not just park it.
•Recently, the Recyclable interface was created. An object that implements this interface is recyclable.
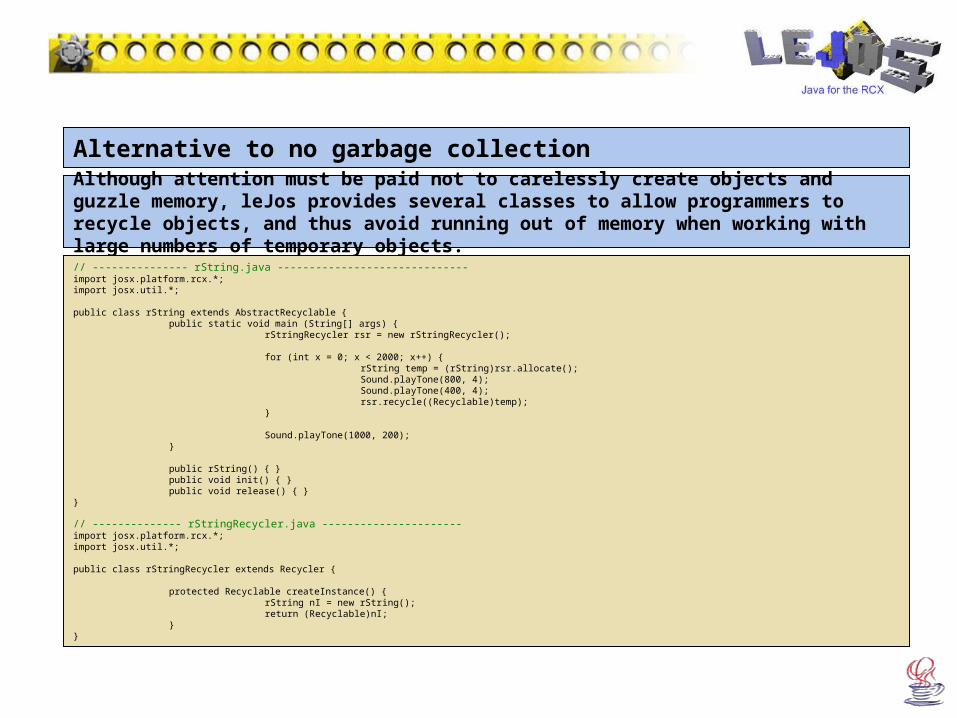
Alternative to no garbage collection
Although attention must be paid not to carelessly create objects and guzzle memory, leJos provides several classes to allow programmers to recycle objects, and thus avoid running out of memory when working with large numbers of temporary objects.
// --------------- rString.java ------------------------------import josx.platform.rcx.*;import josx.util.*;
public class rString extends AbstractRecyclable {public static void main (String[] args) {
rStringRecycler rsr = new rStringRecycler();
for (int x = 0; x < 2000; x++) {rString temp = (rString)rsr.allocate();Sound.playTone(800, 4);Sound.playTone(400, 4);rsr.recycle((Recyclable)temp);
}
Sound.playTone(1000, 200);}
public rString() { }public void init() { }public void release() { }
}
// -------------- rStringRecycler.java ----------------------import josx.platform.rcx.*;import josx.util.*;
public class rStringRecycler extends Recycler {
protected Recyclable createInstance() {rString nI = new rString();return (Recyclable)nI;
}}
Behavior Control
Behavior control was first defined by Rodney Brooks at the MIT Artificial Intelligence Laboratory in 1986.• Brooks observed that most AI programming styles relied on large data models of the world that were slow to react to changes in the environment.•Brooks noticed that insects, despite having very little in the way of brains and working memory, were able to perform in the real world with excellent success. They rely on a strategy of many simple behaviors that, when alternated with one another, build into a complex behavior that can react quickly to changes.•Transforming these observations into the field of computer science, Brooks developed subsumption architecture, now called behavior control. In this architecture, lower behaviors are layered and prioritized to achieve a complex higher order behavior.
The Behavior API
Behavior can be programmed with leJos by using the Behavior API. This simple API is composed of one interface (Behavior) and one class (Arbitrator).
josx.robotics.Behaviorboolean takeControl() // Returns a Boolean value to indicate whether this behavior
should become active.void action() // Initiates an action when the behavior becomes active.void suppress() // Terminates the code running the action() method.
josx.robotics.ArbitratorThis class contains a constructor which is passed an array of Behavior objects, and a start() method which begins arbitration. The Arbitrator object calls the takeControl() method of each Behavior object, starting with the object with the highest index number in the array. When the Arbitrator encounters a behavior that would like to take control, it executes the action() method of that behavior once.
This may seem excessive for only a small number of behaviors, but it makes constructing complex behaviors simpler. Each behavior is a self-contained, independent object.
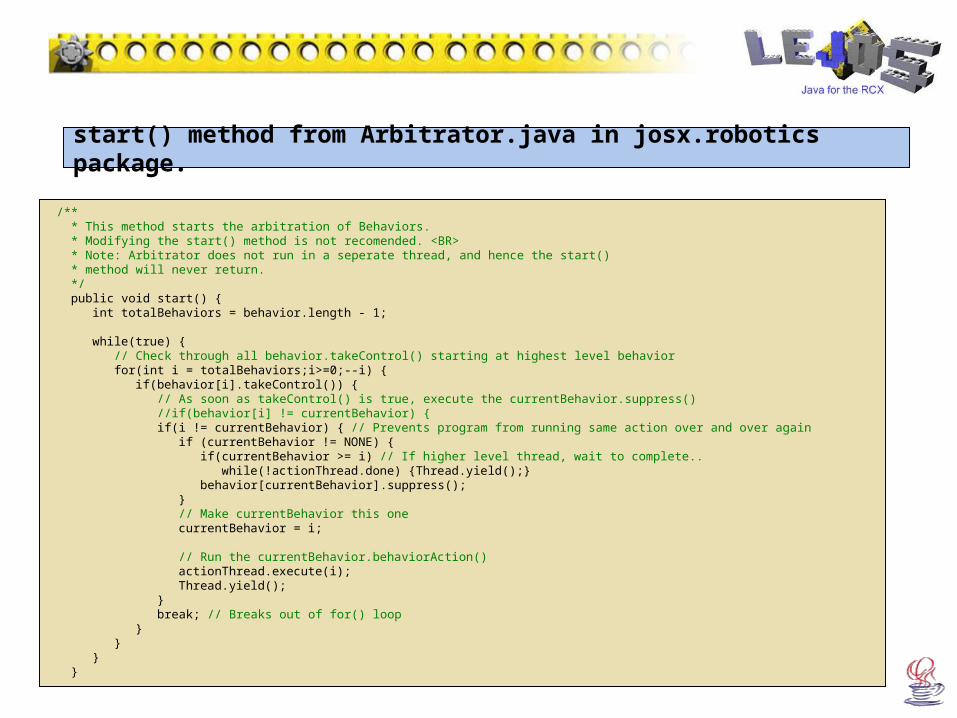
/** * This method starts the arbitration of Behaviors. * Modifying the start() method is not recomended. <BR> * Note: Arbitrator does not run in a seperate thread, and hence the start() * method will never return. */ public void start() { int totalBehaviors = behavior.length - 1;
while(true) { // Check through all behavior.takeControl() starting at highest level behavior for(int i = totalBehaviors;i>=0;--i) { if(behavior[i].takeControl()) { // As soon as takeControl() is true, execute the currentBehavior.suppress() //if(behavior[i] != currentBehavior) { if(i != currentBehavior) { // Prevents program from running same action over and over again if (currentBehavior != NONE) { if(currentBehavior >= i) // If higher level thread, wait to complete.. while(!actionThread.done) {Thread.yield();} behavior[currentBehavior].suppress(); } // Make currentBehavior this one currentBehavior = i;
// Run the currentBehavior.behaviorAction() actionThread.execute(i); Thread.yield(); } break; // Breaks out of for() loop } } } }
start() method from Arbitrator.java in josx.robotics package.
Excellent leJos References