lesson adapted, organized and written by: kim angell title...
TRANSCRIPT

Lesson adapted, organized and written by: Kim Angell Title: Rock Cycle Day One Introduction to the Rock Cycle, to be completed in one class period (50 minutes) Grade Level: 6 Academic Content Standards: Earth and Space Systems:
1. Describe the rock cycle and explain that there are sedimentary igneous and metamorphic rocks that have distinct properties (e.g., color, texture) and are formed in different ways.
2. Explain that rocks are made of one or more minerals 3. Identify minerals by their characteristic properties.
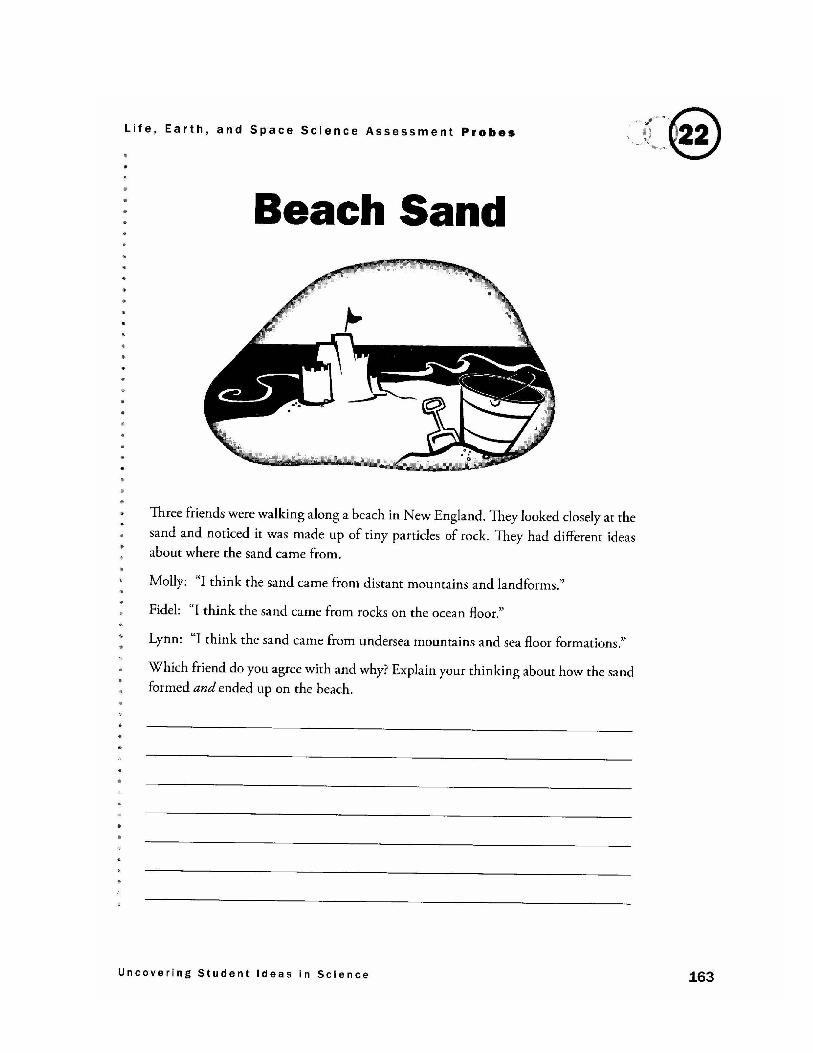
Materials: A clear container with some sand in it. (Enough for students to see and teacher to pick up and run it through her hands), dry erase markers, whiteboard, Beach Sand Handout, Beach Sand Teacher Notes Handout, various types of the three rocks: igneous, sedimentary, and metamorphic, blank paper and markers for each student, Rock Processes Handout, Rock Formations Handout, What’s This Rock? Reference Sheet, What’s This Rock? Cards, Rock Cycle PowerPoint, Rock Field Guide Book, Laffy Taffy pieces (enough for each student to have at least three different colors) Engage: Place clear containers of sand (about a 1 quart size plastic container full) at each table of 4 students. If you know your students can handle it, allow them to play with and run their fingers through the sand before class starts. Write the words, “Sand Science” on the whiteboard. Tell the students that we are going to be learning about the processes that go on inside and outside the Earth, and to start we are going to take a look at beach sand. Ask for a show of hands for how many students have been to a beach. Remind them that beaches are not necessarily only in tropical places like Florida, but that there are beaches on the shores of Lake Erie. This will get students thinking about what a beach is like, and what kinds of things they see on beaches. Give out the formative assessment, Beach Sand Handout, and ask the students to carefully read it silently, and respond to it after closely studying the sand at their table. If students are comfortable with sharing responses (they most likely will be if you do this sort of pre-assessment frequently), ask them for examples of answers they chose and explanations to go

with them. If they are not comfortable or this is the first time doing a preassessment, ask them to hand in the page.
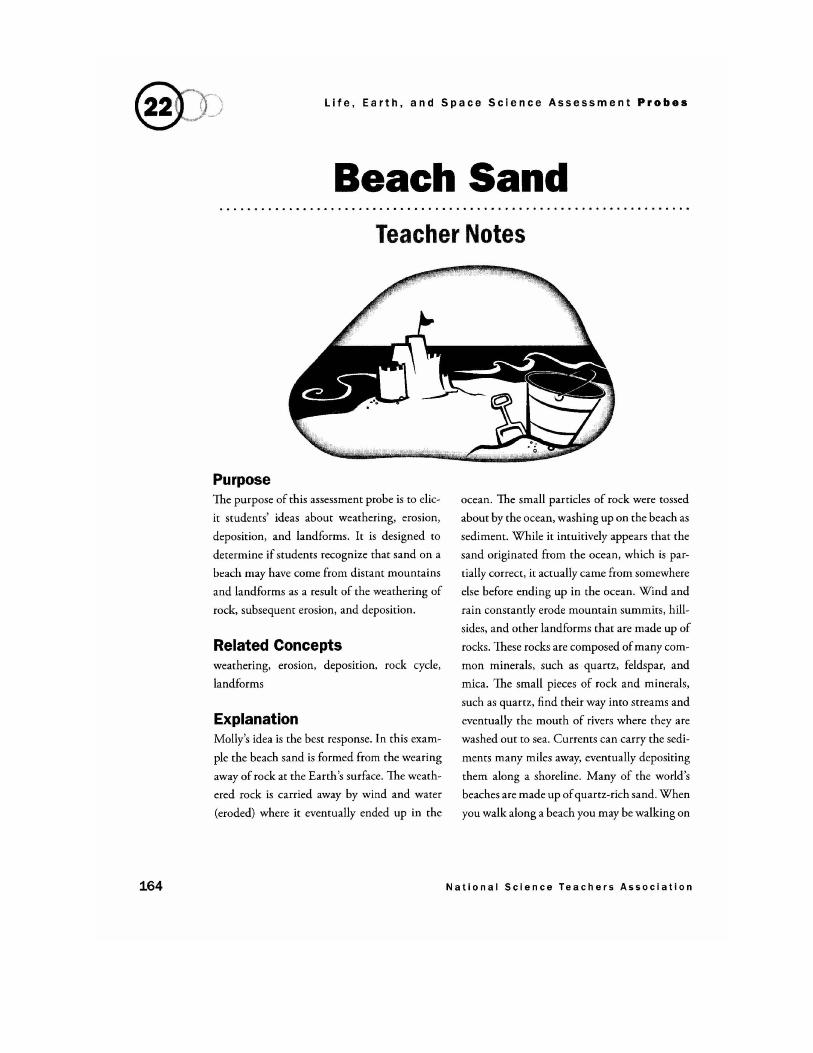
After sharing some student responses to the handout, tell the students what the best response is and give the explanation that accompanies the Beach Sand Teacher Notes Handout. Explore: Say: “We are going to be learning about processes that have been going on inside and outside Earth for all of its history. Rocks are changing all the time, but “time” in the geological sense is millions of years. By understanding the cycle that affects rock, we can look at rocks around us and try to tell their story: where they have been and what processes made them what they are now. “ Give students a piece of paper. Ask, “What do you think a rock cycle might look like? Take a minute and draw your idea of what a rock cycle might be.” Emphasize that this is a rough sketch, a pre-assessment to see ideas. Pick one person from each table to stand and briefly share their ideas. If students have trouble ask a question like, “What types of things happen might happen in order for a rock to form?” “It’s time to look at rocks.” Give each table a set of rocks. Have students use hand lenses to spend some time observing rocks. Look at the characteristics that are most obvious. What kind of process might have caused this rock to look this way? Next, within your group, each person picks a rock and tells the others what might have happened to that rock to make it look like that. For instance, “I see a lot of layers that might have gotten there by sediment layering and pressing together.” Let everyone have a turn. After discussing the explanations for characteristics of the rocks observed in groups, hand out the Rock Formations Sheet and the Rock Processes Sheet. Ask students if the rock cycle that they drew earlier is similar to the graphic on the Rock Formations handout. Ask them to use the vocabulary words on the Rock Processes Sheet to label areas on the Rock Formations handout where they think the processes happen. For example, for the word, melting, ask students where on the graphic could melting be occurring and why? Have them lightly glue or tape all the labels on the graphic with help from group members. Circulate while students complete this. Tell the students that tomorrow they will get a chance to revise any of their initial ideas about the rock cycle after learning more.

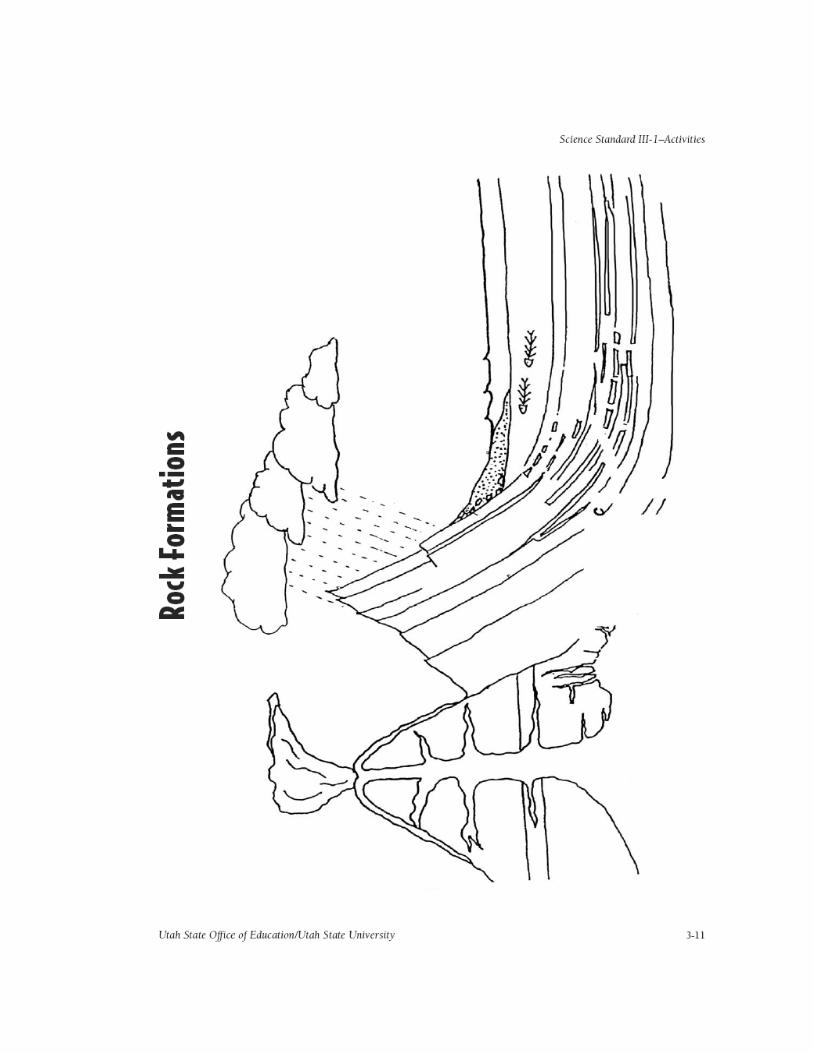

Day Two (50 minutes) Rock Cycle continued- Classifying Rock Types Have students get their Rock Formations handout with lightly positioned labels from yesterday’s lesson. Engage: Ask who would like to share their rock cycle picture (made on the blank sheet by the students yesterday) and the Rock Formations handout with the class. Assure students that at this point, there are no wrong answers, because we are just discussing ideas we have or things we already know about the rock cycle. Gather some student ideas without giving praise for correct responses. At this point students are still forming and molding knowledge. Ask students if they noticed any thing about the Rock Formations handout that gives any clues as to how we could categorize rocks. Anticipated answer: Maybe we can name or categorize rocks based on where they are formed or what they are made of. Tell students that now they will learn how rocks can be categorized. Explain: Hand out What’s This Rock? Reference Sheet, and What’s This Rock? Cards. Introduce the three basic types of rock forming processes: igneous, sedimentary, and metamorphic by using the Rock Cycle PowerPoint. Rock Cycle Information (to go with PowerPoint):
Rocks are combinations of minerals found naturally on or in Earth. Rocks record the history of Earth in their structure. Earth materials can change over time from one form to another. Rocks can be identified by properties such as color, crystal size or texture, banding patterns, presence of pores, and other characteristics. Color is an easy one for students but not all that helpful. The size and shape of the particles that make up rock or lack of them, are more meaningful. Characteristics of the three categories of rocks are used to help students identify rocks found in Ohio.
Eroded materials, dissolved mineral, and the remains of living things are moved by water and wind and deposited as sediments. Sedimentary rock is formed when these sediments become solid material. Most were formed of sediments deposited by ancient shallow seas. Sedimentary rocks include having rounded fragments of a variety of sizes, occurring in thick layers, and—in the case of water deposited minerals—a very smooth texture. The sediments are held together by mineral cements which have testable properties. If calcite is the cement it will fizz with acid. Most limestone, some sandstone, and some conglomerates will fizz.
All igneous rocks were once molten rock. Their locations in Earth’s crust controlled the rate at which they cooled. When magma cools before reaching the surface it cools slowly and tends to have large crystals. This is called intrusive rock, like granite. Other igneous rocks form on Earth’s surface, cooling more quickly. The crystals formed are often microscopically small. These are called extrusive rock, like basalt or obsidian.
Metamorphic rocks have been changed by heat and pressure over time, but not enough to melt them. These rocks may have been buried under Earth’s surface or have been near a heat source. They form from
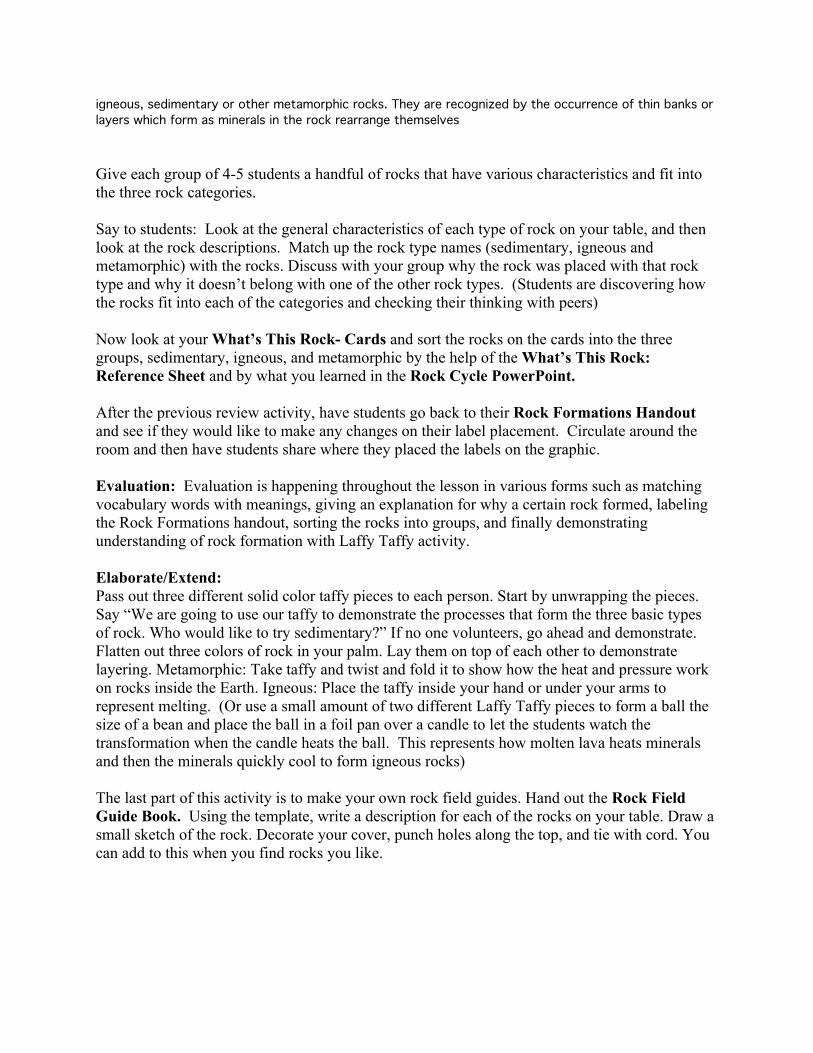
igneous, sedimentary or other metamorphic rocks. They are recognized by the occurrence of thin banks or layers which form as minerals in the rock rearrange themselves
Give each group of 4-5 students a handful of rocks that have various characteristics and fit into the three rock categories. Say to students: Look at the general characteristics of each type of rock on your table, and then look at the rock descriptions. Match up the rock type names (sedimentary, igneous and metamorphic) with the rocks. Discuss with your group why the rock was placed with that rock type and why it doesn’t belong with one of the other rock types. (Students are discovering how the rocks fit into each of the categories and checking their thinking with peers) Now look at your What’s This Rock- Cards and sort the rocks on the cards into the three groups, sedimentary, igneous, and metamorphic by the help of the What’s This Rock: Reference Sheet and by what you learned in the Rock Cycle PowerPoint. After the previous review activity, have students go back to their Rock Formations Handout and see if they would like to make any changes on their label placement. Circulate around the room and then have students share where they placed the labels on the graphic. Evaluation: Evaluation is happening throughout the lesson in various forms such as matching vocabulary words with meanings, giving an explanation for why a certain rock formed, labeling the Rock Formations handout, sorting the rocks into groups, and finally demonstrating understanding of rock formation with Laffy Taffy activity. Elaborate/Extend: Pass out three different solid color taffy pieces to each person. Start by unwrapping the pieces. Say “We are going to use our taffy to demonstrate the processes that form the three basic types of rock. Who would like to try sedimentary?” If no one volunteers, go ahead and demonstrate. Flatten out three colors of rock in your palm. Lay them on top of each other to demonstrate layering. Metamorphic: Take taffy and twist and fold it to show how the heat and pressure work on rocks inside the Earth. Igneous: Place the taffy inside your hand or under your arms to represent melting. (Or use a small amount of two different Laffy Taffy pieces to form a ball the size of a bean and place the ball in a foil pan over a candle to let the students watch the transformation when the candle heats the ball. This represents how molten lava heats minerals and then the minerals quickly cool to form igneous rocks) The last part of this activity is to make your own rock field guides. Hand out the Rock Field Guide Book. Using the template, write a description for each of the rocks on your table. Draw a small sketch of the rock. Decorate your cover, punch holes along the top, and tie with cord. You can add to this when you find rocks you like.


Please see Rock Cycle PowerPoint to be included with this day’s lesson.
Please see Rock Cycle PowerPoint to be included with this day’s lesson.
Please see Rock Cycle PowerPoint to be
included with this day’s lesson.
Please see Rock Cycle PowerPoint to be included with this day’s lesson.
Please see Rock Cycle PowerPoint to be
included with this day’s lesson.
Please see Rock Cycle PowerPoint to be included with this day’s lesson.


References: Utah Education Network- http://www.uen.org McGraw Hill Higher Education PowerPoint retrieved at- http://step.nn.k12.va.us/science/ES/Earth_Science_PowerPoint/rockcyc.ppt
Day Three: Rock Cycle continued: Another way to classify rocks 1. Have students count off and divide into groups (six students per group). These groups are
called base groups. Each student in a group will be responsible for a kind of rock. Within each group, two students will be responsible for igneous rock, two for metamorphic rock and two for sedimentary rock. Let students decide who will be responsible for each type of rock.
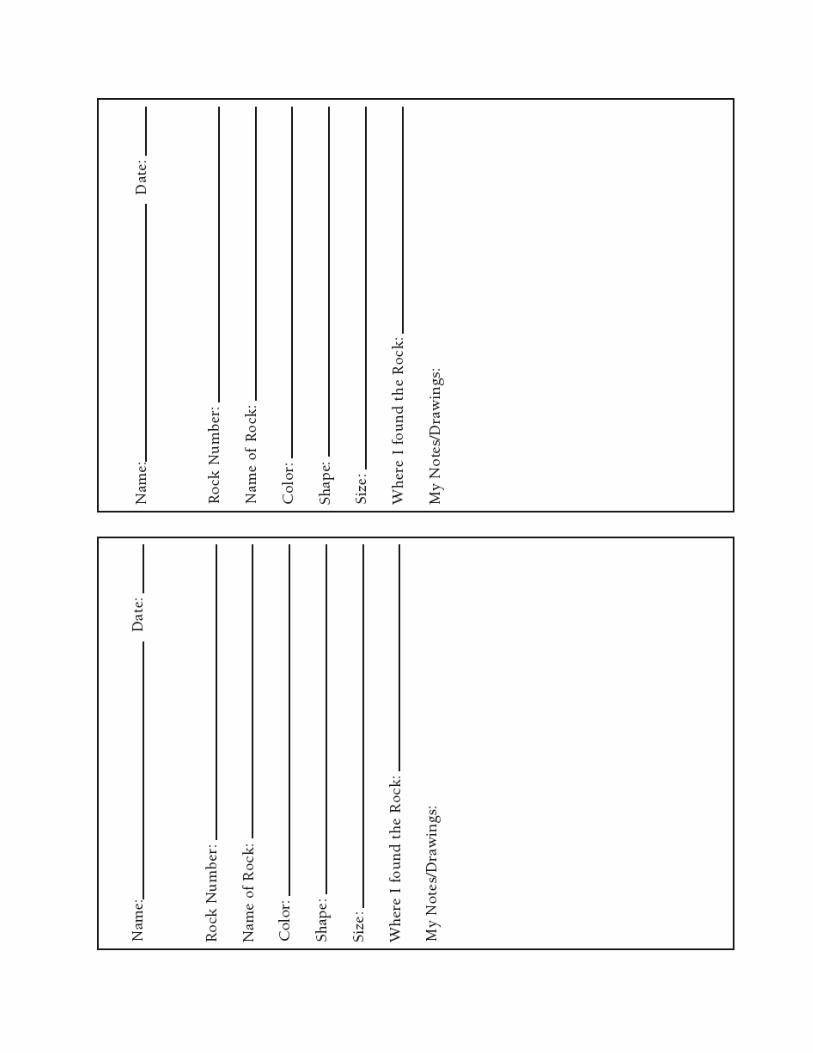
2. Provide a variety of resources about rocks such as field guides, books, computer programs and the Internet. Alternatively, take the class to the school library. Using the resources provided by the teacher and Attachment C, Rock Chart, instruct students to investigate the properties of their specific type of rock. Remind students to list two to four properties on their copy of the Rock Chart.
3. Have a representative from each base group go to one of the six jigsaw groups (two igneous groups, two metamorphic groups and two sedimentary groups). Have these groups study and specialize in only one kind of rock. Distribute the appropriate key from Attachment D, Dichotomous Keys, to each group and have them learn to use the key by giving the students rocks within their group to identify.
4. Have students return to their base groups, and instruct them to teach the material that each has learned (their respective Dichotomous Keys). Have the base group put together a procedure for identifying unknown rocks. Throughout the process, move from group to group.
5. Distribute seven, unidentified, numbered rock samples to each base group. Tell the students to pass samples around the group while each student, using the group’s procedure, attempts to identify each rock. The group should reach a consensus for the identification for each rock sample.
6. Once each rock has been identified, students should go back and decide where the rock falls in the rock cycle. Each group should use a copy of Attachment E, Rock Cycle Diagram, to place each numbered rock in the rock cycle.
7. Facilitate a class discussion about the difficulties in classifying the unknowns. 8. Facilitate the charting of the characteristics of the seven rock samples for the class. Again,
use the format found in Attachment C, Rock Chart. Advise students to make adjustments to their personal Rock Charts if there are conflicts. Finish with the classification of the rock samples.
Facilitate a discussion to help the students understand how the seven rocks are related to one another through the rock cycle. 9. Have students evaluate their personal goals for this lesson. If they have not met their goals,
have them establish plans and assignments for locating missing information. You may choose to pursue this as an assignment or extension.
Proceed to the post-assessment.