lyndsi barfield portfolio
TRANSCRIPT
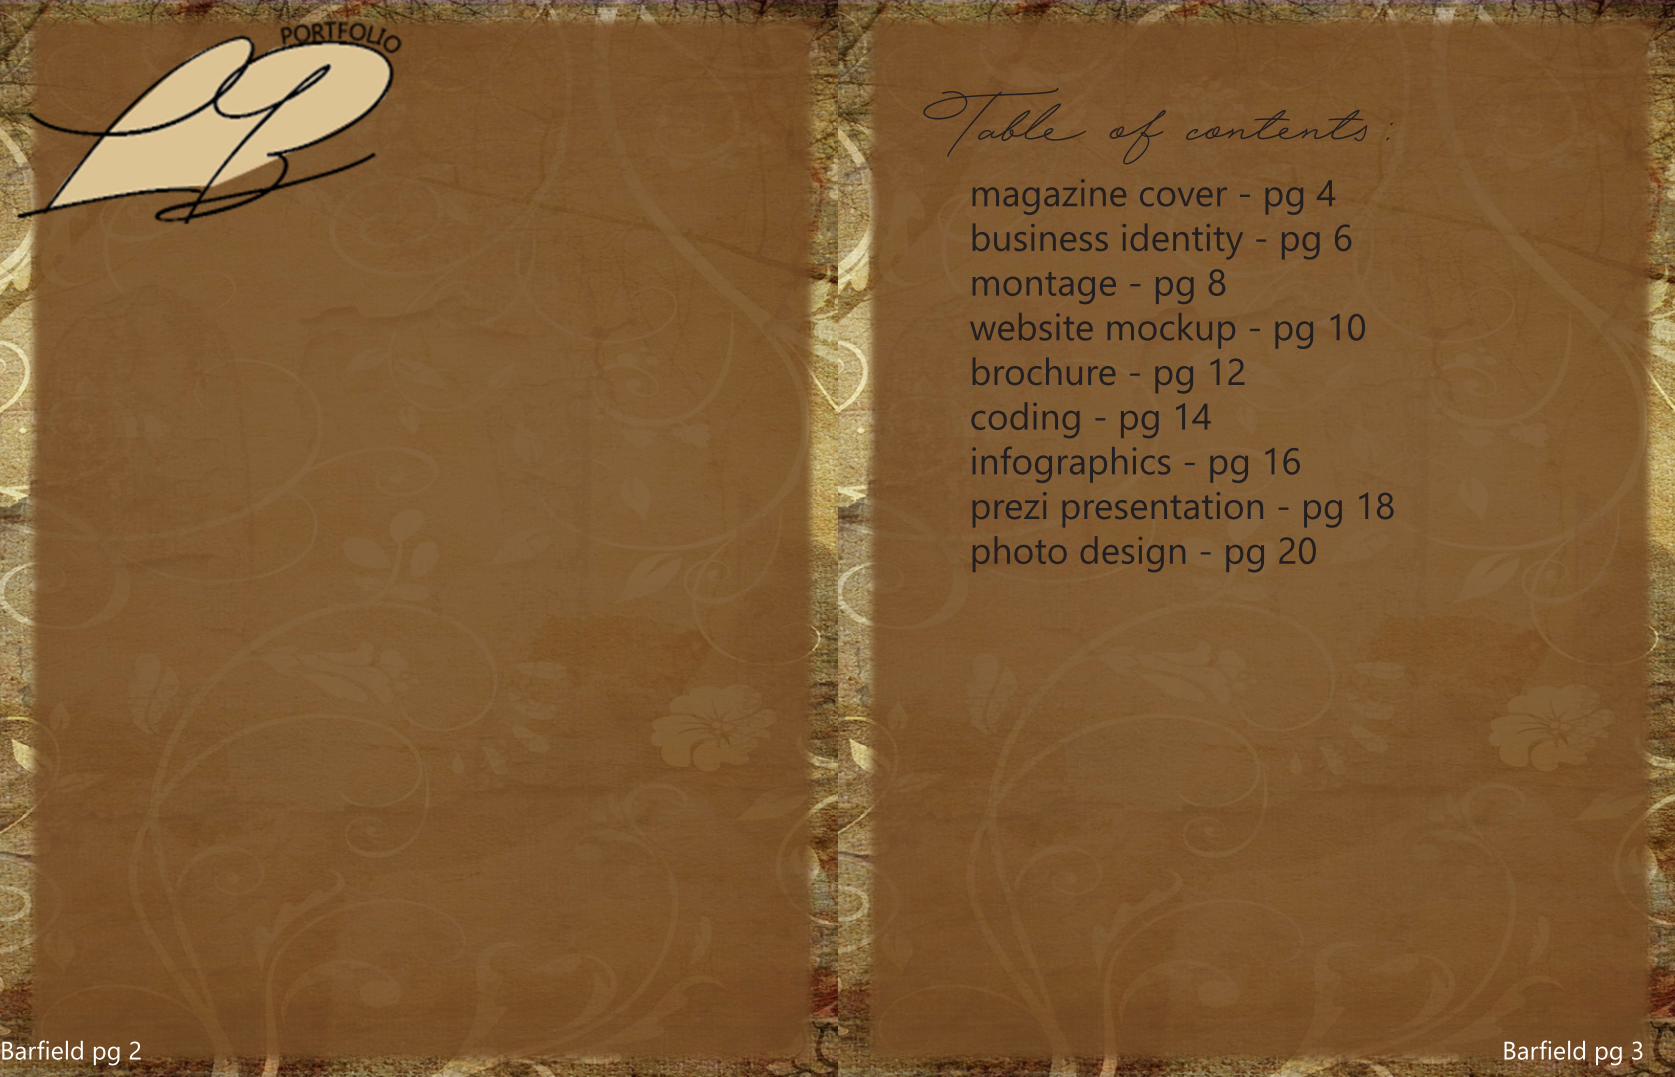
Barfield pg 2 Barfield pg 3
Table of contents: magazine cover - pg 4 business identity - pg 6 montage - pg 8 website mockup - pg 10 brochure - pg 12 coding - pg 14 infographics - pg 16 prezi presentation - pg 18 photo design - pg 20
Barfield pg 4 Barfield pg 5
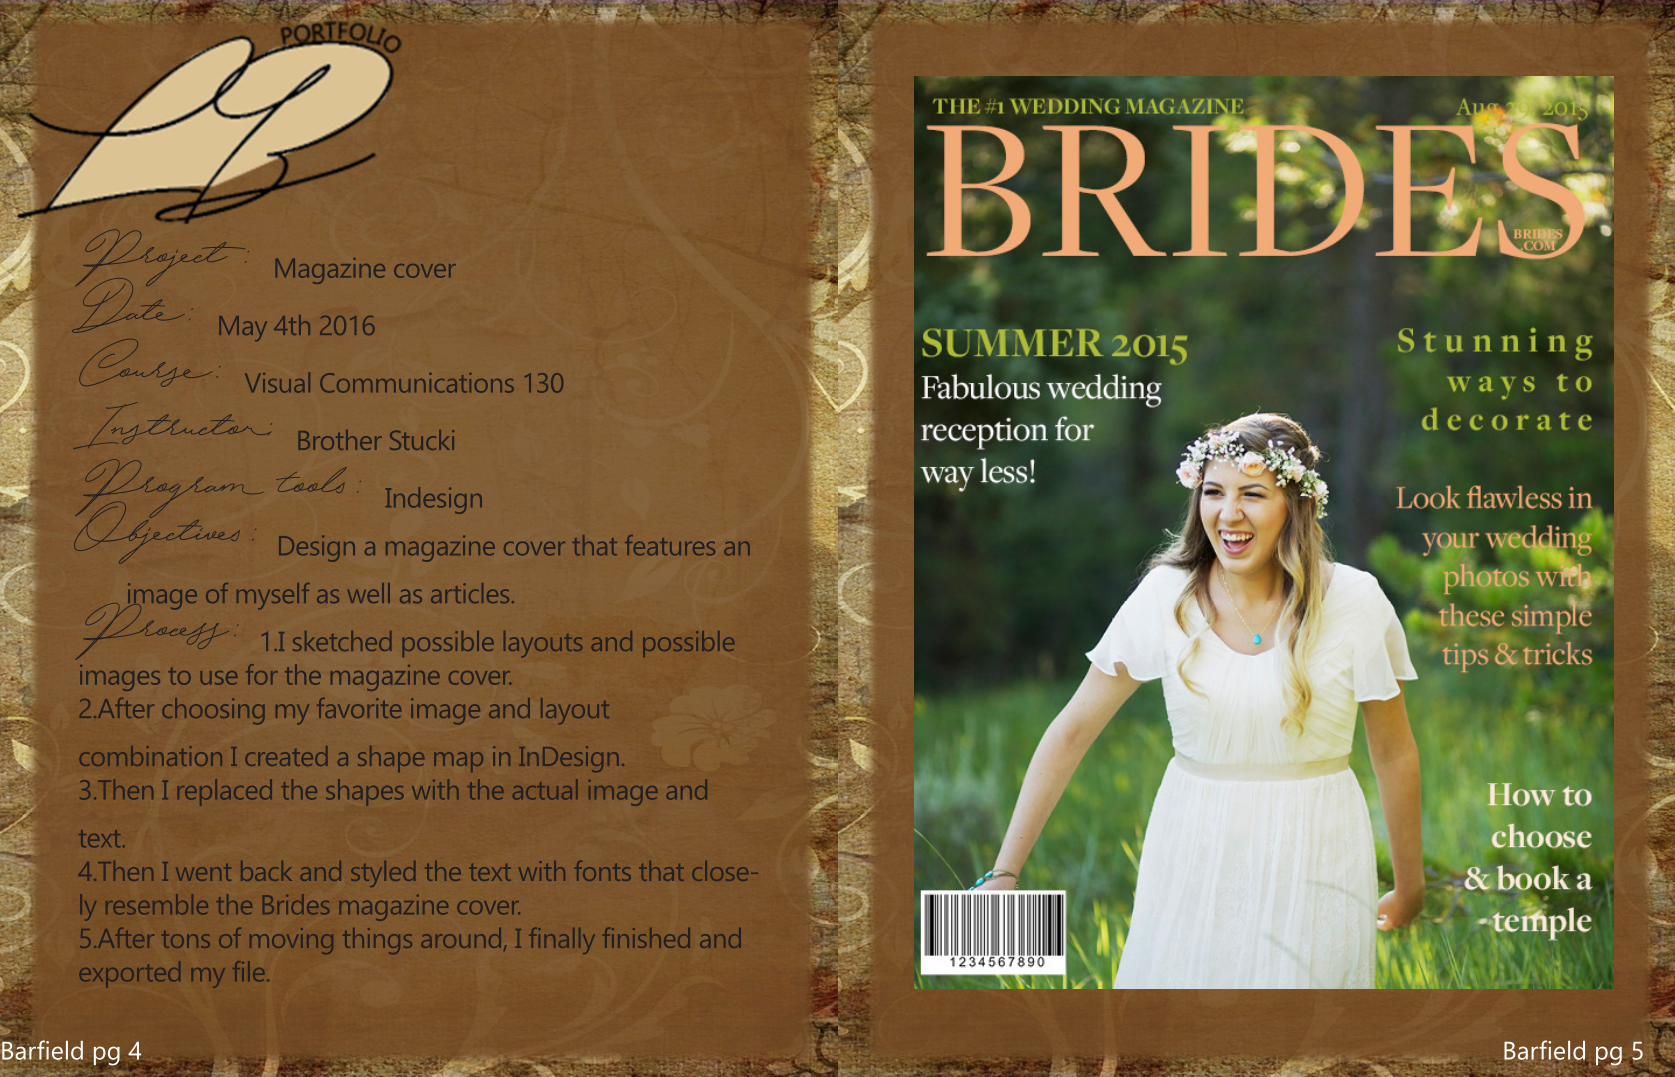
Project: Magazine cover
Date: May 4th 2016
Course: Visual Communications 130
Instructor: Brother Stucki
Program tools: Indesign
Objectives: Design a magazine cover that features an
image of myself as well as articles.
Process: 1.I sketched possible layouts and possible images to use for the magazine cover.2.After choosing my favorite image and layout
combination I created a shape map in InDesign.3.Then I replaced the shapes with the actual image and
text.4.Then I went back and styled the text with fonts that close-ly resemble the Brides magazine cover.5.After tons of moving things around, I finally finished and exported my file.

Barfield pg 6 Barfield pg 7
Project: Business Identity
Date: June 1st, 2016
Course: Visual Communications 130
Instructor: Brother Stucki
Program tools: Illustrator, & Indesign
Objectives: Create a logo for a company/service/orga-
nization and make a visual identification for your business.
Process: First I decided on what my pretend busi-ness would be. I chose photography because I am inter-ested in one day pursuing that as a side business. Second I decided I would like a Polaroid camera to be my logo. I grabbed my Polaroid camera to go by and started to cre-ate the shapes it’s made of in Illustrator. After designing my ideal logo, I came up with 3 other similar logos that could also be like what I wanted. After receiving feedback from my family and classmates I chose my logo and made a business card and letter based on that.

Barfield pg 8 Barfield pg 9
Project: Montage
Date: May 25th, 2016
Course: Visual Communications 130
Instructor: Brother Stucki
Program tools: Photoshop
Objectives: Design a montage with a spiritual mes-
sage that uses the blend of images and text.
Process: First I brainstormed a few quotes that I would like to use. I picked images for each quote and then decided which one I liked the best. After that I uploaded the photos and started playing around with them until they were placed where I wanted. Then I started to make them fade to the background to my liking. Lastly, I added the quote. After getting feedback, I fixed the black spots in my background photo, added the quote author’s name, and fixed one of the images.

Barfield pg 10 Barfield pg 11
Project: Web page mockup
Date: June 22nd, 2016
Course: Visual Communications 130
Instructor: Brother Stucki
Program tools: photoshop
Objectives: create a mock website for a company
Process: 1.I came up with 3 ideas by sketching them out2. I decided on one of them and created the shape map3. According to the shapemap I made the mock up website4. I posted it for critique

Barfield pg 12 Barfield pg 13
Project: Brochure Activity
Date: July 6th, 2016
Course: Visual Communications 130
Instructor: Brother Stucki
Program tools: Illustrator, Indesign, & photoshop
Objectives: Design a brochure for a company.
Process: 1. First I sketched out ideas on paper.2. I created my logo in illustrator.3. I created the shape of my brochure in illustrator.4. I chose the photos I would add to my brochure. (I didn’t add the photos because I am struggling with them in pho-toshop.)5. I put it all together in indesign.6. I went back and changed everything I didn’t like based on the feedback.7. I did a practice print and fixed more stuff
Barfield pg 14 Barfield pg 15
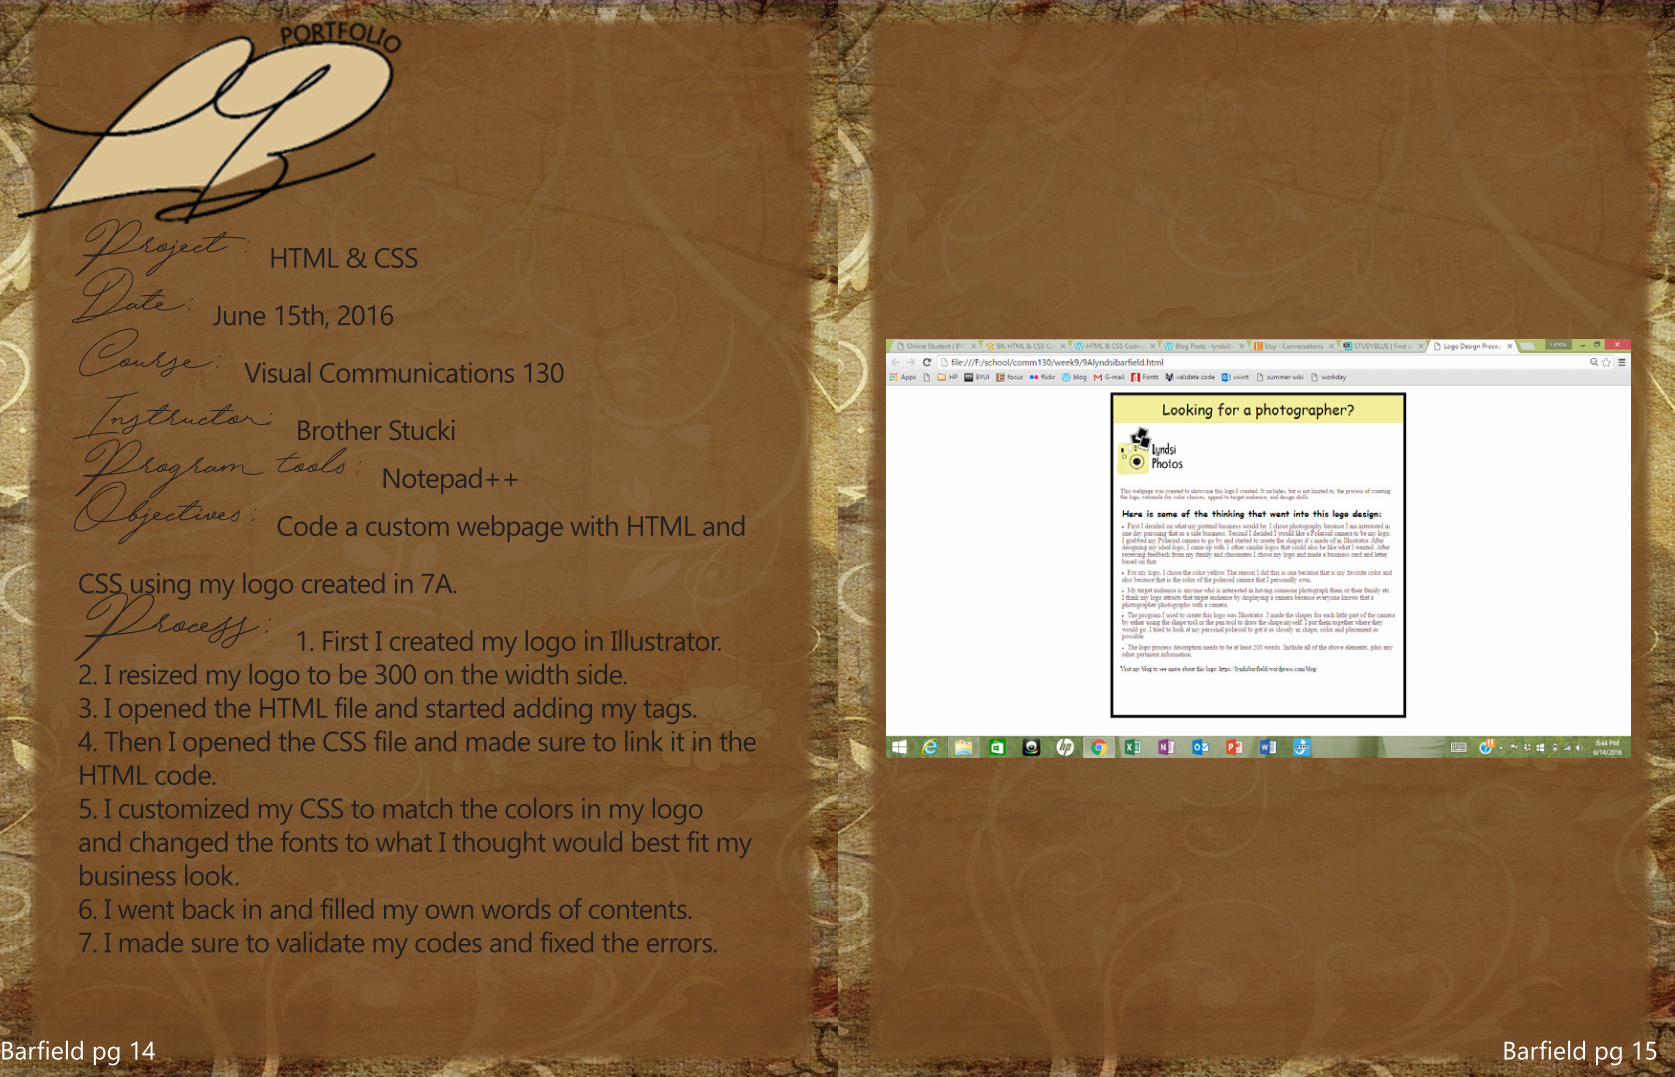
Project: HTML & CSS
Date: June 15th, 2016
Course: Visual Communications 130
Instructor: Brother Stucki
Program tools: Notepad++
Objectives: Code a custom webpage with HTML and
CSS using my logo created in 7A.
Process: 1. First I created my logo in Illustrator.2. I resized my logo to be 300 on the width side.3. I opened the HTML file and started adding my tags.4. Then I opened the CSS file and made sure to link it in the HTML code.5. I customized my CSS to match the colors in my logo and changed the fonts to what I thought would best fit my business look.6. I went back in and filled my own words of contents.7. I made sure to validate my codes and fixed the errors.

Barfield pg 16 Barfield pg 17
Project: Infographic
Date: June 8th, 2016
Course: Visual Communications 130
Instructor: Brother Stucki
Program tools: Illustrator
Objectives: Create an infographic that organizes data
in a visually pleasing way.
Process: I came up with a few topics and nar-rowed it down to Christmas. I looked up facts and numbers about Christmas. I made a list and decided which ones I would like to use.I designed graphics that would represent each fact best. I placed them where they should go and started laying out the design until I felt like it was complete.

Barfield pg 18 Barfield pg 19
Project: Prezi Presentation
Date: May 11th, 2016
Course: Visual Communications 130
Instructor: Brother Stucki
Program tools: Prezi.com
Objectives: Create a presentation giving instructions on something using the Prezi software to demonstrate it’s
features and capabilities.
Process: I started brainstorming for ideas of something I know how to do and enjoy doing. I decided I would give instructions on how to make fruit salad. I set up my camera and took pictures of myself doing every step it takes to make the fruit salad. Next I uploaded the pictures to my computer and edited them briefly in lightroom.I chose a background off of a google that would best fit my topic which I decided would be a kitchen since that’s where I made the dessert.

Barfield pg 20 Barfield pg 21
Project: Photo design
Date: May 18th, 2016
Course: Visual Communications 130
Instructor: Brother Stucki
Program tools: photoshop
Objectives: Using photography and design skills and
a consistent color scheme to create a photo design.
Process: I chose a color scheme based on an idea for an image I had. I chose complimentary scheme for the red train and green grass. I went to the park and took the picture. I tried to get a shot with good composition and depth of field. Next I edited the image in lightroom. After that I decided to sketch out an idea plan for the design. Then I designed and played around with it in photoshop till I was happy with it.