making prosciutto from scratch
DESCRIPTION
Traditional methods for dry curing ham and pork and how to make Prosciutto de Parma. Easy to understand and to follow. Delicious results!TRANSCRIPT

THE BASIC TECHNIQUE OF CURING A HAM – PROSCIUTTO CRUDO
The basic technique of curing a ham
When I was a child my mother would take my grandparents on a pilgrimage to Georgia each year in the fall during our Thanksgiving holiday. Grandmother would pack the car with homemade jams and jellies. Grandfather would fill the trunk (boot) with oranges, tangerines and grapefruit from his garden. After the car was loaded we would all climb in and set off for my grandparents birth place to visit my great aunts and uncles. For me it was always a great adventure, tucked in the back seat between my grandparents, who I adored, listening to their tales of days gone by, the six hour trip was quite enjoyable. When we arrived at our destination my grandmother’s sisters were always waiting for us. Dinner had been prepared, the table had been set and the house was always full of delicious fragrance of pecan pies, cooked home cured ham and buttermilk biscuits. My great aunt Mary had a pecan farm outside of town where her family cured their own hams each fall. They salted and then smoked the hams in a small wooden building. As a child I was fascinated with the smoke house. It was in the yard near the main house. The building was perhaps 10 X 10 feet square made of logs. It had a dirt floor where a small smoky fire was built. Above my head were rows of hams tied to wooden beams. We went to the farm every year for pecans just before returning home. Large sacks of nuts were put in the car where the oranges had been on the way up. These nuts would be divided among our family when we returned to Florida, Christmas pies and cakes would be made.
I came across home cured hams again while living in Italy. The Italians are famous for their prosciutto crudo, a ham air dried without smoking. A few old timers still cure their own hams, however the art of curing hams has been shifted to mostly large industrial processors today. My husband remembers his grandfather curing hams when he was a child. There were always a couple of prosciutto hams aging from the rafters along with coppa and pancetta.
Three years ago my husband and I decided to try making our own prosciutto crudo. After a great deal of research we succeeded in making our first home cured ham. I have to say there is a lot of satisfaction in curing your own meat. The long wait from the first salting until the first slice is well worth it. At the end of November, when the temperature hovers just above freezing it is time to start preparing a ham. This is how we do it.
The 8 Steps to Prosciutto Crudo
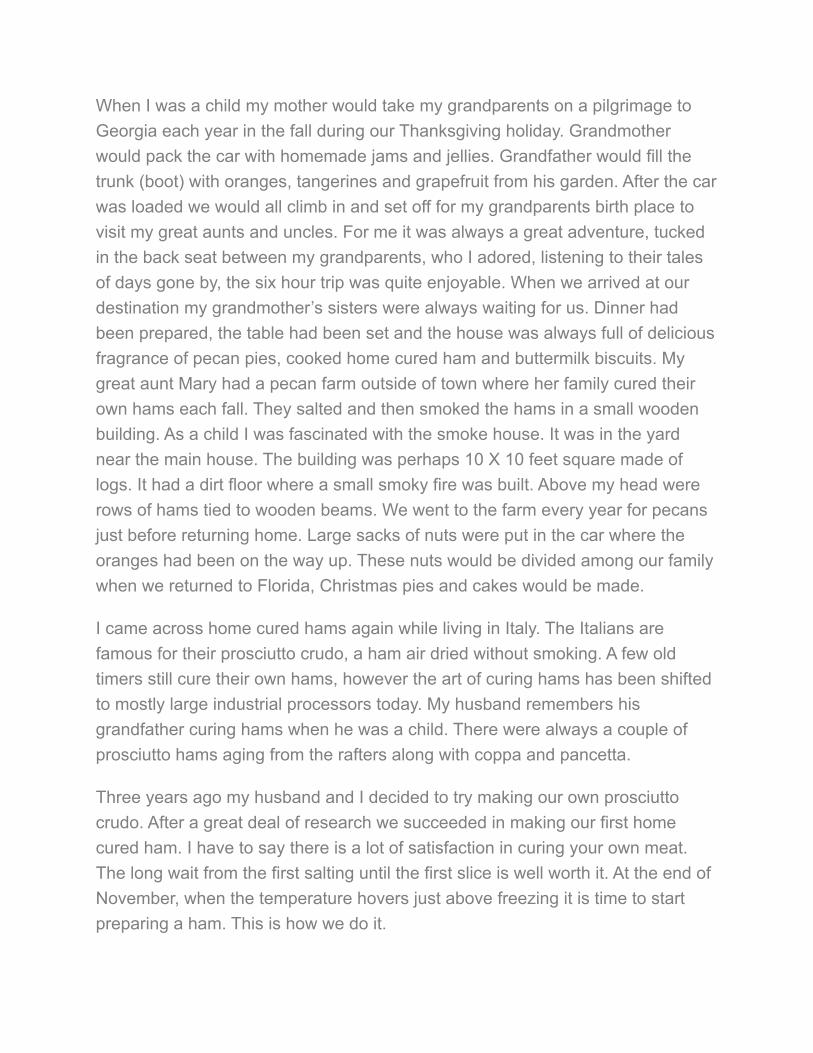
Step 1: Choose your ham wisely.
The hind quarter is the most valuable part of the animal. You will be making a substantial investment so do it with care. Choose a beast that weighs in at around 300 pounds or 150 kilos., larger animals are fat and flabby . The hind quarter should weigh around 25 to 35 pounds 12 to 16 kg. when you begin. The entire hind quarter should be intact, including the foot, skin and bones.
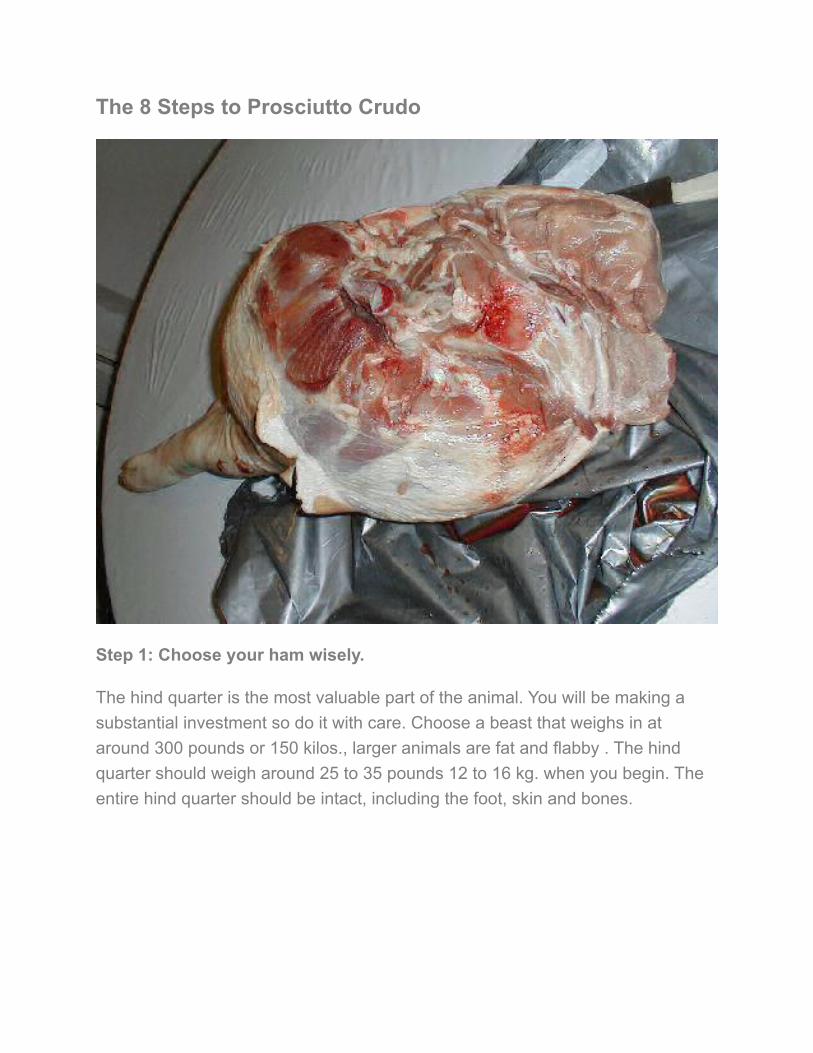
Trim the skin and fatStep 2: Preparing the ham for curing.
We begin by cutting off some of the skin and fat from the top of the ham. The top of the ham is the large portion or thigh, the bottom is the foot. Be careful not to
remove too much of the fat. Leave a thin layer of fat on the rump. The skin should be removed from only on quarter or one third of the rump. It is not necessary to remove the hip bone but if you do be careful not to damage the femur, the round ball end of the leg bone. Cut away any small loose pieces of meat and round off the top of the thigh so that it is uniform in width to the rest of the ham.
Step 3: Pressing the femoral artery.
Once you have shaped your ham proceed by squeezing the femoral artery with a movement from top to bottom. Pressing the thumbs from the top part of the ham tapering down the arch of the thigh to the foot. This should rid the artery of any blood. The blood should be washed away.
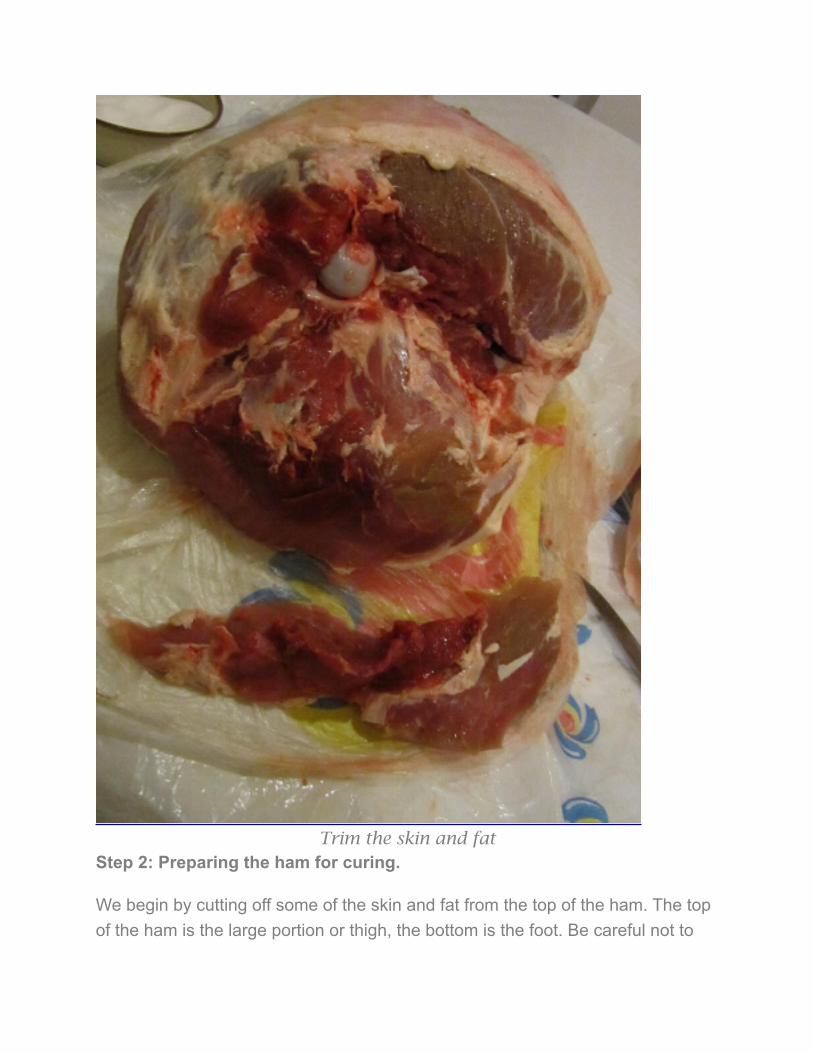
Salt the rindStep 4: The first salting
The salting is the most important step in curing meat. Use only unrefined salt. Never use table salt, which has additives, or iodized salt. The USFDA
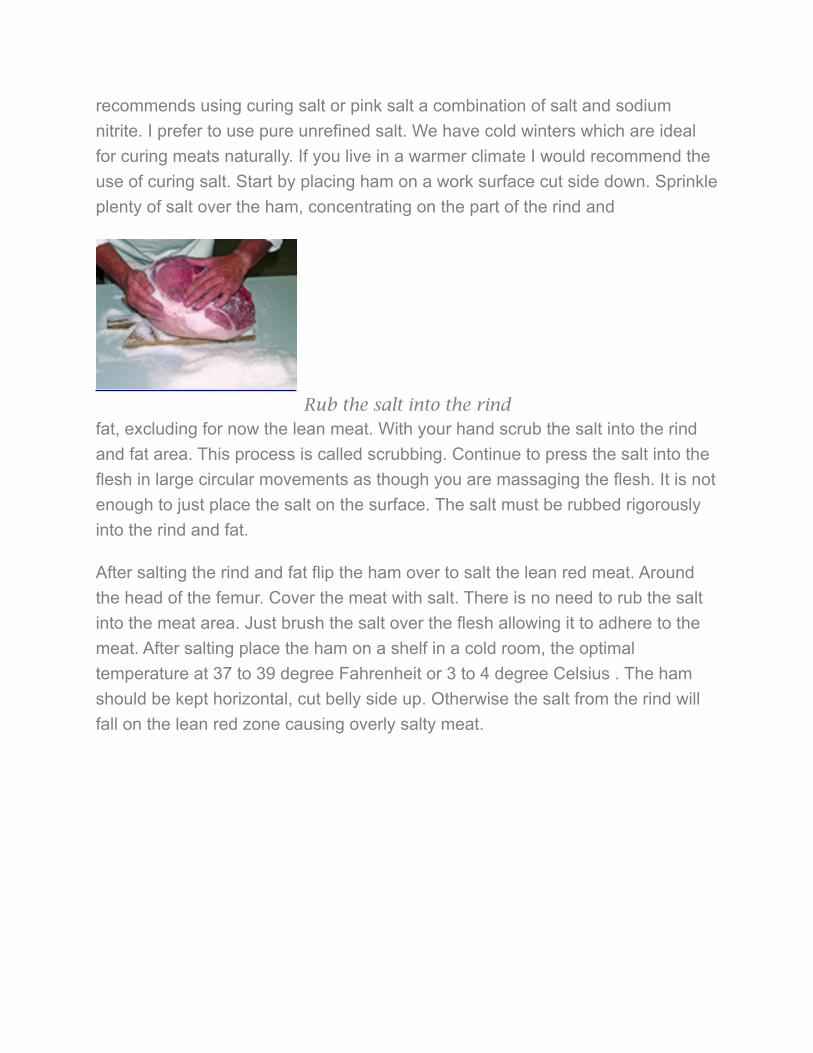
recommends using curing salt or pink salt a combination of salt and sodium nitrite. I prefer to use pure unrefined salt. We have cold winters which are ideal for curing meats naturally. If you live in a warmer climate I would recommend the use of curing salt. Start by placing ham on a work surface cut side down. Sprinkle plenty of salt over the ham, concentrating on the part of the rind and
Rub the salt into the rindfat, excluding for now the lean meat. With your hand scrub the salt into the rind and fat area. This process is called scrubbing. Continue to press the salt into the flesh in large circular movements as though you are massaging the flesh. It is not enough to just place the salt on the surface. The salt must be rubbed rigorously into the rind and fat.
After salting the rind and fat flip the ham over to salt the lean red meat. Around the head of the femur. Cover the meat with salt. There is no need to rub the salt into the meat area. Just brush the salt over the flesh allowing it to adhere to the meat. After salting place the ham on a shelf in a cold room, the optimal temperature at 37 to 39 degree Fahrenheit or 3 to 4 degree Celsius . The ham should be kept horizontal, cut belly side up. Otherwise the salt from the rind will fall on the lean red zone causing overly salty meat.
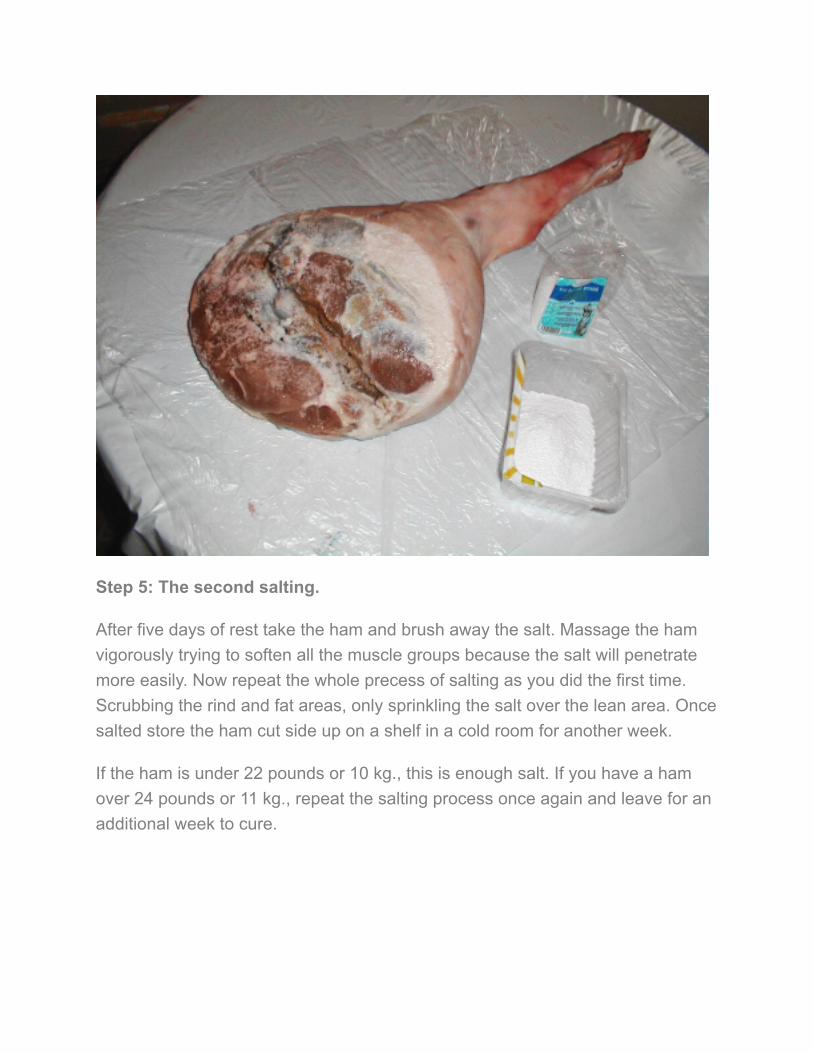
Step 5: The second salting.
After five days of rest take the ham and brush away the salt. Massage the ham vigorously trying to soften all the muscle groups because the salt will penetrate more easily. Now repeat the whole precess of salting as you did the first time. Scrubbing the rind and fat areas, only sprinkling the salt over the lean area. Once salted store the ham cut side up on a shelf in a cold room for another week.
If the ham is under 22 pounds or 10 kg., this is enough salt. If you have a ham over 24 pounds or 11 kg., repeat the salting process once again and leave for an additional week to cure.
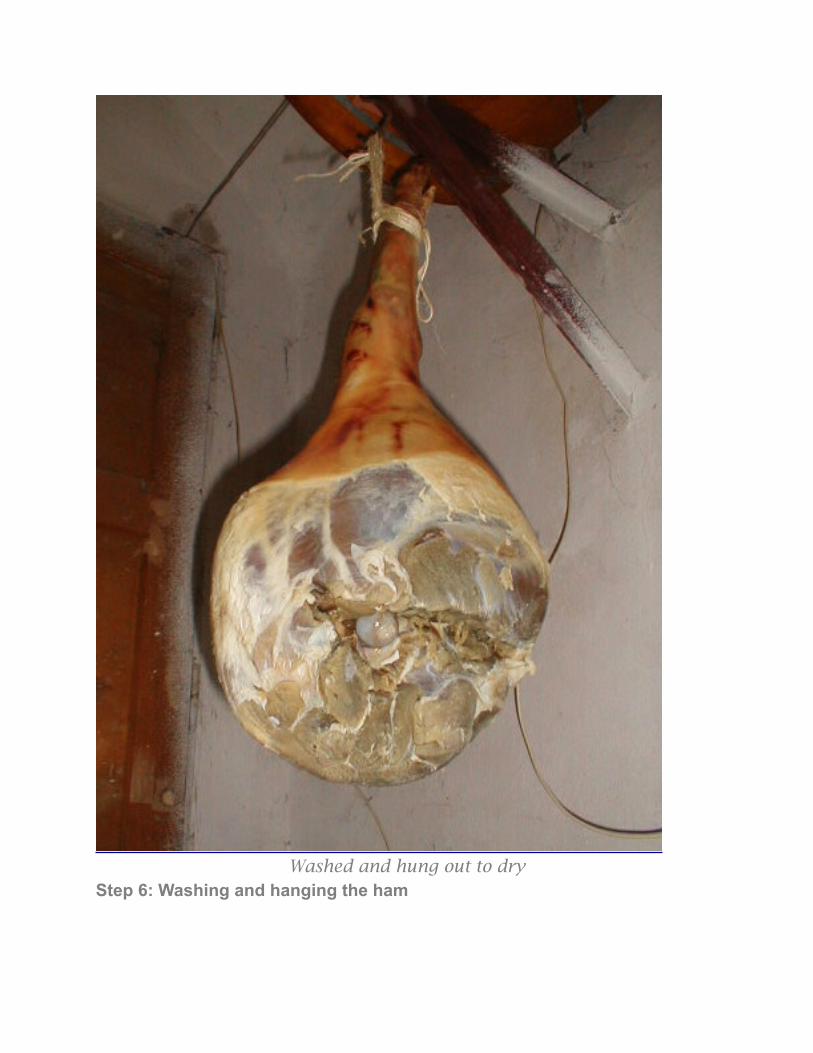
Washed and hung out to dryStep 6: Washing and hanging the ham
About 21 to 24 days have elapsed from the first salting. At this point the ham is taken up, the salt is shaken or brushed off and the ham is washed in warm water to remove all the salt that remains on the surface of the ham. After washing and drying with a cloth, the foot is tied at the ankle with a piece of sturdy rope and the ham is hung in a cold ventilated (breezy) room for curing. The ham can be loosely covered with a piece of cotton cloth to keep it clean. Do not cover the ham with plastic as it is very important for the air to circulate around the ham. You need to pay close attention that the temperature does not exceed 42 degree Fahrenheit or 6 degree Celsius for the first two months of curing. Also be on the look out for damage from flies. The ham is the most vulnerable during this period. After two months test the consistency of the flesh with your finger. If the ham has started to harden it is time to lard. The flesh should be firm and dry to the touch.
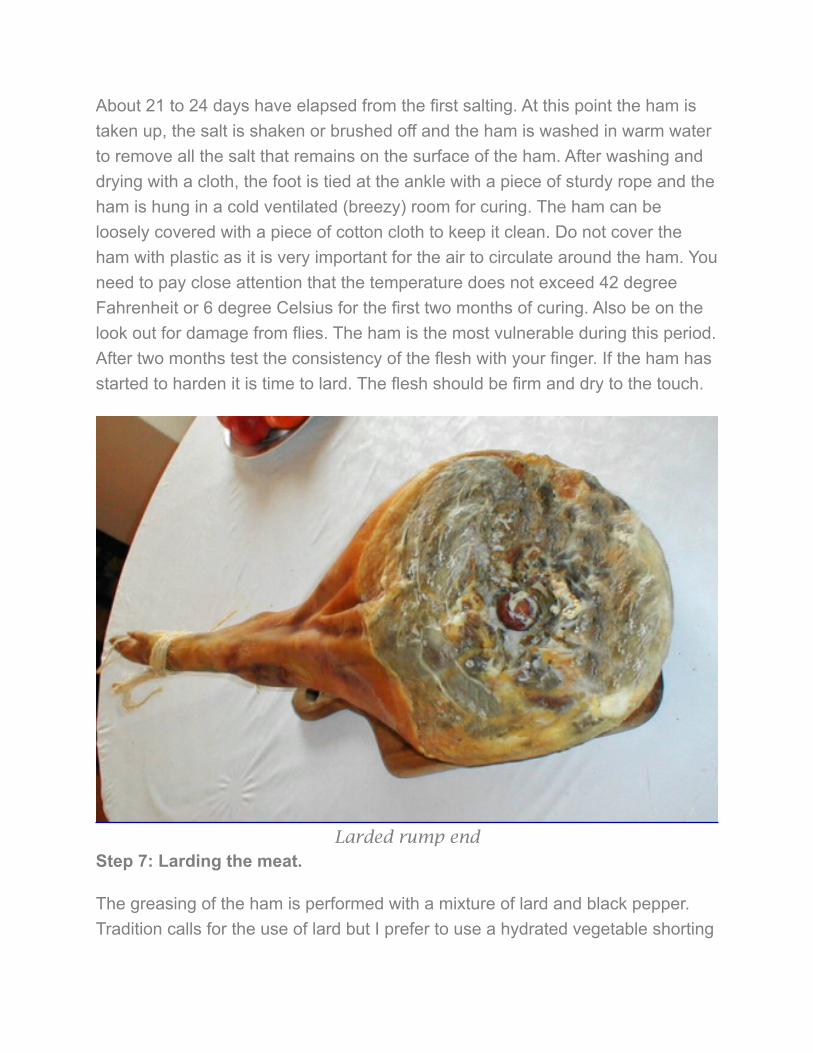
Larded rump endStep 7: Larding the meat.
The greasing of the ham is performed with a mixture of lard and black pepper. Tradition calls for the use of lard but I prefer to use a hydrated vegetable shorting

since lard has a tendency to go rancid. Cover the red zone with this mixture paying attention to the femoral head of the bone and any cracks that form. Cover the rope and the tip of the bone at the ankle. You do not need to cover the rind. The purpose of greasing is to prevent cracks from forming in the flesh. Greasing keeps the outer layer subtle preventing it from hardening. Greasing the ham too soon will cause the insides to remain too soft with the risk of ruining the success of the cure. So if you are unsure of the proper hardness, better a little too long than too early.
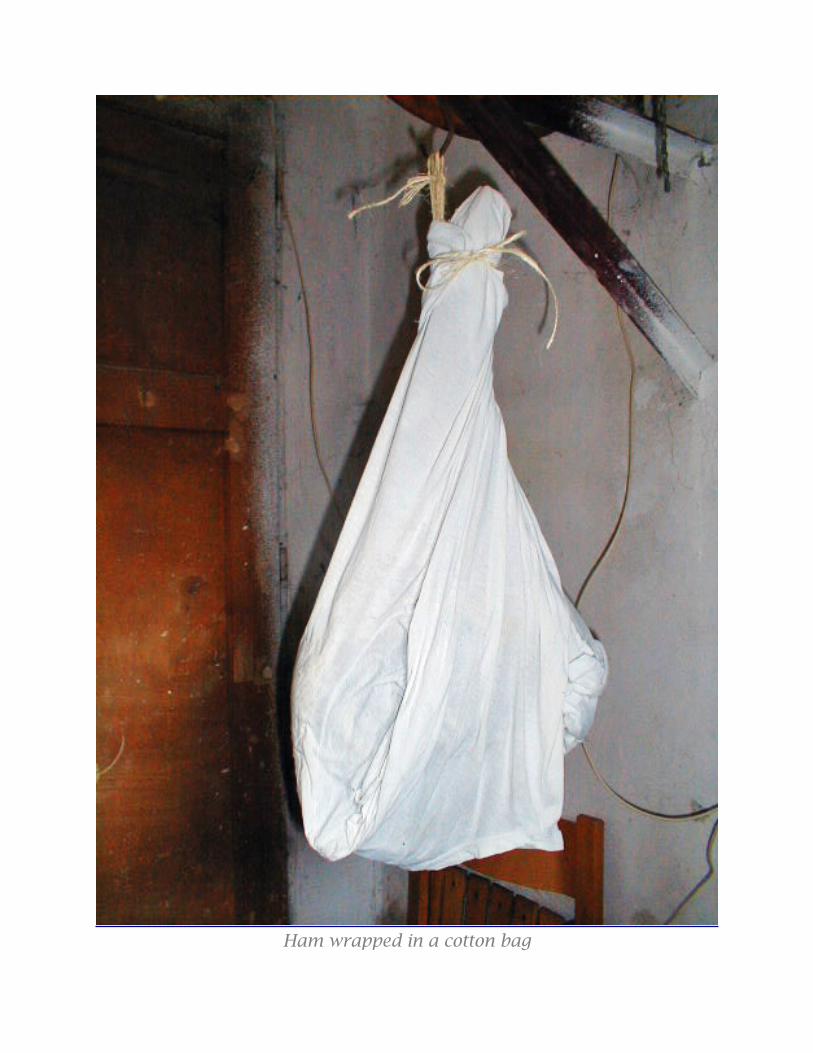
Ham wrapped in a cotton bag
Step 8: Hanging the ham until cured
At this point the ham is hung for about eleven months and checked every now and then. The grease and pepper mixture will be absorbed into the ham. The surface will remain a little oily and a few small cracks will appear. If any cracks become larger than your little finger fill the crack with more grease but don’t cover the entire end with grease. Doing this will delay the aging process. At this stage you are no longer in winter. The ham has cured for several months during which the temperature has slowly increased. The ham can withstand temperatures up to 57 to 60 degrees Fahrenheit or 14 to 16 degrees Celsius without spoiling. If you live in a warm climate move your ham to a fridge or a cellar, as a suitable environment to finish the cure. Also check your ham for any sign of insects or mold. If you see any insect damage cut away that section of ham. Wipe down any moldy areas with wine or vinegar. When the ham has reached the end of the curing season, you can test the cure by inserting an instrument called a needle. Traditionally made from a bone of a horse or porcupine pen, I use a bamboo skewer. Sticking it close to the femoral artery, near the bone, withdrawing it and smelling it, you can understand if the cure was successful. If the smell is good, everything went well. If it smells bad, then something went wrong. This does not necessarily mean that you have to throw away the entire ham. Depending on the depth and location of the problem it can simply be cut out. The rest of the ham can be saved. This would be an extreme case, statistically rare, however it is important to point it out.
If all goes well, you will be rewarded with the satisfaction of knowing that you succeeded in curing your own ham. Call a few friends, slice your prosciutto in paper then strips, open a bottle of vintage wine and enjoy.