manual xsarius satmeter pro - xsarius | made to enjoy
TRANSCRIPT
1
ManualXsarius Satmeter Pro

2 3
2 3
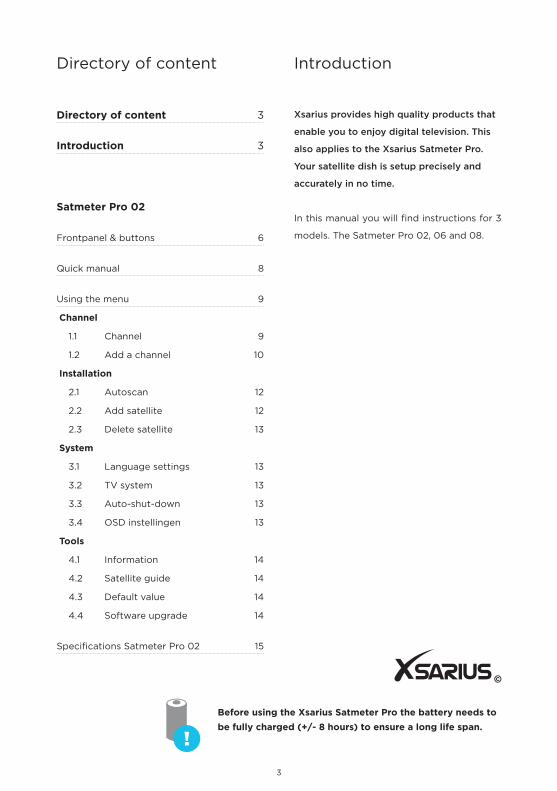
Directory of content Introduction
Directory of content 3
Introduction 3
Satmeter Pro 02
Frontpanel & buttons 6
Quick manual 8
Using the menu 9
Channel
1.1 Channel 9
1.2 Add a channel 10
Installation
2.1 Autoscan 12
2.2 Add satellite 12
2.3 Delete satellite 13
System
3.1 Language settings 13
3.2 TV system 13
3.3 Auto-shut-down 13
3.4 OSD instellingen 13
Tools
4.1 Information 14
4.2 Satellite guide 14
4.3 Default value 14
4.4 Software upgrade 14
Specifications Satmeter Pro 02 15
Xsarius provides high quality products that
enable you to enjoy digital television. This
also applies to the Xsarius Satmeter Pro.
Your satellite dish is setup precisely and
accurately in no time.
In this manual you will find instructions for 3
models. The Satmeter Pro 02, 06 and 08.
Before using the Xsarius Satmeter Pro the battery needs to be fully charged (+/- 8 hours) to ensure a long life span.

Satmeter Pro 02
6 7
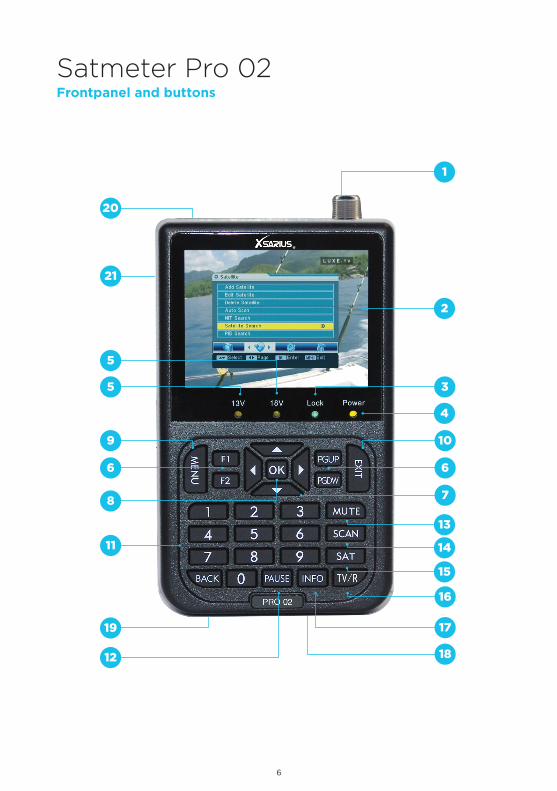
Satmeter Pro 02Frontpanel and buttons
21
20
18
19
1
2
4
6
7
15
16
14
13
6
11
3
17
12
5
9
5
8
10
6 7
1
2
3
4
5
6
7
8
9
10
11
12
13
14
15
16
17
18
19
20
21
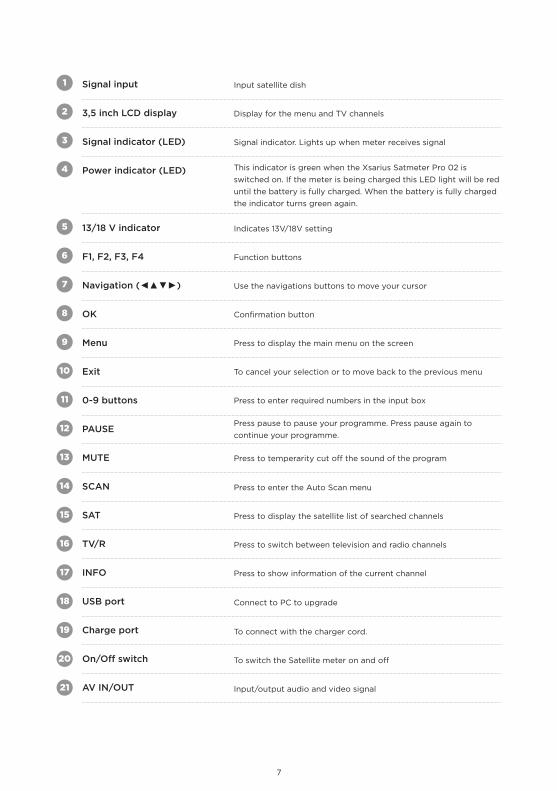
Signal input
3,5 inch LCD display
Signal indicator (LED)
Power indicator (LED)
13/18 V indicator
F1, F2, F3, F4
Navigation (◄▲▼►)
OK
Menu
Exit
0-9 buttons
PAUSE
MUTE
SCAN
SAT
TV/R
INFO
USB port
Charge port
On/Off switch
AV IN/OUT
Input satellite dish
Display for the menu and TV channels
Signal indicator. Lights up when meter receives signal
This indicator is green when the Xsarius Satmeter Pro 02 is switched on. If the meter is being charged this LED light will be red until the battery is fully charged. When the battery is fully charged the indicator turns green again.
Indicates 13V/18V setting
Function buttons
Use the navigations buttons to move your cursor
Confirmation button
Press to display the main menu on the screen
To cancel your selection or to move back to the previous menu
Press to enter required numbers in the input box
Press pause to pause your programme. Press pause again to continue your programme.
Press to temperarity cut off the sound of the program
Press to enter the Auto Scan menu
Press to display the satellite list of searched channels
Press to switch between television and radio channels
Press to show information of the current channel
Connect to PC to upgrade
To connect with the charger cord.
To switch the Satellite meter on and off
Input/output audio and video signal
8 9
Quick manual
Connect the Satmeter Pro 02 to your satellite dish and switch on the meter. Press the “Menu”
button to open the menu.
If their is no desired channel list set up, continue to the next step (step 1). In case a desire channeld
list is already set up continue this quickmanual at step 2.
1
2
Creating a desired channel list
(A) Open the main menu and select the option “Add Channel”. Now press “OK”. Use
the navigation buttons (◄▲▼►) to select the option “Edit Satellite”. Fill in the LNB
parameters. Press “Exit” or “Menu” to head back to the previous menu. In case their
are already useable transponders available select the desired parameter. To add a
transponder select the option “Add TP” in the menu. Your required to fill in the TP
Frequency, Symbol rate and polarity.
(B) The Xsarius Satmeter Pro 02 shows the signalstrenght and quality. Setup your
satellite dish based on the information the Xsarius Satmeter Pro provides. Your satellite
dish is aligned properly when both signal strenght as quality indicates max.
(Note! Signal intensity needs to be set to maximum when you align your satellite dish)
Selecting the desired channel list
Select the desired channel list. Use the navigation buttons (◄▲▼►) to select a channel.
Now press the “Info” button to show information about the selected channel. If the
signal strength and quality are not optimal, you can follow step 1B. Check if the the LNB
frequency is correct before proceeding to step 1B.
8 9
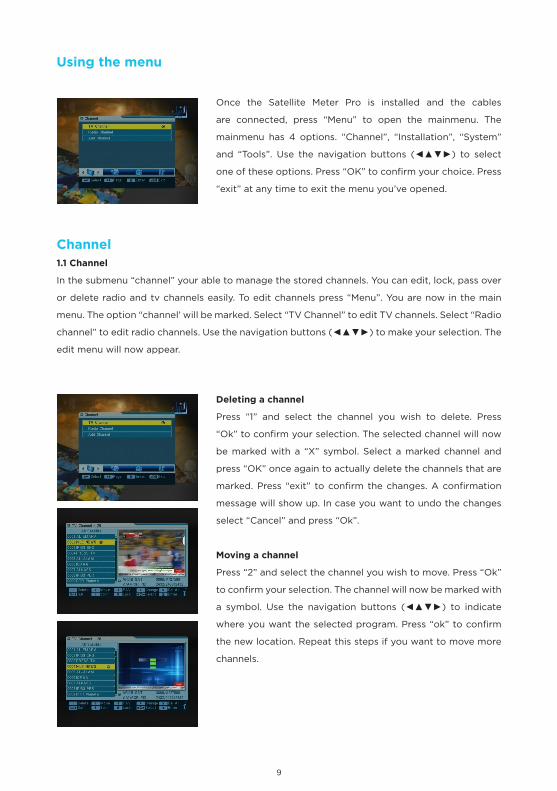
Using the menu
Once the Satellite Meter Pro is installed and the cables
are connected, press “Menu” to open the mainmenu. The
mainmenu has 4 options. “Channel”, “Installation”, “System”
and “Tools”. Use the navigation buttons (◄▲▼►) to select
one of these options. Press “OK” to confirm your choice. Press
“exit” at any time to exit the menu you’ve opened.
Channel1.1 Channel
In the submenu “channel” your able to manage the stored channels. You can edit, lock, pass over
or delete radio and tv channels easily. To edit channels press “Menu”. You are now in the main
menu. The option “channel’ will be marked. Select “TV Channel” to edit TV channels. Select “Radio
channel” to edit radio channels. Use the navigation buttons (◄▲▼►) to make your selection. The
edit menu will now appear.
Deleting a channel
Press “1” and select the channel you wish to delete. Press
“Ok” to confirm your selection. The selected channel will now
be marked with a “X” symbol. Select a marked channel and
press “OK” once again to actually delete the channels that are
marked. Press “exit” to confirm the changes. A confirmation
message will show up. In case you want to undo the changes
select “Cancel” and press “Ok”.
Moving a channel
Press “2” and select the channel you wish to move. Press “Ok”
to confirm your selection. The channel will now be marked with
a symbol. Use the navigation buttons (◄▲▼►) to indicate
where you want the selected program. Press “ok” to confirm
the new location. Repeat this steps if you want to move more
channels.
10 11
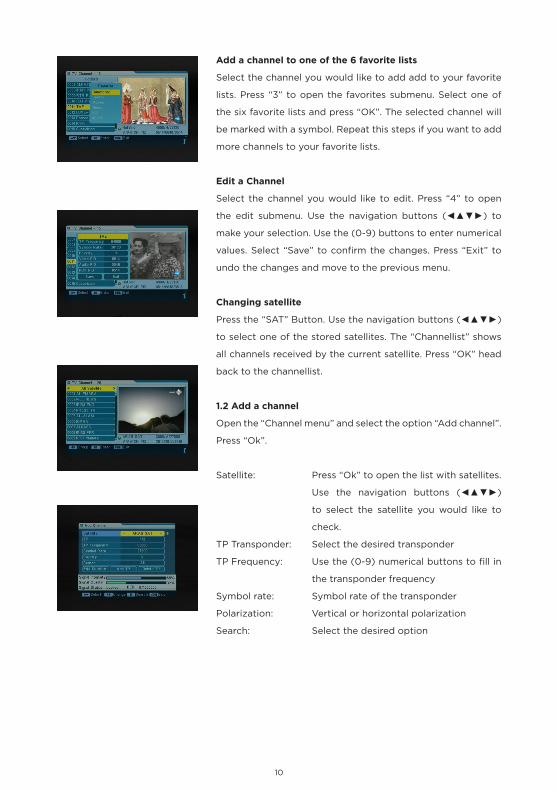
Add a channel to one of the 6 favorite lists
Select the channel you would like to add add to your favorite
lists. Press “3” to open the favorites submenu. Select one of
the six favorite lists and press “OK”. The selected channel will
be marked with a symbol. Repeat this steps if you want to add
more channels to your favorite lists.
Edit a Channel
Select the channel you would like to edit. Press “4” to open
the edit submenu. Use the navigation buttons (◄▲▼►) to
make your selection. Use the (0-9) buttons to enter numerical
values. Select “Save” to confirm the changes. Press “Exit” to
undo the changes and move to the previous menu.
Changing satellite
Press the “SAT” Button. Use the navigation buttons (◄▲▼►)
to select one of the stored satellites. The “Channellist” shows
all channels received by the current satellite. Press “OK” head
back to the channellist.
1.2 Add a channel
Open the “Channel menu” and select the option “Add channel”.
Press “Ok”.
Satellite: Press “Ok” to open the list with satellites.
Use the navigation buttons (◄▲▼►)
to select the satellite you would like to
check.
TP Transponder: Select the desired transponder
TP Frequency: Use the (0-9) numerical buttons to fill in
the transponder frequency
Symbol rate: Symbol rate of the transponder
Polarization: Vertical or horizontal polarization
Search: Select the desired option
10 11
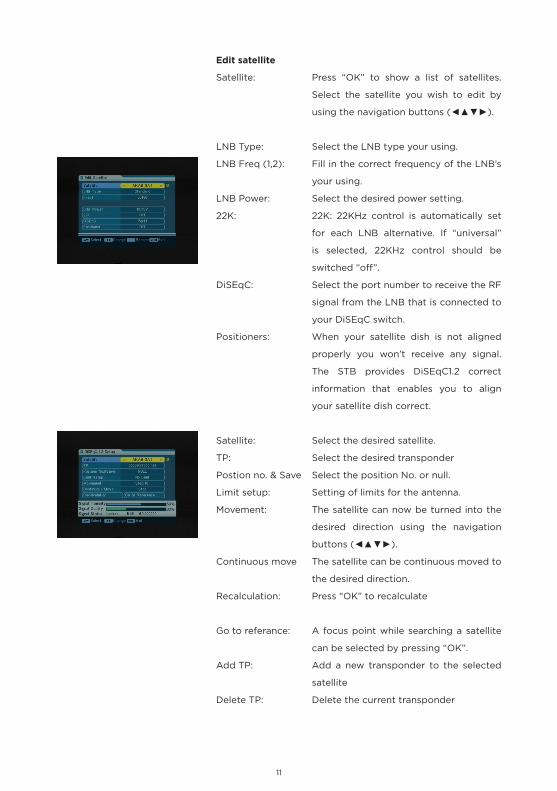
Edit satellite
Satellite: Press “OK” to show a list of satellites.
Select the satellite you wish to edit by
using the navigation buttons (◄▲▼►).
LNB Type: Select the LNB type your using.
LNB Freq (1,2): Fill in the correct frequency of the LNB’s
your using.
LNB Power: Select the desired power setting.
22K: 22K: 22KHz control is automatically set
for each LNB alternative. If “universal”
is selected, 22KHz control should be
switched “off”.
DiSEqC: Select the port number to receive the RF
signal from the LNB that is connected to
your DiSEqC switch.
Positioners: When your satellite dish is not aligned
properly you won’t receive any signal.
The STB provides DiSEqC1.2 correct
information that enables you to align
your satellite dish correct.
Satellite: Select the desired satellite.
TP: Select the desired transponder
Postion no. & Save Select the position No. or null.
Limit setup: Setting of limits for the antenna.
Movement: The satellite can now be turned into the
desired direction using the navigation
buttons (◄▲▼►).
Continuous move The satellite can be continuous moved to
the desired direction.
Recalculation: Press “OK” to recalculate
Go to referance: A focus point while searching a satellite
can be selected by pressing “OK”.
Add TP: Add a new transponder to the selected
satellite
Delete TP: Delete the current transponder
12 13
Installation2.1 Autoscan
(1) Select autoscan and press “OK” to open the autoscan menu.
(2) Press “OK” to open the satellite list. Now select the satellite
you would like to scan for. Your selection will be marked
with a “X” symbol. Select the desired modus and press
“OK” to start automatic scanning. It is also possible to reset
the current satellite by opening the “Edit Satellite” menu.
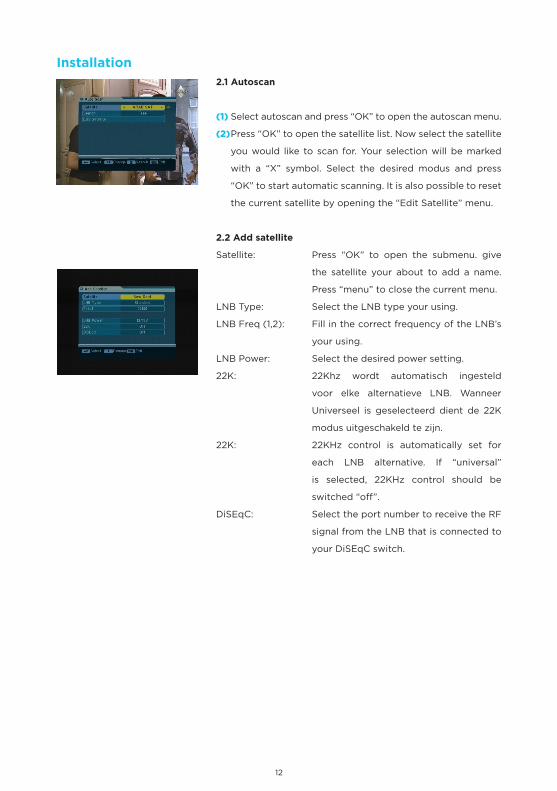
2.2 Add satellite
Satellite: Press “OK” to open the submenu. give
the satellite your about to add a name.
Press “menu” to close the current menu.
LNB Type: Select the LNB type your using.
LNB Freq (1,2): Fill in the correct frequency of the LNB’s
your using.
LNB Power: Select the desired power setting.
22K: 22Khz wordt automatisch ingesteld
voor elke alternatieve LNB. Wanneer
Universeel is geselecteerd dient de 22K
modus uitgeschakeld te zijn.
22K: 22KHz control is automatically set for
each LNB alternative. If “universal”
is selected, 22KHz control should be
switched “off”.
DiSEqC: Select the port number to receive the RF
signal from the LNB that is connected to
your DiSEqC switch.
12 13
System
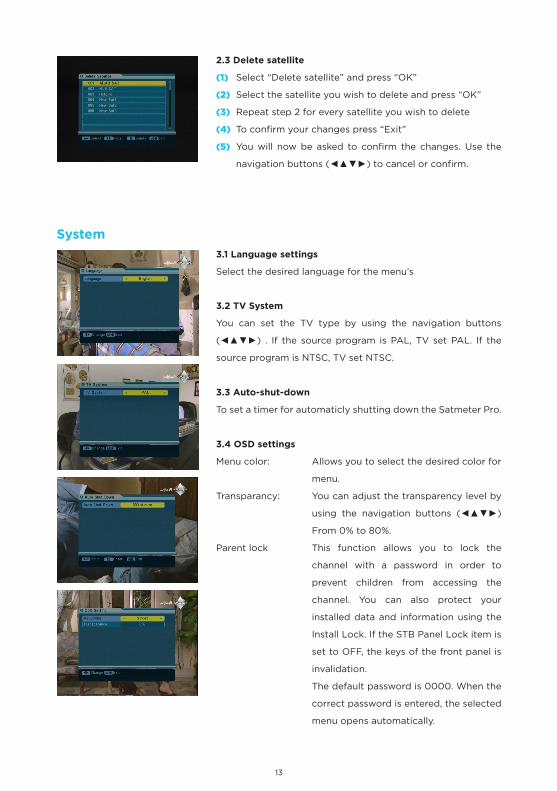
2.3 Delete satellite
(1) Select “Delete satellite” and press “OK”
(2) Select the satellite you wish to delete and press “OK”
(3) Repeat step 2 for every satellite you wish to delete
(4) To confirm your changes press “Exit”
(5) You will now be asked to confirm the changes. Use the
navigation buttons (◄▲▼►) to cancel or confirm.
3.1 Language settings
Select the desired language for the menu’s
3.2 TV System
You can set the TV type by using the navigation buttons
(◄▲▼►) . If the source program is PAL, TV set PAL. If the
source program is NTSC, TV set NTSC.
3.3 Auto-shut-down
To set a timer for automaticly shutting down the Satmeter Pro.
3.4 OSD settings
Menu color: Allows you to select the desired color for
menu.
Transparancy: You can adjust the transparency level by
using the navigation buttons (◄▲▼►)
From 0% to 80%.
Parent lock This function allows you to lock the
channel with a password in order to
prevent children from accessing the
channel. You can also protect your
installed data and information using the
Install Lock. If the STB Panel Lock item is
set to OFF, the keys of the front panel is
invalidation.
The default password is 0000. When the
correct password is entered, the selected
menu opens automatically.
14 15
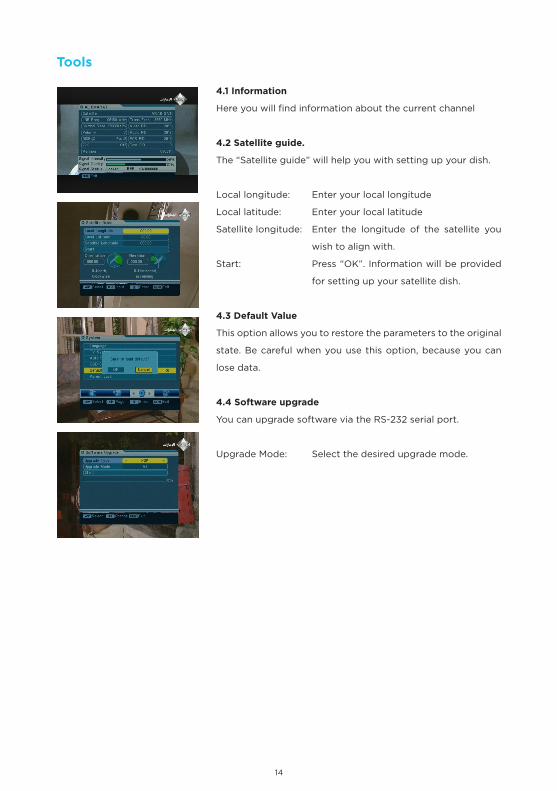
4.1 Information
Here you will find information about the current channel
4.2 Satellite guide.
The “Satellite guide” will help you with setting up your dish.
Local longitude: Enter your local longitude
Local latitude: Enter your local latitude
Satellite longitude: Enter the longitude of the satellite you
wish to align with.
Start: Press “OK”. Information will be provided
for setting up your satellite dish.
4.3 Default Value
This option allows you to restore the parameters to the original
state. Be careful when you use this option, because you can
lose data.
4.4 Software upgrade
You can upgrade software via the RS-232 serial port.
Upgrade Mode: Select the desired upgrade mode.
Tools
14 15
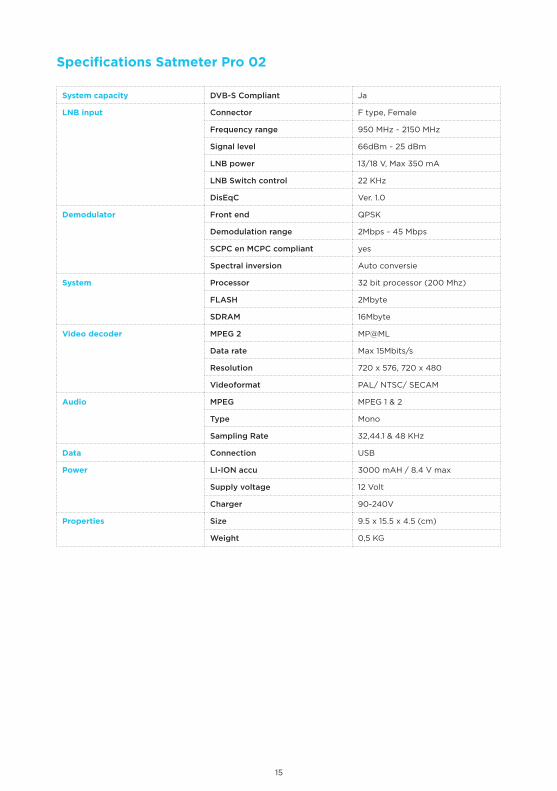
Specifications Satmeter Pro 02
System capacity DVB-S Compliant Ja
LNB input Connector F type, Female
Frequency range 950 MHz ~ 2150 MHz
Signal level 66dBm ~ 25 dBm
LNB power 13/18 V, Max 350 mA
LNB Switch control 22 KHz
DisEqC Ver. 1.0
Demodulator Front end QPSK
Demodulation range 2Mbps ~ 45 Mbps
SCPC en MCPC compliant yes
Spectral inversion Auto conversie
System Processor 32 bit processor (200 Mhz)
FLASH 2Mbyte
SDRAM 16Mbyte
Video decoder MPEG 2 MP@ML
Data rate Max 15Mbits/s
Resolution 720 x 576, 720 x 480
Videoformat PAL/ NTSC/ SECAM
Audio MPEG MPEG 1 & 2
Type Mono
Sampling Rate 32,44.1 & 48 KHz
Data Connection USB
Power LI-ION accu 3000 mAH / 8.4 V max
Supply voltage 12 Volt
Charger 90-240V
Properties Size 9.5 x 15.5 x 4.5 (cm)
Weight 0,5 KG

36
www.xsarius.com