meaningful art for all children - svrcsvrc.vic.edu.au/wp-content/resources/plmeaningfulart.pdf ·...
TRANSCRIPT
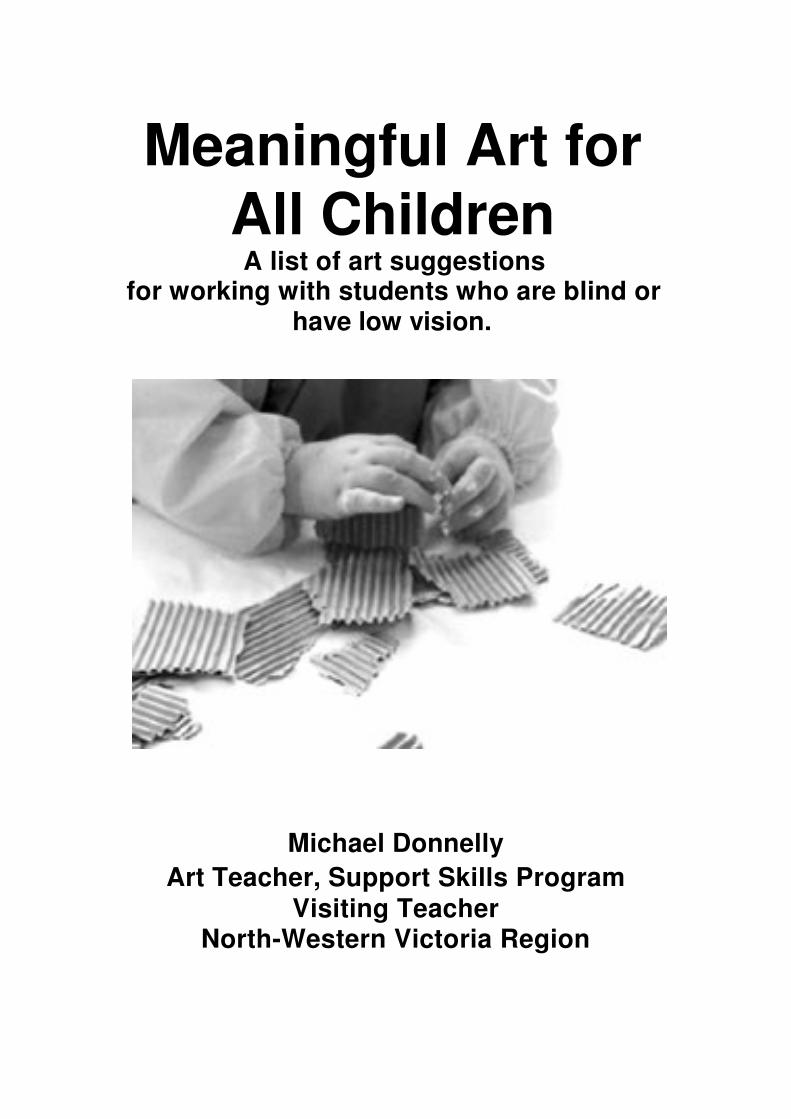
Meaningful Art for
All Children
A list of art suggestions
for working with students who are blind or
have low vision.
Michael Donnelly
Art Teacher, Support Skills Program Visiting Teacher
North-Western Victoria Region
Contents The Art Room ............................................................ 3 Art Appreciation ......................................................... 6 Carving ......................................................................10 Ceramics ...................................................................13 Collages ....................................................................17 Constructions............................................................ 23 Drawing .................................................................... 27 Painting .................................................................... 32 Papermaking ............................................................ 35 Plaster ...................................................................... 36 Textiles ..................................................................... 39 Wood ........................................................................ 42 Co-action – Do’s and Don’ts ..................................... 45
Thank you to staff, students and others who have been part of my adventure in art making for all children at the
Vision Australia School and the SVRC Support Skills Program since 1999.
Michael Donnelly
Statewide Vision Resource Centre Post: PO Box 201 Nunawading 3131
Visit: 370 Springvale Rd Donvale 3111 Phone: +61 3 9841 0242 Fax: +61 3 9841 0878
[email protected] www.svrc.vic.edu.au
2
The Art Room
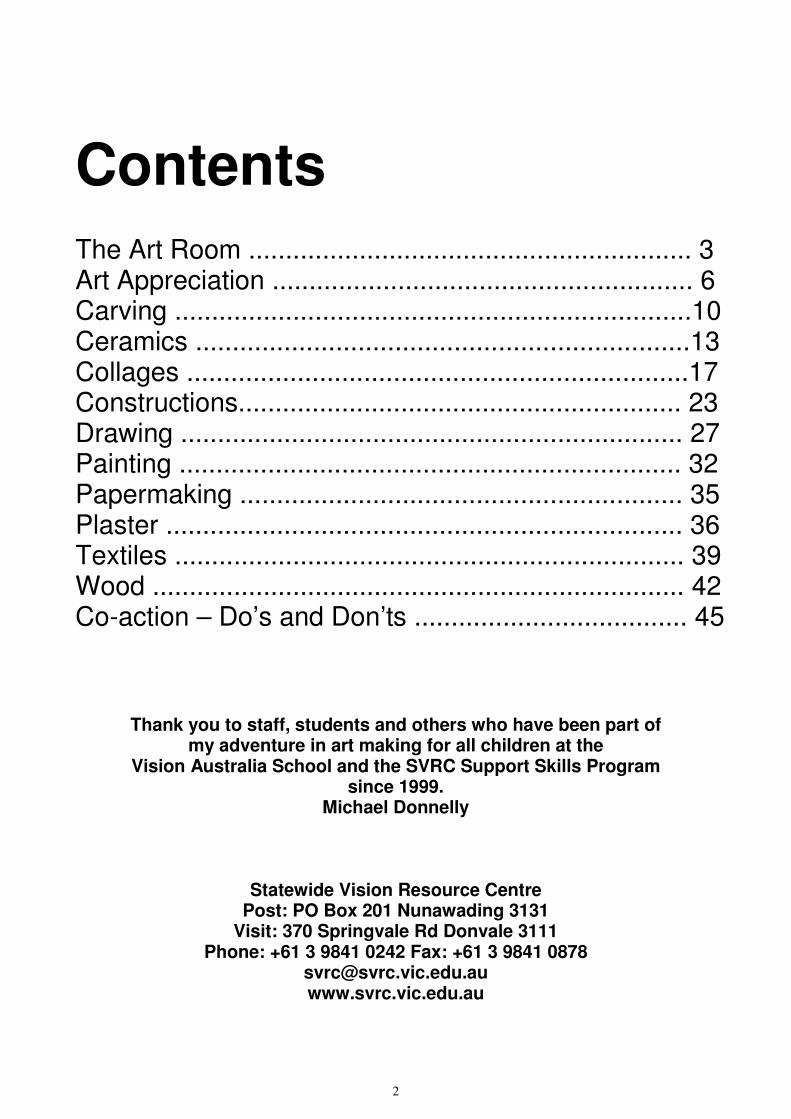
The Art-making space
needs to be an exciting
and stimulating one,
appealing to all the
senses.
The space also needs to
allow for easy access,
orientation and mobility.
Allow time to adequately
prepare and organise
materials and equipment
for students who are
blind or have low vision,
and then provide
sufficient time for them
to explore, select and
experiment. What every
sighted student takes in
at a glance and make a
decision about may take
a student who is blind or
has low vision half a
session to cover. 3
The Art Room
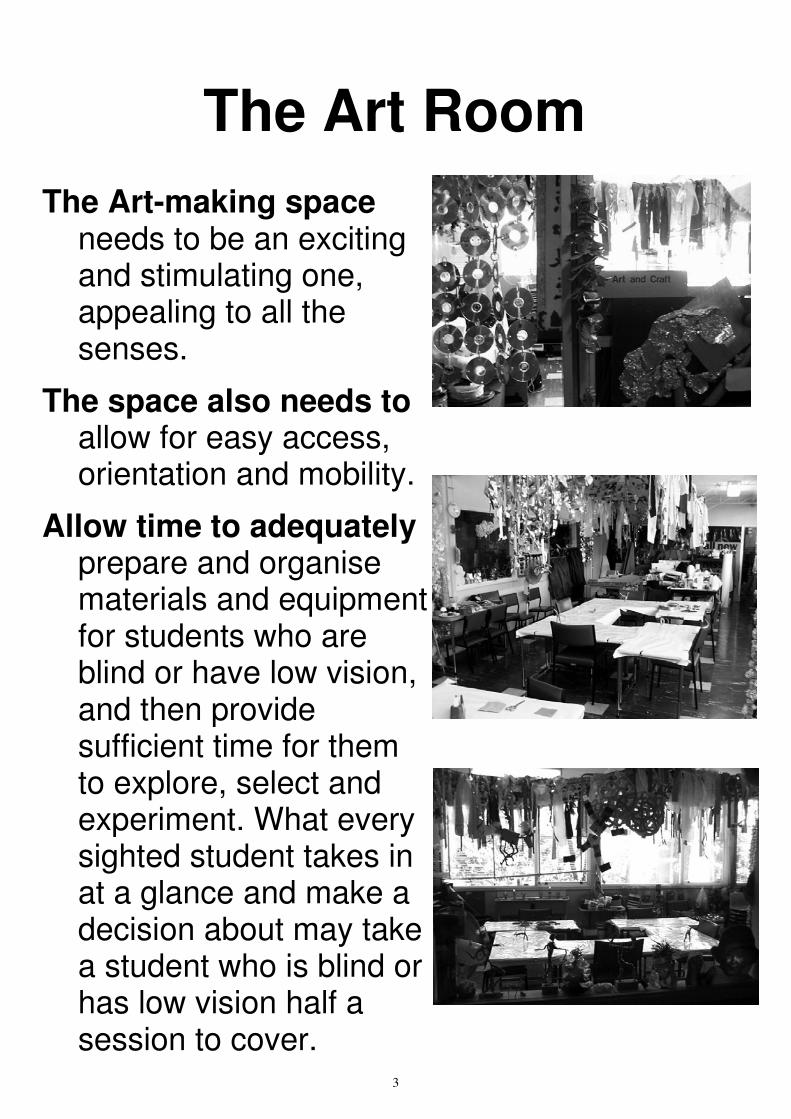
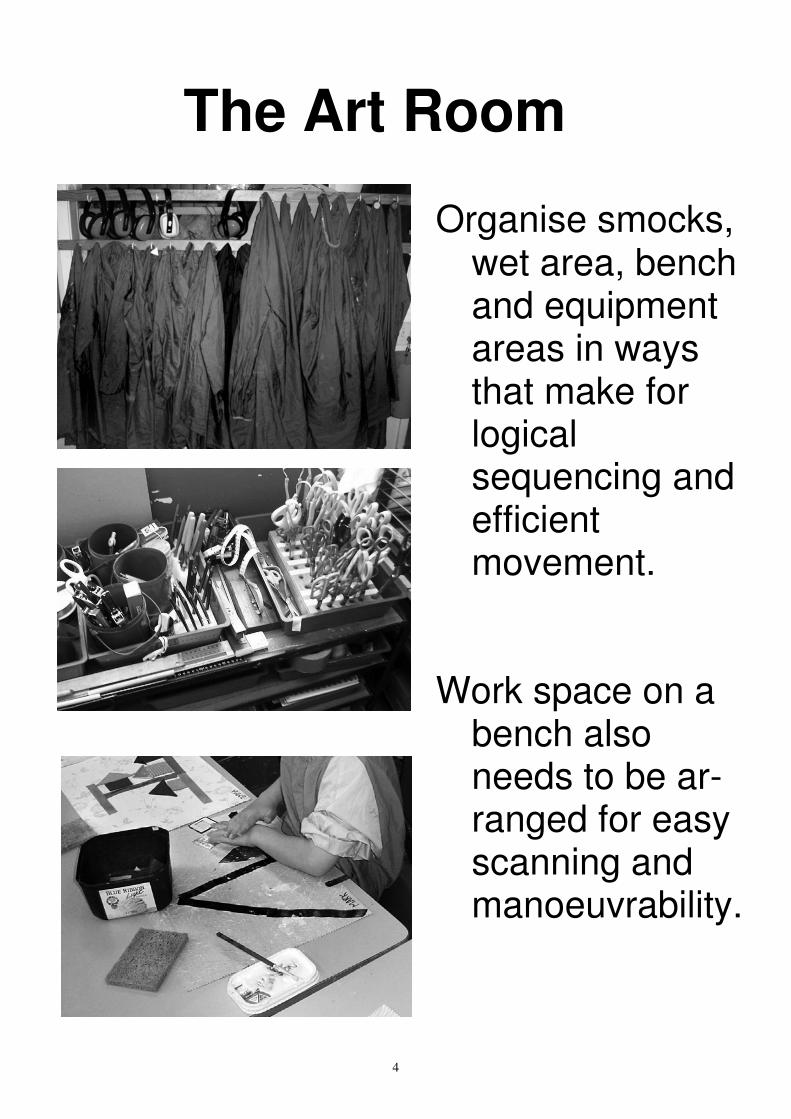
Organise smocks,
wet area, bench
and equipment
areas in ways
that make for
logical
sequencing and
efficient
movement.
Work space on a
bench also
needs to be ar-
ranged for easy
scanning and
manoeuvrability.
4
The Art Room
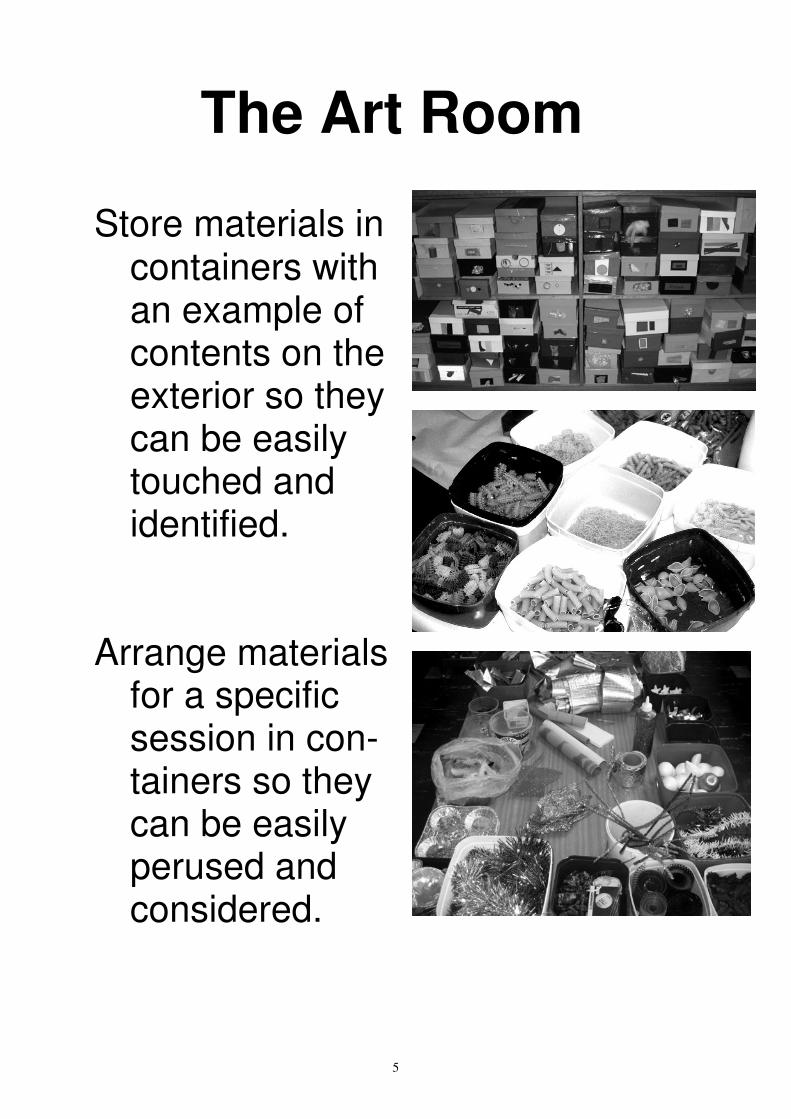
Store materials in
containers with
an example of
contents on the
exterior so they
can be easily
touched and
identified.
Arrange materials
for a specific
session in con-
tainers so they
can be easily
perused and
considered.
5

Art Appreciation
Many opportunities exist
for excursions if you
keep a look-out, but
there is also the need
for continual lobbying
of institutions to make
there exhibits more ac-
cessible to people who
are blind or have low
vision. Try:
Melbourne Museum with
its Children’s Museum.
Ask for access to
“Touch Tables”
Special “Touch Friendly”
Exhibitions, such as
the Bruce Armstrong
exhibition held at the
Heide Art Gallery in
1999
6
Art Appreciation
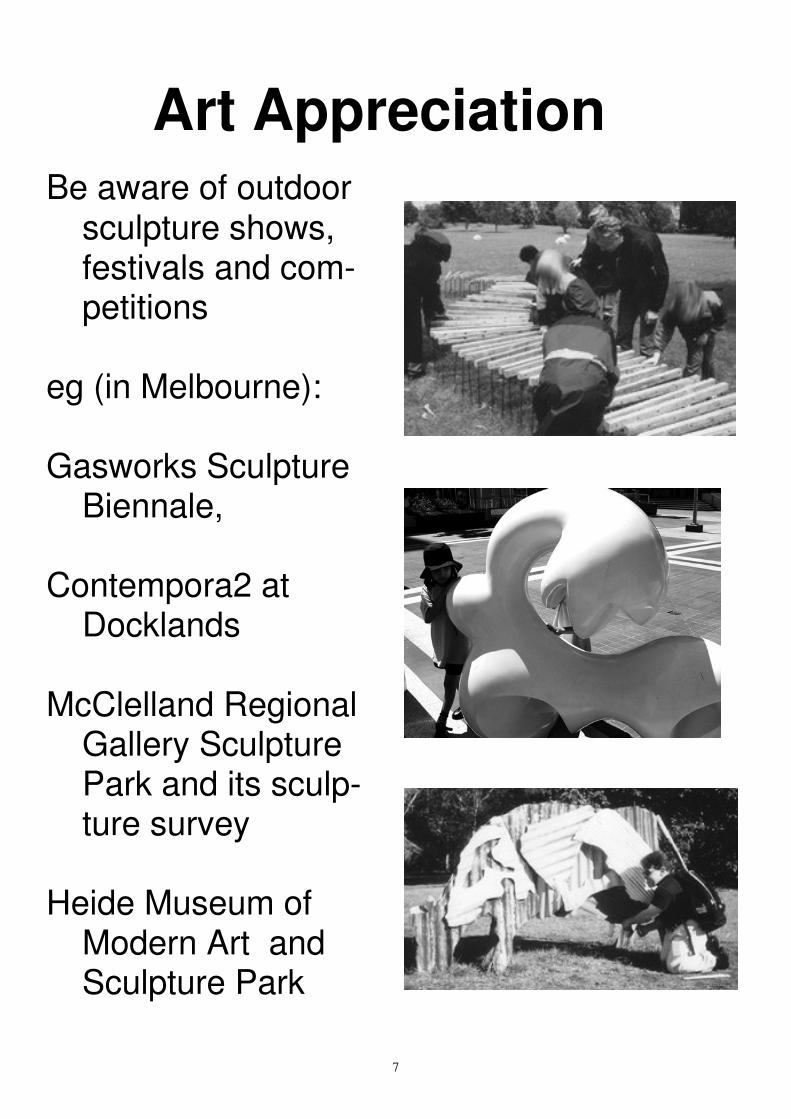
Be aware of outdoor
sculpture shows,
festivals and com-
petitions
eg (in Melbourne):
Gasworks Sculpture
Biennale,
Contempora2 at
Docklands
McClelland Regional
Gallery Sculpture
Park and its sculp-
ture survey
Heide Museum of
Modern Art and
Sculpture Park
7
Art Appreciation
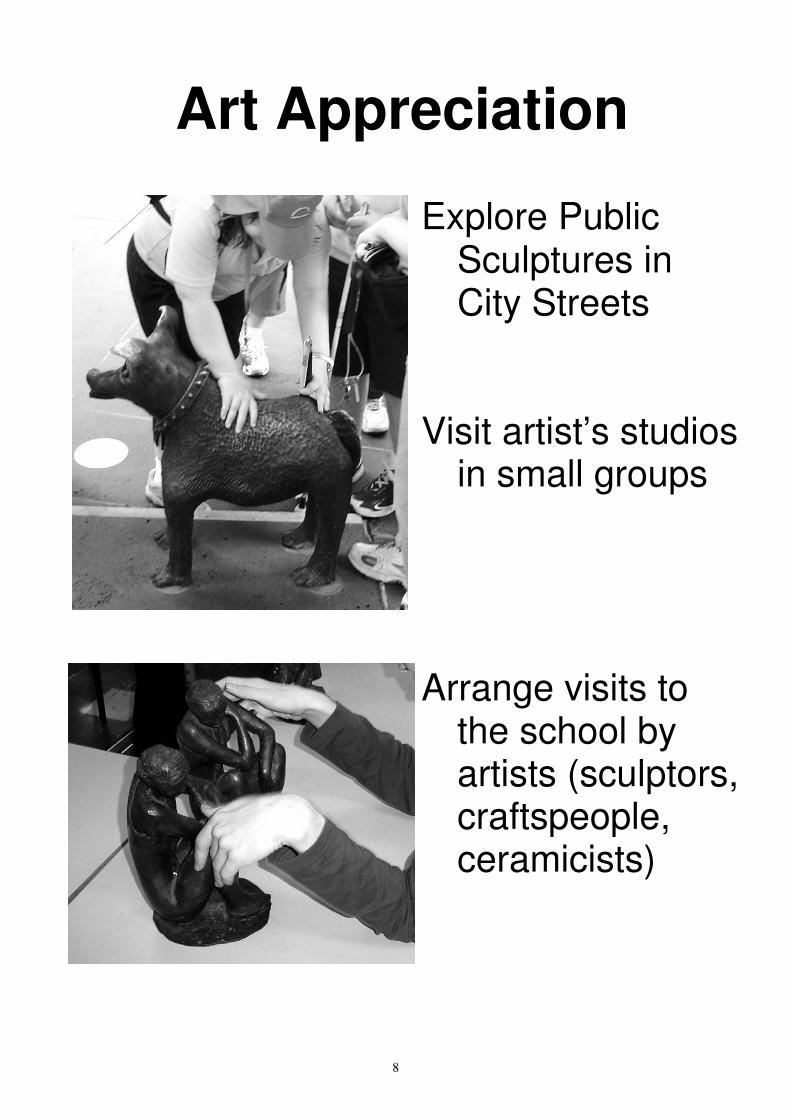
Explore Public
Sculptures in
City Streets
Visit artist’s studios
in small groups
Arrange visits to
the school by
artists (sculptors,
craftspeople,
ceramicists)
8
Art Appreciation
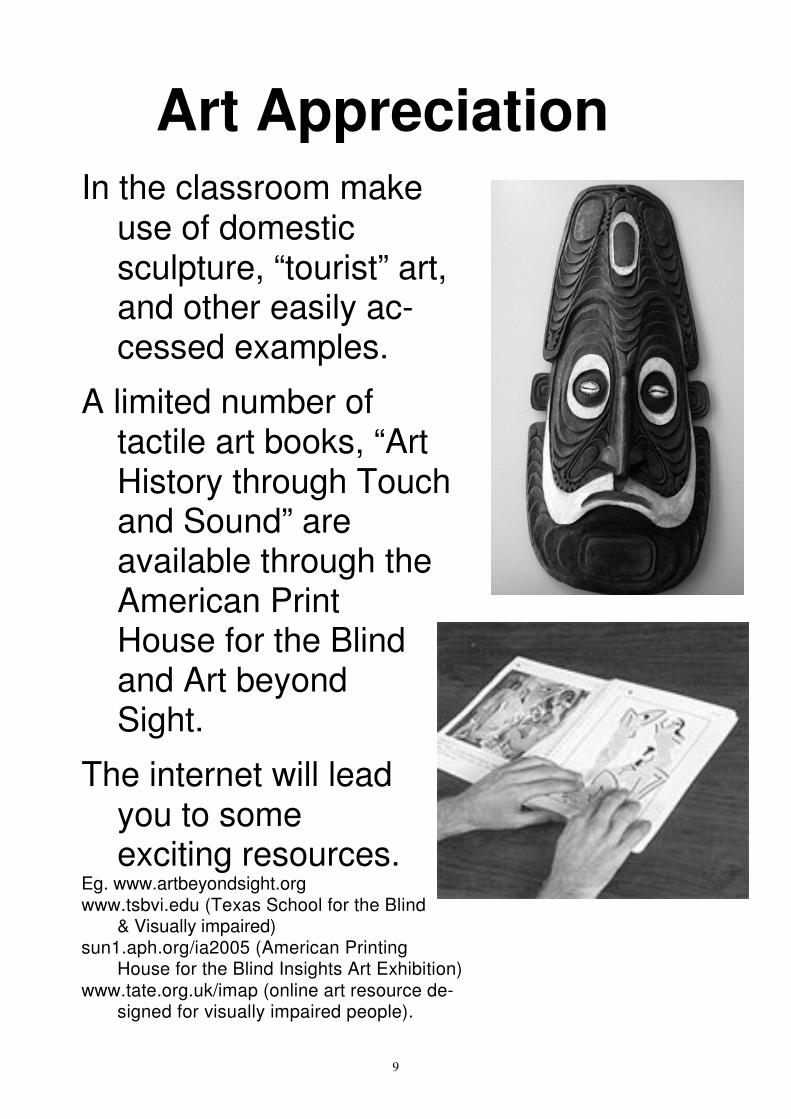
In the classroom make
use of domestic
sculpture, “tourist” art,
and other easily ac-
cessed examples.
A limited number of
tactile art books, “Art
History through Touch
and Sound” are
available through the
American Print
House for the Blind
and Art beyond
Sight.
The internet will lead
you to some
exciting resources.
Eg. www.artbeyondsight.org
www.tsbvi.edu (Texas School for the Blind
& Visually impaired)
sun1.aph.org/ia2005 (American Printing
House for the Blind Insights Art Exhibition)
www.tate.org.uk/imap (online art resource de-
signed for visually impaired people).
9
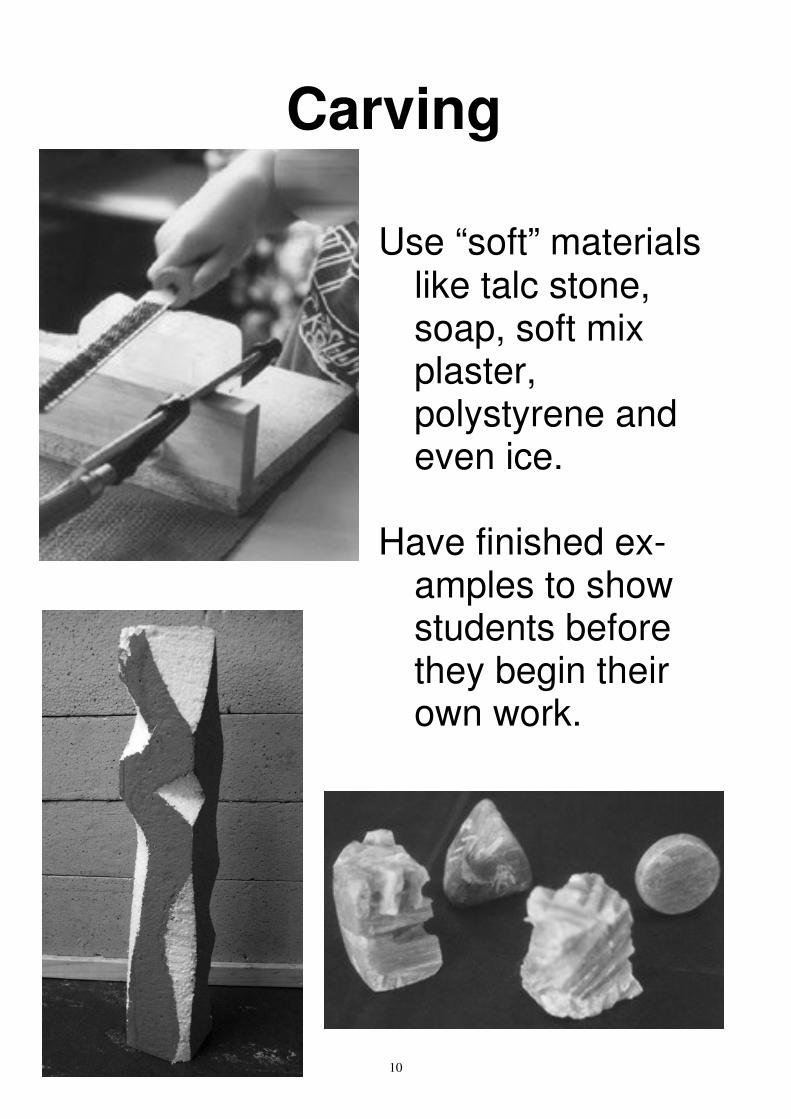
Carving
Use “soft” materials
like talc stone,
soap, soft mix
plaster,
polystyrene and
even ice.
Have finished ex-
amples to show
students before
they begin their
own work.
10
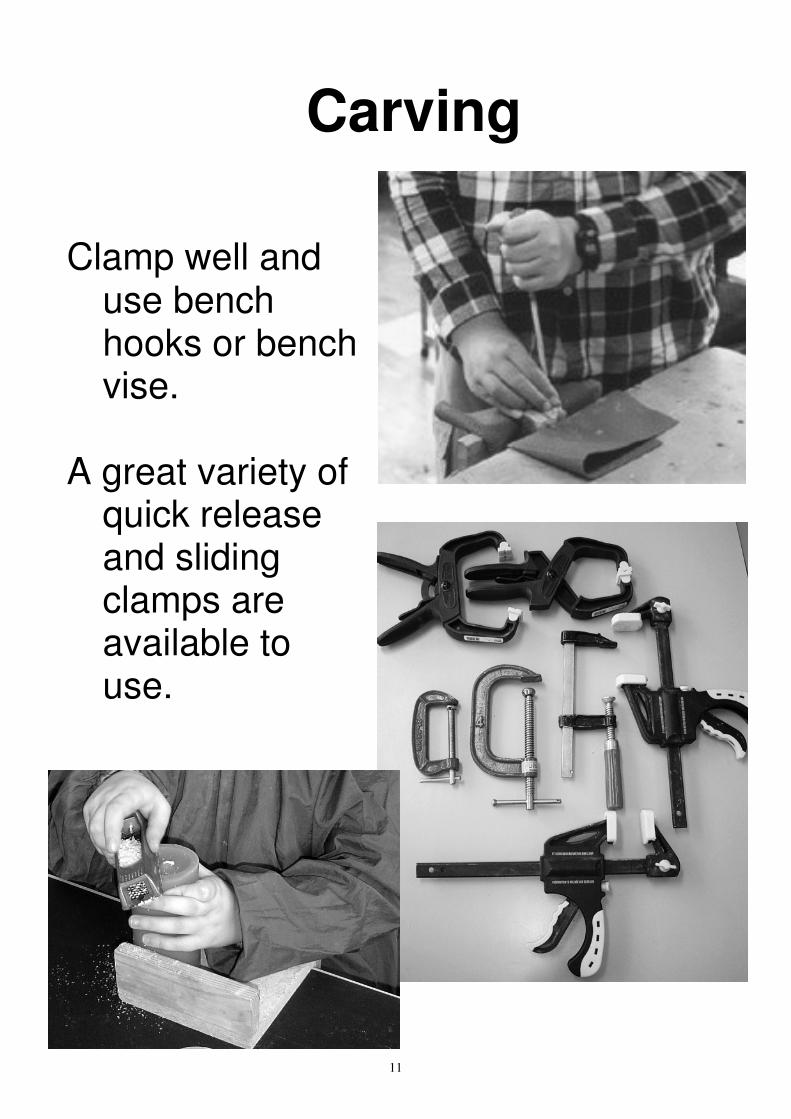
Carving
Clamp well and
use bench
hooks or bench
vise.
A great variety of
quick release
and sliding
clamps are
available to
use.
11
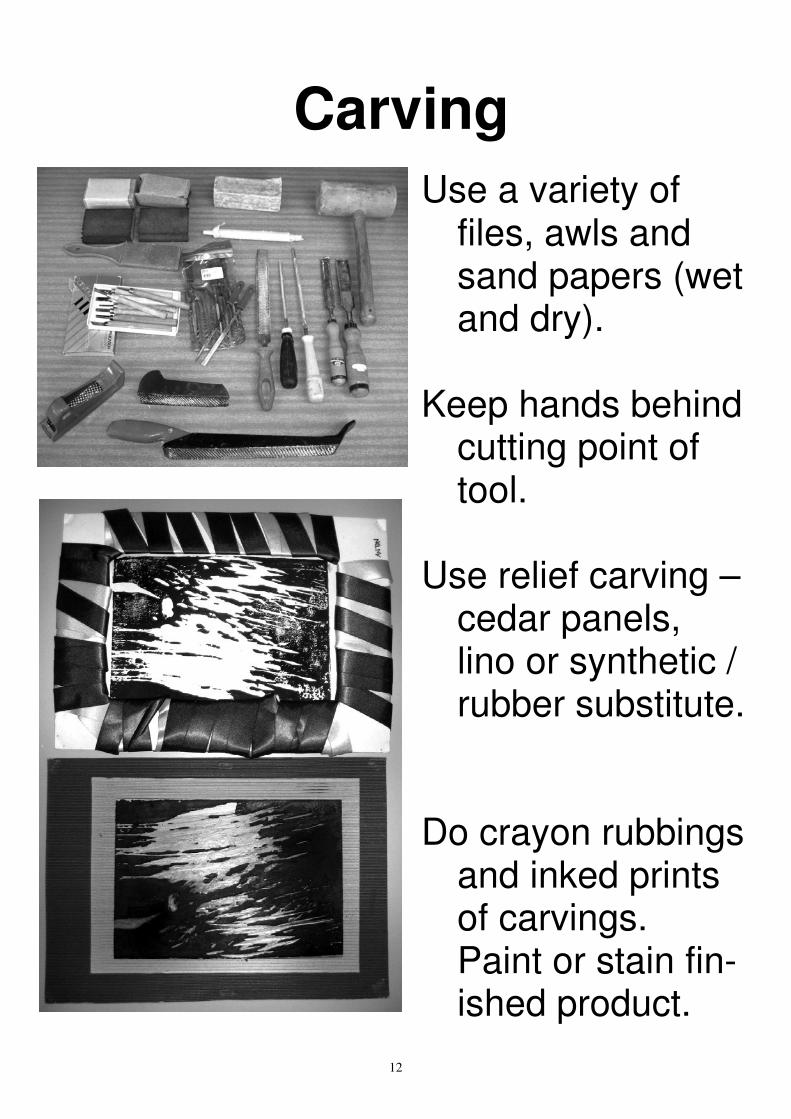
Carving
Use a variety of
files, awls and
sand papers (wet
and dry).
Keep hands behind
cutting point of
tool.
Use relief carving –
cedar panels,
lino or synthetic /
rubber substitute.
Do crayon rubbings
and inked prints
of carvings.
Paint or stain fin-
ished product.
12
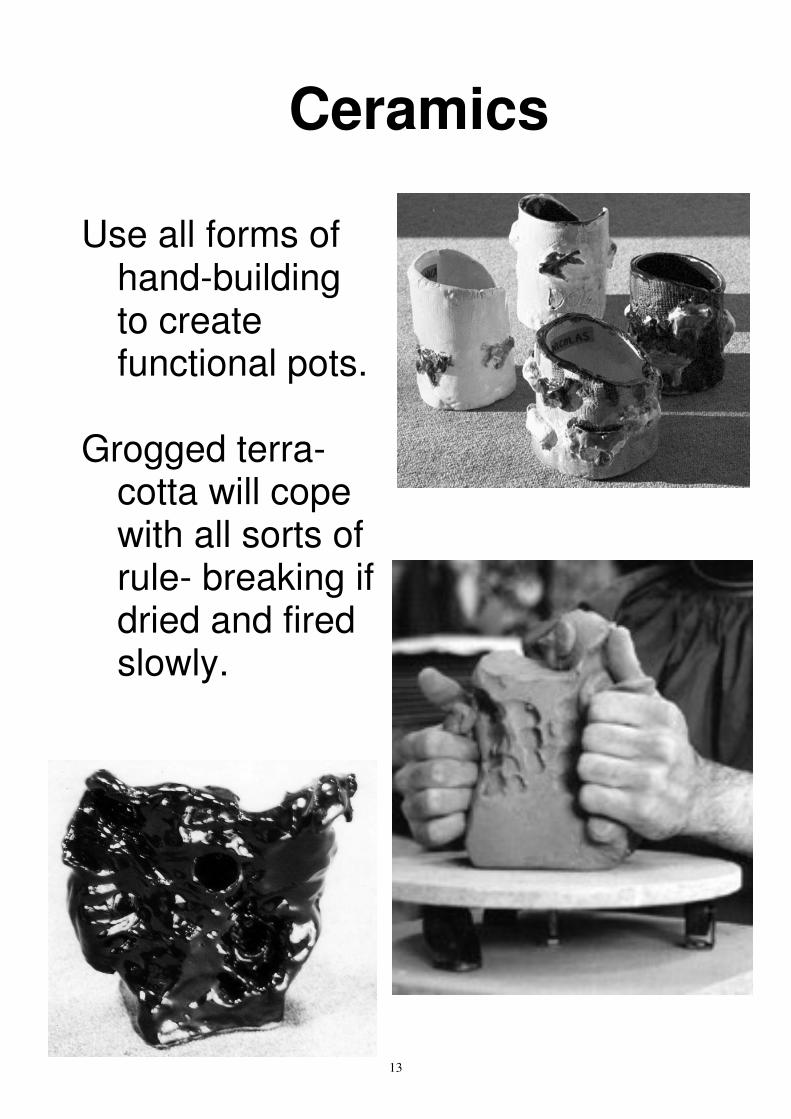
Ceramics
Use all forms of
hand-building
to create
functional pots.
Grogged terra-
cotta will cope
with all sorts of
rule- breaking if
dried and fired
slowly.
13
Ceramics
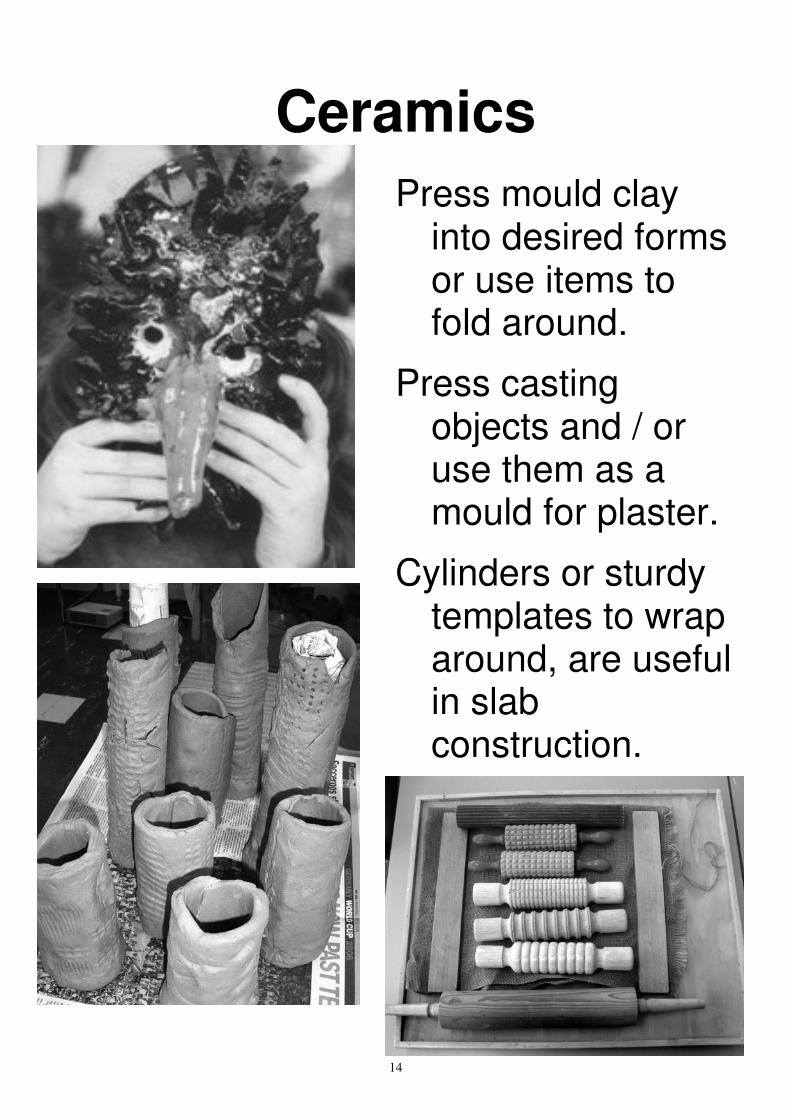
Press mould clay
into desired forms
or use items to
fold around.
Press casting
objects and / or
use them as a
mould for plaster.
Cylinders or sturdy
templates to wrap
around, are useful
in slab
construction.
14
Ceramics
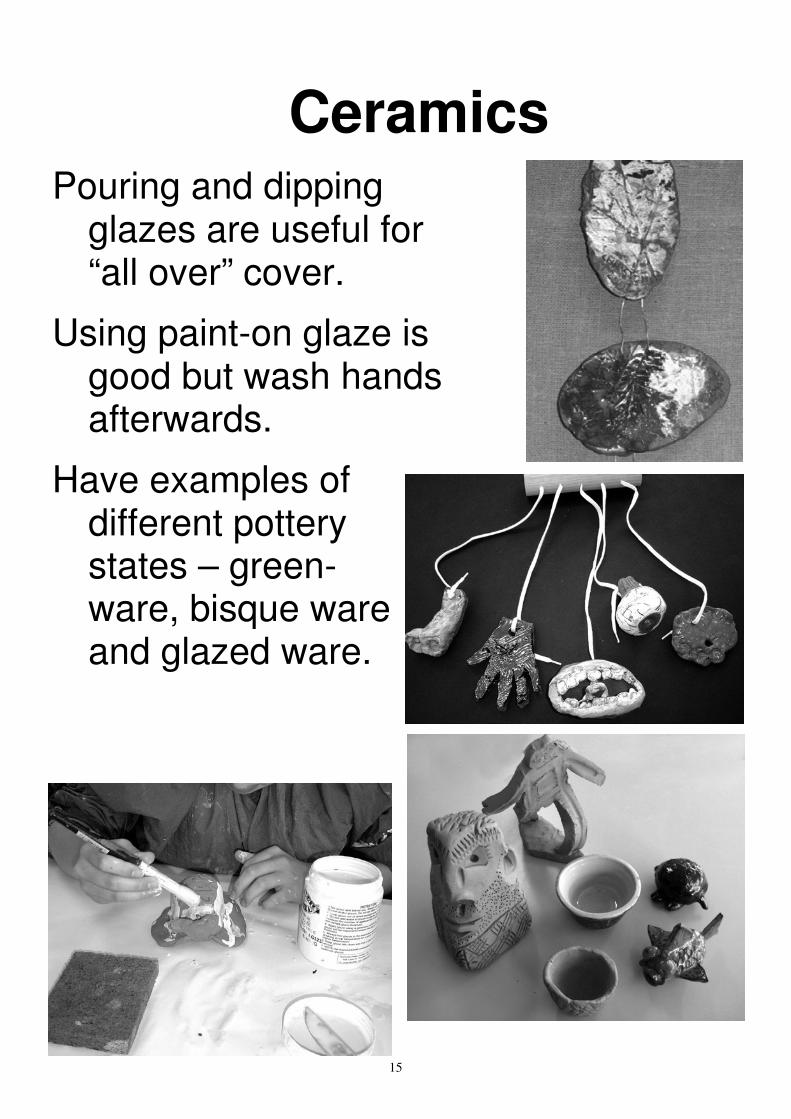
Pouring and dipping
glazes are useful for
“all over” cover.
Using paint-on glaze is
good but wash hands
afterwards.
Have examples of
different pottery
states – green-
ware, bisque ware
and glazed ware.
15
Ceramics
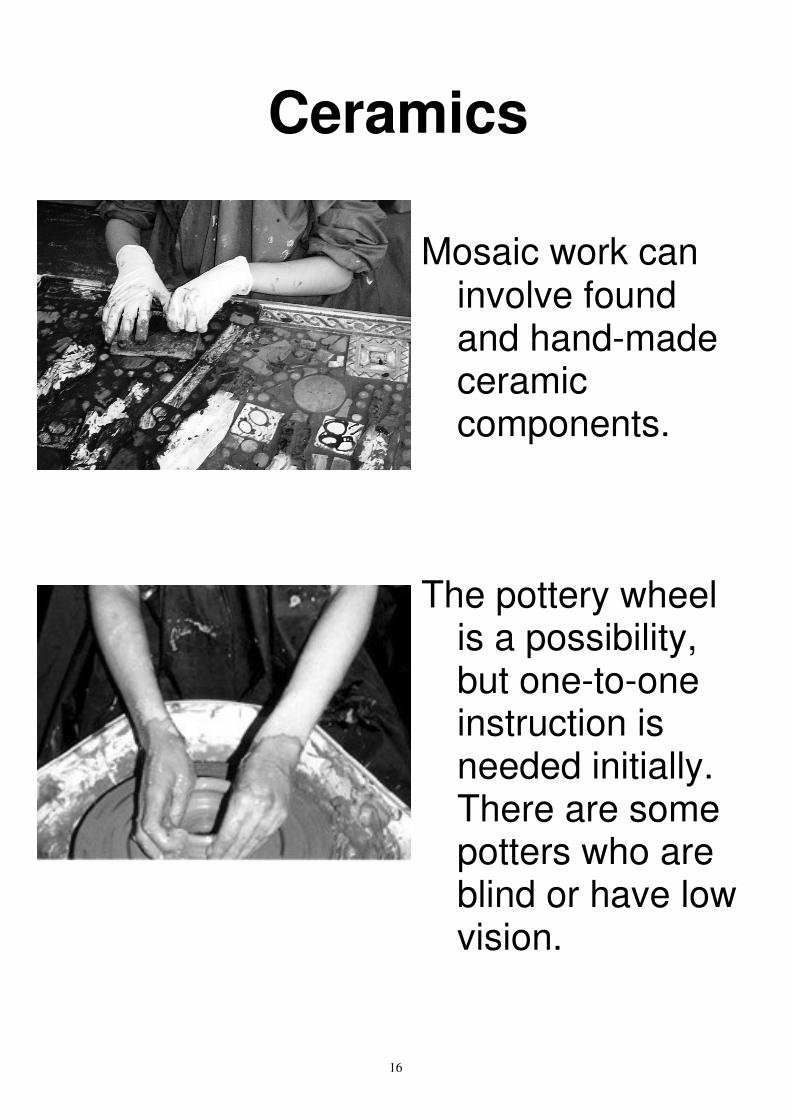
Mosaic work can
involve found
and hand-made
ceramic
components.
The pottery wheel
is a possibility,
but one-to-one
instruction is
needed initially.
There are some
potters who are
blind or have low
vision.
16
Collages
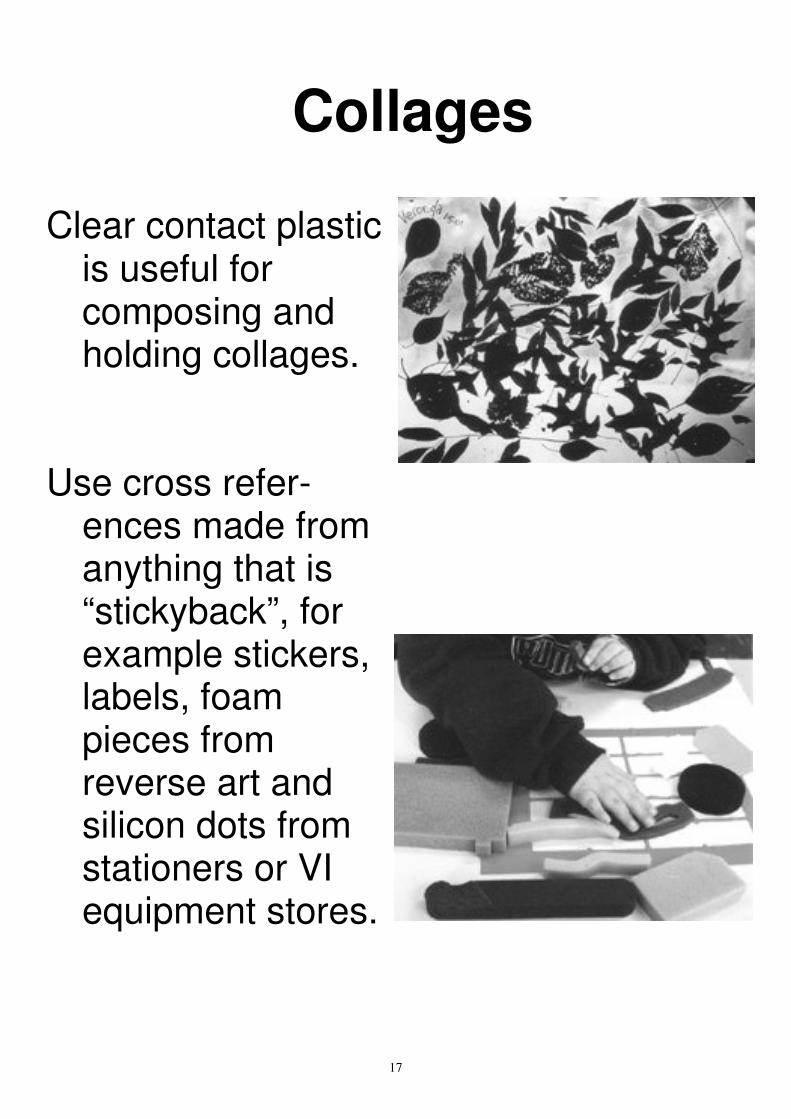
Clear contact plastic
is useful for
composing and
holding collages.
Use cross refer-
ences made from
anything that is
“stickyback”, for
example stickers,
labels, foam
pieces from
reverse art and
silicon dots from
stationers or VI
equipment stores.
17
Collages
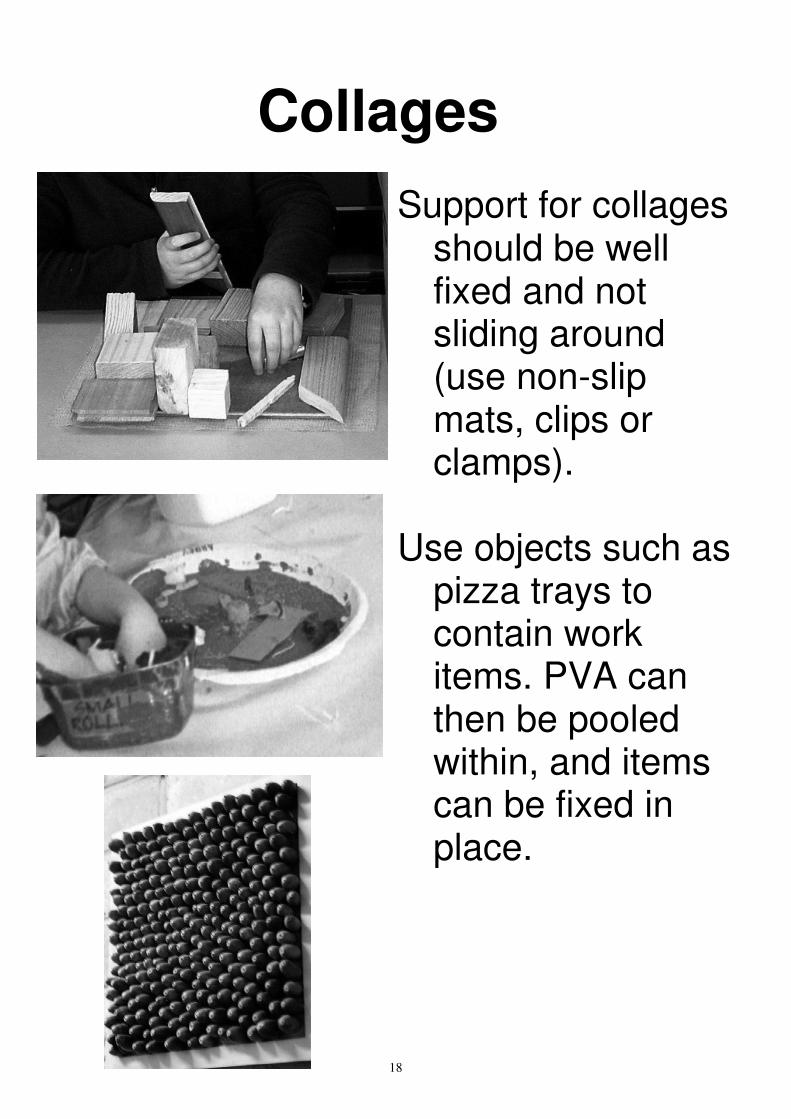
Support for collages
should be well
fixed and not
sliding around
(use non-slip
mats, clips or
clamps).
Use objects such as
pizza trays to
contain work
items. PVA can
then be pooled
within, and items
can be fixed in
place.
18
Collages
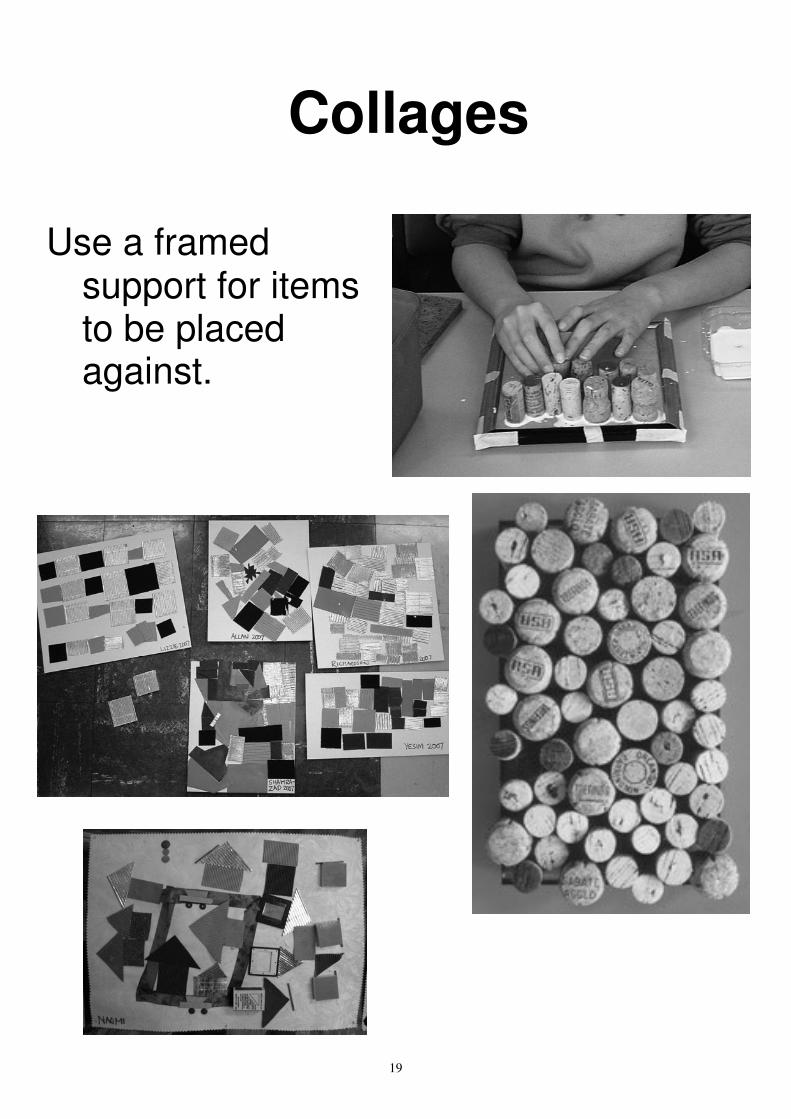
Use a framed
support for items
to be placed
against.
19
Collages
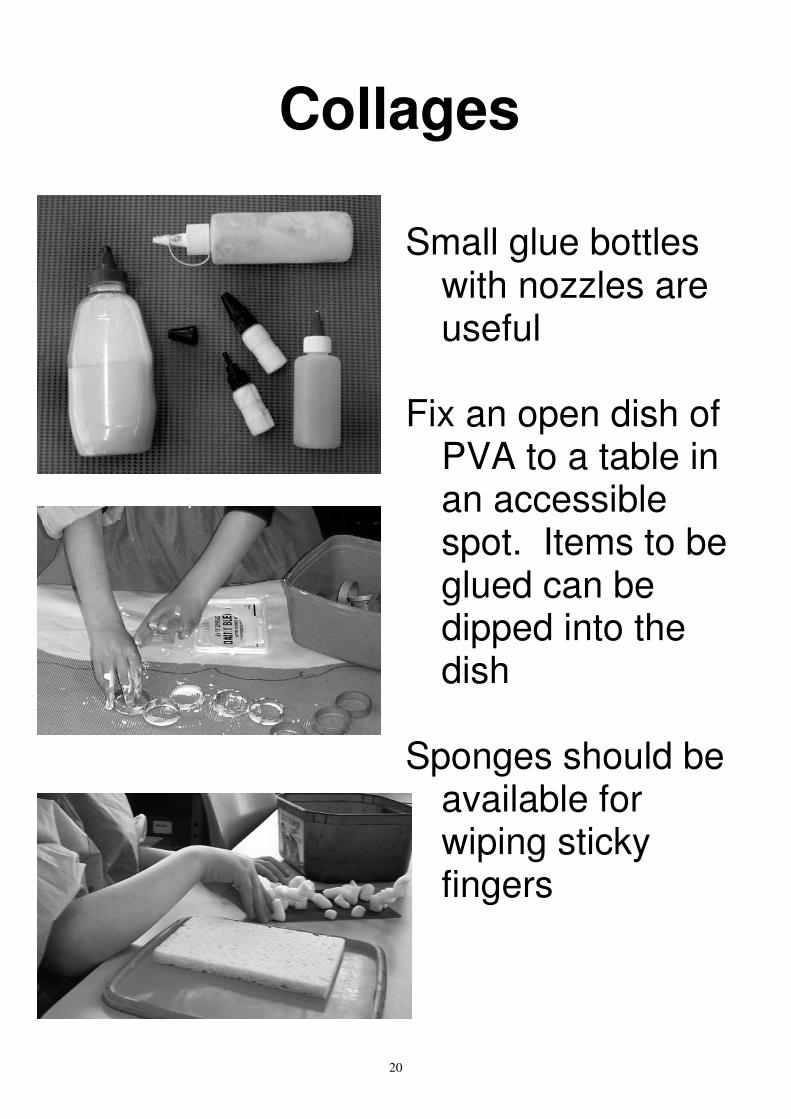
Small glue bottles
with nozzles are
useful
Fix an open dish of
PVA to a table in
an accessible
spot. Items to be
glued can be
dipped into the
dish
Sponges should be
available for
wiping sticky
fingers
20
Collages
21
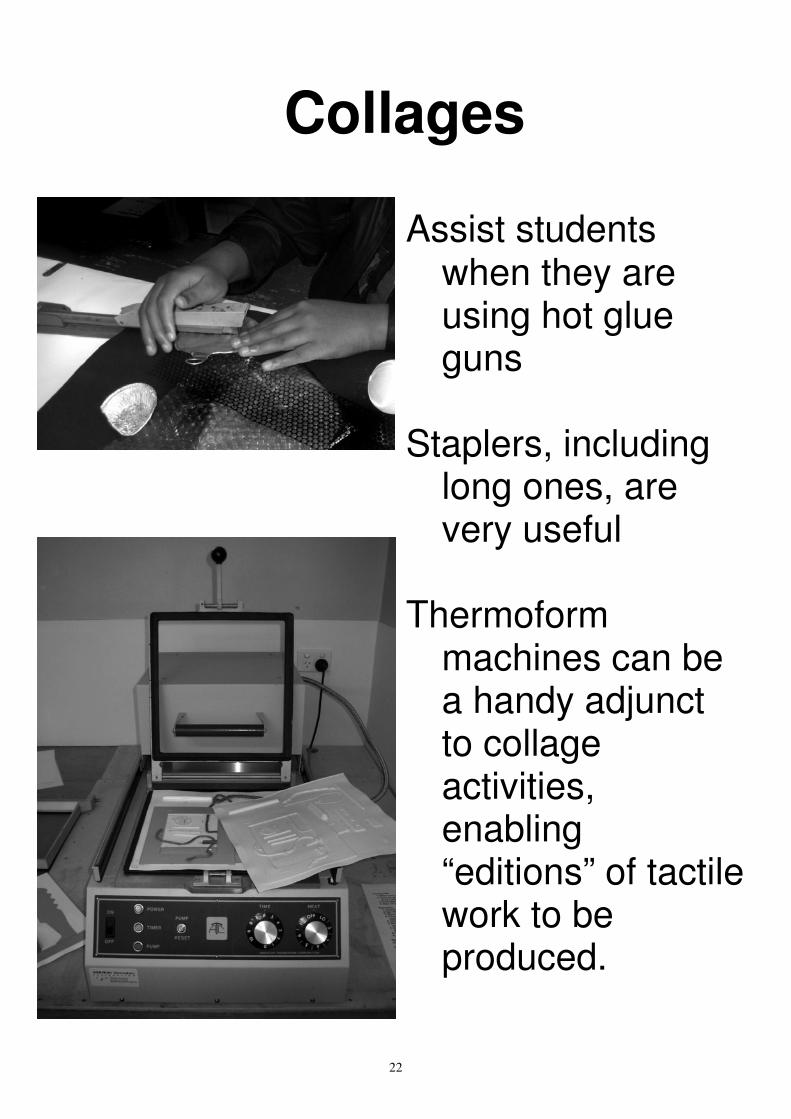
Collages
Assist students
when they are
using hot glue
guns
Staplers, including
long ones, are
very useful
Thermoform
machines can be
a handy adjunct
to collage
activities,
enabling
“editions” of tactile
work to be
produced.
22
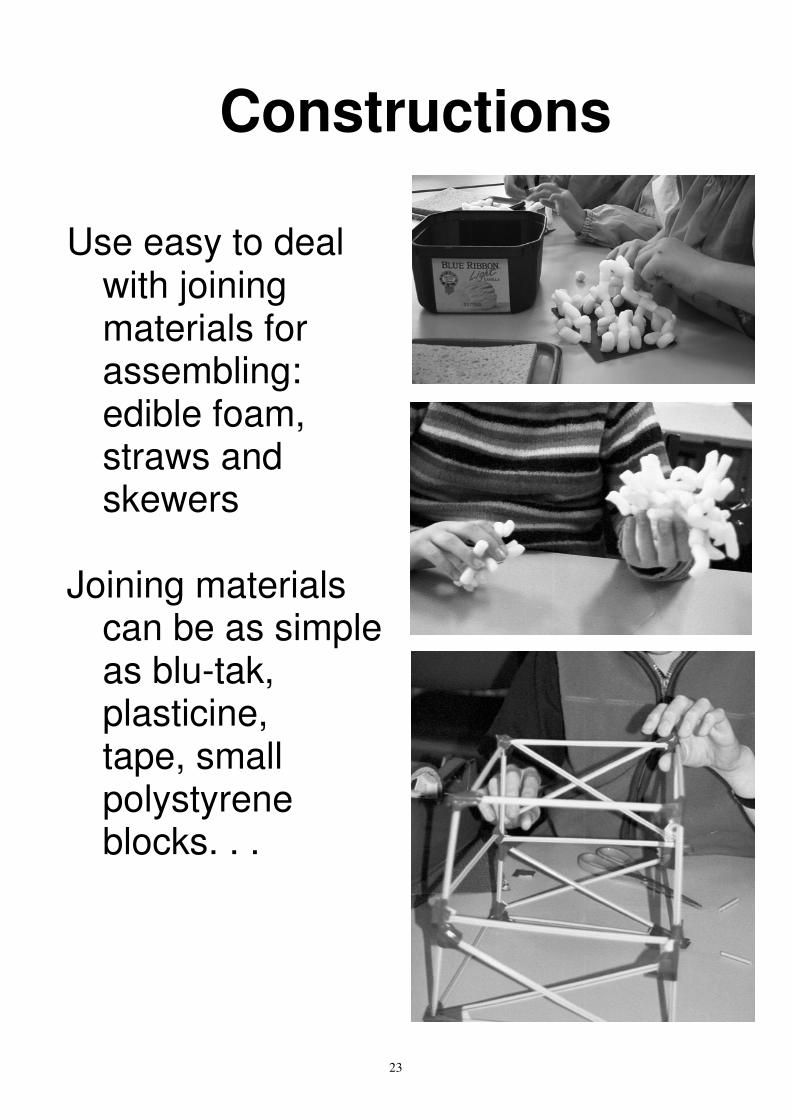
Constructions
Use easy to deal
with joining
materials for
assembling:
edible foam,
straws and
skewers
Joining materials
can be as simple
as blu-tak,
plasticine,
tape, small
polystyrene
blocks. . .
23
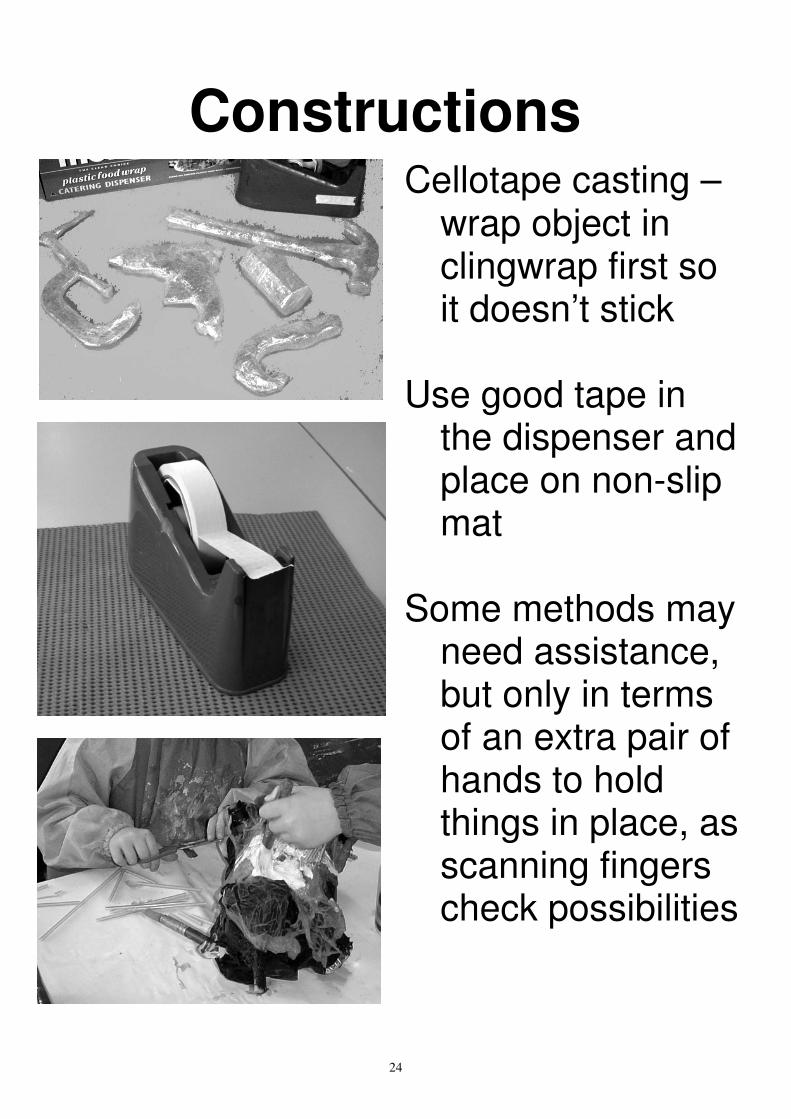
Constructions
Cellotape casting –
wrap object in
clingwrap first so
it doesn’t stick
Use good tape in
the dispenser and
place on non-slip
mat
Some methods may
need assistance,
but only in terms
of an extra pair of
hands to hold
things in place, as
scanning fingers
check possibilities
24
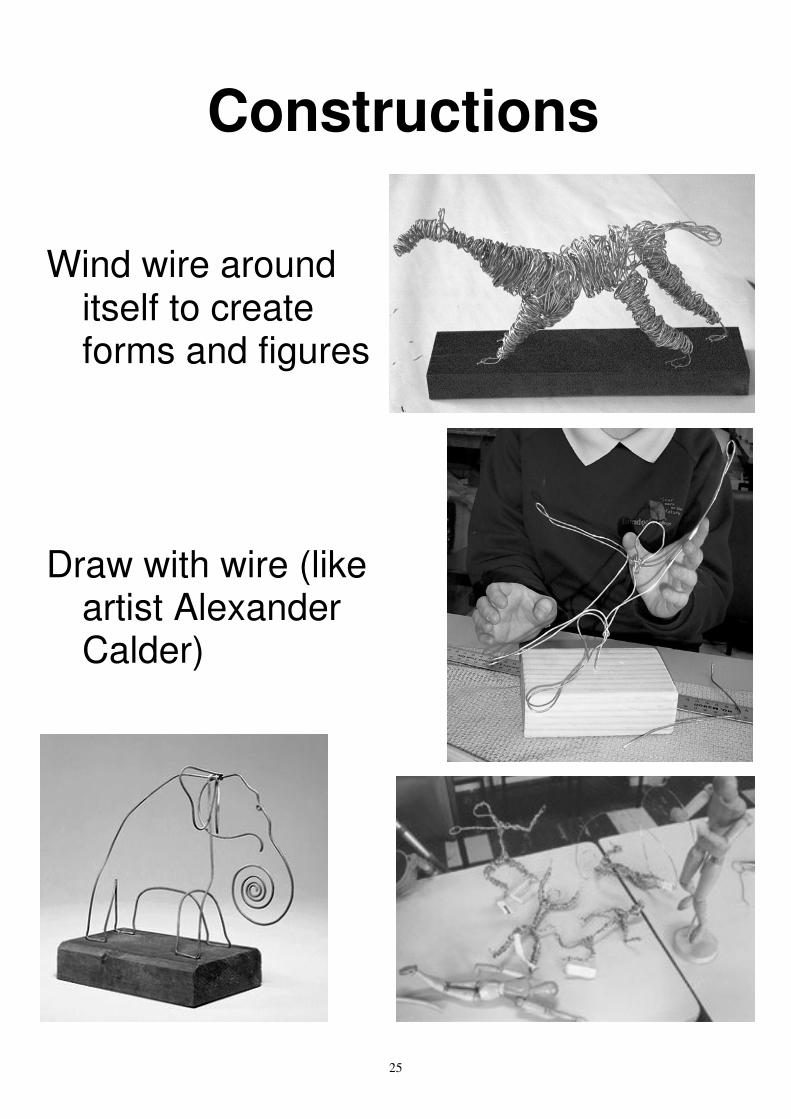
Constructions
Wind wire around
itself to create
forms and figures
Draw with wire (like
artist Alexander
Calder)
25
Constructions
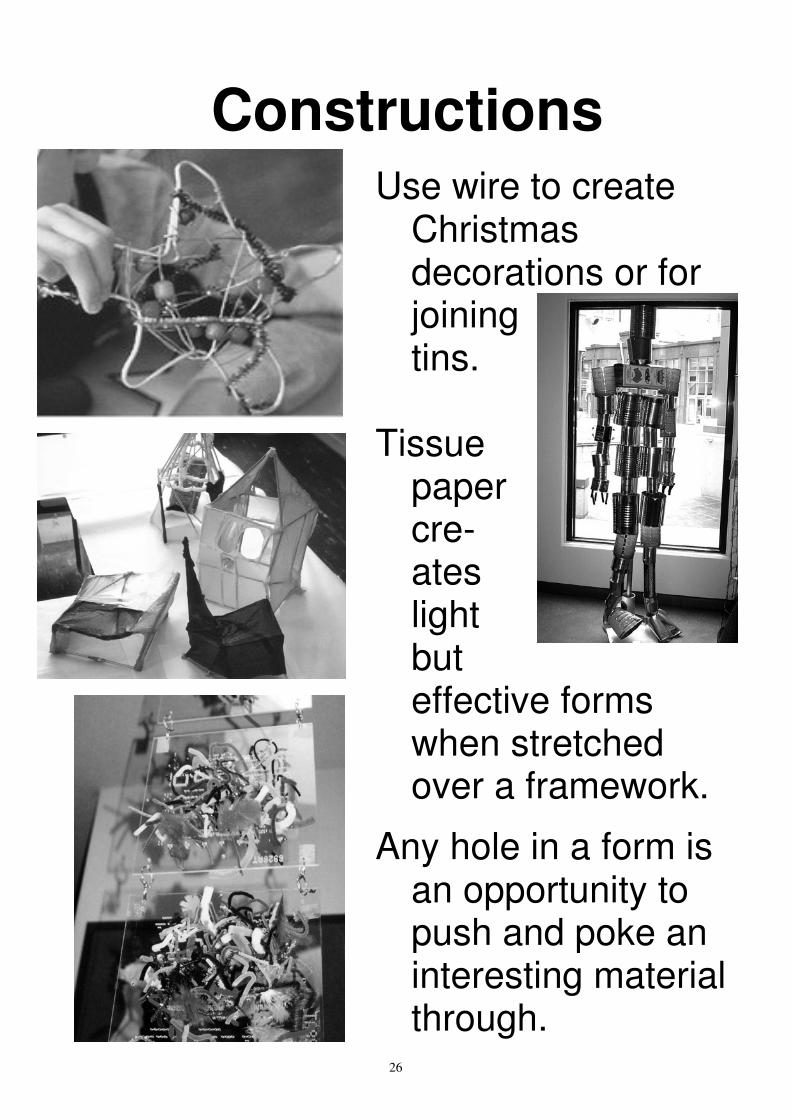
Use wire to create
Christmas
decorations or for
joining
tins.
Tissue
paper
cre-
ates
light
but
effective forms
when stretched
over a framework.
Any hole in a form is
an opportunity to
push and poke an
interesting material
through.
26
Drawing
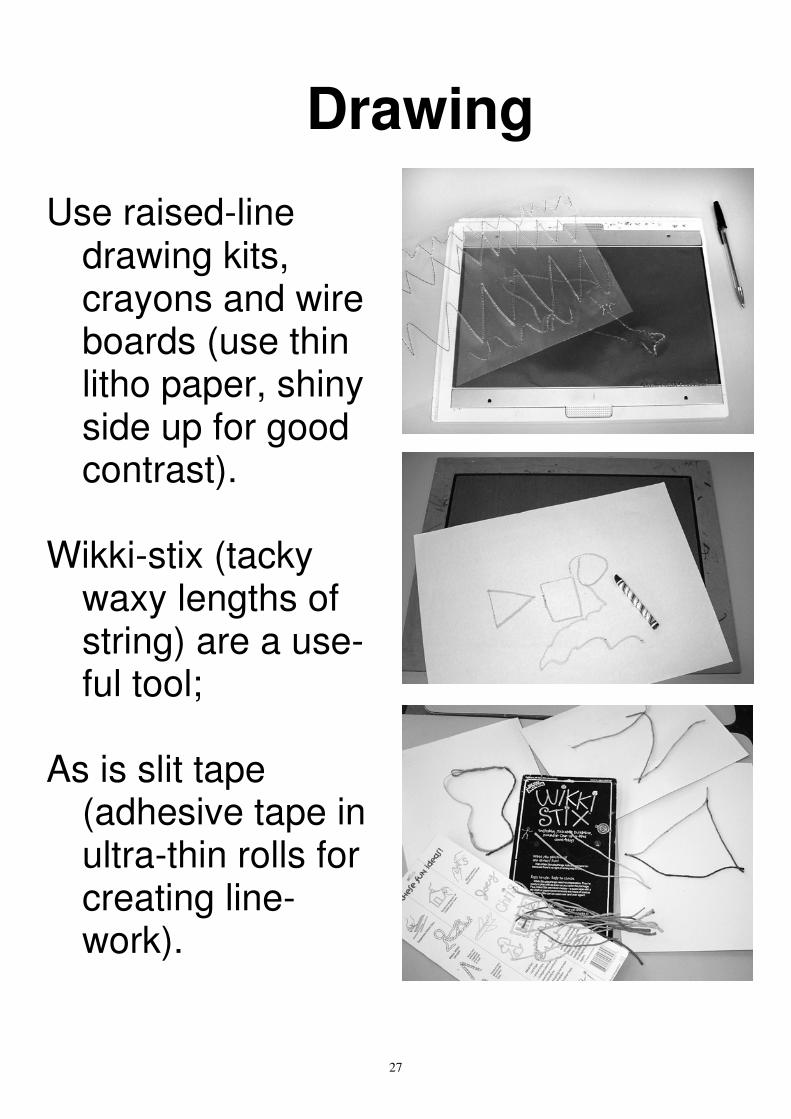
Use raised-line
drawing kits,
crayons and wire
boards (use thin
litho paper, shiny
side up for good
contrast).
Wikki-stix (tacky
waxy lengths of
string) are a use-
ful tool;
As is slit tape
(adhesive tape in
ultra-thin rolls for
creating line-
work).
27
Drawing
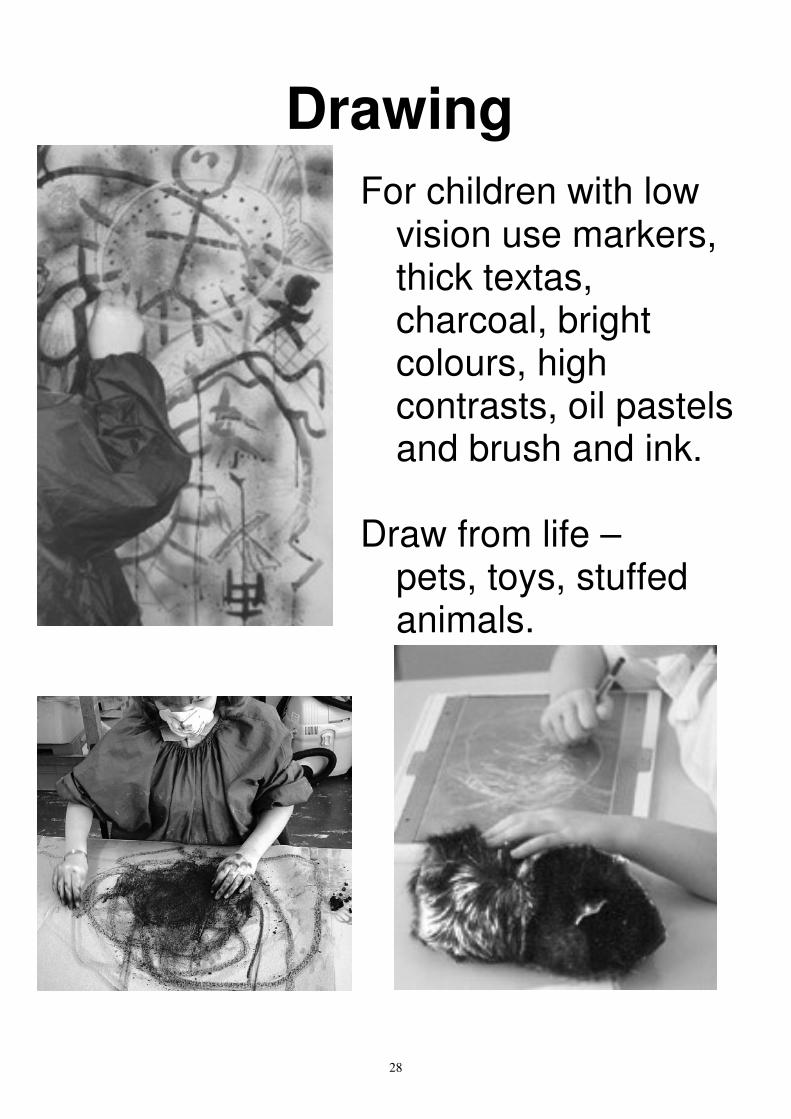
For children with low
vision use markers,
thick textas,
charcoal, bright
colours, high
contrasts, oil pastels
and brush and ink.
Draw from life –
pets, toys, stuffed
animals.
28
Drawing
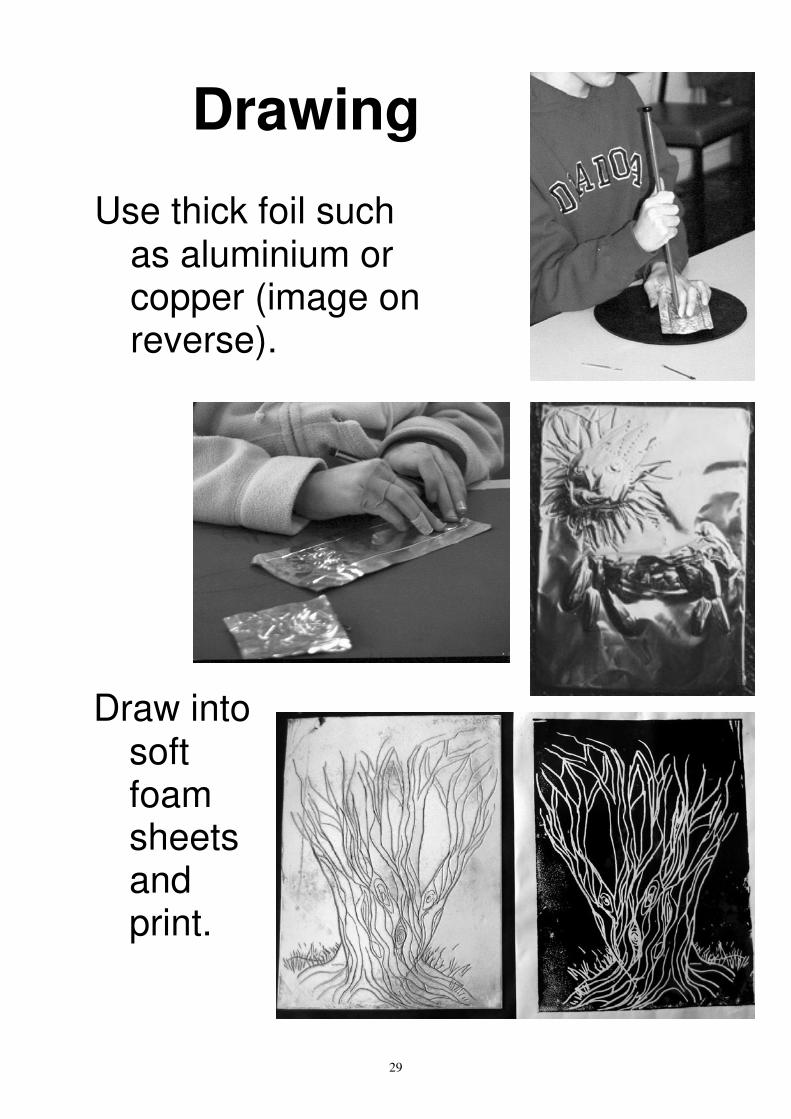
Use thick foil such
as aluminium or
copper (image on
reverse).
Draw into
soft
foam
sheets
and
print.
29
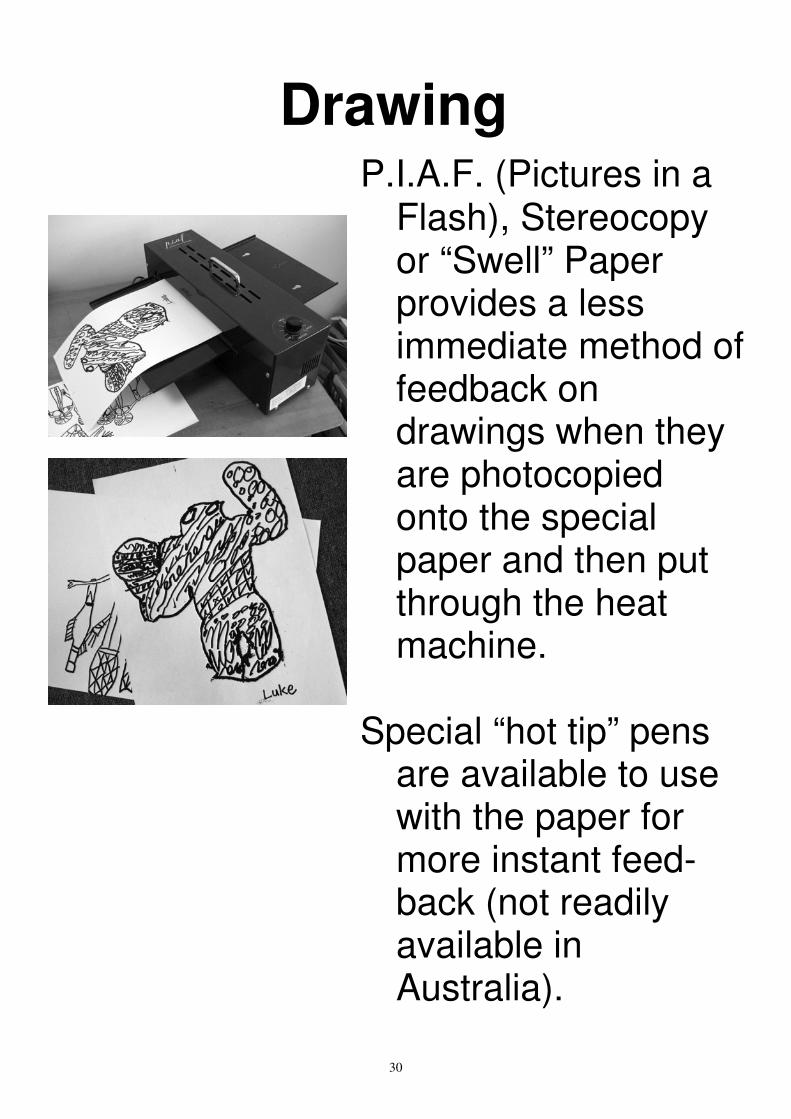
Drawing
P.I.A.F. (Pictures in a
Flash), Stereocopy
or “Swell” Paper
provides a less
immediate method of
feedback on
drawings when they
are photocopied
onto the special
paper and then put
through the heat
machine.
Special “hot tip” pens
are available to use
with the paper for
more instant feed-
back (not readily
available in
Australia).
30
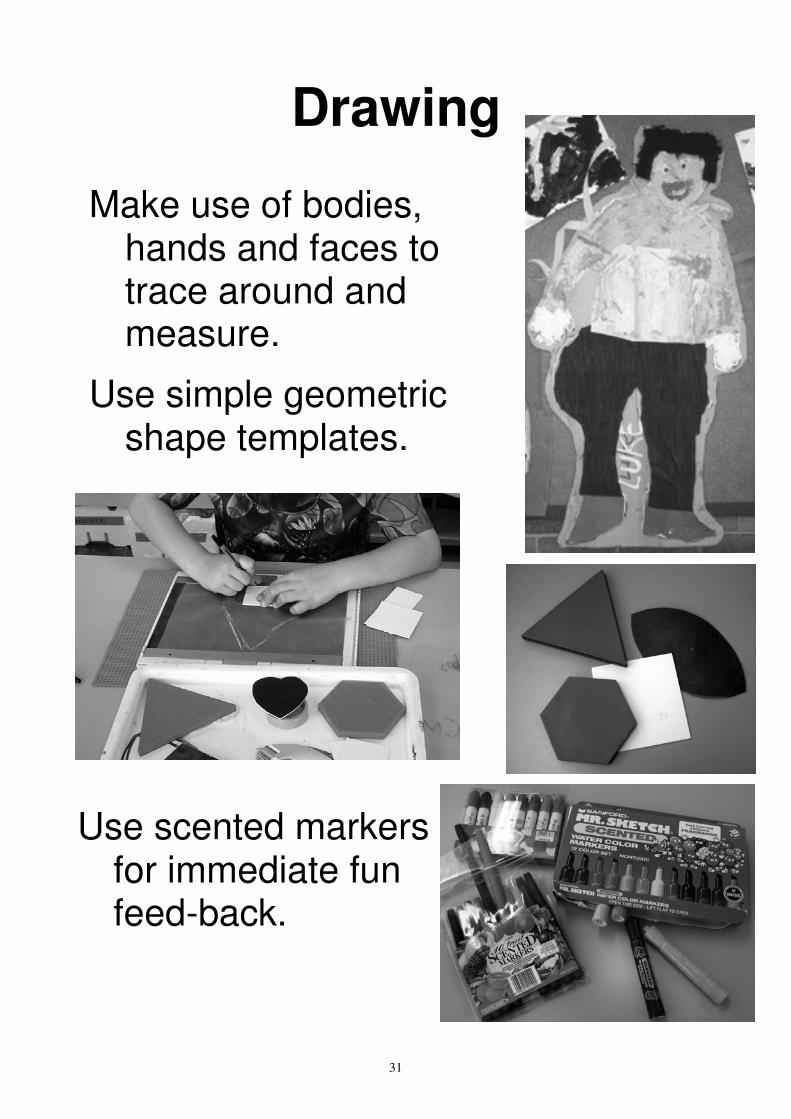
Drawing
Make use of bodies,
hands and faces to
trace around and
measure.
Use simple geometric
shape templates.
Use scented markers
for immediate fun
feed-back.
31
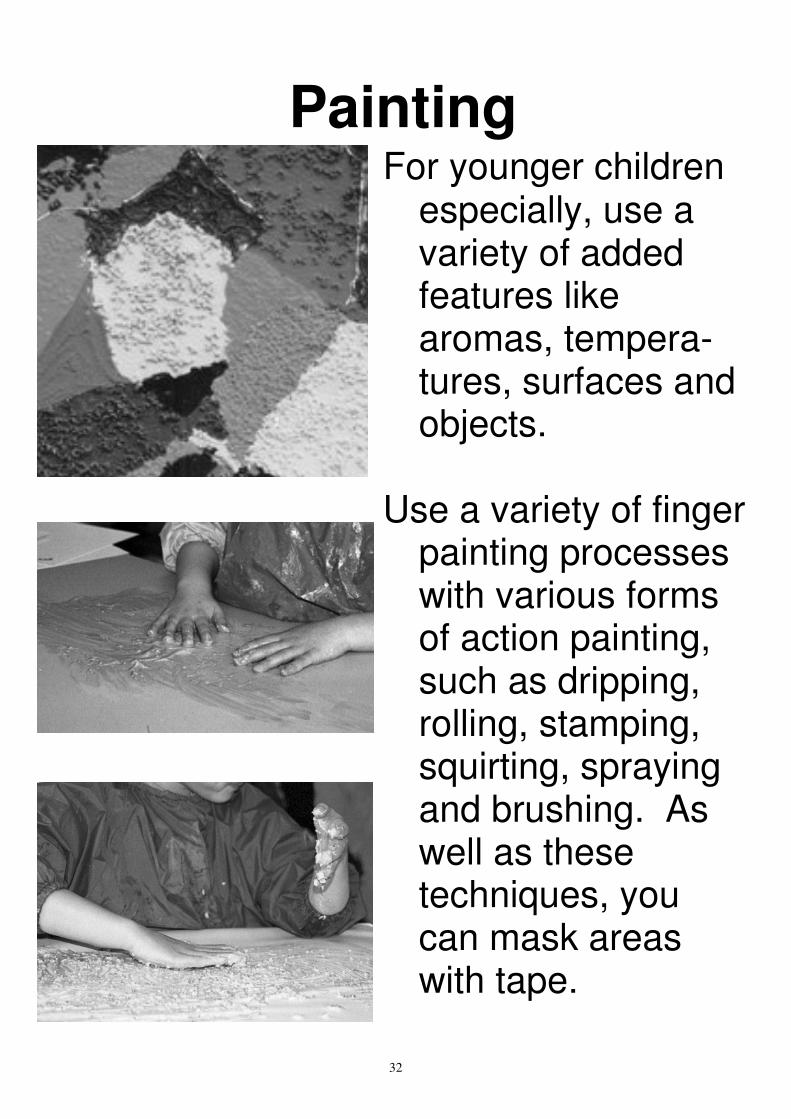
Painting
For younger children
especially, use a
variety of added
features like
aromas, tempera-
tures, surfaces and
objects.
Use a variety of finger
painting processes
with various forms
of action painting,
such as dripping,
rolling, stamping,
squirting, spraying
and brushing. As
well as these
techniques, you
can mask areas
with tape.
32

Painting
Use “kinder” paint
pots with brush-
hole cap and one
brush per colour.
Tell the student what
order the colours
are arranged in
and keep to this
arrangement if
possible.
Slant boards are
useful to get close
to the work.
33
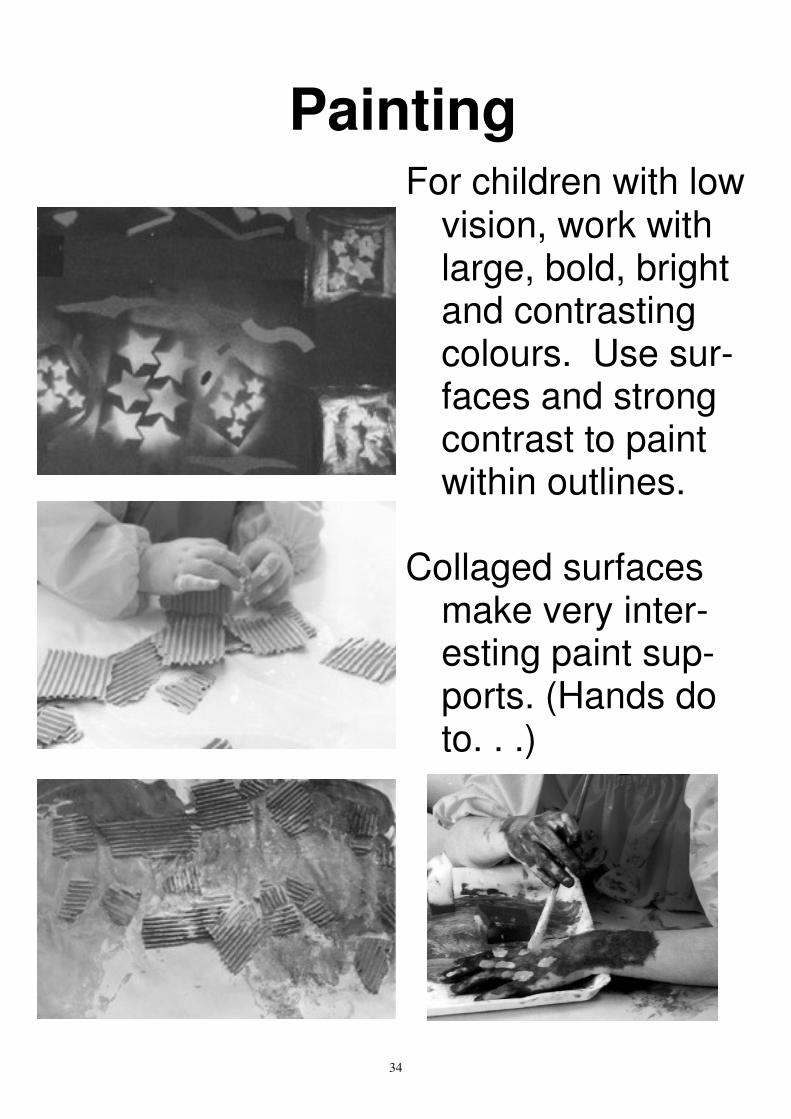
Painting
For children with low
vision, work with
large, bold, bright
and contrasting
colours. Use sur-
faces and strong
contrast to paint
within outlines.
Collaged surfaces
make very inter-
esting paint sup-
ports. (Hands do
to. . .)
34
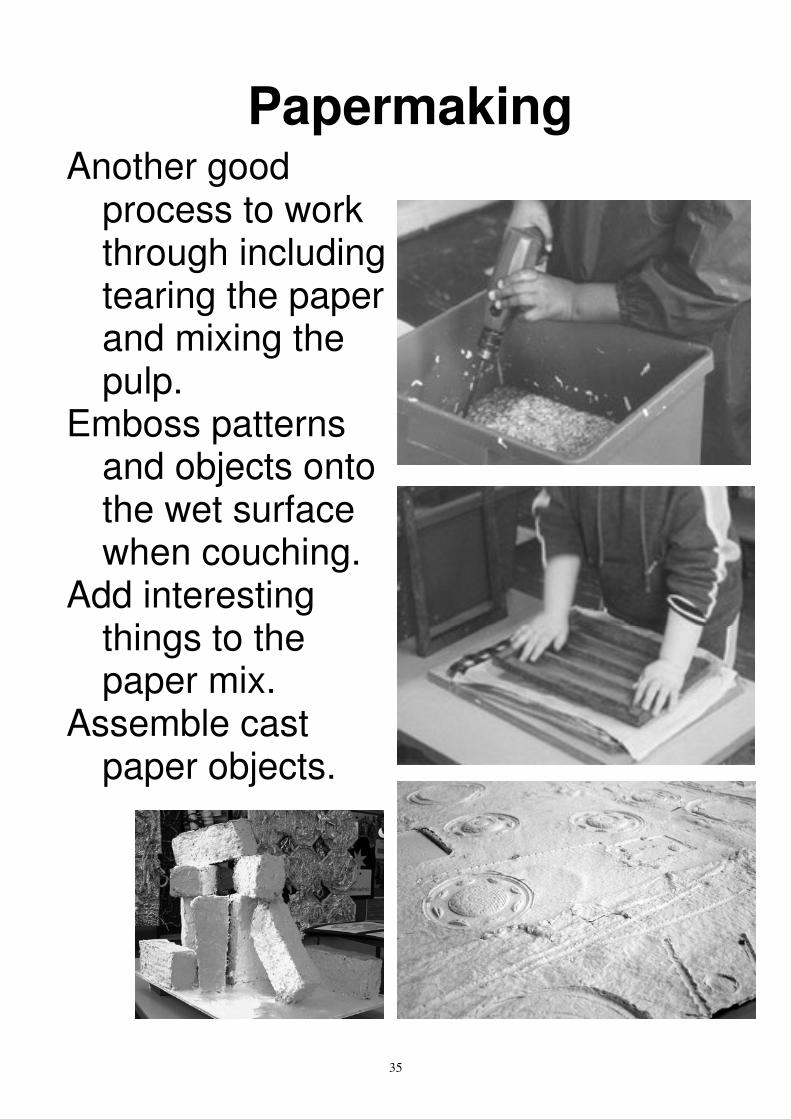
Papermaking
Another good
process to work
through including
tearing the paper
and mixing the
pulp.
Emboss patterns
and objects onto
the wet surface
when couching.
Add interesting
things to the
paper mix.
Assemble cast
paper objects.
35
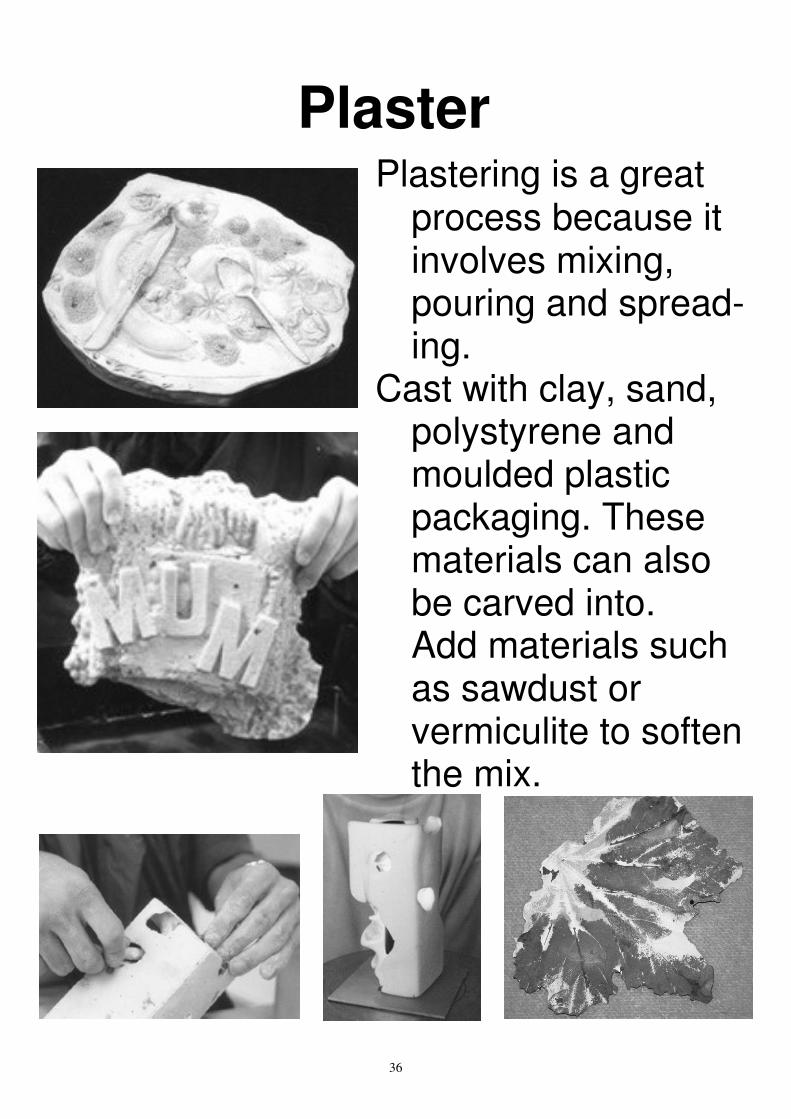
Plaster
Plastering is a great
process because it
involves mixing,
pouring and spread-
ing.
Cast with clay, sand,
polystyrene and
moulded plastic
packaging. These
materials can also
be carved into.
Add materials such
as sawdust or
vermiculite to soften
the mix.
36
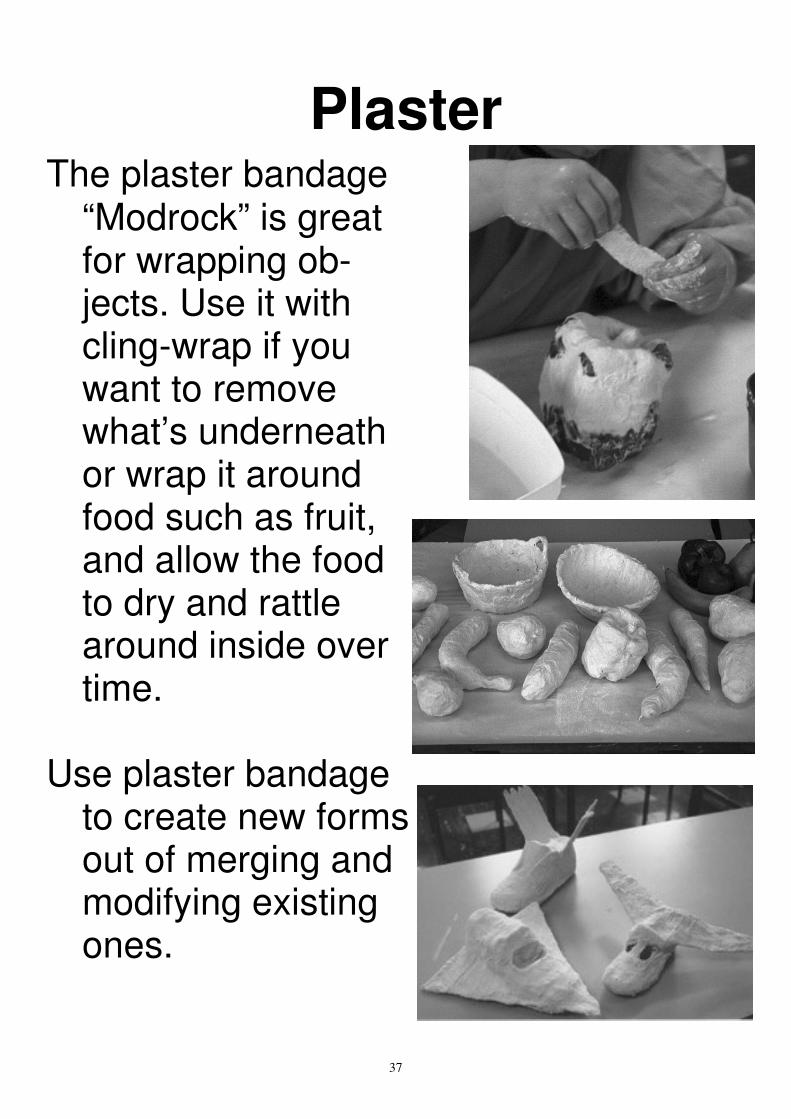
Plaster
The plaster bandage
“Modrock” is great
for wrapping ob-
jects. Use it with
cling-wrap if you
want to remove
what’s underneath
or wrap it around
food such as fruit,
and allow the food
to dry and rattle
around inside over
time.
Use plaster bandage
to create new forms
out of merging and
modifying existing
ones.
37
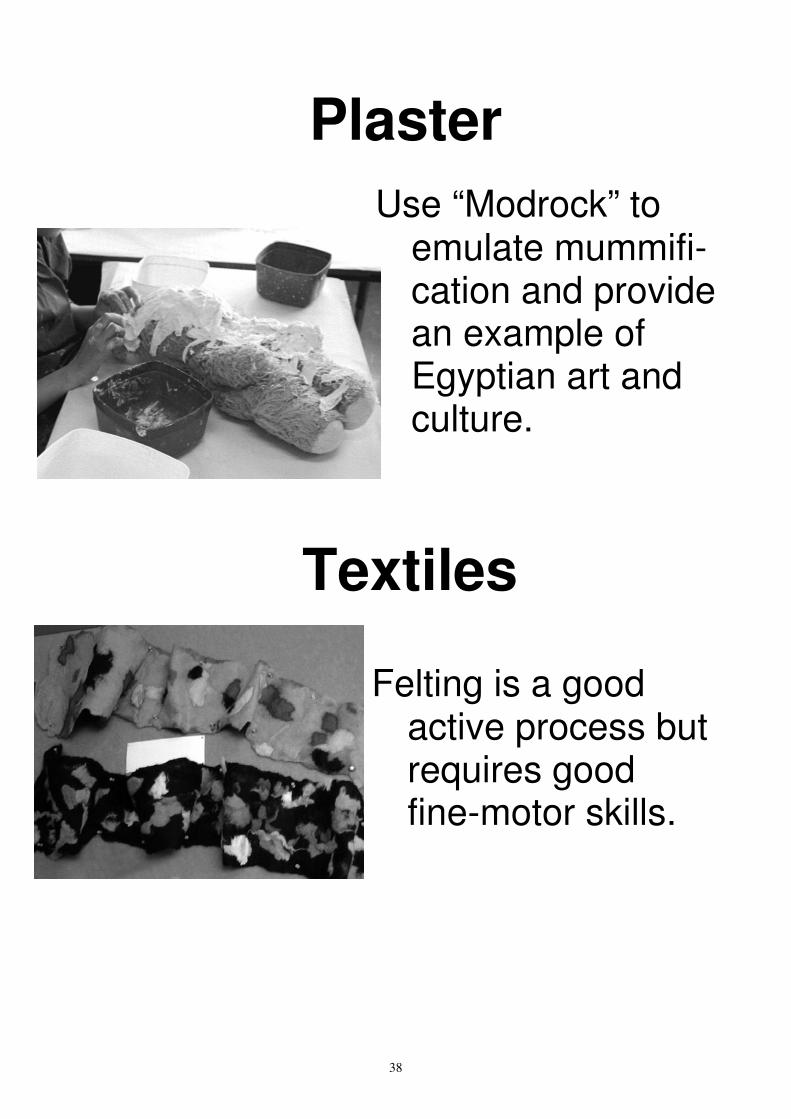
Plaster
Use “Modrock” to
emulate mummifi-
cation and provide
an example of
Egyptian art and
culture.
Textiles
Felting is a good
active process but
requires good
fine-motor skills.
38
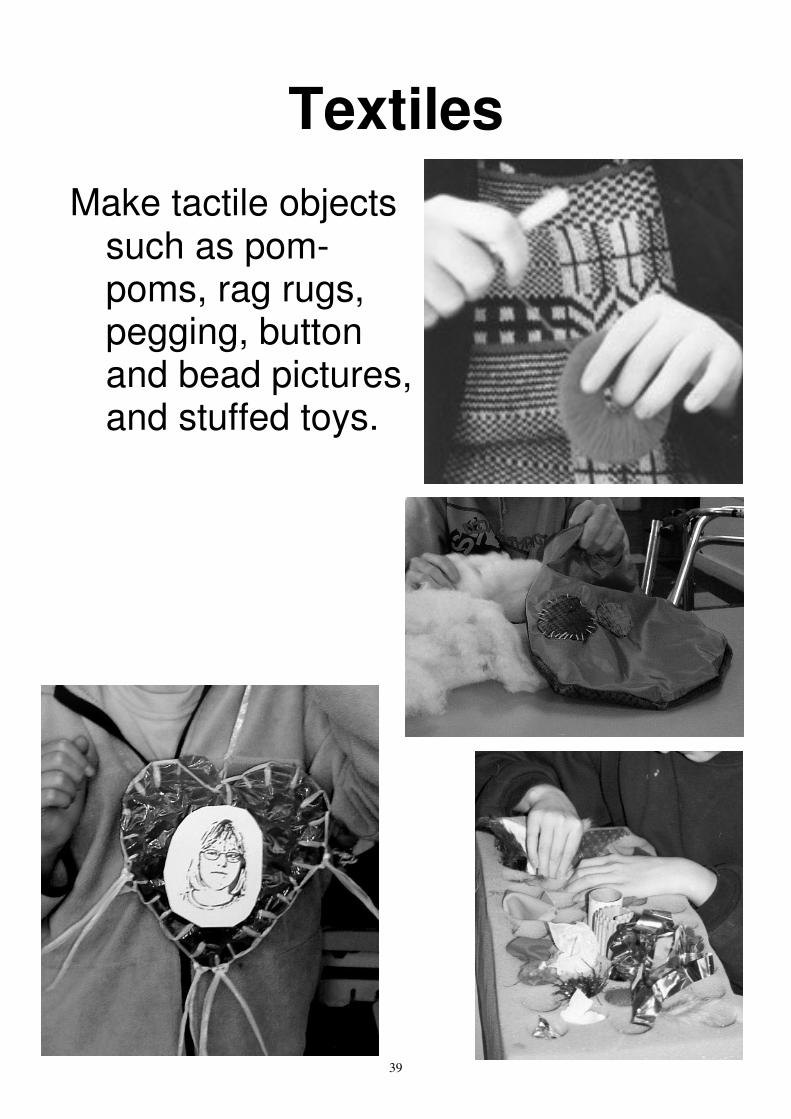
Textiles
Make tactile objects
such as pom-
poms, rag rugs,
pegging, button
and bead pictures,
and stuffed toys.
39
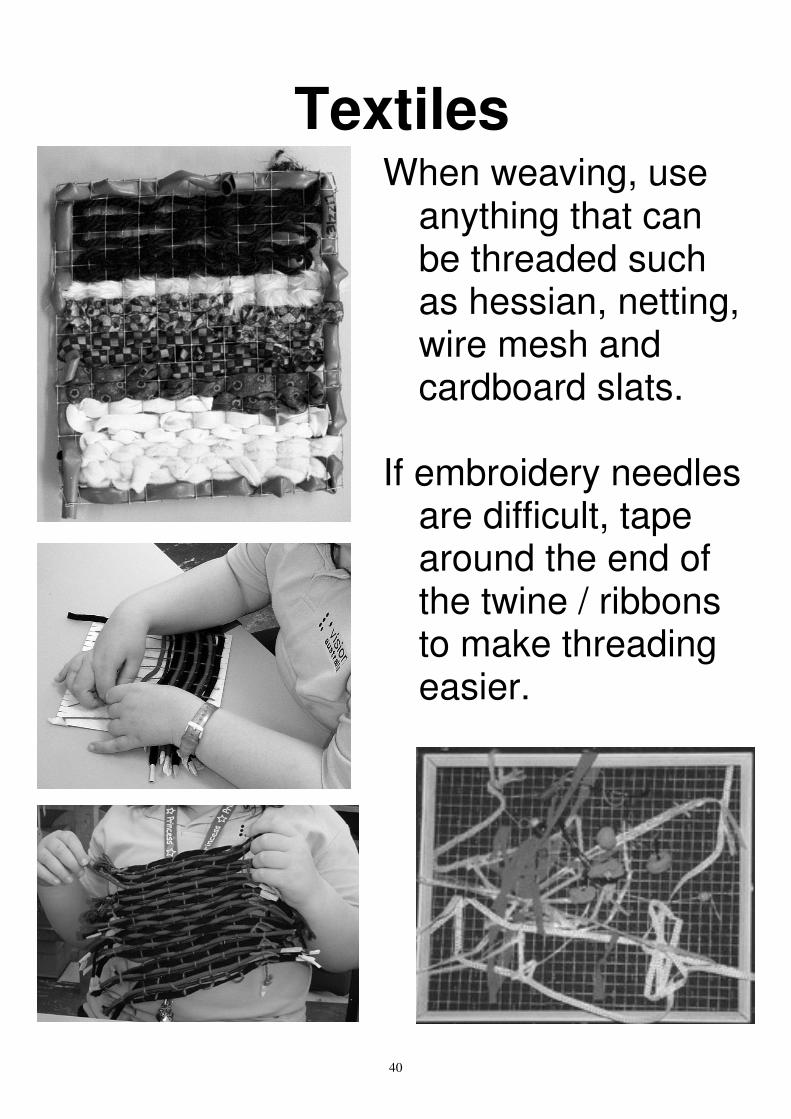
Textiles
When weaving, use
anything that can
be threaded such
as hessian, netting,
wire mesh and
cardboard slats.
If embroidery needles
are difficult, tape
around the end of
the twine / ribbons
to make threading
easier.
40

Textiles
All manner of
materials and
objects can be
threaded, so
long as it has a
hole to thread
through.
Try shells, tubing,
beads, even ice.
41
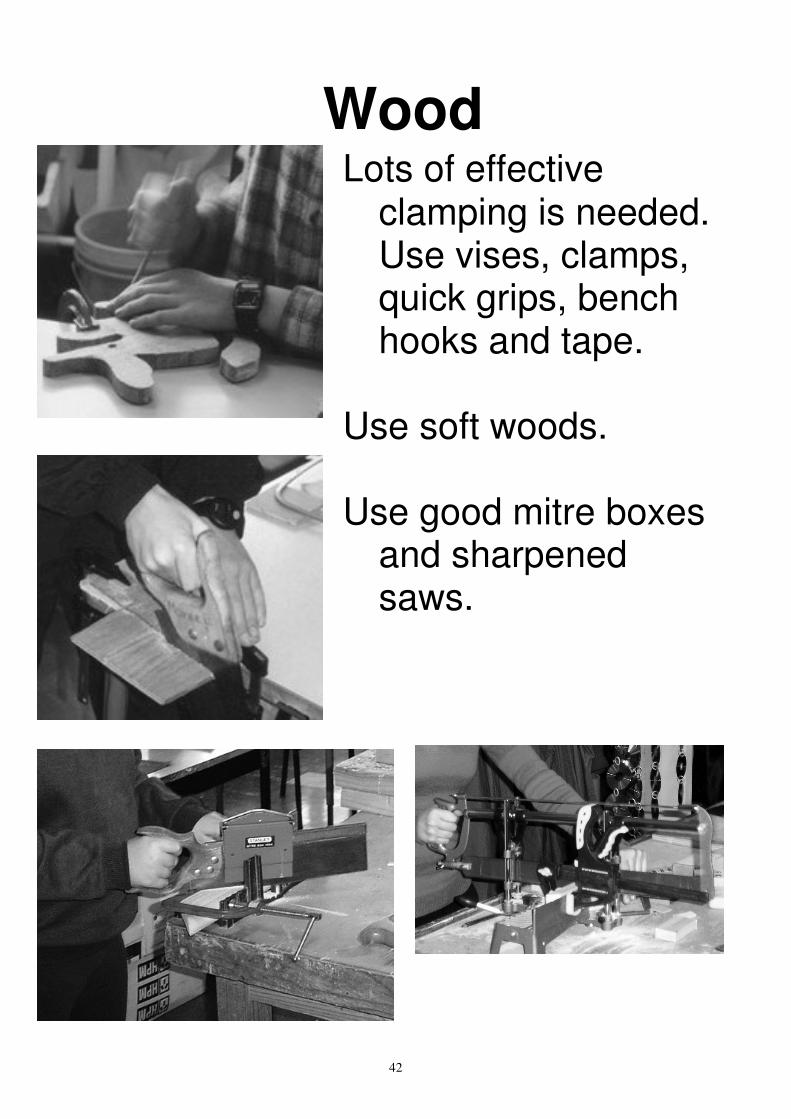
Wood
Lots of effective
clamping is needed.
Use vises, clamps,
quick grips, bench
hooks and tape.
Use soft woods.
Use good mitre boxes
and sharpened
saws.
42

Wood
Use sanding blocks
and different
grades of paper
for finishing
surfaces.
A sanding panel on
the bench can be
used to make
handling easier.
Wood is a great
material for
collage work and
joining in many
ways.
43
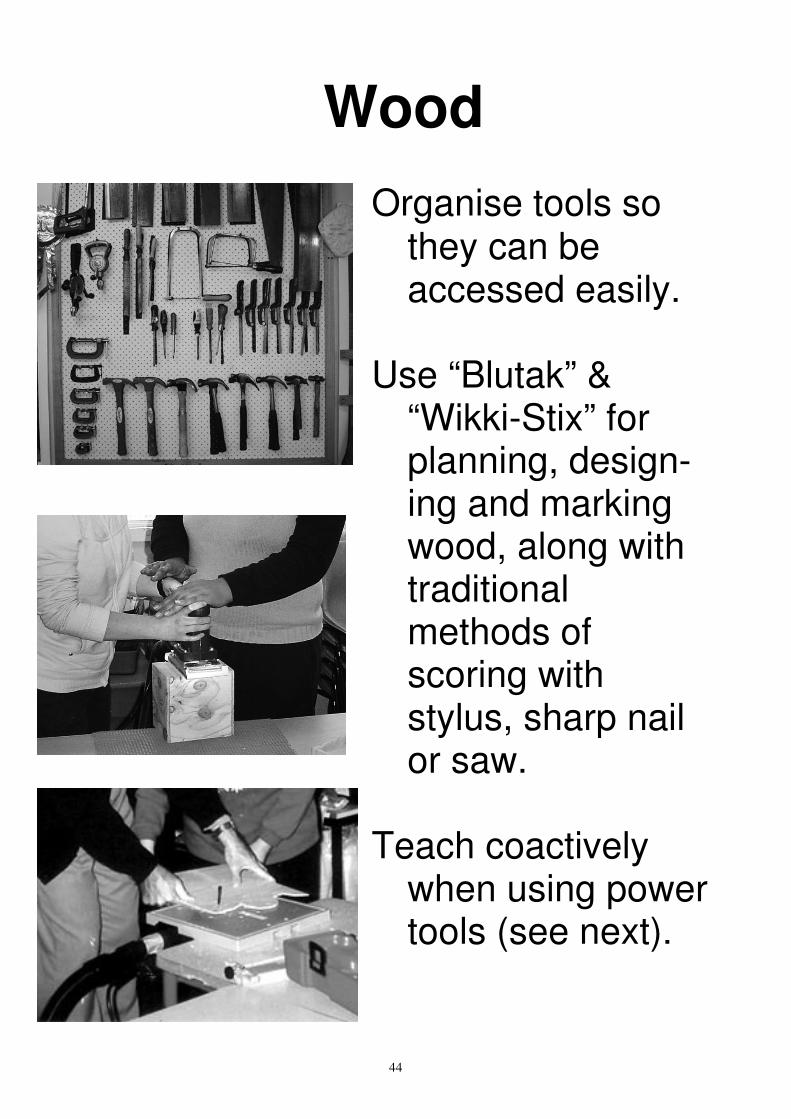
Wood
Organise tools so
they can be
accessed easily.
Use “Blutak” &
“Wikki-Stix” for
planning, design-
ing and marking
wood, along with
traditional
methods of
scoring with
stylus, sharp nail
or saw.
Teach coactively
when using power
tools (see next).
44
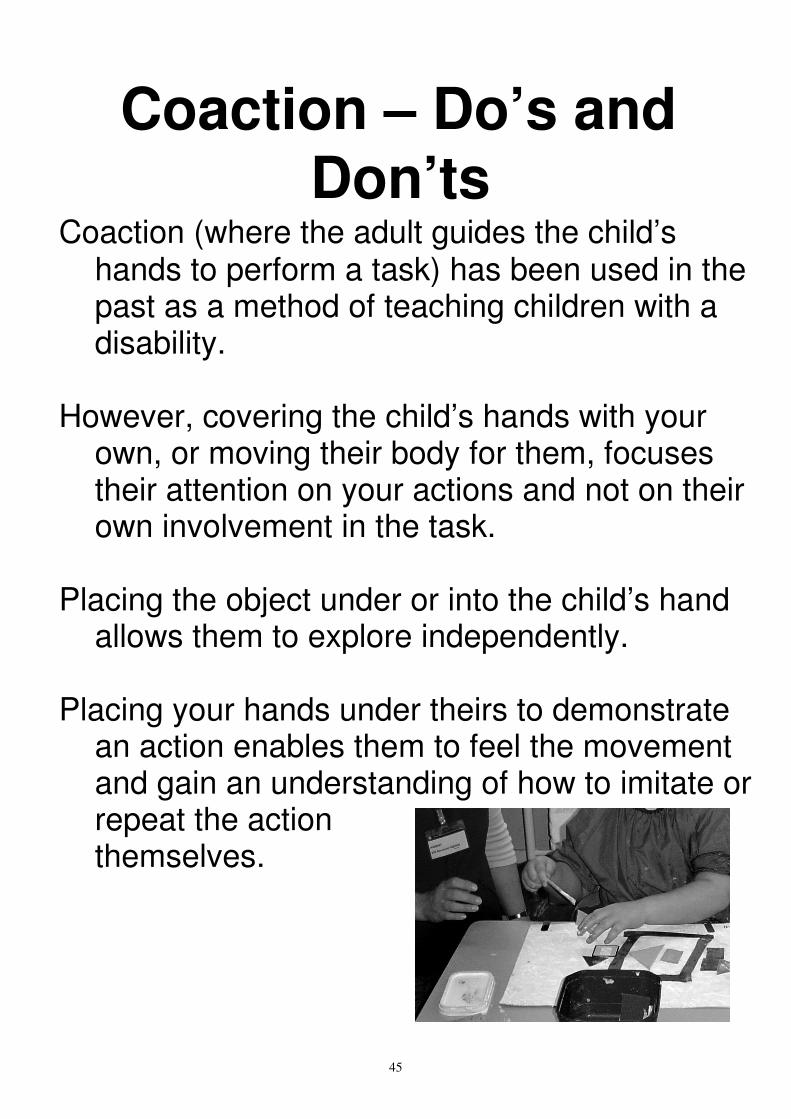
Coaction – Do’s and
Don’ts
Coaction (where the adult guides the child’s
hands to perform a task) has been used in the
past as a method of teaching children with a
disability.
However, covering the child’s hands with your
own, or moving their body for them, focuses
their attention on your actions and not on their
own involvement in the task.
Placing the object under or into the child’s hand
allows them to explore independently.
Placing your hands under theirs to demonstrate
an action enables them to feel the movement
and gain an understanding of how to imitate or
repeat the action
themselves.
45